Learn How to Make a Faux Blue Delft Bunny Rabbit

By Roni Johnson

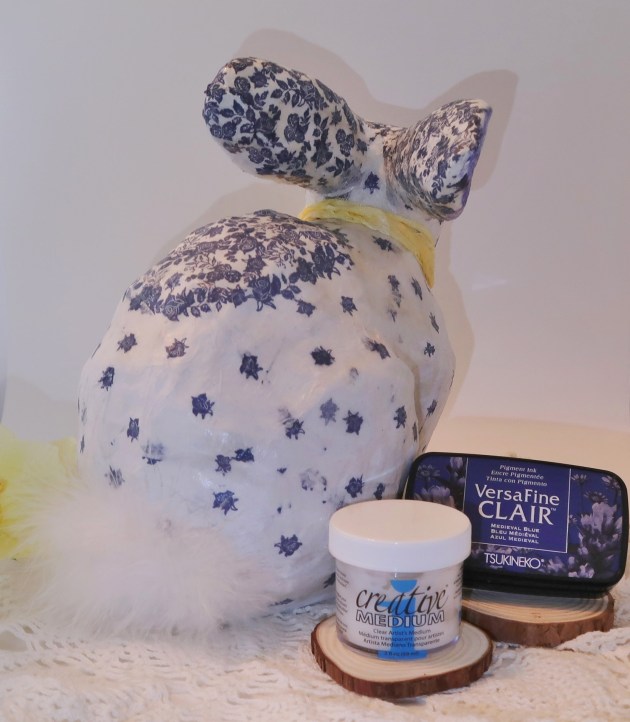
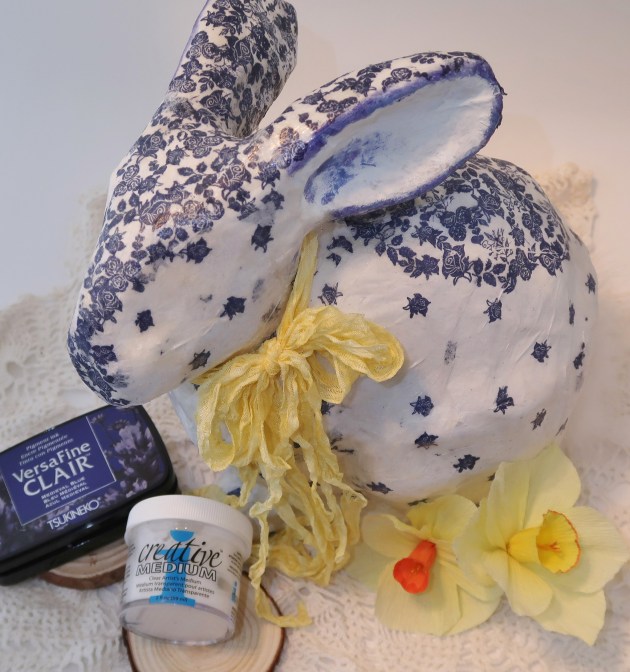
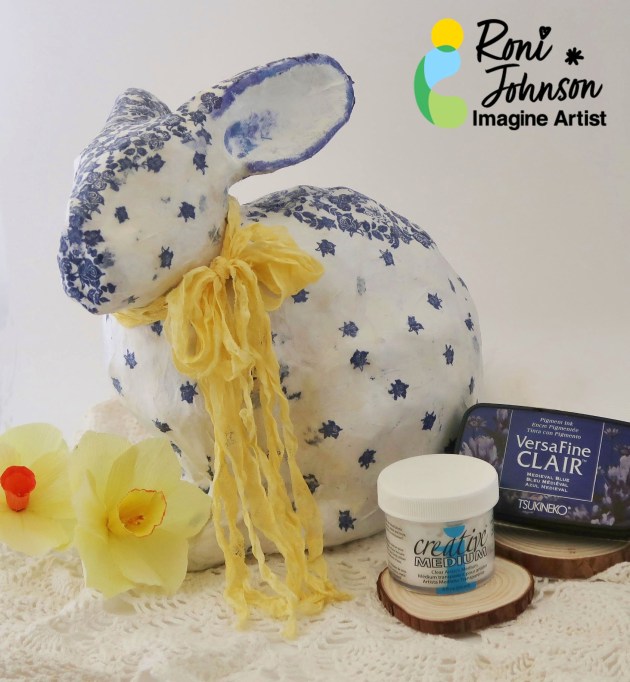
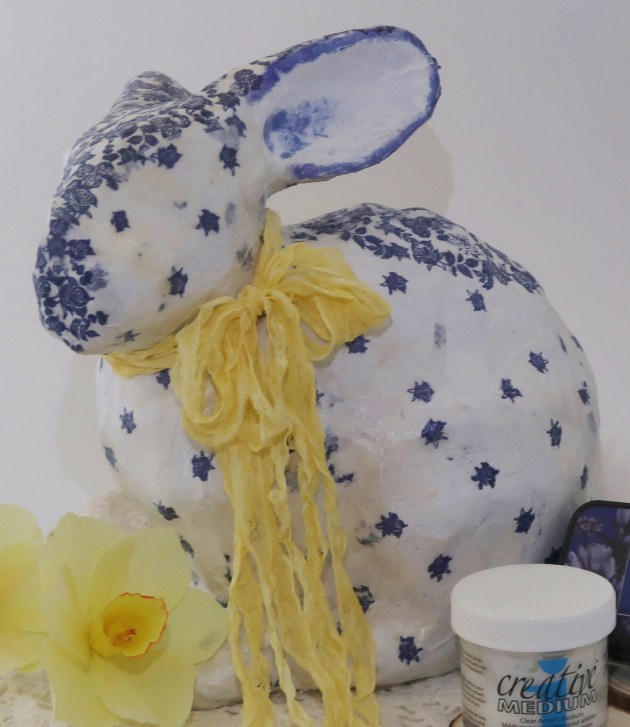
Welcome in Spring with this lovely Faux Blue Delft Bunny Rabbit to brighten up your home. Originating in the city of Delft in the Netherlands in the 1600s, this pottery which consists of blue decoration over a white background is a breath of fresh air and the perfect start of this season of renewal. This technique looks daunting but once you break it down into easy-to-follow steps it’s fun and rewarding. The finished project looks stunning and will delight everyone who comes in contact with it.

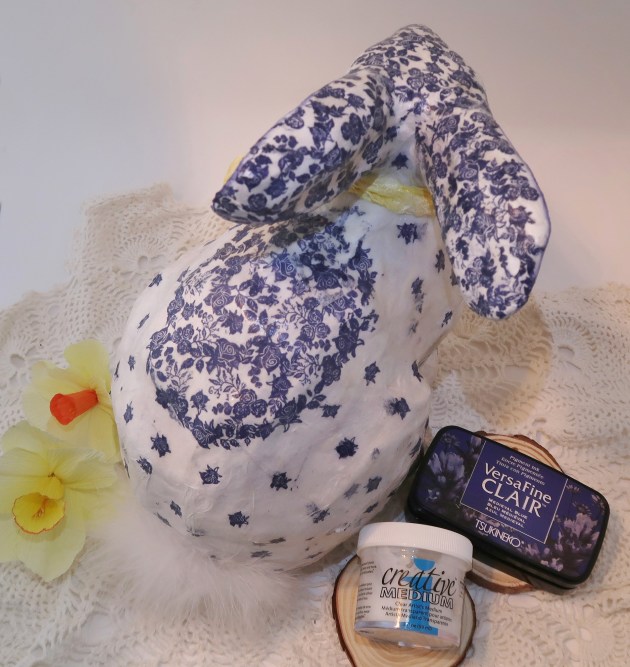
This technique combines wide-open geometric stamped patterns with areas of saturation to give the piece defined areas to enhance and highlight certain areas of the animal. For this example, I used the more concentrated stamping on the face, ears and a medallion of sorts on its back. You will come to see how this turns a plain paper mache rabbit into a beautiful Blue Delft Bunny sure to please.

Skill: Intermediate
Time: 2 hours + dry time


Directions:
Step 1

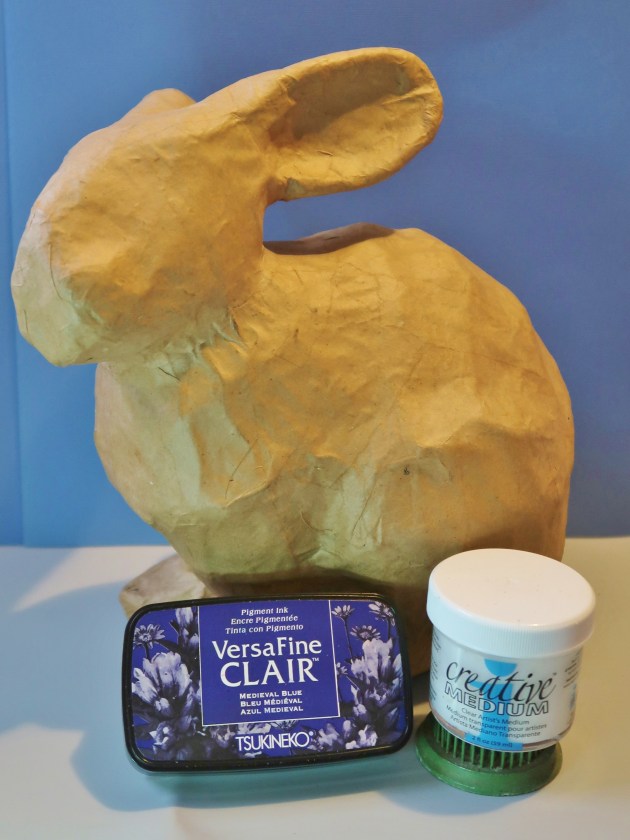
Gather up your supplies, you will need a paper mache animal – I choose a rabbit for Spring, tissue paper, Medieval Blue VersaFine Clair ink and Creative Medium (Clear or Shimmer).
 

Step 2

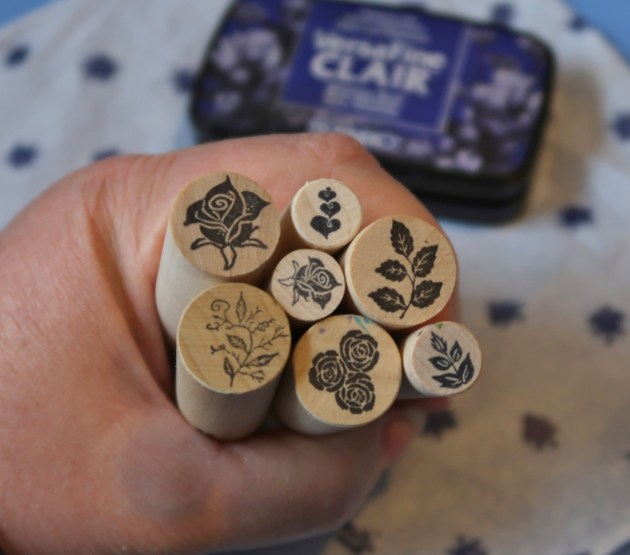
You will also need to gather a few small stamps. For this project I am using roses, leaves and vine peg stamps from Rubber Stamp Tapestry.
 

Step 3

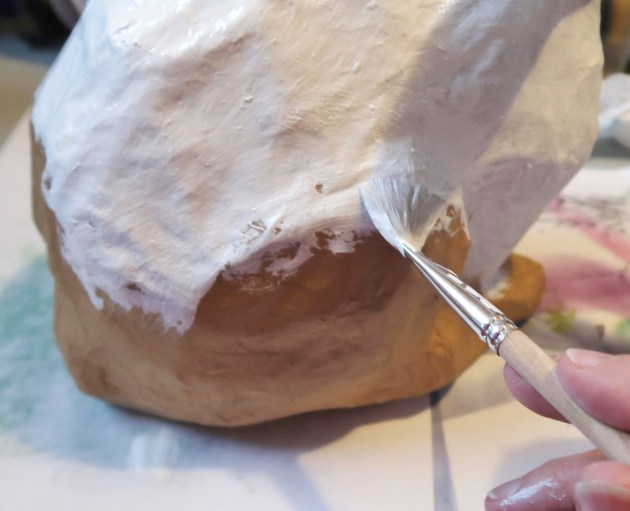
Prepare the paper mache animal by painting it with white acrylic paint. Set it aside to dry.
 

Step 4

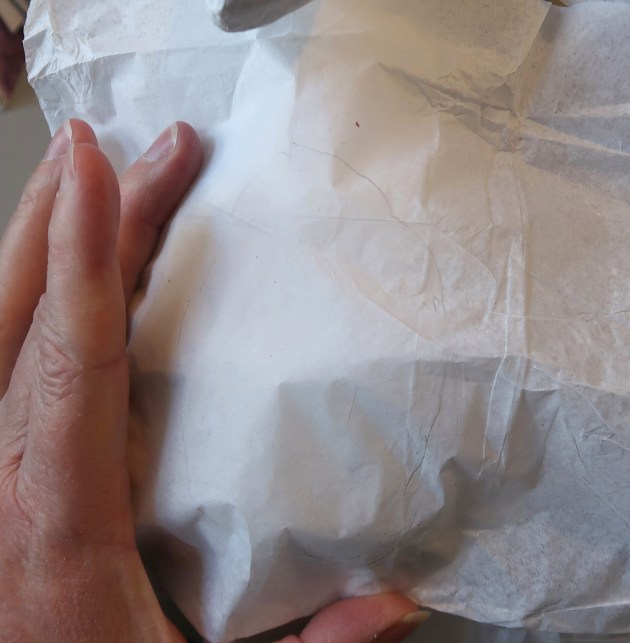
To create the concentrated stamped sections place a sheet of tissue paper over the desired area, in this case the back and trace the shape you wish to create. For this example I wanted a nice sized oval medallion over the back. You can see the faint pencil marking on the tissue paper in the photo.
 

Step 5

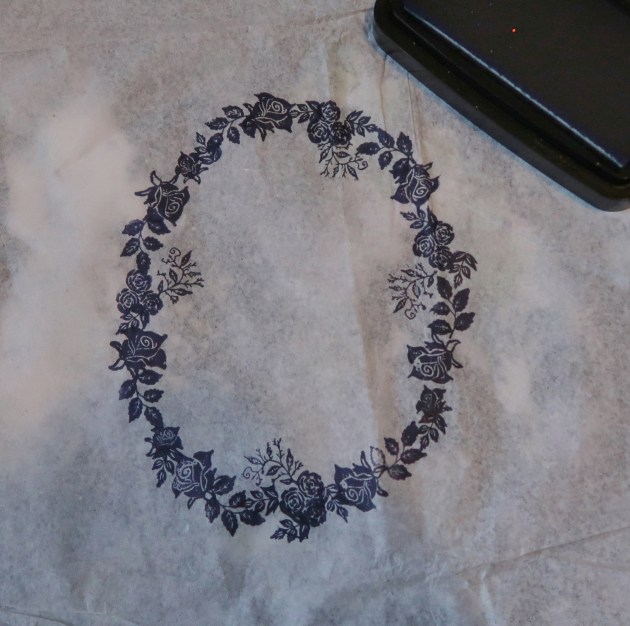
Create the medallion by stamping the border along the pencil line from the previous step.
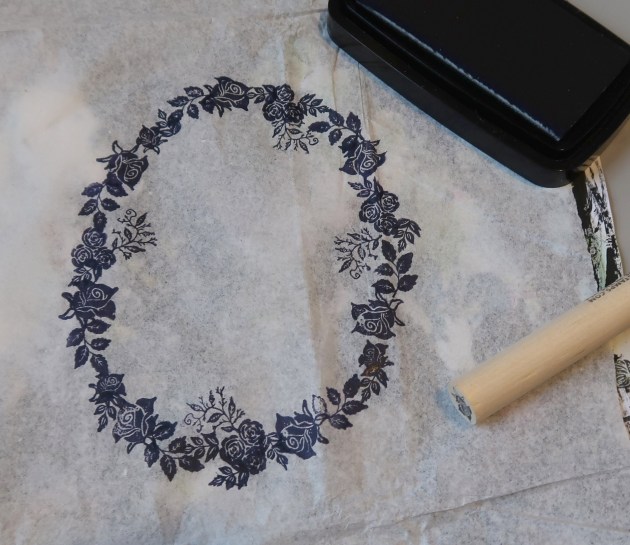
 

Step 6 – Stamp additional images to fill in the medallion.
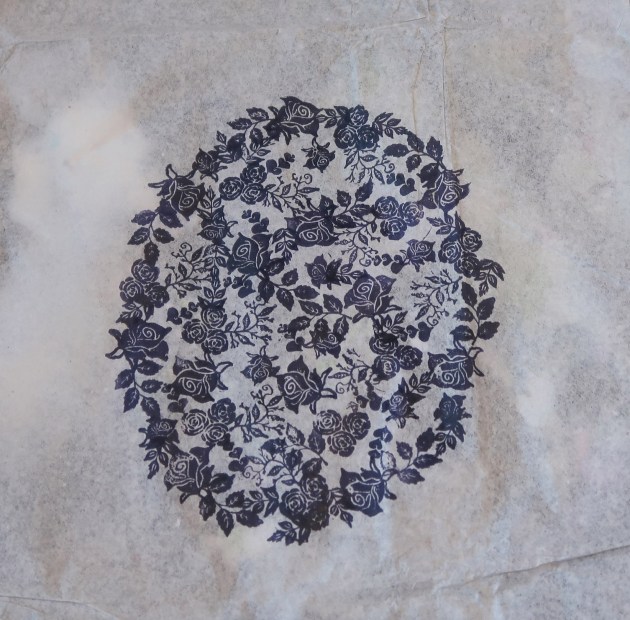
 

Step 7 – Once the medallion has been completed let the ink dry completely.
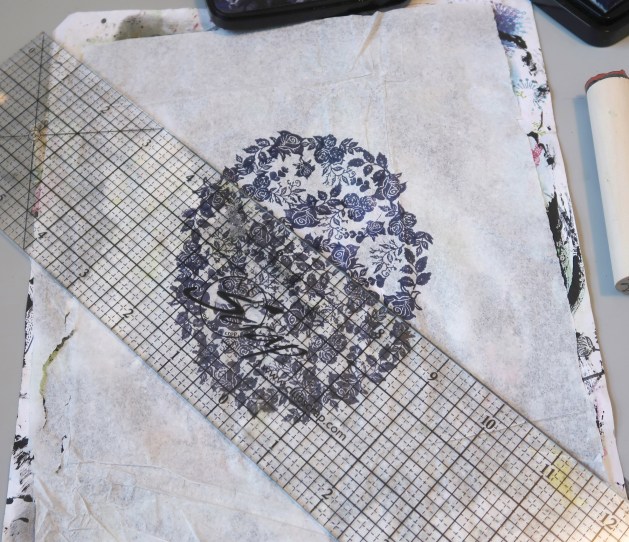
 

Step 8 – Use a ruler to stamp a small rose at 1” intervals in a diagonal line.
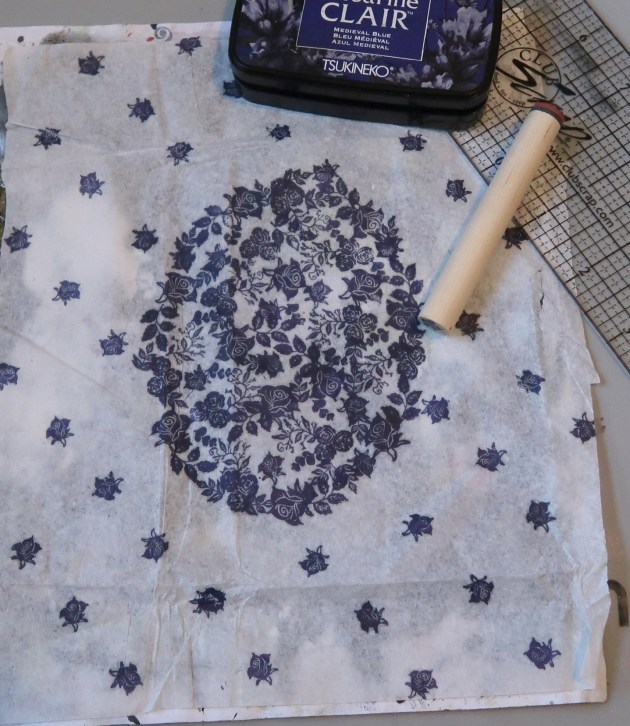
 

Step 9 – Continue stamping at 1” intervals until the entire piece of tissue paper has been covered.
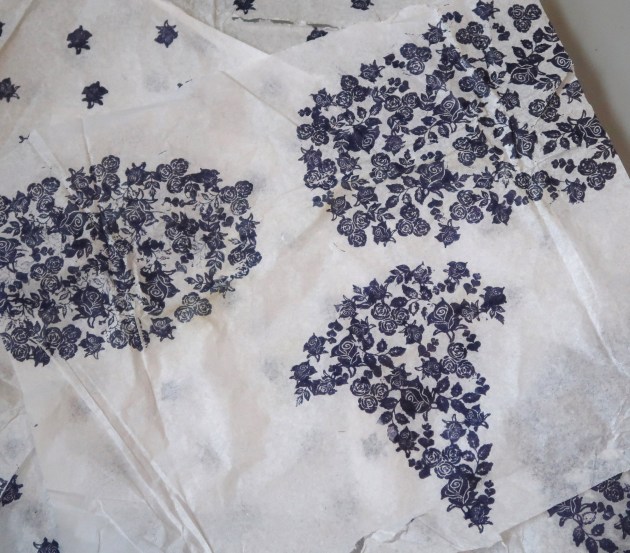
 

Step 10 – Repeat steps 4-9 for any additional areas you wish to cover with a concentrated stamping. For this example I made pieces for the back sides of the rabbit ears and one for the top of the nose and forehead.
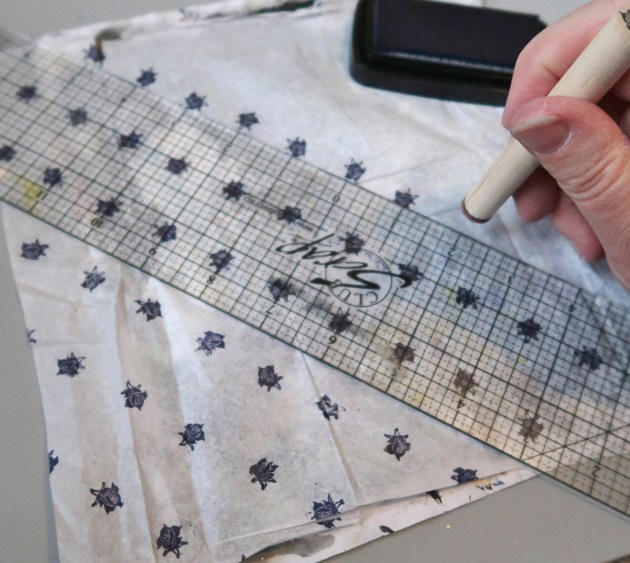
 

Step 11 – Stamp extra pieces of tissue paper with the diagonal 1” pattern to cover any areas which are not going to be covered with the concentrated pieces.
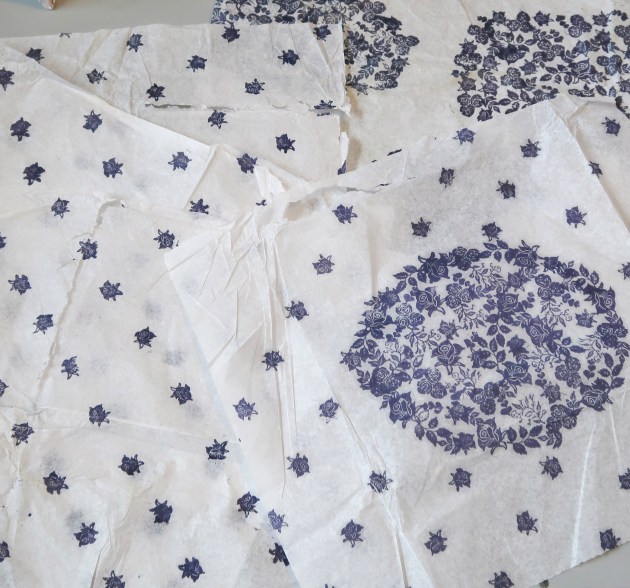
 

Step 12 – Stamp more tissue paper than you think you’ll need just in case. You don’t want to run out in the middle of covering the project and have to stop gluing to stamp more.
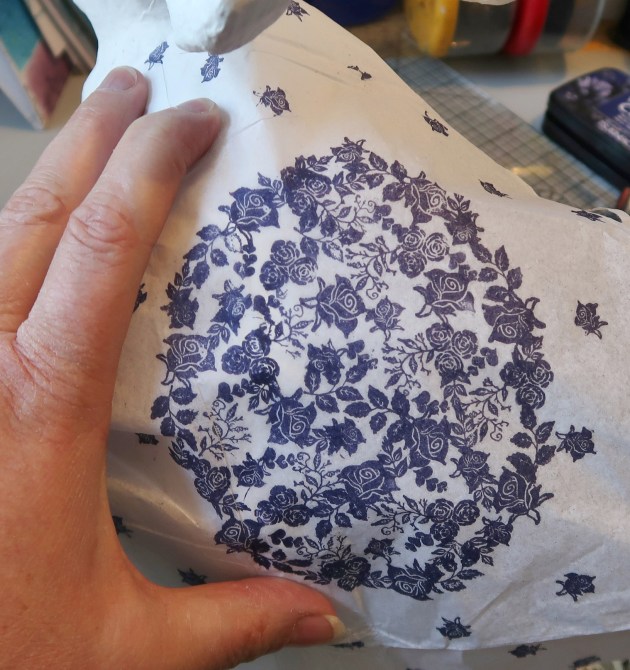
 

Step 13 – Apply a layer of Creative Medium over the section of the paper mache you want to begin with and carefully place the piece of tissue paper over the glue.
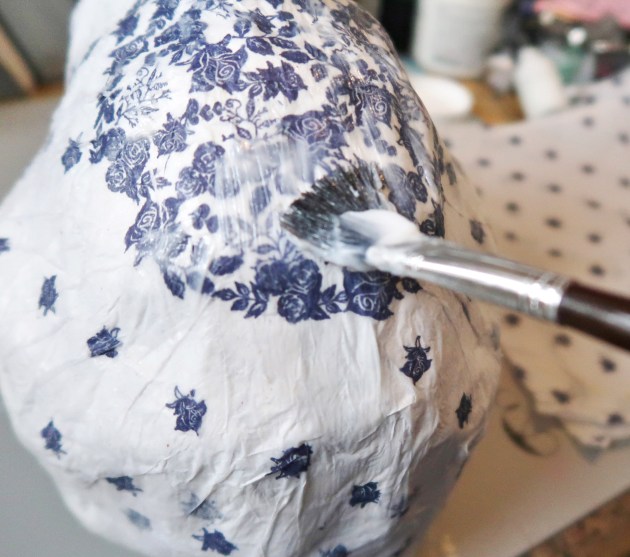
 

Step 14 – Pick up more Creative Medium on the paintbrush and gently dab the tissue paper and press it onto the paper mache form. Once in place cover the entire piece of tissue paper with a generous layer of Creative Medium.
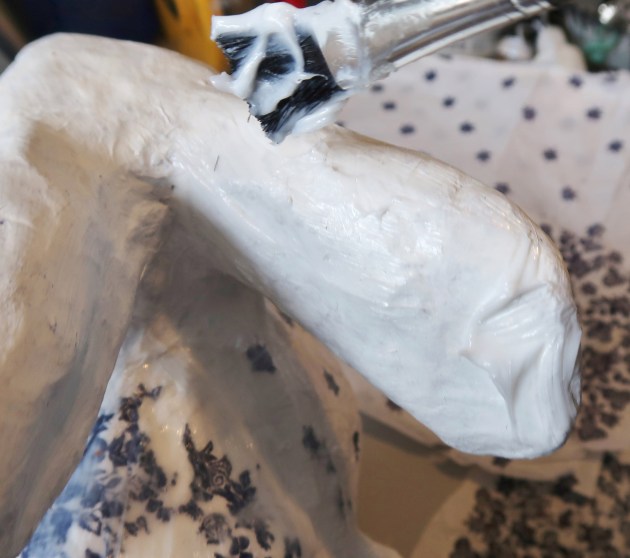
 

Step 15 – Continue covering the areas where you want the concentrated stamping, next the ears, one at a time.
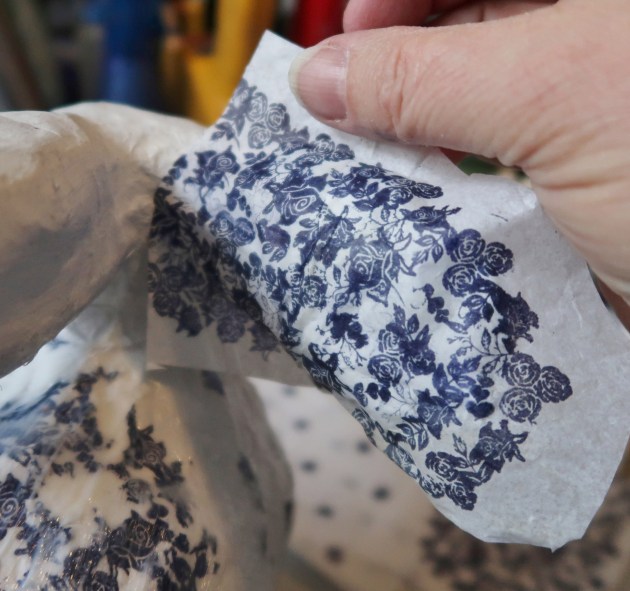
 

Step 16 – Again gently layer the tissue paper over the Creative Medium base coat then cover with a top coat of Creative Medium. Gently pull away the excess tissue paper and smooth the edges with the paintbrush. Let these areas dry before continuing.


Step 17 – Once all of the concentrated areas have been applied (back medallion, ears, and forehead), use the diagonal stamped tissue paper to fill in any additional areas that need covering in the same fashion. Apply a foundation layer of Creative Medium; add the diagonal tissue paper and gently press into the glue then apply a top coat of Creative Medium.
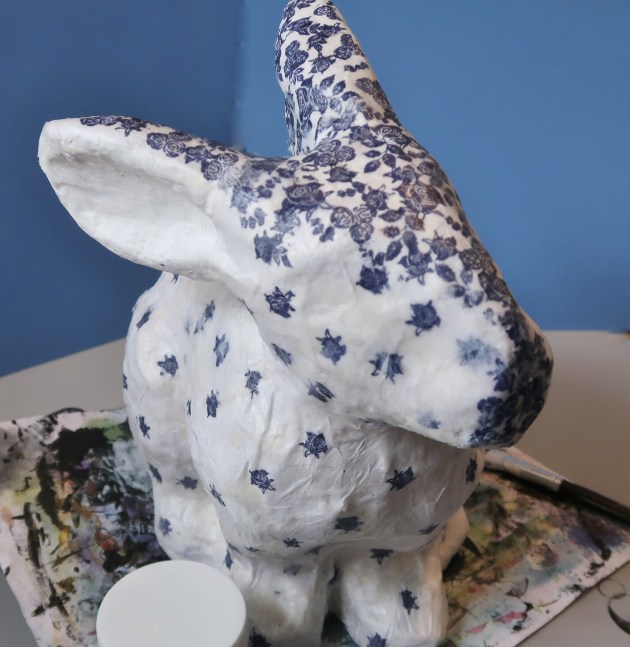
 

Step 18 – Let the Creative Medium dry completely, I left this example dry overnight.
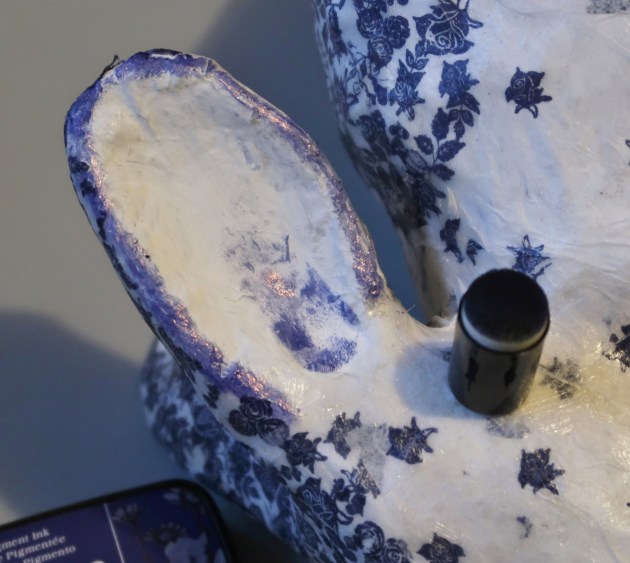
 

Step 19 – Use a sponge dauber to apply a bit of color around the edge and inside of the ear.
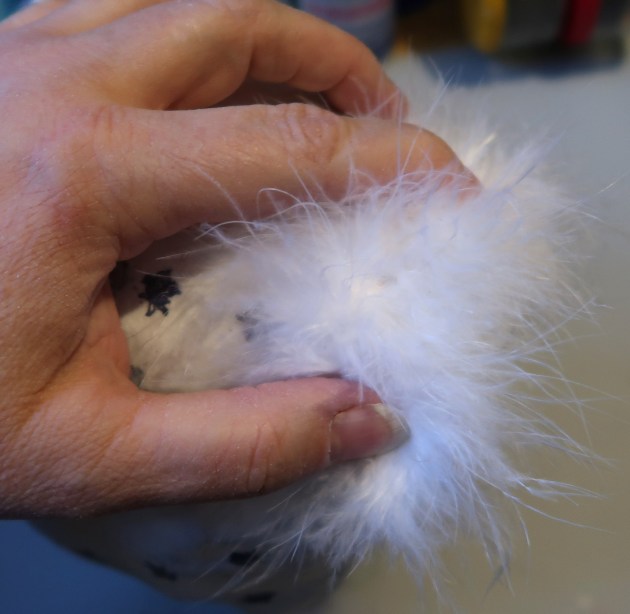
 

Step 20 – (Optional) – Glue a bit of marabou feather boa to the tail area.
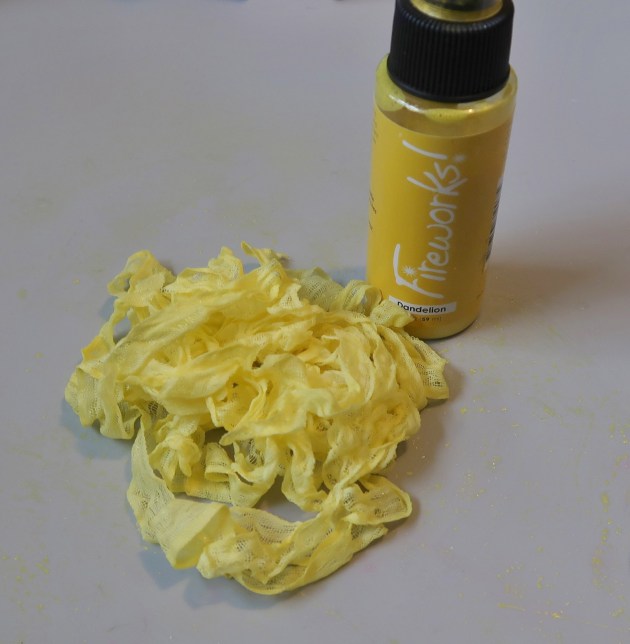
 

Step 21 – Dye rayon seam binding with Fireworks! Spray ink to create a bow around the bunny’s neck.


Art Supplies:

Imagine
Other
  • Paper Mache Rabbit
  • Tissue Paper
  • Rubber Stamp Tapestry – Roses, Leaves, Vine peg stamps
  • Ruler
  • Paint Brush
  • Rayon Seam Binding
  • DecoArt Americana Acrylic Paint – Titanium White
  • (optional) Marabou Feather Boa
Make a Happy Easter Card with an Egg Shell Inspired Background

By Kyriakos Pachadiroglou

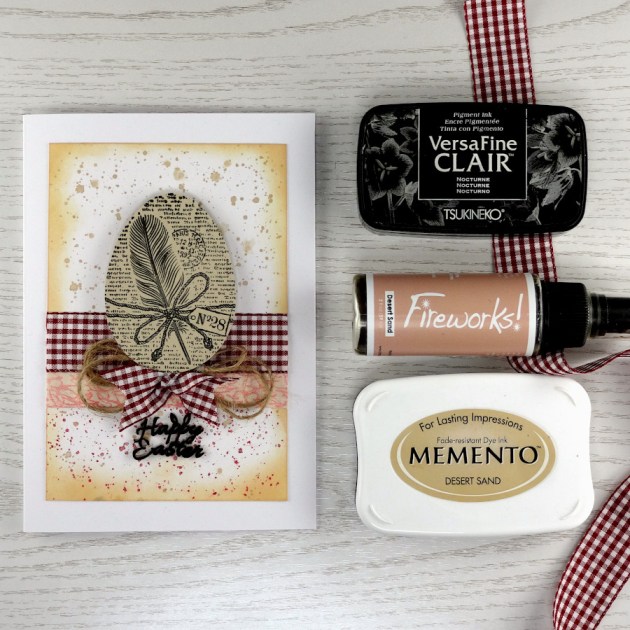
Simple and easy to make Easter greetings card with an egg shell-like background made by sprinkling Fireworks! paint on a blank white card and lightly distress with MEMENTO Desert sand ink pad. Stamp on a piece of cotton ribbon with VersaFine CLAIR Tulip red to use as an embellishment to decorate the card.


Skill: Beginner

Time: 45 min


Directions


Step 1

Sprinkle Fireworks! Desert Sand on a piece of 4×6 in white card stock. Cover half of it and sprinkle with Fireworks! Rhubarb Stalked color.


Step 2

Use a Sponge Dauber to lightly distress around the white card stock piece with the MEMENTO Desert Sand ink pad.


Step 3

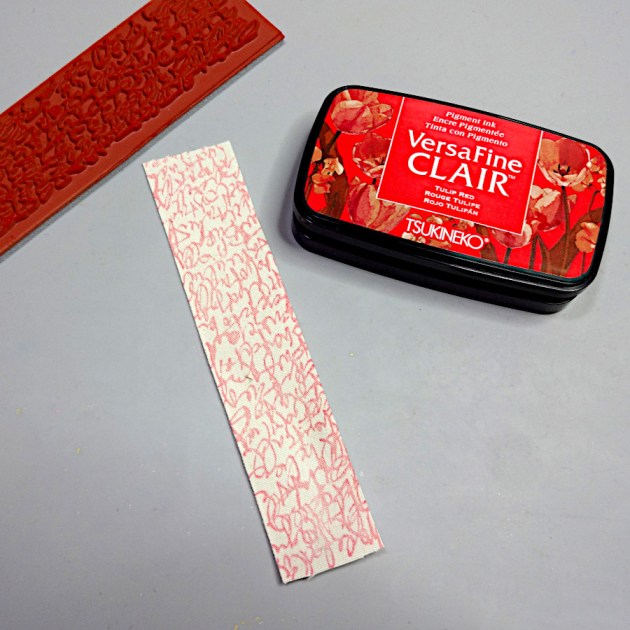
Stamp the abstract stamp with VersaFine CLAIR Tulip Red on a piece of cotton ribbon.


Step 4

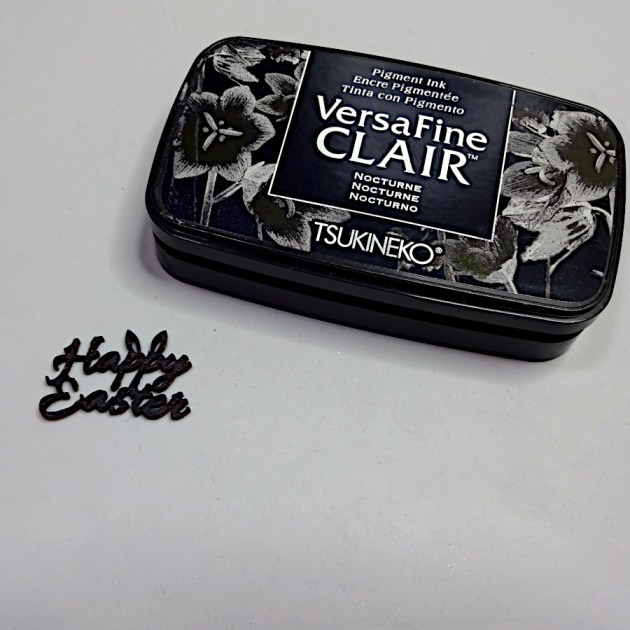
Color a wooden Happy Easter shape with VersaFine CLAIR Nocturne ink pad.


Step 5

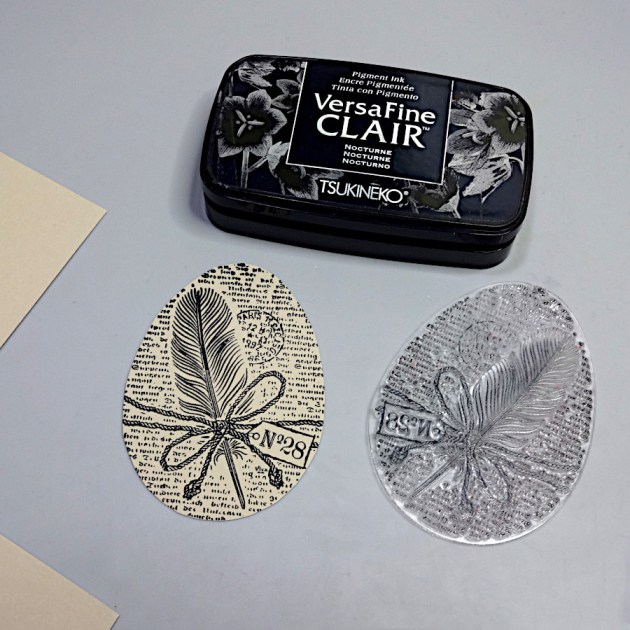
Use the same ink pad to stamp an egg design on the natural card stock and cut around it.


Step 6

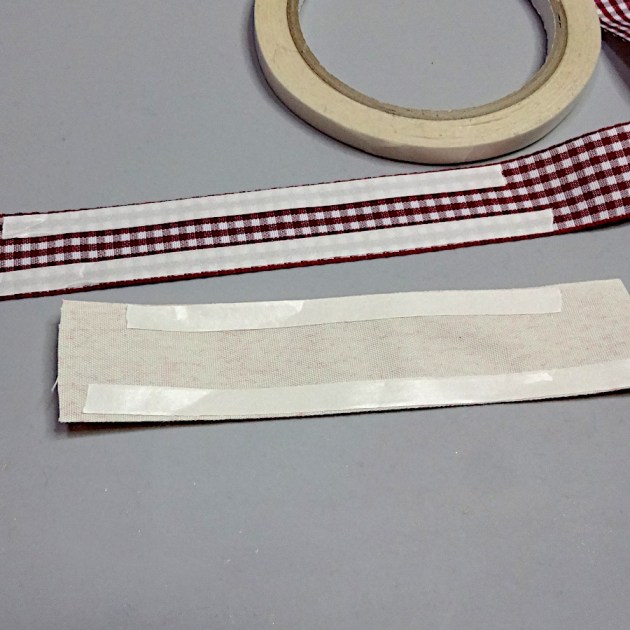
Place Tear It! Tape to the back of the cotton and gingham ribbons. Glue the white card stock piece on the card base.


Step 7

Attach the cotton ribbon first, then half-covering with the gingham ribbon. Add loops of jute cord with hot glue. Finally, place the egg with some foam tape and the Happy Easter shape.


Art Supplies

Imagine

MEMENTO – Desert Sand

VersaFine CLAIR – Nocturne, Tulip Red 

Fireworks! Desert Sand, Rhubarb Stalked 

Tear It! Tape 

On Point Glue 

Sponge Daubers  


Other

Viva decor stamps – Easter eggs

Darkroom door stamp – Abstract

Gingham wine red ribbon 1in

Cotton ribbon 1.5in

Jute cord

Knorr Prandell wooden shapes – Easter

White card stock

Natural card stock

Hot glue

Foam tape

Learn How to Make a Spring “Thinking of You” Card with Ink Blending

By Katy Ingram

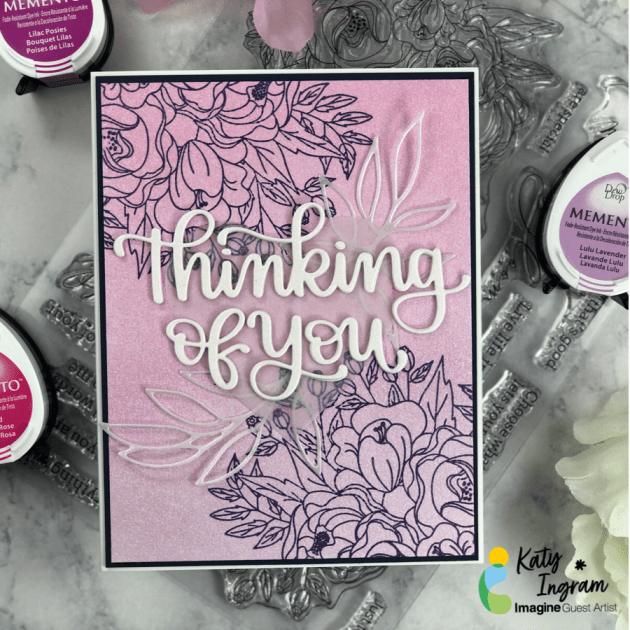
Hello my crafty friends! Katy here and in today’s crafting video tutorial, I show you how to make a floral “Thinking of You” card with 3 tips for easy ink blending using our Memento inks. This is a great project for the Spring season and by changing the sentiment this card can suit any spring-time occasion.

Skill: Beginner, Intermediate

Time: 30 minutes


Directions:


Art Supplies:

Imagine

• Memento Ink Pad – Rose Bud

• Memento ink Pad – Lilac Posies

• Memento Ink Pad – Lulu Lavender

• VersaFine Clair Ink Pad – Medieval Blue

Other

• Pinkfresh Studio – Blooming Bouquet Stamp Set

• Pinkfresh Studio – Leafy Branch die

• Simon Says Stamp – Thinking of You die

• Pink & Main – Mini Blending Brushes

• Gina K Designs – In The Navy Card stock

• Neenah – Classic Crest Solar White 110 lb Card stock

• Gmund – 100% Cotton Shiny Cream Card stock

Learn How to Make a Cupid Valentine’s Card with Brilliance Shimmery Inks

By Jessica Lin

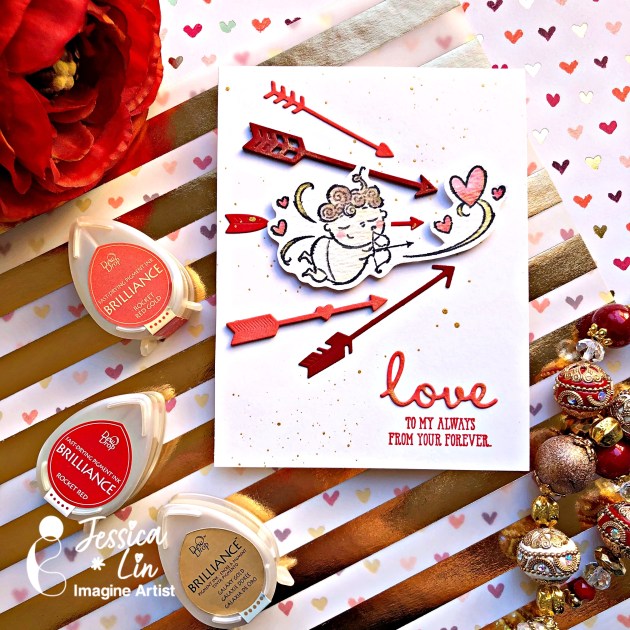
Hi everyone, it’s Jessica here. Did you know that you could watercolor with your shimmery ink pads? I tried watercolor with some Brilliance Dew Drop ink pads today and I was so amazed at the result! The shimmer and sparkle definitely add that extra detail to a simple card. Let me know if you have tried this before!

Skill Level: Intermediate

Time: 35 Minutes


Art Supplies

Imagine

VersaMagic Ink Pad- Thatched Straw, Wheat

• Brilliance Ink Pad –  Rocket Red, Rocket Red Gold, Pearlescent Chocolate, Galaxy Gold, Moonlight White

VersaFine Clair – Nocturne


Other Products

• Water brush

• Tim Holtz Watercolor Cardstock

• Stampin’ Up Flight of Fancy stamp set

• Stampin’ Up Well Said bundle

• Spellbinders Die Set – Shoot

• Red cardstock

Stamp a Happiness-Filled Valentine’s Day Card

By Jessica Lin

Stamping on Acetate with StazOn Ink Pad

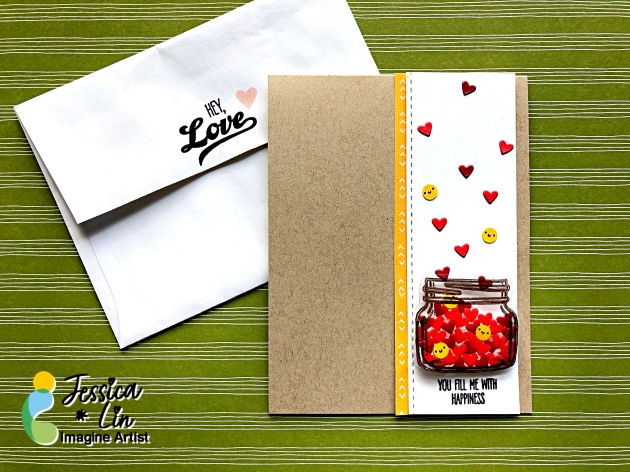
Hi everyone, it’s Jessica here with a fun Valentine’s Day card. I decided to create a glass jar filled with tiny hearts and smiley faces. StazOn inks are the best when it comes to stamping on non-porous surfaces. What kind of materials have you tried stamping on with StazOn inks?

Skill Level: Intermediate

Time: 45 Minutes

Art Supplies

Imagine:

• StazOn Ink Pad – Timber Brown

• VersaFine Ink Pad- Onyx Black

Mboss – Clear

• On Point Glue

• Tear It Tape

• Craft Mat

• StazOn All-Purpose Cleaner


Other Products Used:

Stampin’ Up Jar of Love stamp set

Hole punch

Acetate sheet

Copic markers

Heat gun

Neenah Solar White cardstock

Neenah Desert Storm cardstock

Create a Beautiful Layered Floral Card with Stamping and Stenciling

By Jowilna Nolte 

Today I am sharing this quick video on how I use my stamps and stencils together with pigment and dye inks to create beautiful layers for a card. In just a few easy steps you can combine your stamps and stencils to create an interesting effect by simply layering them over each other. Pick 3 ink colors to make them shine in this technique. I chose Radiant Neon Electric Pink, Memento Luxe Angel Pink and Memento Dew Drop Tangelo. Now it’s time for you to create your own magical effects!

Skill: Beginner, Intermediate, Advanced

Time: 30 minutes or less

Directions:

Supplies:

Imagine:

• Radiant Neon Electric Pink

• Memento Luxe Angel Pink

• Memento Dew Drop Tangelo

• Tear It! Tape Clear

• VersaFine Clair Nocturne (black)

• Sponge Daubers

• Inkblushers

• Imagine Craft Mat

Other:

• Stamps Altenew, Joy Clair

• White Cardstock – Technique

• Embellishments

• Stencil – Celebr8

• Couture Creations Stamp Press

• Couture Creations Mini Buillotine