Quick & Easy Projects: Ink for Planners

by Marcie McCabe

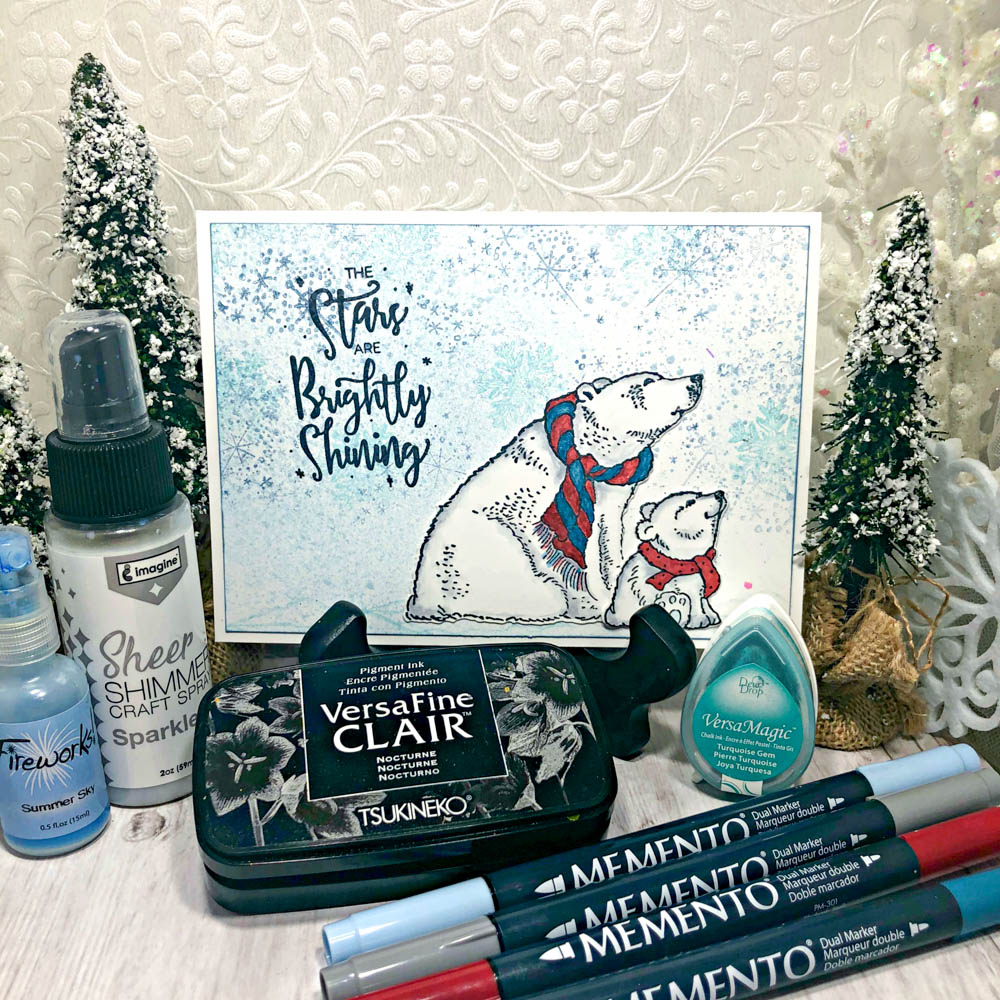
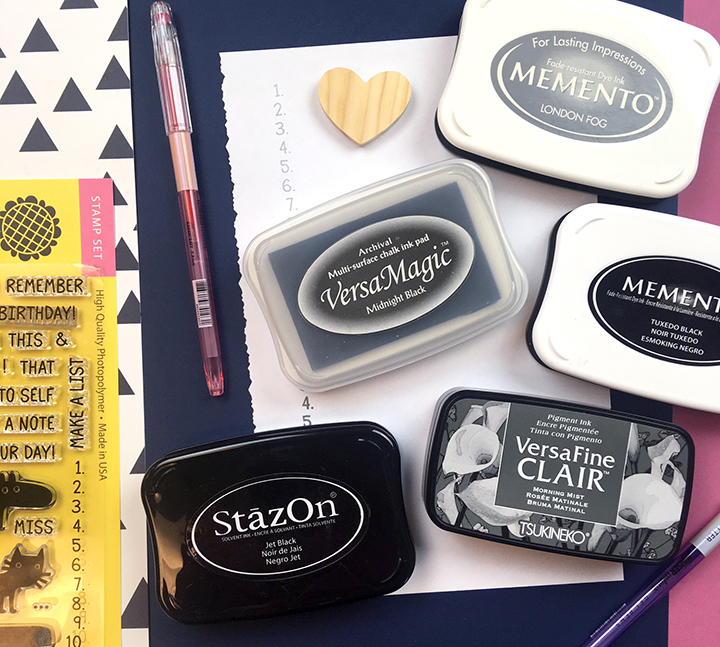
In today’s post, I will do a quick review of our ink brands and discuss the best inks for the thinner pages of journals and planners. If you are a planner addict or simply would like to craft some fun “goals” pages for the New Year then check out what we have to say about the best planner inks for 2020!
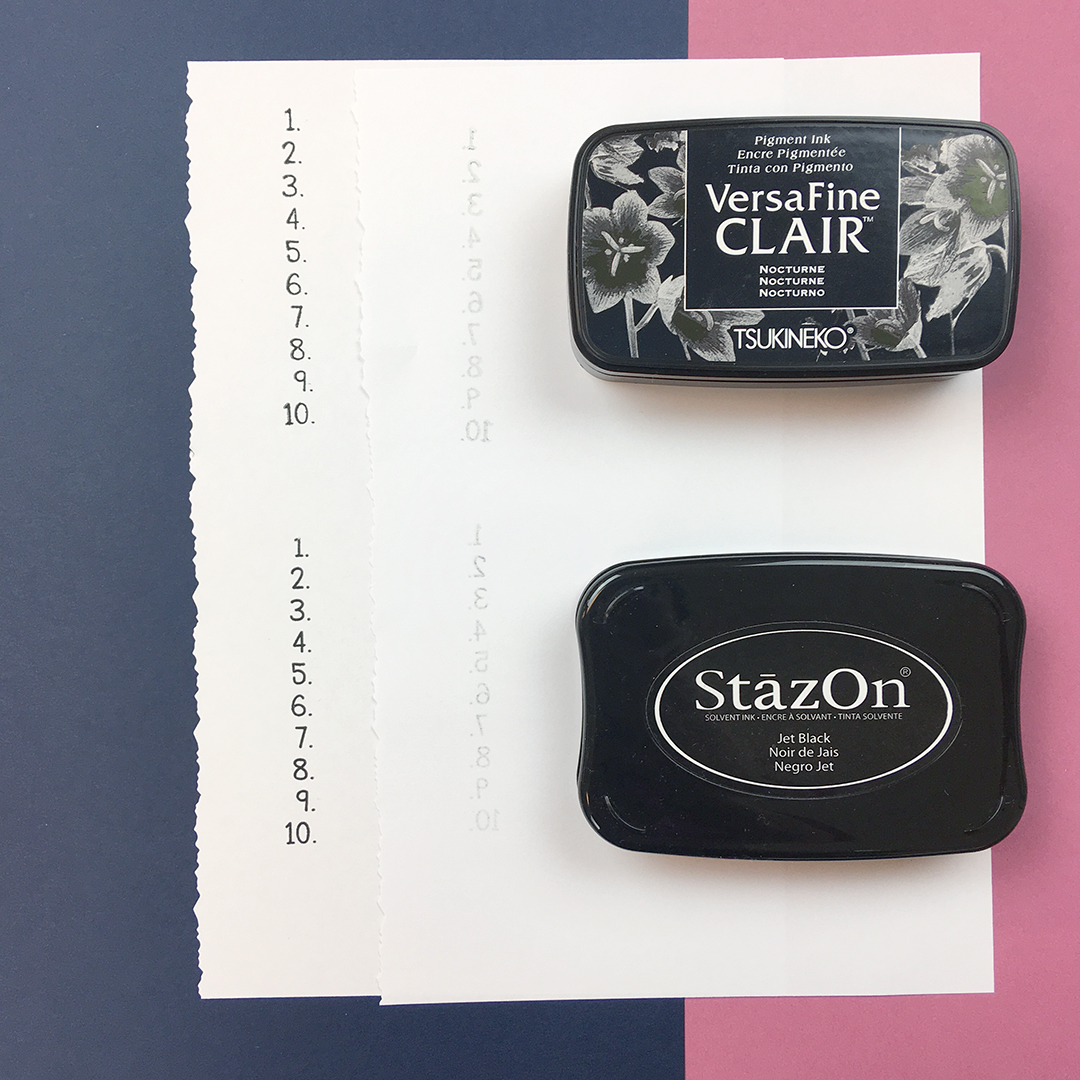
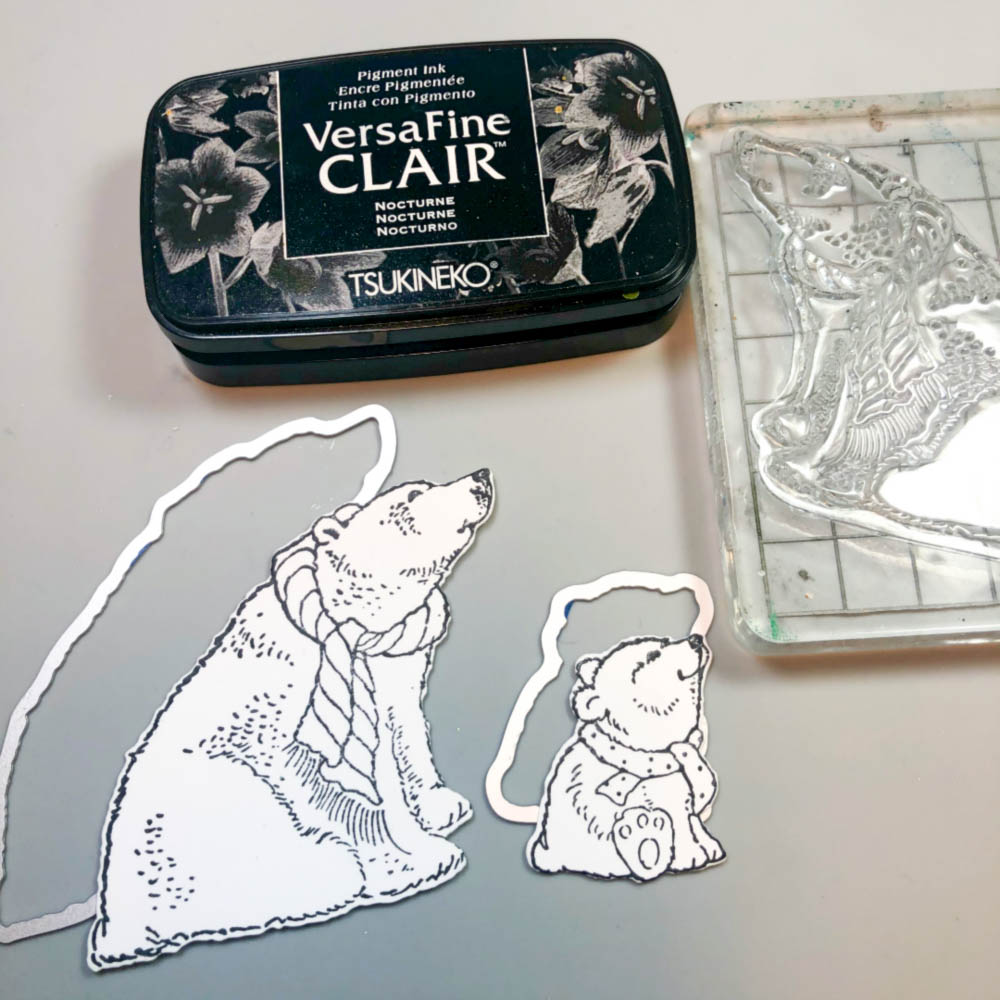
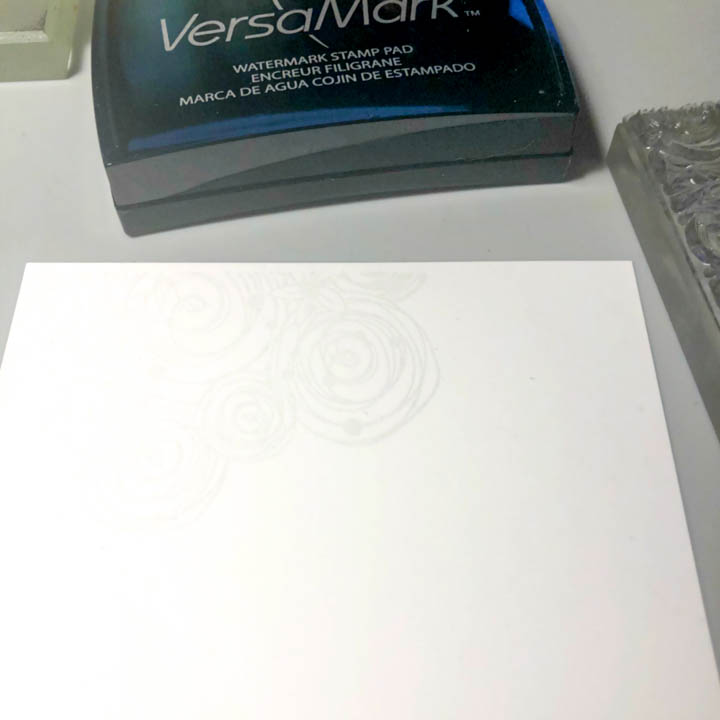
VersaFine + StazOn

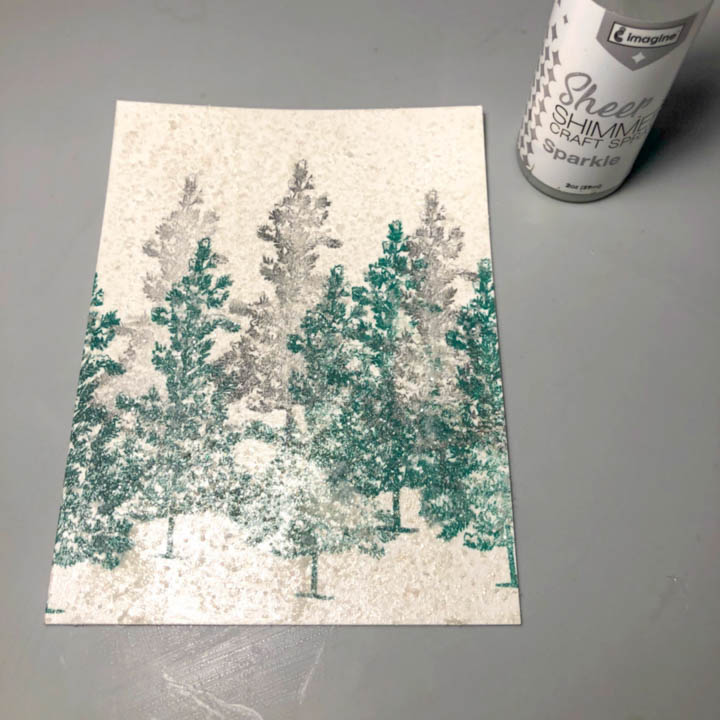
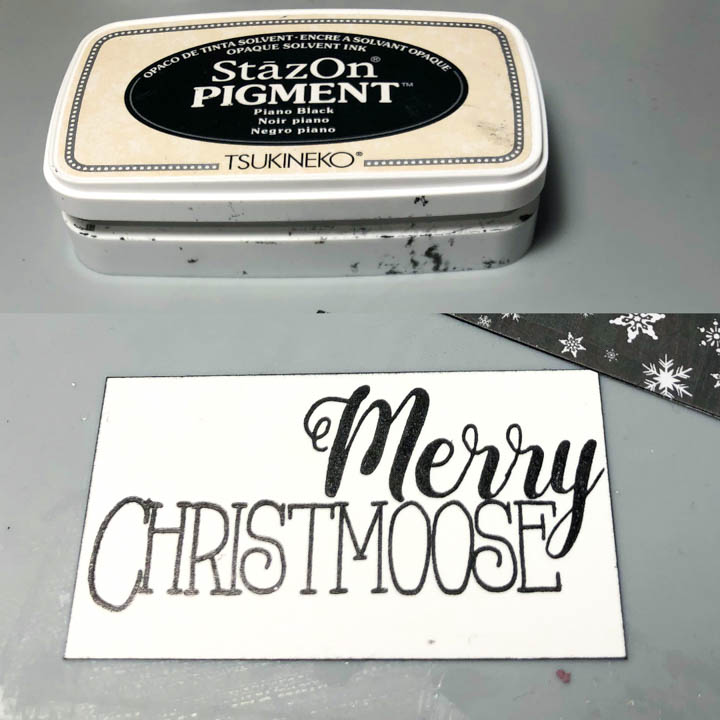
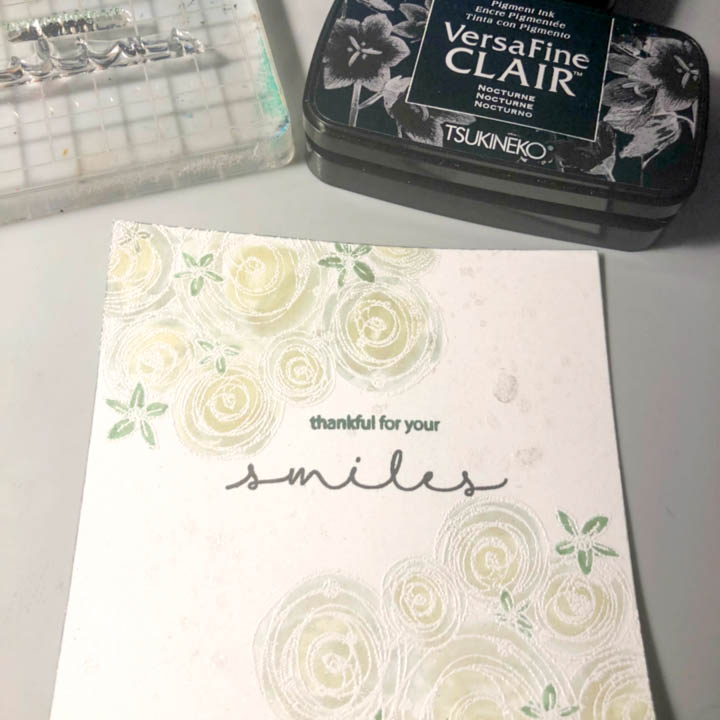
One of the unique qualities of planners is the thin pages on the inside. These thin pages are designed to be flexible and lightweight so journals remain easy to use and at a low cost. If you like stamping inside your planner then getting a great inkpad is crucial. Let’s start with VersaFine Clair in Nocturne! VersaFine is a solid ink for making cards, but on thin pages, it is going to show through on the following page. StazOn Jet Black is an excellent mixed media ink and will stamp on nearly anything, yet again it shows through on thin paper. So these two inks I would save for cardmaking.

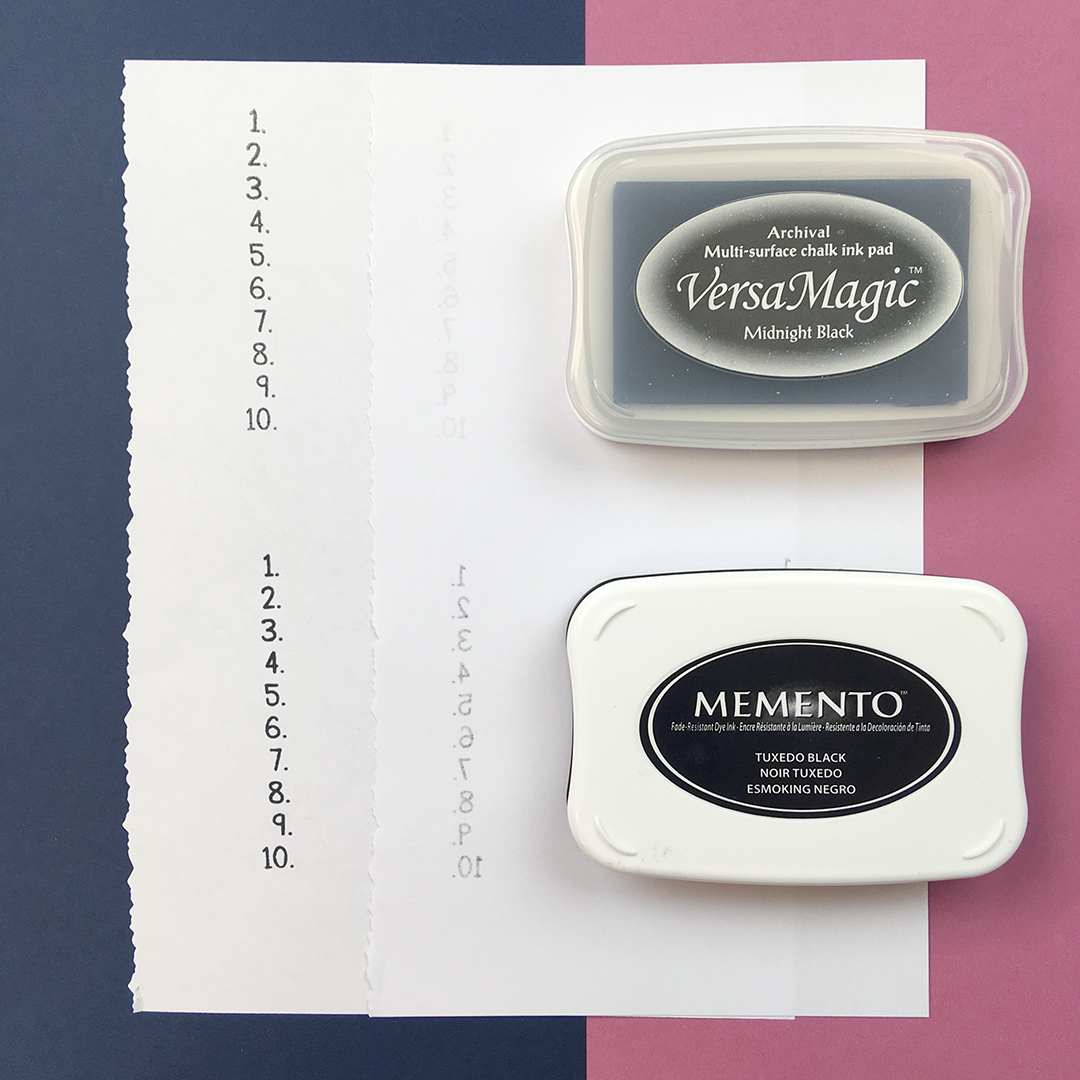
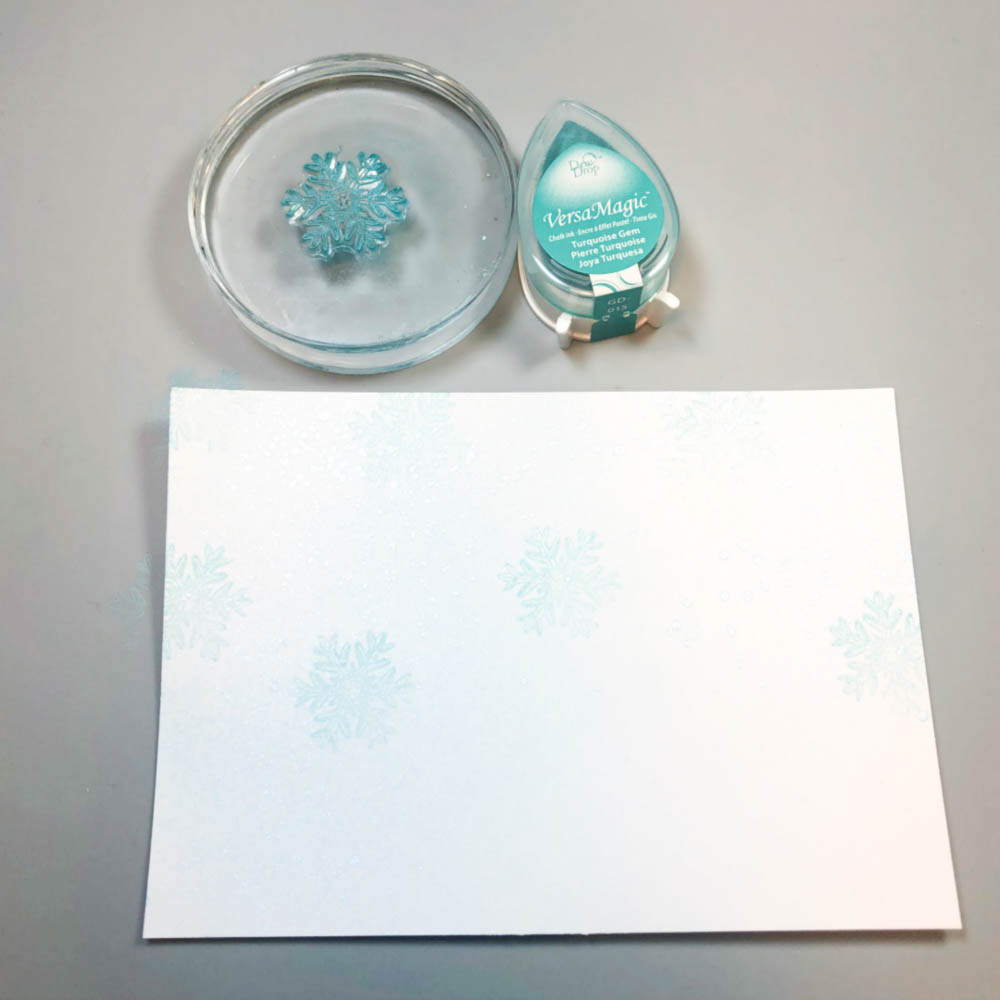
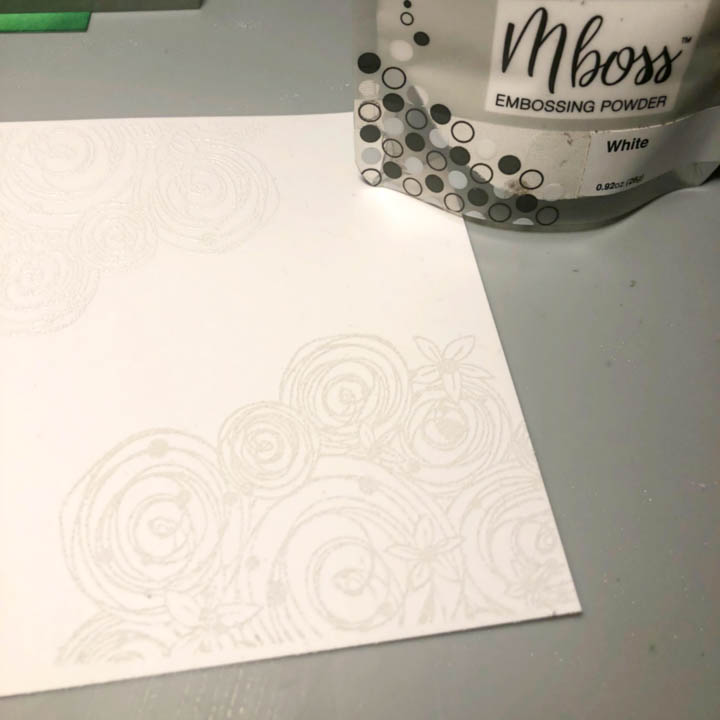
VersaMagic + Memento

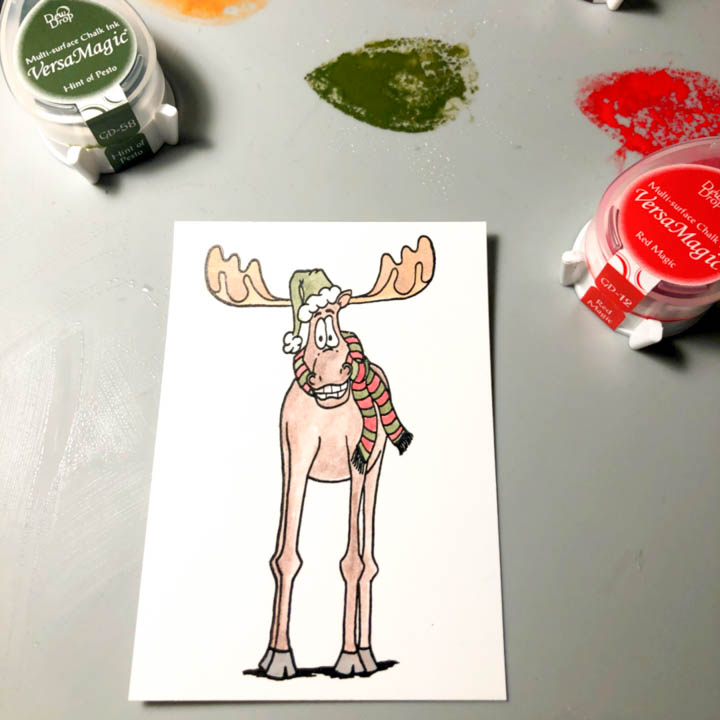
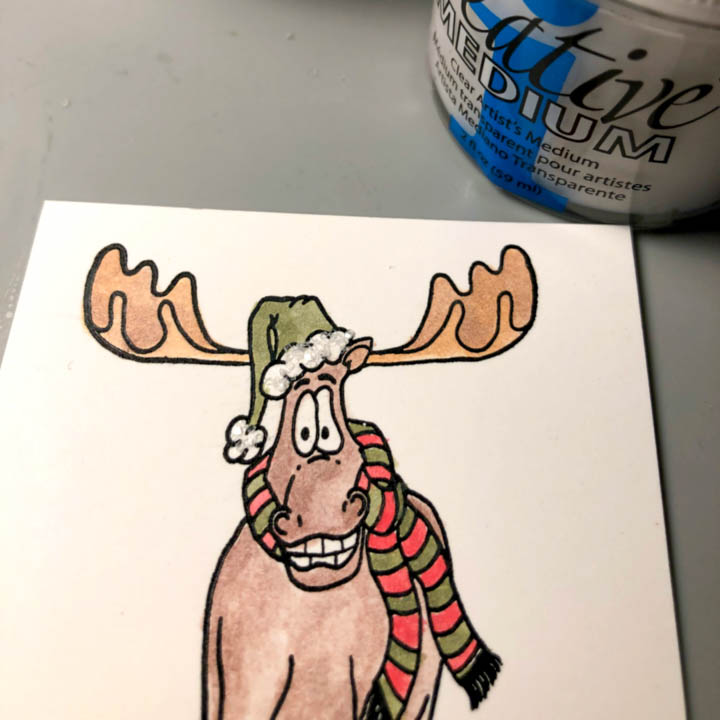
VersaMagic is a highly pigmented chalk ink. The Midnight Black stamps well and does not bleed through the paper as heavily as other black inks. I vote YES for this ink on thin pages. Memento Tuxedo Black is a water-based dye ink that is an excellent ink for cardmaking and using with other inks such as alcohol markers but has a heavy bleed through on the thin pages. In my observation, it bleeds through the most.
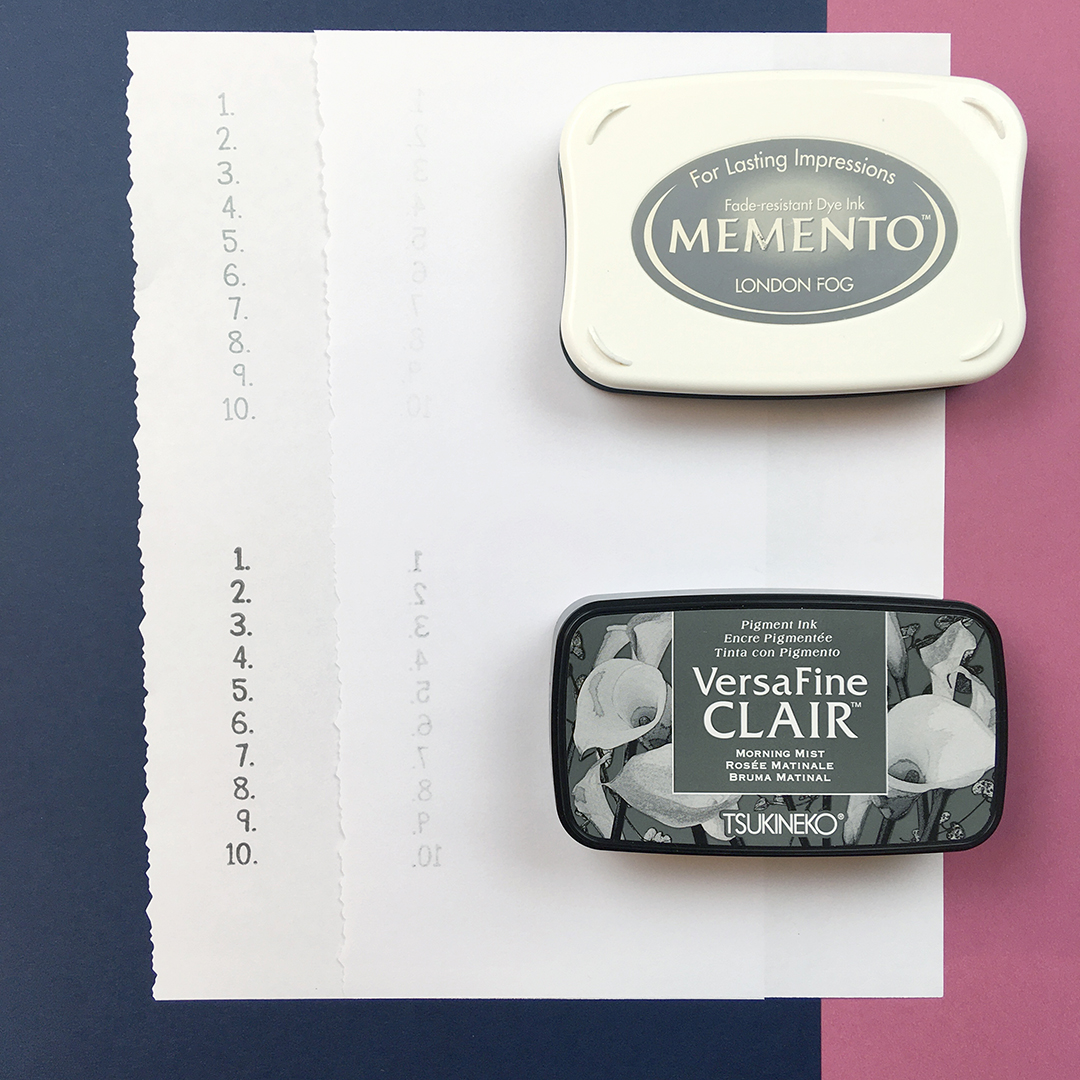
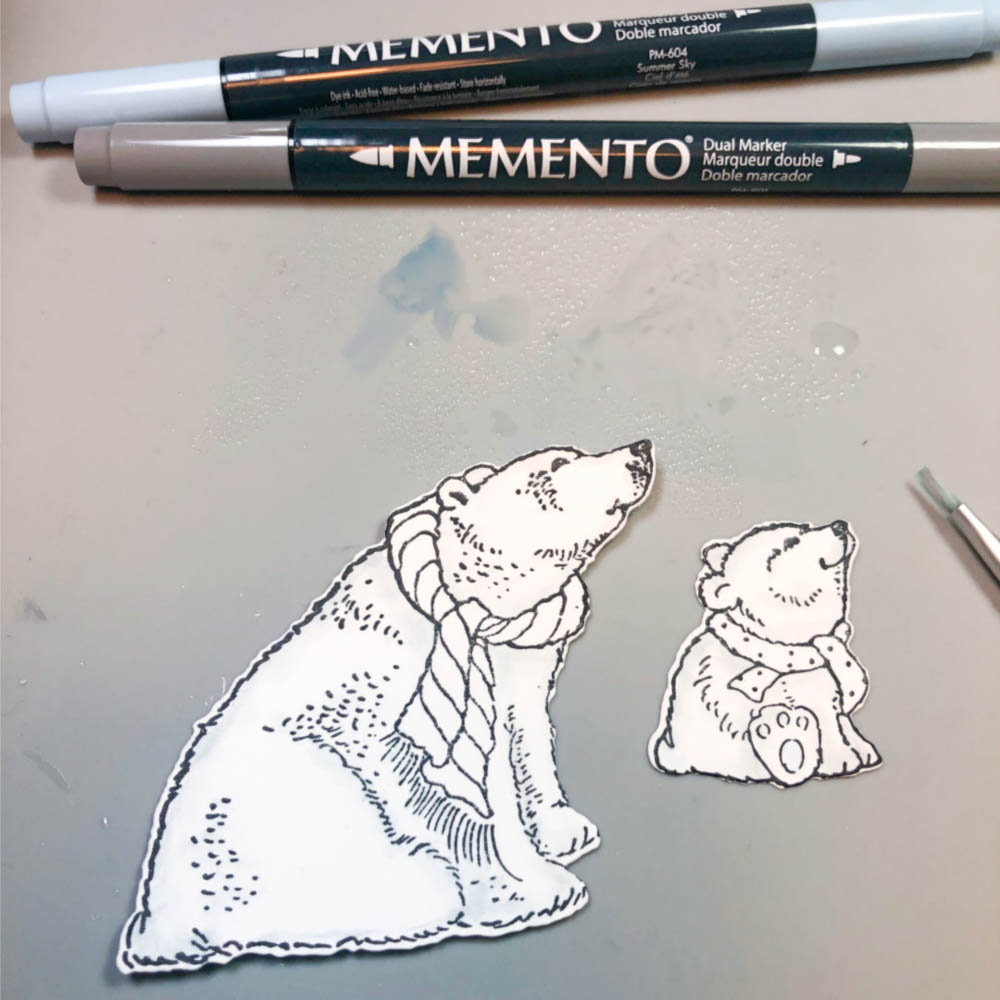
What about grey?

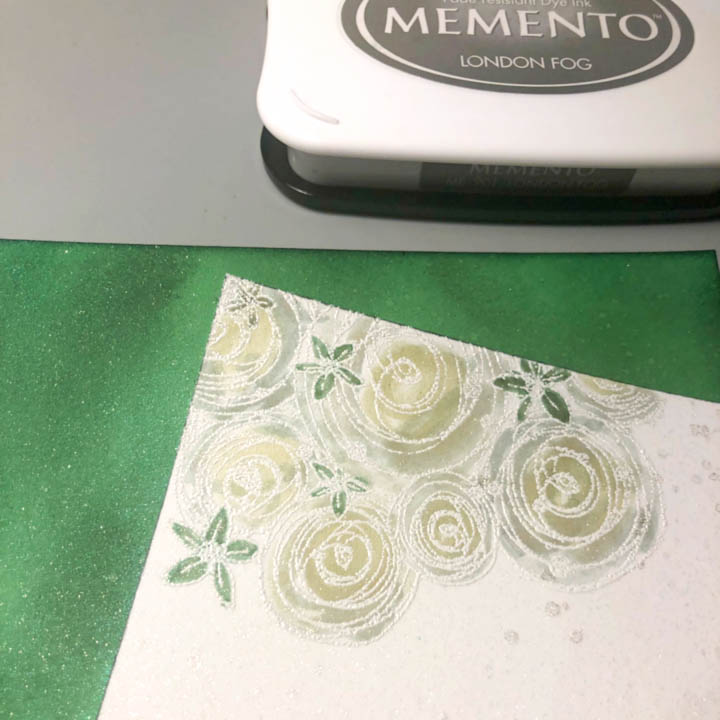
If you really like a certain inkpad brand and feel you still want to use it on your planner or journal pages then you can try a lighter shade. Although Memento Tuxedo Black is too heavy for thin pages an alternative is London Fog. The grey tone is light enough for the journal page. I was inspired to try VersaFine Clair in Morning Mist, but again the tone of grey is too dark and the VersaFine showed through again. It is not an issue of the ink formula but rather the color hue of this particular grey.
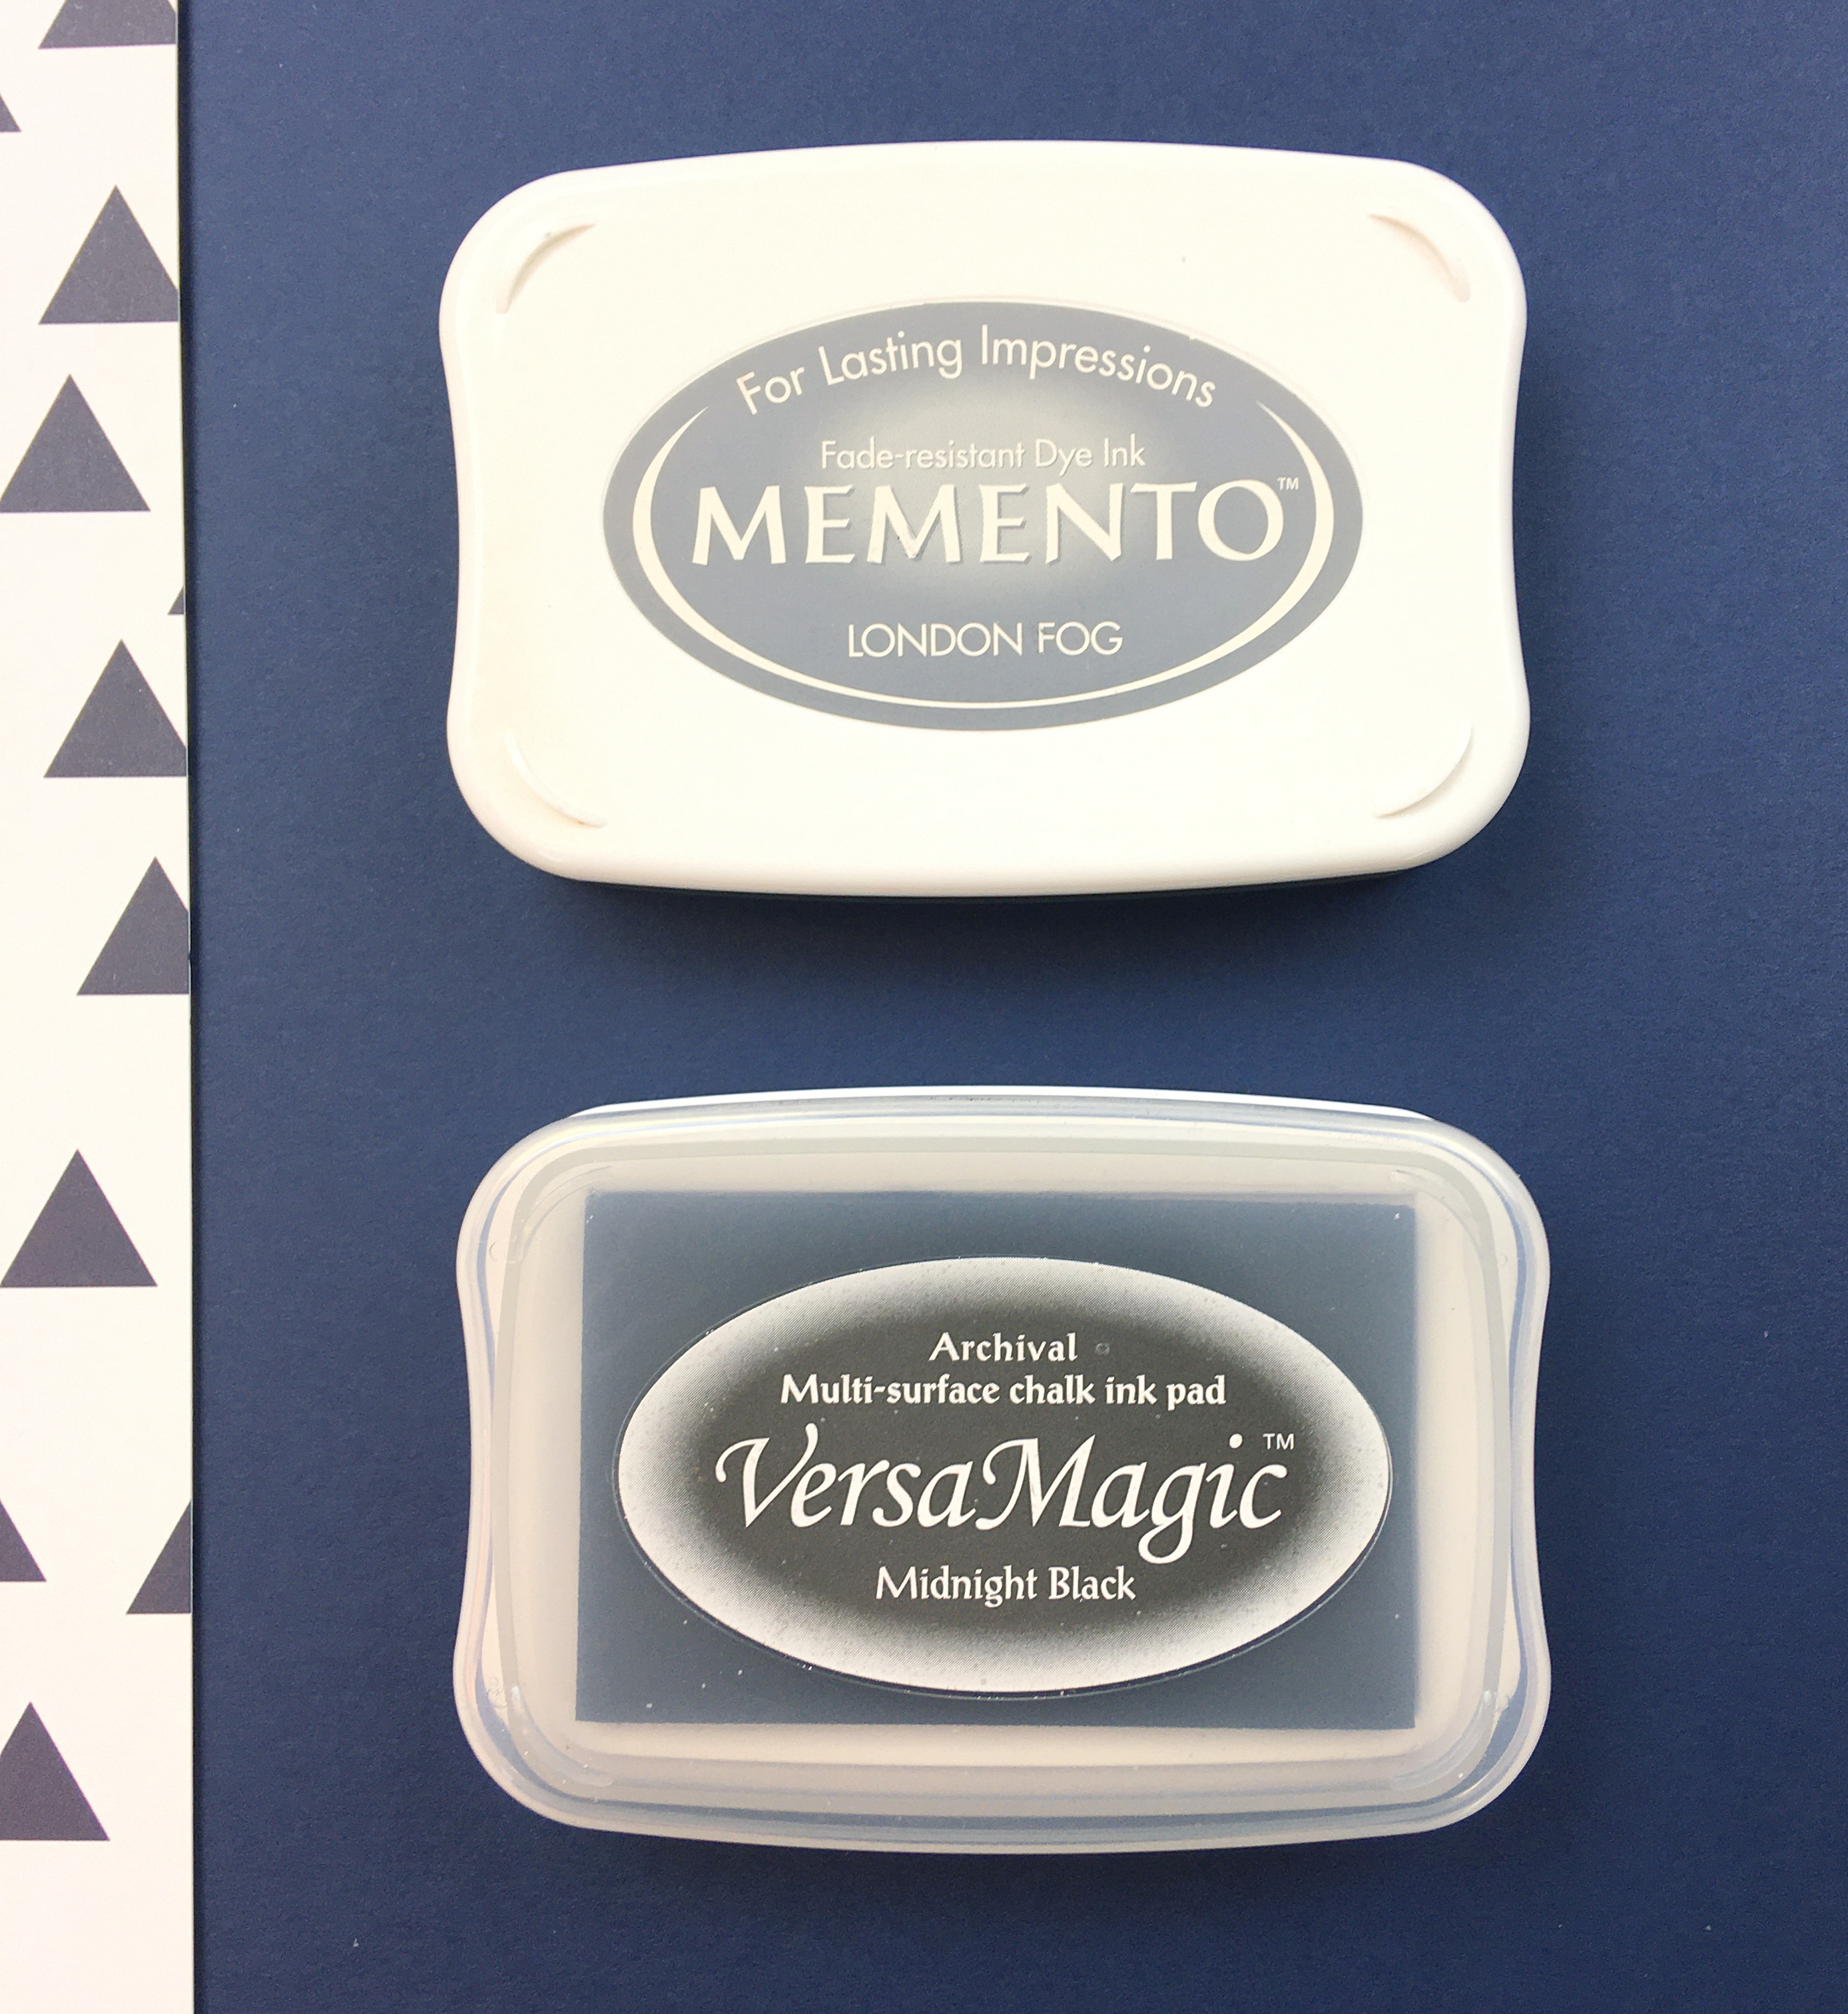
Final Thoughts

When looking at different inks for journal pages consider different colors within a brand or brands with unique pigment qualities. The winners of this stamping-on-thin-pages test are Memento in London Fog and VersaMagic in Midnight Black!! Thank you and Happy Planning!

VersaMagic and VersaFile Clair Create a Polar Bear Card

by Lori Warren

Learn how to layer colors and different inks to create this lovely Polar Bear Holiday Card.

Skill: Intermediate
Time: 30 minutes

Directions

Step 1

Spray Fireworks! Shimmery Craft Spray in Summer Sky onto card panel.

Step 2

Stamp snowflakes with VersaMagic in Turquoise Gem.

Step 3

Stamp a second snowflake pattern in VersaMagic in Aegean Blue.

Step 4

Use a Large Dauber to sponge VersaMagic in Aegean Blue onto edge of card panel.

Step 5

Stamp ice pattern onto bottom of card panel with VersaMagic – Turquoise.

Step 6

Stamp Polar bear images with VersaFine Clair – Nocturne and cut out with coordinating dies.

Step 7

Add color to bears with Memento Dual Markers – Summer Sky, London Fog, Gray Flannel.

Step 8

Add color to scarfs with Memento Dual Makers – Rhubarb Stalk, Teal Zeal.

Step 9

Spray Sheer SHIMMER Spray – Sparkle onto craft matte then use paint brush to apply to scarfs.

Step 10

Stamp saying onto card panel with VersaFine Clair – Nocturne.

Step 11

Adhere card panel to card base.

Step 12

Adhere die cut Polar Bears to card front.

Imagine

Supplies
Other
  • Recollections Clear Stamps – Christmas stamp & die set
  • Sizzix Big Shot
  • White Card Stock

Adorn your Christmas Packages with Lovely Handmade Tags

by Lori Warren

Adorn your Christmas Packages with Lovely Handmade Tags

Adorn your Christmas packages with lovely home-made tags. They are a breeze to create with VersaColor ink and few other products from Imagine.

Directions


Step 1

Spray 3 White Tags with Fireworks Spray – Rich Cocoa & Rhubarb Stock

Step 2

Sponge brick stencil pattern onto tags with VersaColor Brown and then repeat with Turquoise.

Step 3

Stamp snowflake image onto tag with VersaColor Charcoal, then stamp a dot pattern with Turquoise.

Step 4

Stamp reindeer with VersaColor Turquoise and emboss with Clear MBoss embossing powder.

Step 5

Use coordinating die to cut out reindeer images.

Step 6

Stamp saying in VersaColor Black.

Step 7

Adhere reindeer image onto tag and then spray with irRESISTible Spray – Wedding Dress.

Step 8

Attach ribbons to tag.

Supplies

Imagine
Other
  • Celebrate It Ribbon
  • Uniball Signo Pen – White
  • Recollections Clear Stamps – Christmas
  • Catherine Pooler Clear Stamps – Winterhaven Collections
  • Creative Embellishments – Stencil
  • Tim Holtz – Sidekick
  • Tags – white

We are Excited to Announce our Design Team for 2020

We are Excited to Announce our Design Team for 2020

This year we hope to change things up a bit and offer two segments in our crafting tutorials. Beginner Tutorials will focus on quick and easy crafting projects that do not require extra crafting supplies and Intermediate and Advanced tutorials for those who have a little of an obsession.

Meet Our Designers!!

Beginner Designers

Jowilna Nolte 

I started my paper journey officially in about 2000 as a shop assistant in a specialty paper store in Sandton, Johannesburg, South Africa. Whilst I have been playing with paper and creating my own masterpieces at home for friends and family since the age of 10, the shop environment added the vast knowledge of handmade and imported paper as well as the common commercial types of paper. I also started teaching card making, stamping and altered art in-store at the time.

Follow Jowilna on Instagram >

Annie Collins 

Hello  Friends, my name is Annie Collins and I have been crafting all my life. I started at 4 years old sewing with my mother. My passion for crafting and sharing continued to grow over the years. I love paper crafting the most all forms of it. I live in sunny Florida with my fantastic family, my husband, our 3 children and pets. I can’t wait to share some projects and be inspired by all of you. 

Follow Annie on Instagram >

LeeAnn McKinney 

Hi there friends and fellow crafters, my name is LeeAnn McKinney and I am so excited to bring my clean and simple projects and tutorials to you throughout 2020. Let’s Get Crafty!!!

Follow LeeAnn on Instagram >

Intermediate + Advanced Designers

Lori Warren 

I am an explorer of all things mixed media, designer, and instructor who fell in love with rubber stamping about 20 years ago. I love the versatility of rubber stamps and feature their use in mixed media art, card making, art journaling as well as other papercrafts. I love to try new techniques and mediums and am always keeping an eye out for something different.

Follow Lori on Instagram >

Lisa Mensing

I live in the Fayettevile/Ft. Bragg area in NC with my husband, Aaron, of nearly 20 years. We are a retired Army family who has settled into a simple life together. I started making handmade cards back in 2010, and I’ve recently started creating YouTube tutorials; regularly, I love that I get to combine two things I’m passionate about, technology and crafting. I’m so excited to be joining the Imagine Crafts Design Team. I look forward to, hopefully, getting to know you all and building more crafty friendships.

Follow Lisa on Instagram >

Nicole Watt

Hello! I’m Nicole Watt (aka: The Pixel Maven) By day, I’m a website and graphic designer/business owner with my husband, and every other moment, I’m a papercraft blogger/vlogger. Though I love lots of different arts and crafts, stamps, paper, and ink have been my go-to for over 10 years. I love inspiring and sharing with you and helping you gain confidence in the art of paper crafting. YOU are an artist – So, what are you waiting for? Grab your favorite supplies, and create with me!

Follow Nicole on Instagram >

Create a Snowy Winter Scene Creative Medium and StazOn Pigment

by Lori Warren

Create a Snowy Winter Scene Creative Medium and StazOn Pigment

Create a Winter Wonderland background using Clear Artist Creative Medium, StazOn Pigment ink, and clear glitter. I love how the sparkly background shows off the Joy Clair Christmoose.

Skill: Intermediate
Time: 75 minute

Directions


Step 1

Stamp tree image (from the Joy Clair – Merry Christmoose set) onto a 4 ¾” x 4 ¾” card panel using StazOn ink. Stamp Koala Grey in the back and Shamrock Green in front.


Step 2

Once the ink dries, apply a coat of Clear Artist Creative Medium over card panel.


Step 3

Apply clear glitter over wet medium. Allow medium to dry.


Step 4

Spray panel with Sheer SHIMMER Craft Spray – Sparkle.


Step 5

Stamp Christmoose and Merry Christmoose saying onto a separate piece of white card stock.


Step 6

Trim saying to 2 ½” x 1 ¼” in size. Edge panel with StazOn Pigment – Piano Black.


Step 7

Apply VersaMagic ink directly to craft matte, add water and use wet ink as watercolors to paint the Christmoose image.


Step 8

Add Creative Medium to the fluff of the Christmoose’s hat, apply clear glitter.


Step 9

Fussy cut Christmoose.


Step 10

Apply more Creative Medium to bottom of the Christmoose’s feet, add glitter.


Step 11

Adhere panel to the card front. Cut a ½” by 4 ½” piece of decorative paper and adhere to top of the card.


Step 12

Adhere saying over a decorative strip of paper and embellish both sides with jewels.

Supplies

Imagine

Creative Artist Medium – Clear
StazOn Pigment Ink – Piano Black, Shamrock Green, Koala Grey
Sheer SHIMMER Craft Spray – Sparkle
VersaMagic Inkpad – Jumbo Java, Pumpkin Spice, Red Magic, Piano Black
Memento Ink – London Fog

Other

• Joy Clair Stamps– Merry Christmoose
• Cardstock – White
• Recollections – Fireside Paper pad
• Bo Bunny – Double Dot Jewels
• Paintbrush

Create Monochromatic Watercolor with Mboss Powder and VersaMagic

by Lori Warren

Create Monochromatic Watercolor with Mboss Powder and VersaMagic

A monochromatic color scheme can produce a lovely outcome; especially when framed with White MBoss Embossing powder.

Skill: Intermediate
Time: 60 minutes

Directions


Step 1

Color a 5” x 5” white cardstock panel with Fireworks! Cottage Ivy spray.


Step 2

Edge panel with VersaFine Clair Rain Forest.


Step 3

With a VersaMark Watermark stamp pad, stamp the floral image onto corners of a 4 ¾” x 4 ¾” white cardstock panel.


Step 4

Cover VersaMark stamped Image with White MBoss Embossing Powder and heat to set.


Step 5

Apply VersaMagic in Hint of Pesto to a craft mat, add water and use wet ink to color floral image (using a paintbrush).


Step 6

Spray panel with Sheer Shimmer Craft Spray in Sparkle. Allow drying.


Step 7

Edge panels with Memento Ink in London Fog.


Step 8

Stamp center of the panel with the sentiment using VersaFine Clair in Nocturne, Rain Forest.


Step 9

Layer panels onto a 5 ¼” x 5 ¼” card base and embellish with adhesive pearl.

Supplies

Imagine
Other
  • Joy Clair Stamps – Hugs and Smiles
  • Cardstock
  • Kaiser Craft – Adhesive Pearls in Ice Green
  • Acrylic Block
  • Paintbrush