
by Jowilna Nolte

Create amazing elements for your scrapbook layout using the range of Rinea foils, Memento inks, and a layered stencil set. Combined with inked backgrounds you can create a feast of color and shine.
Skill: Intermediate
Time: 45 minutes
Directions
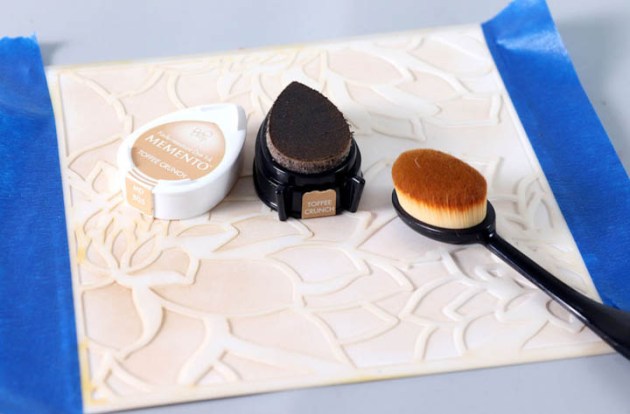
Step 1
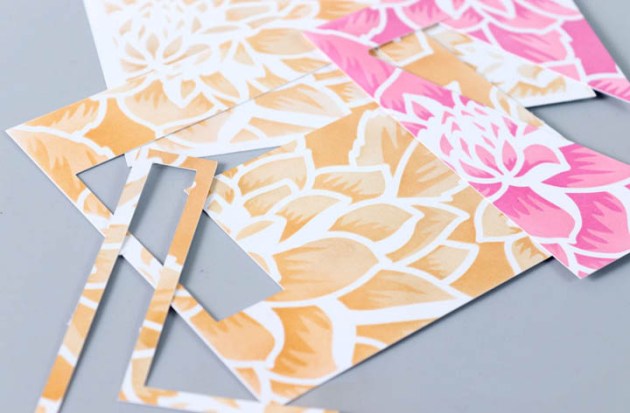
Blend Toffee Crunch Memento ink through the first layer of a stencil set onto smooth white cardstock.
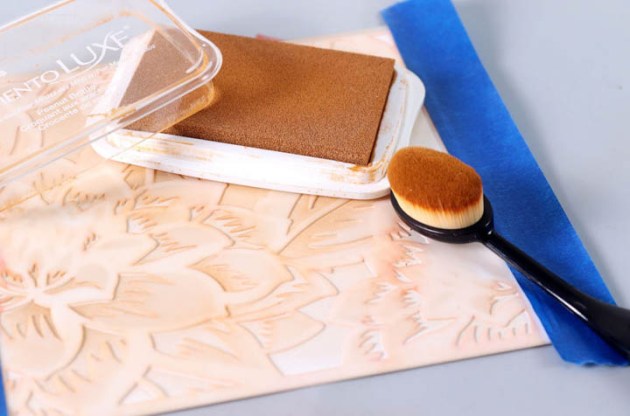
Step 2
Then blend Peanut Brittle Memento Luxe through the second layer of the stencil to bring out some more of the details.
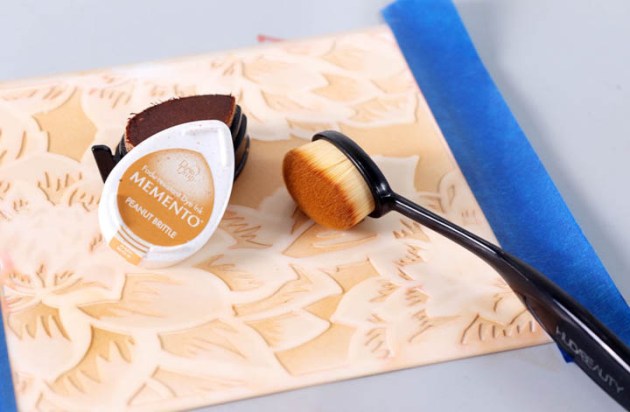
Step 3
Add more highlights by blending in certain areas using Memento Peanut Brittle. Layering a dye on top of a pigment ink creates beautiful results.
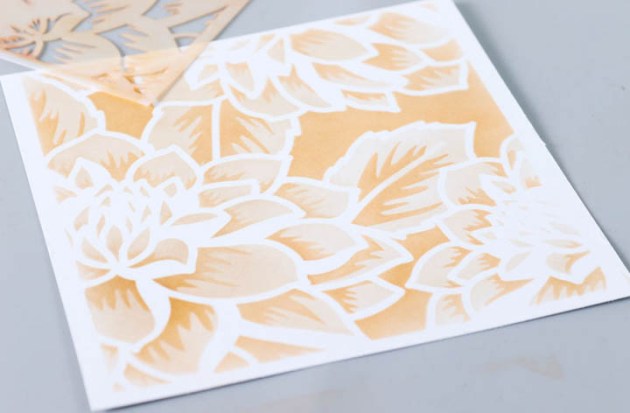
Step 4
Remove the stencil to reveal the blended background. And repeat with different color hues to create more variety. I repeated this process with pink.
Step 5
Die-cut the stenciled background using a die-cut machine or hand-cut some letters.
Step 6
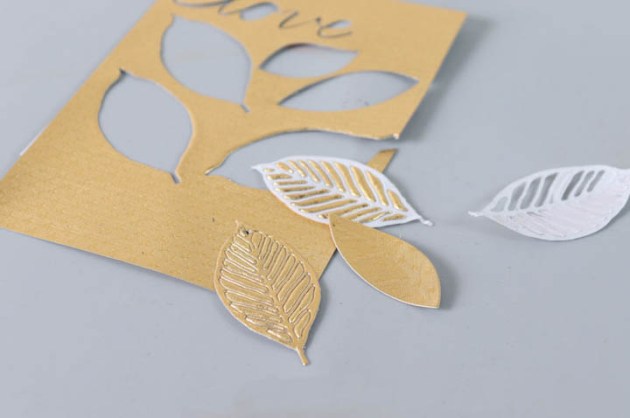
Back a sheet of Rinea foil with double-sided tape. Then die-cut some leaves out of the foil.
Step 7
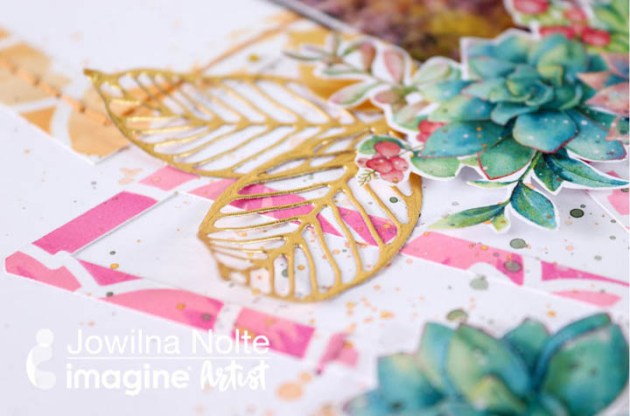
Assemble your layout by adhering the die-cut letters, then add your photo. Create a cluster using your foil leaves and cut out elements.
Supplies
Imagine
- Craft Mat
- Memento DewDrops – Toffee Crunch, Peanut Brittle
- Memento Luxe – Peanut Brittle
Other
- Wooden block
- Altenew – Stencil – Layered Dahlia A, Layered Dahlia B
- Prima Moulds
- Texture Paste
- Little Birdie


