Today, I am making a fun shaker card using a number of fabulous Imagine products including the new Mboss Embossing Powder in my new favorite color Silver! In addition, I’m adding some beautiful shiny Rinea paper. These two products really add a special touch to this handmade shaker greeting card. Join me in today’s fun paper crafting tutorial.
Today, I am sharing a very simple Tuscan Sky using Memento inks and a cloud stencil. Adding different colors of ink, in a repeating pattern gives a lot of interest to your card. The technique is simple, yet the final product looks professional and gorgeous. This is also a popular trend with card makers and having a few simple tools, will allow you to join the fun as a beginning paper crafter.
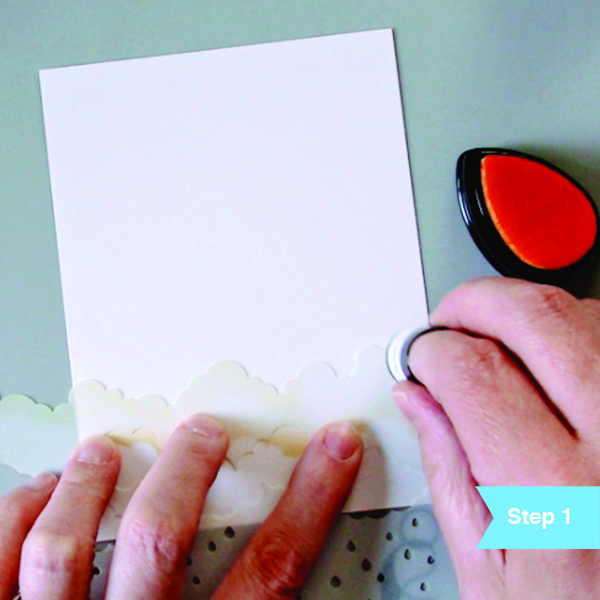
We will be working on a piece of cardstock cut to 4.25 x 5.5 inches, and we will call this our panel. Choose a stencil with a cloud edge. If you do not have a stencil, this is not a problem, simply cut out a piece of thick card stock with bumps like a cloud. Make sure your cut piece is several inches wider than your panel. Next, choose the Dandelion (yellow) Memento Ink and pick up a bit of color with a sponge dauber. Dab a little off onto your craft mat or a scrap piece of paper before inking your panel. Place the stencil edge near the bottom of your panel. Gently add color over the top of the stencil/or cloud cut-out onto the panel. Using a light touch, move the dauber in a circular motion over the edges of the tops of the clouds.
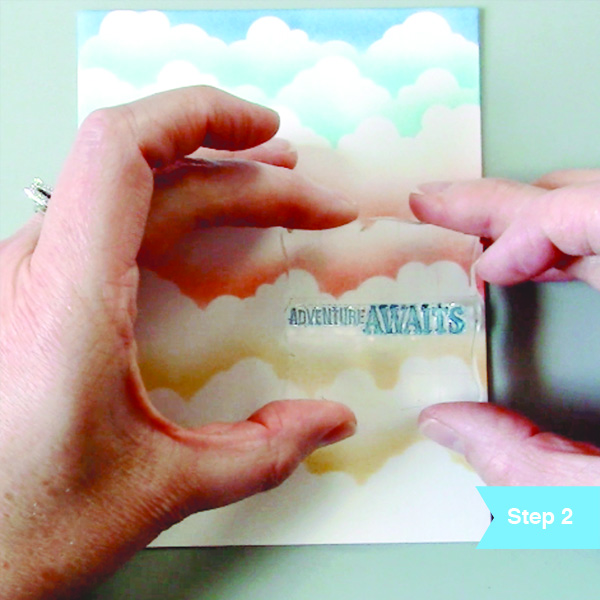
Repeat step one with all four colors of ink. For each layer, move or flip your stencil to get different patterns for each layer. I did two layers each of Dandelion, Morocco, and Danube Blue, and one layer of Paris Dusk at the end to represent the sky behind the clouds. Next, choose a sentiment from any clear stamp set and stamp a sentiment using the Danube Blue Memento Ink on the cloud scene panel.
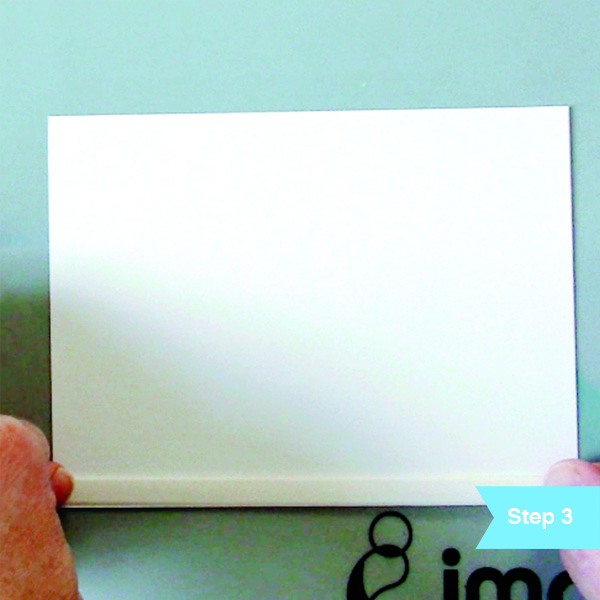
Add Tear It Tape to the backside of the cloud panel and adhere to an A2 sized card base. Make sure you press the tape down firmly so it will be easier to peel the backing off the tape. It is best to use the tape on the edges of the card so the paper does not curl on the card base. Once you peel off the backing, adhere to the front of your card base. Don’t forget to check that the fold of the card base is on the left side.
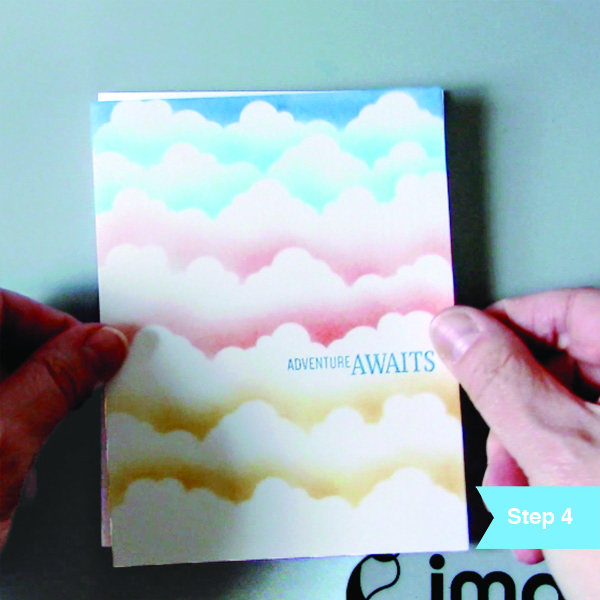
At this point, the card is finished and is ready to gift! You can continue to embellish with extra details such as glitter, decorative dots, or hand-drawn elements, but it is pretty just as it is too.
Today, I share a very simple and fun technique using the irRESISTible Pico Embellisher in a new way. Importantly, I show you how to use StazOn Pigment ink over the Pico since StazOn is perfect on slick surfaces. Finally, I use a beautiful fairy stamp as a silhouette to finish our card project.
Today, I show you a simple technique using your Memento DewDrops. You don’t need stamps when you have fabulous inks! I choose colors of Memento that work well together for an interesting background.
Skill: Intermediate Time: 30 minutes
Directions
Supplies
Imagine
Memento Inks – Nautical Blue, Teal Zeal, Summer, Olive Grove, Pistachio, New Sprout
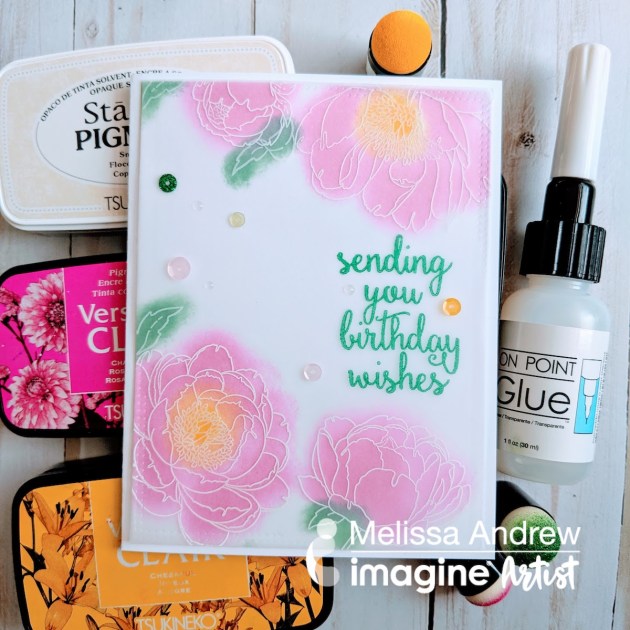
Today I show you how to avoid coloring, just in case it’s not your thing. Beautiful floral stamps are available everywhere, and I’ll show you how to use VersaFine Clair under a vellum overlay to get the gorgeous pop of color, without all the detailing usually required of coloring in stamps. Stamping with the new StazOn Pigment allows you to use a simple technique to create beautiful color on your cards quickly and easily.
In today’s tutorial, I show you how to use your Mboss embossing powder in Shimmering Night Sky to create an underwater scene. Together with Fireworks spray and Memento ink you can create a gorgeous card straight from a mermaid’s home, complete with sea critters. I show you beginning to end how to create a sea-filled, embossed, and watercolored card.