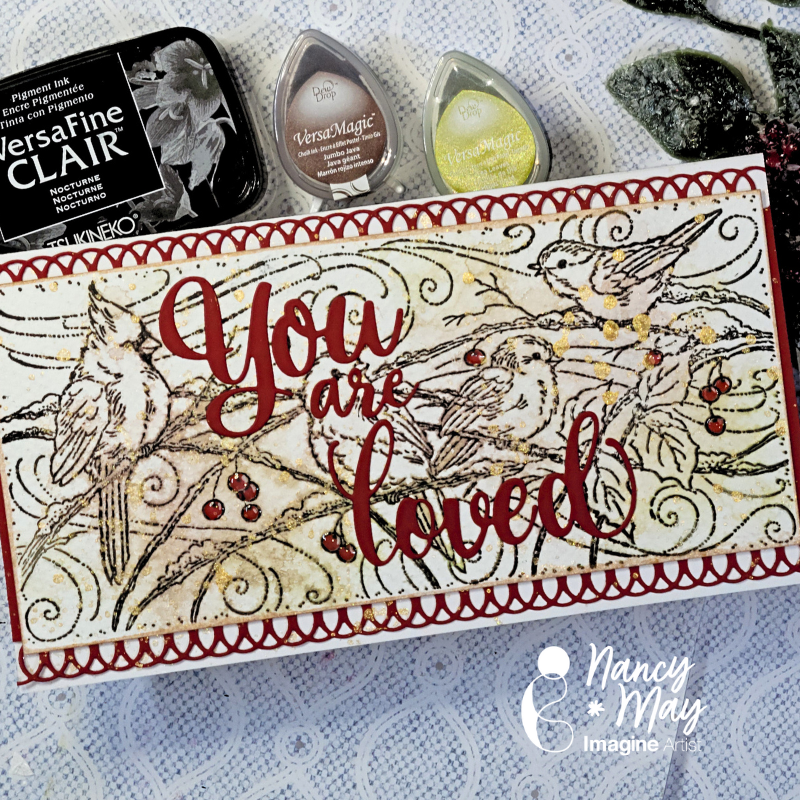
Pyrography is the art of wood burning and it has a very distinctive look. This stamping technique has a very similar look. Be sure to use watercolor card or this technique will likely not work. You will also need a stamping platform, water mister and a water reactive dye ink like VersaMagic, and a non-water reactive pigment ink, like VersaFine Clair. Let’s get into it.
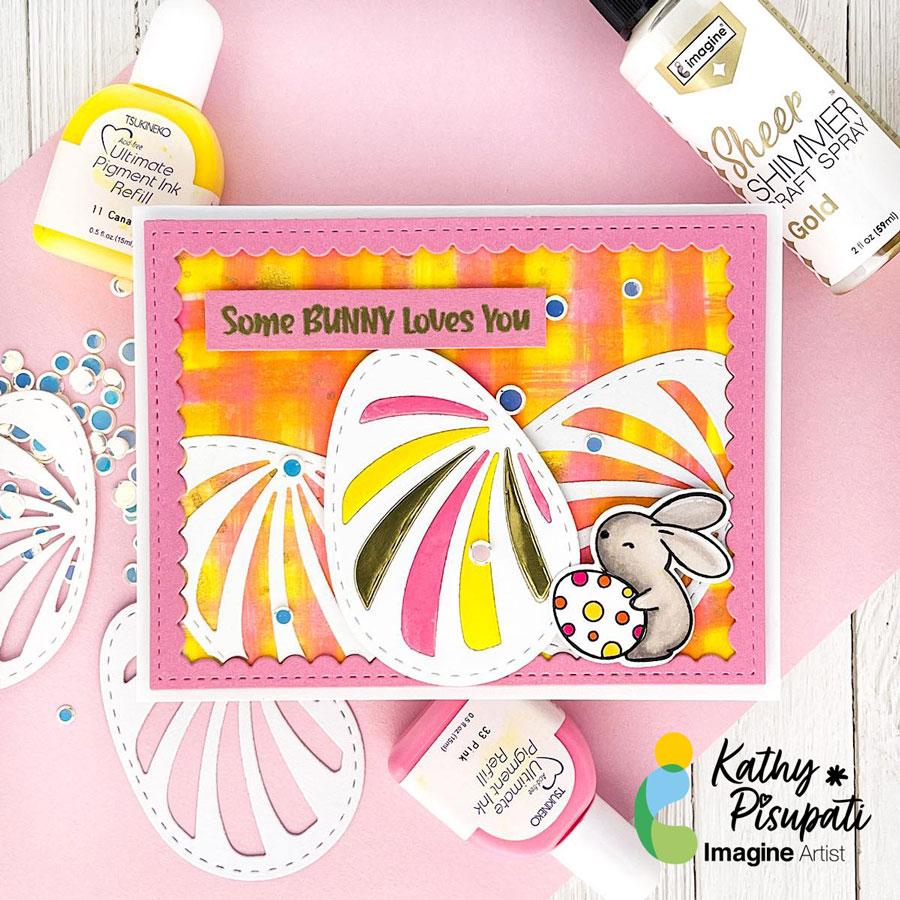
Good morning! Kathy here, creating art for Imagine Crafts! Today I have a new tutorial for you. Today’s project is an Easter card but it is also about creating your own backgrounds with Imagine Craft’s Ultimate Pigment Ink Refills! If you don’t have much patterned paper this is an easy background using the refills and baby wipes!
Skill Level: Easy
Time to complete: 1 hour
Step 1
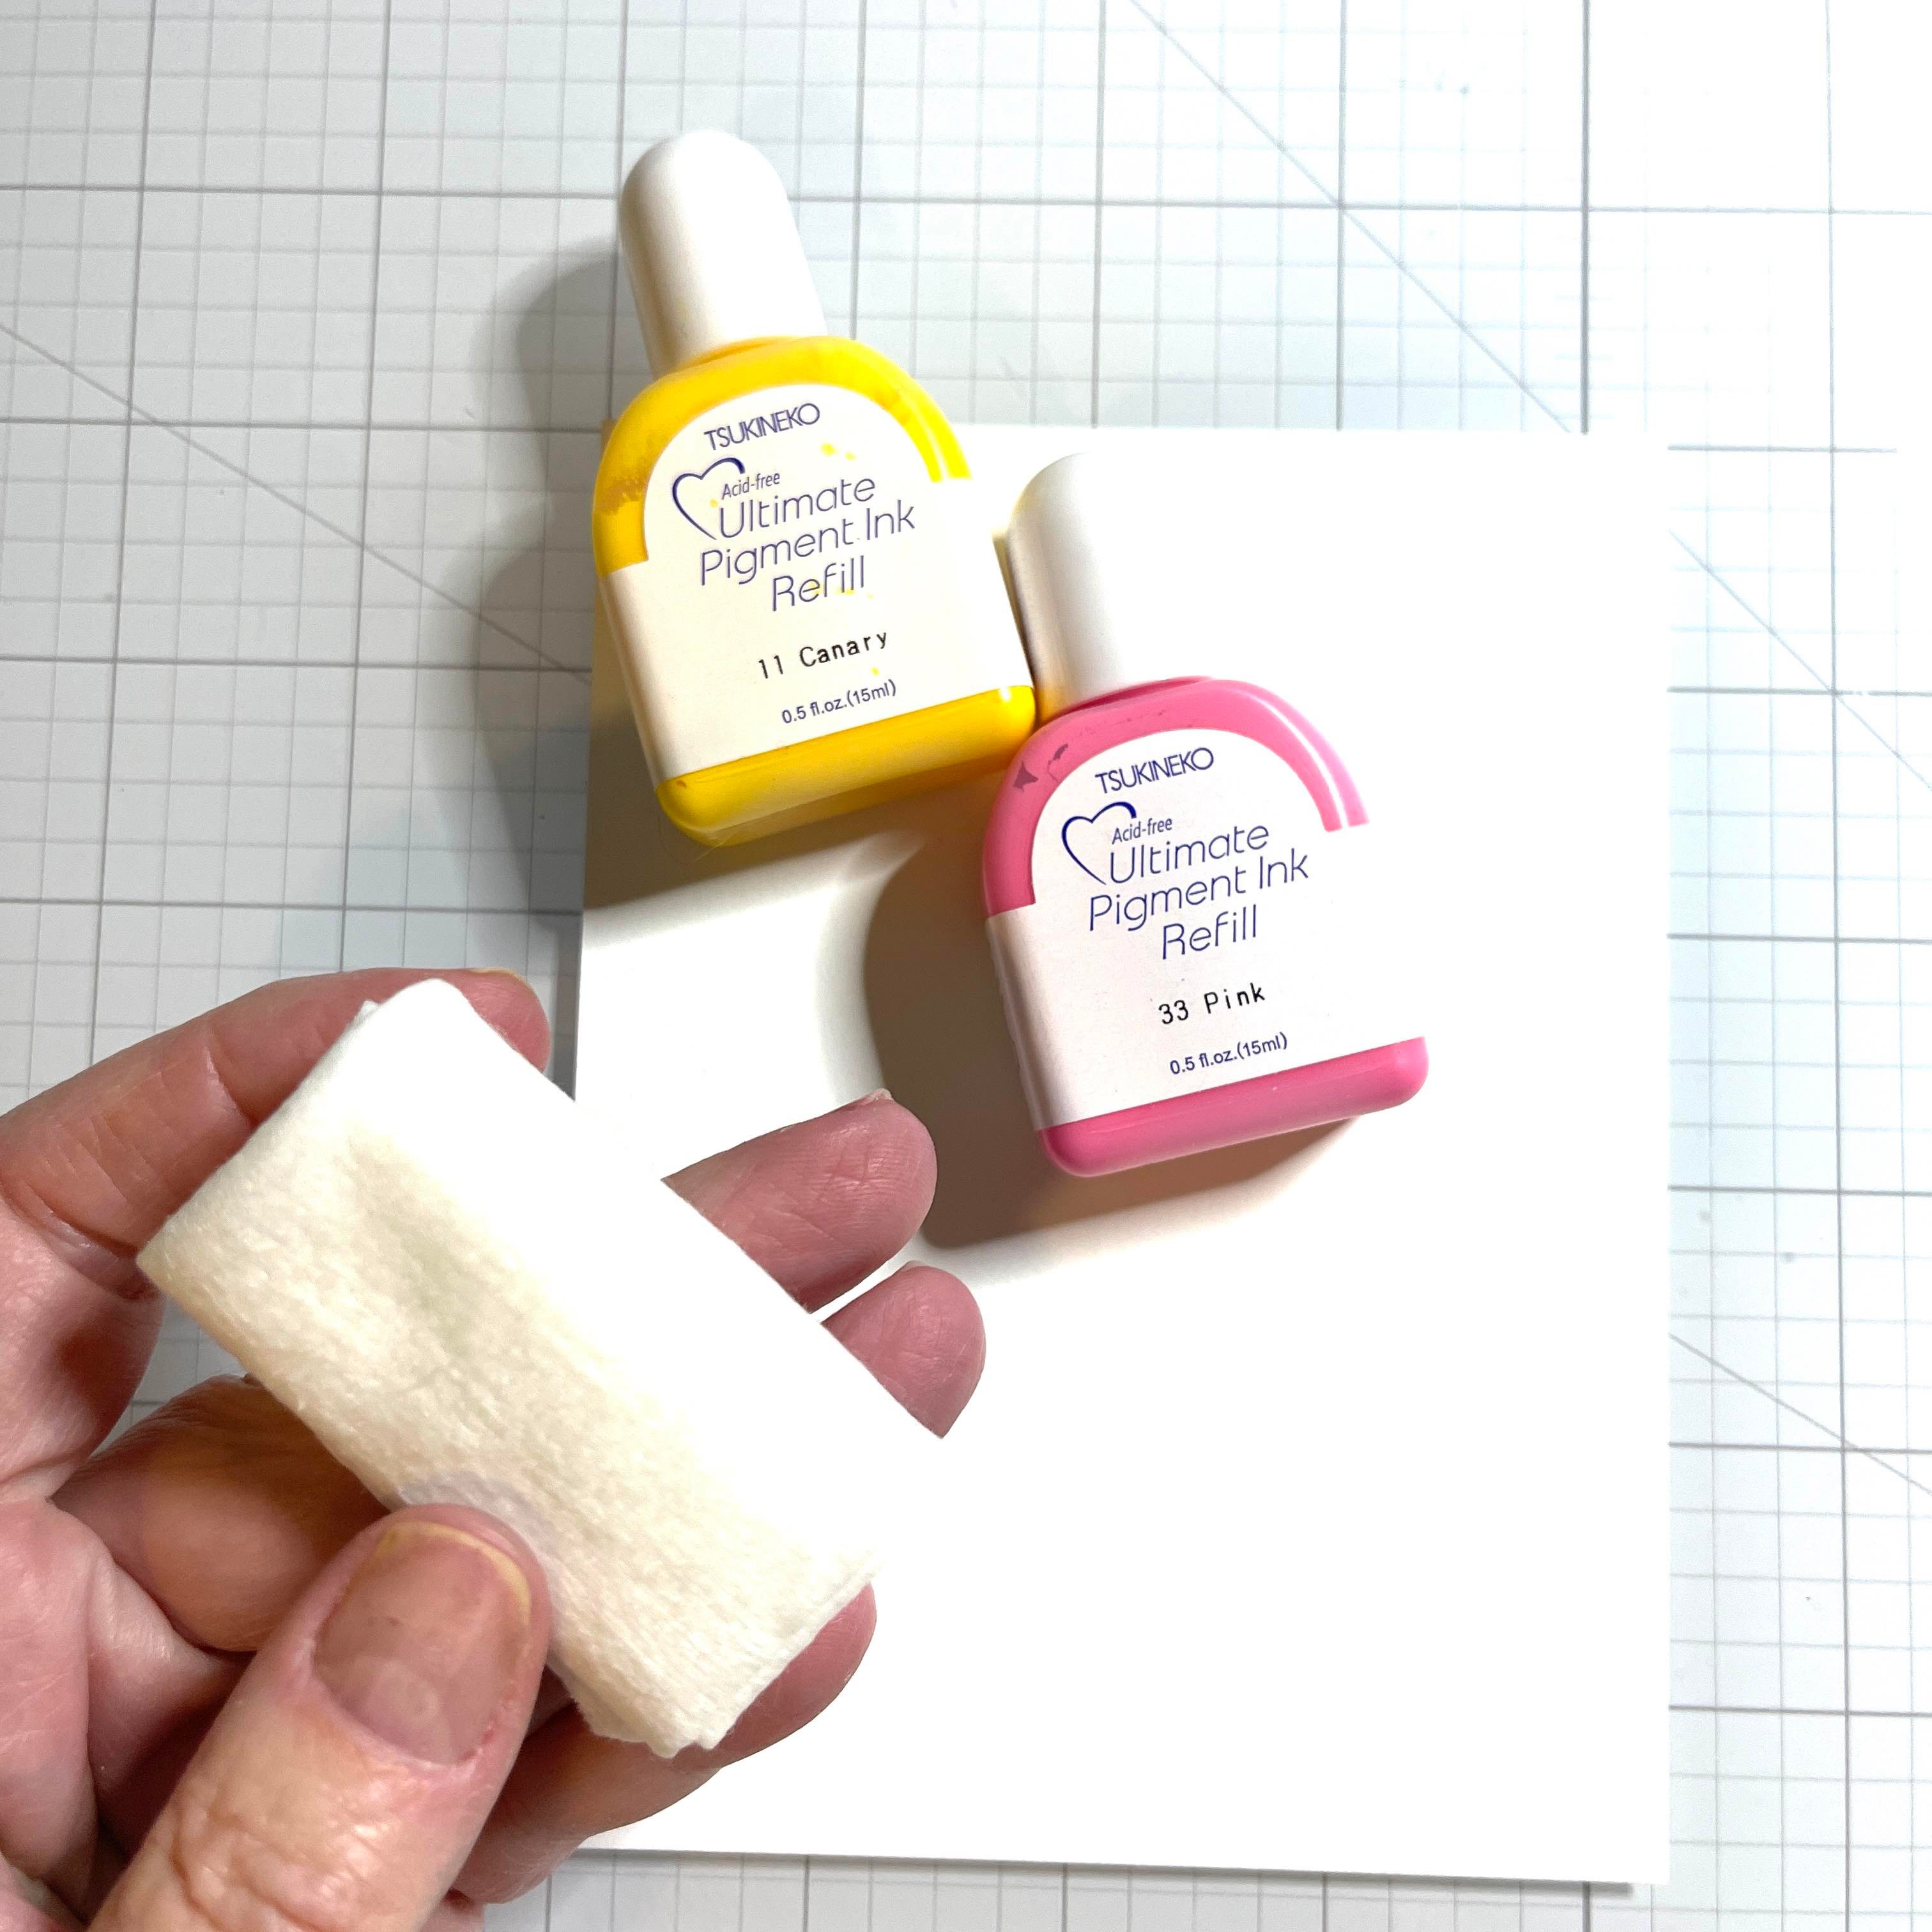
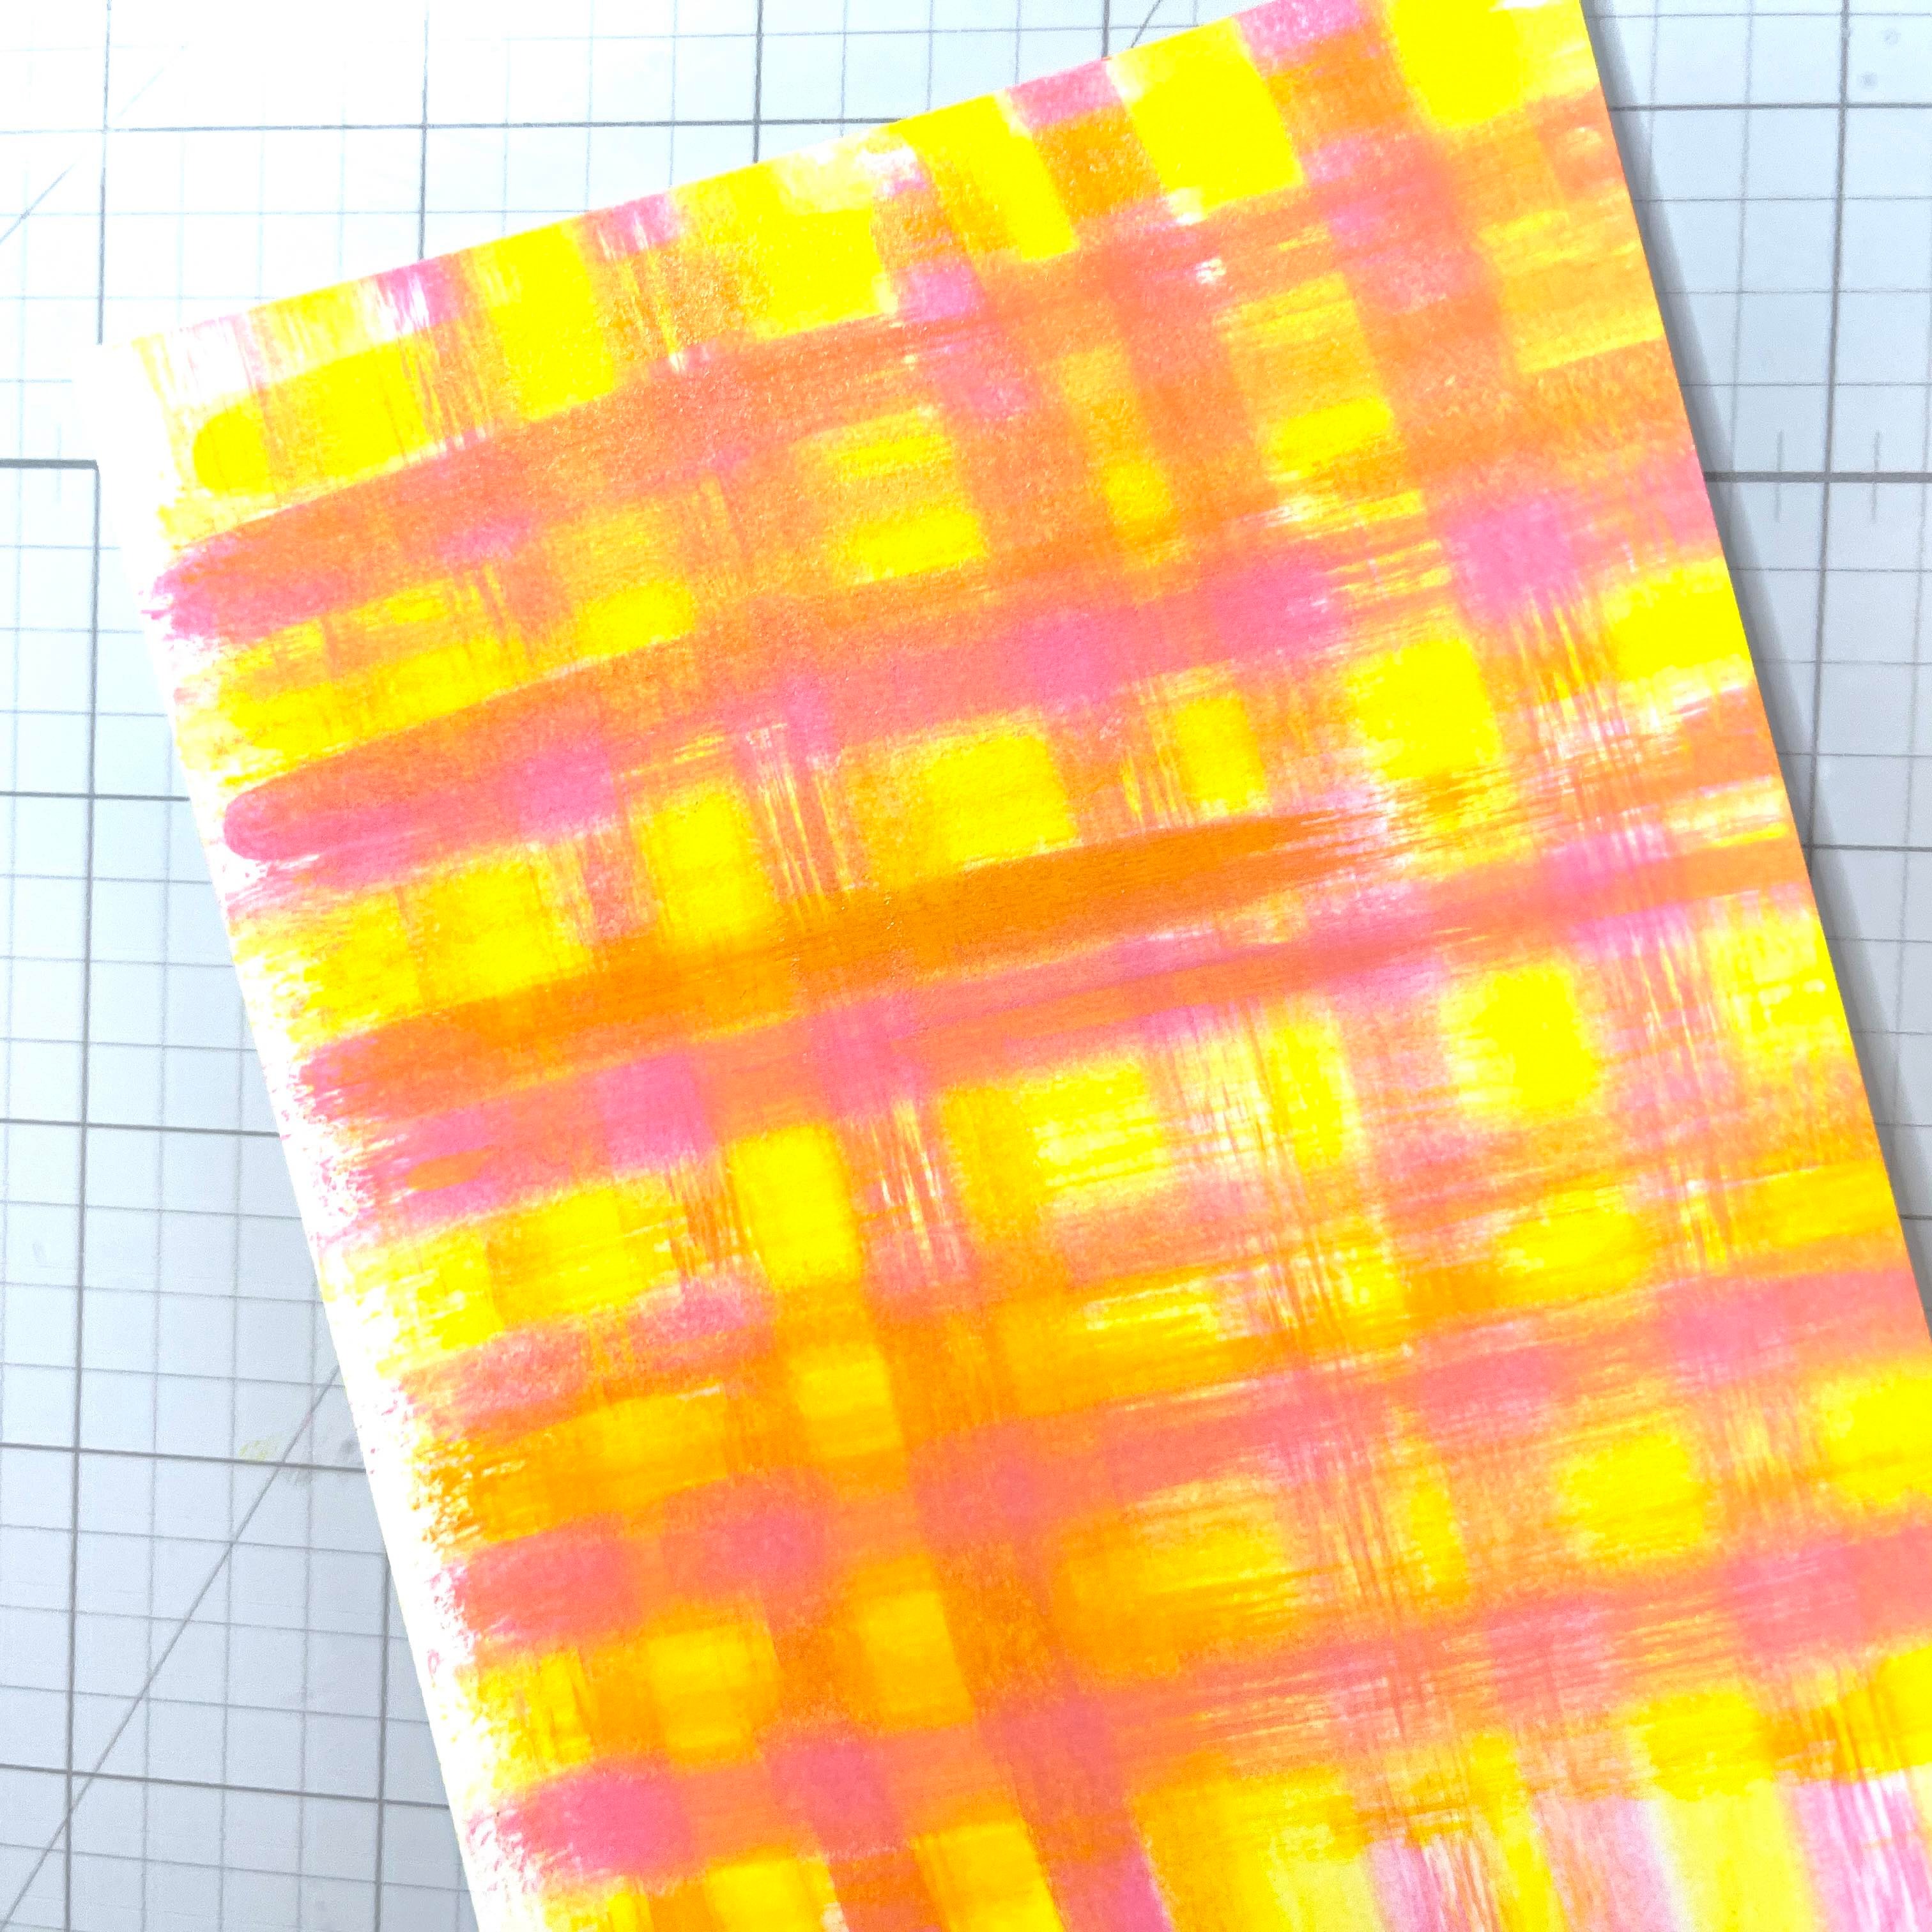
Cut a piece of a layering weight, white card stock to 4.25” x 5.5”. This will be enough for three holders. Grab your favorite ink refills. For today’s card I used Imagine Craft’s Ultimate Pigment Ink Refills in Canary and Pink. Grab a baby wipe and fold it up nicely.
Step 2
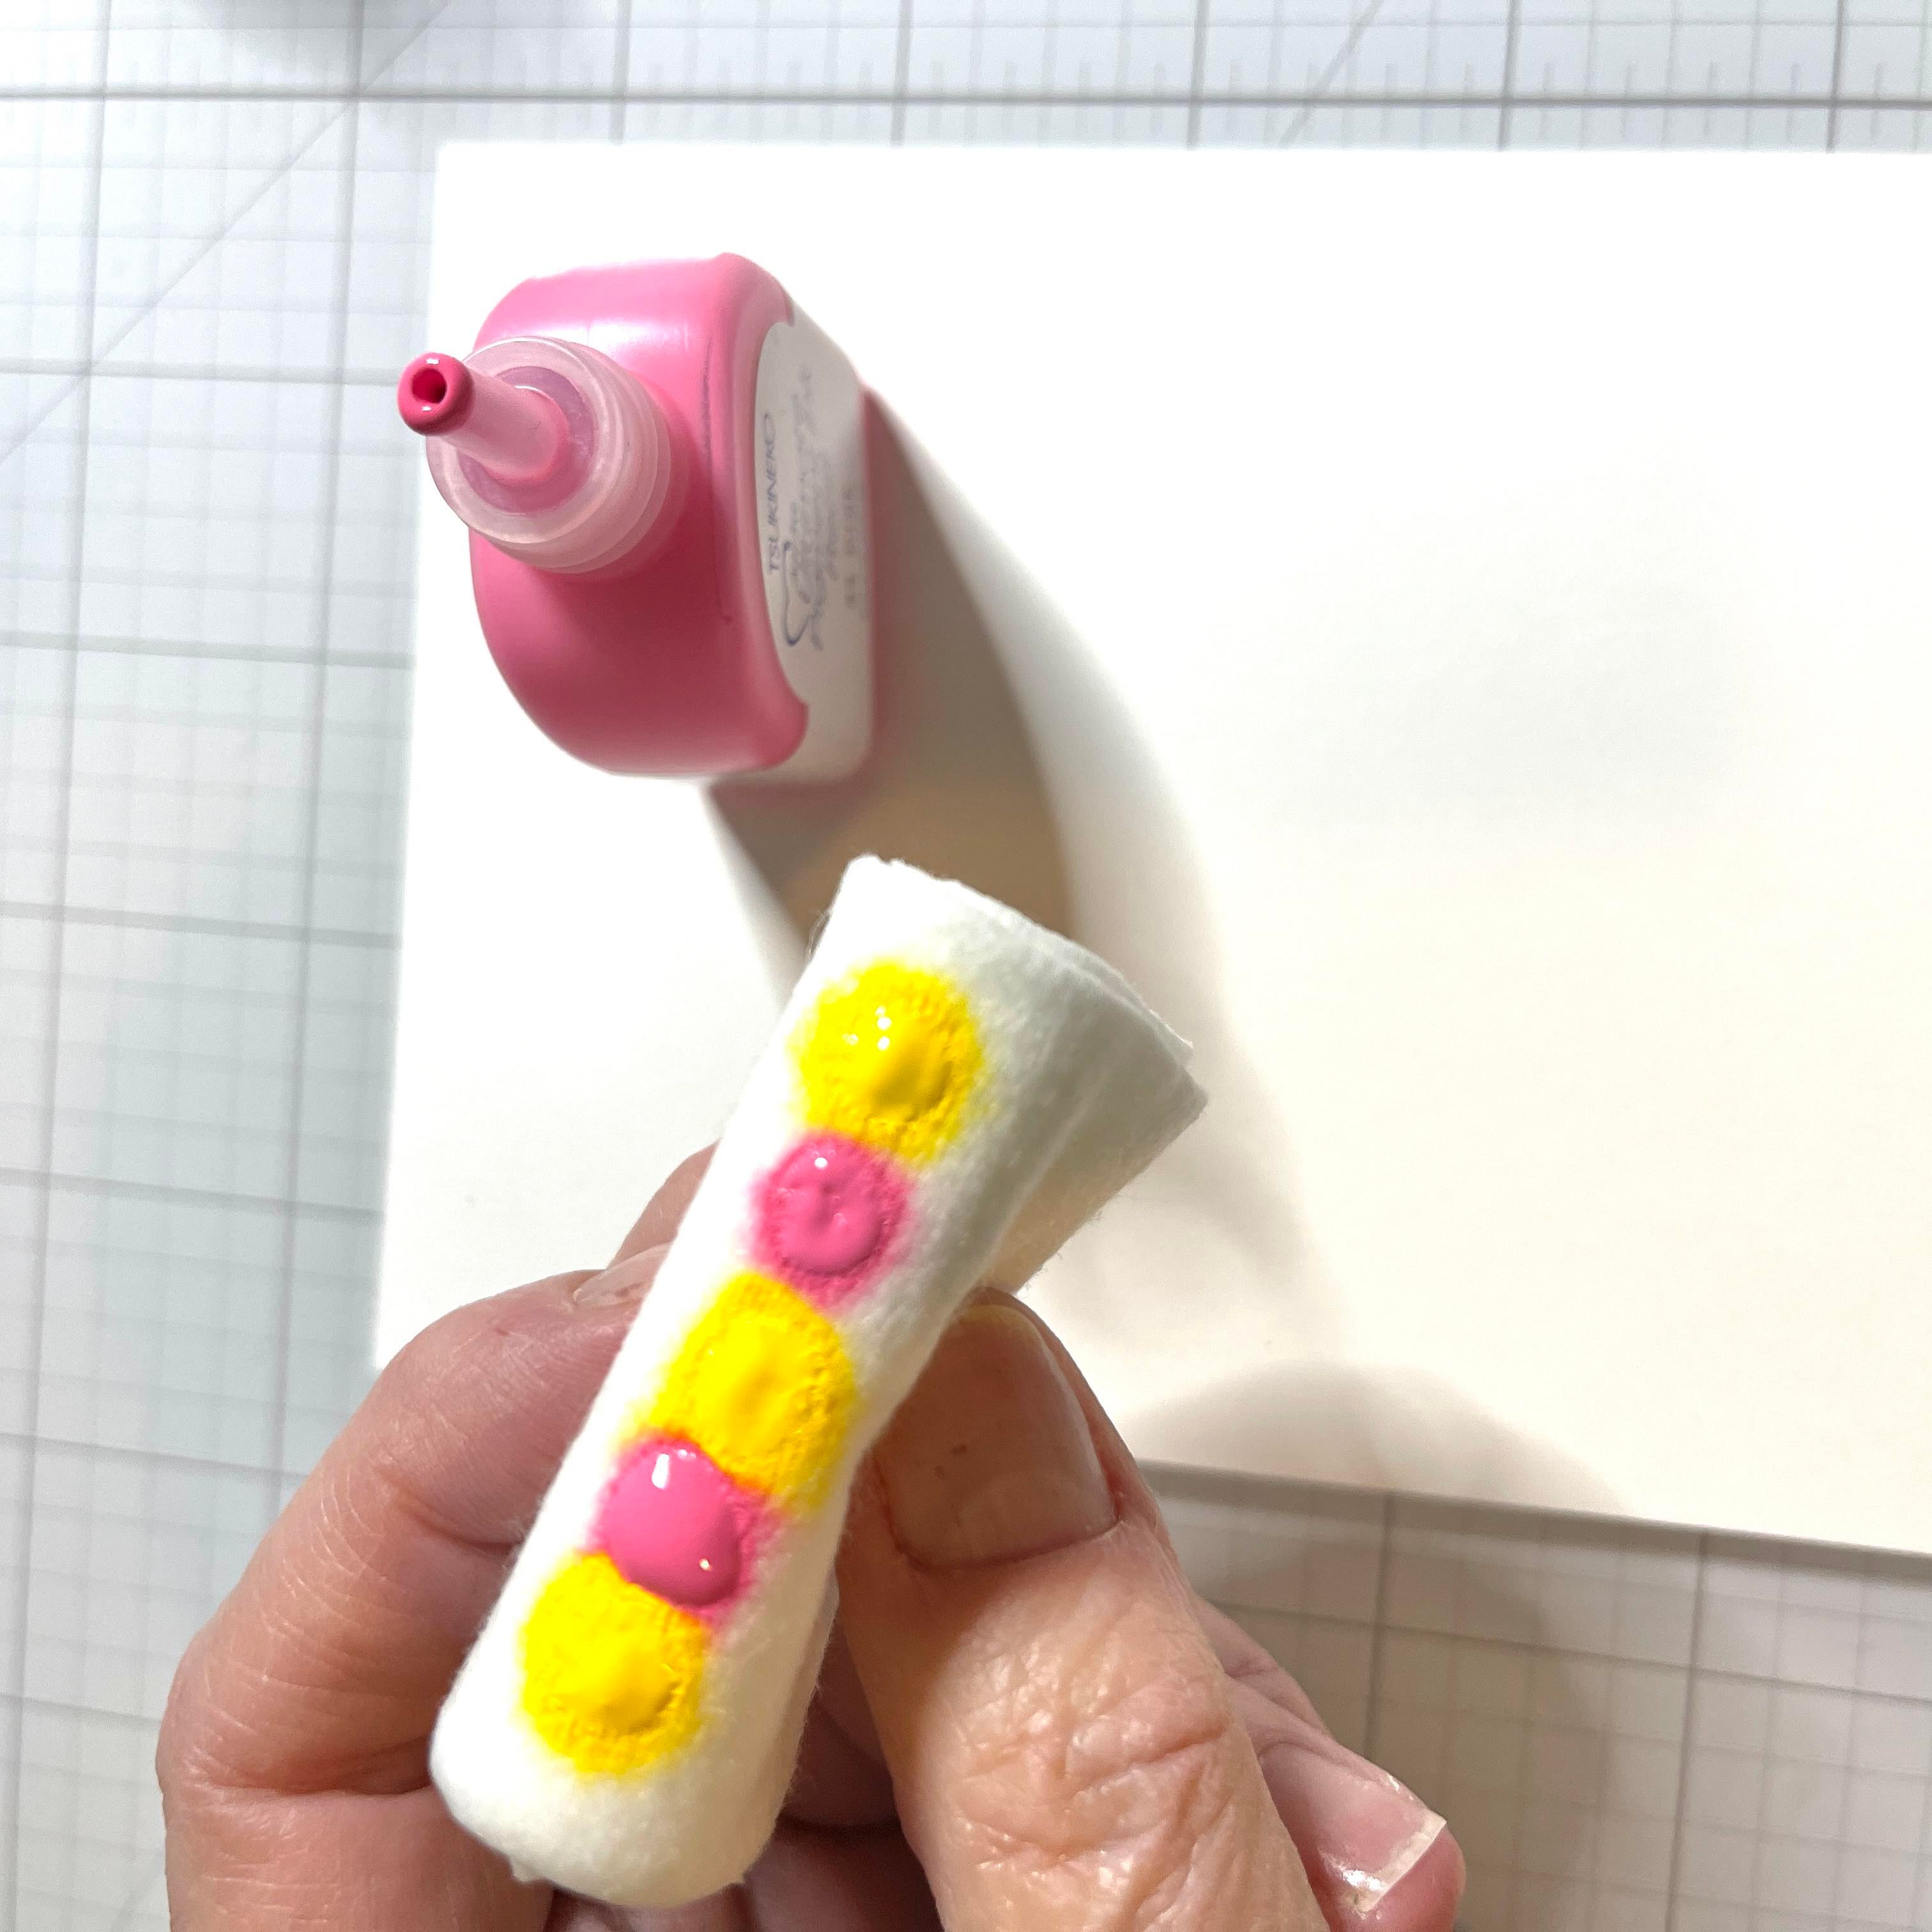
Dab your ink onto the baby wipe in an alternating order.
Step 3
Now just swipe across your card stock. YES you will get messy! But it’s fun. You may need to add some more drops. Make sure when swiping that you line up your baby wipe with the last swiped color as you move along.
Step 4
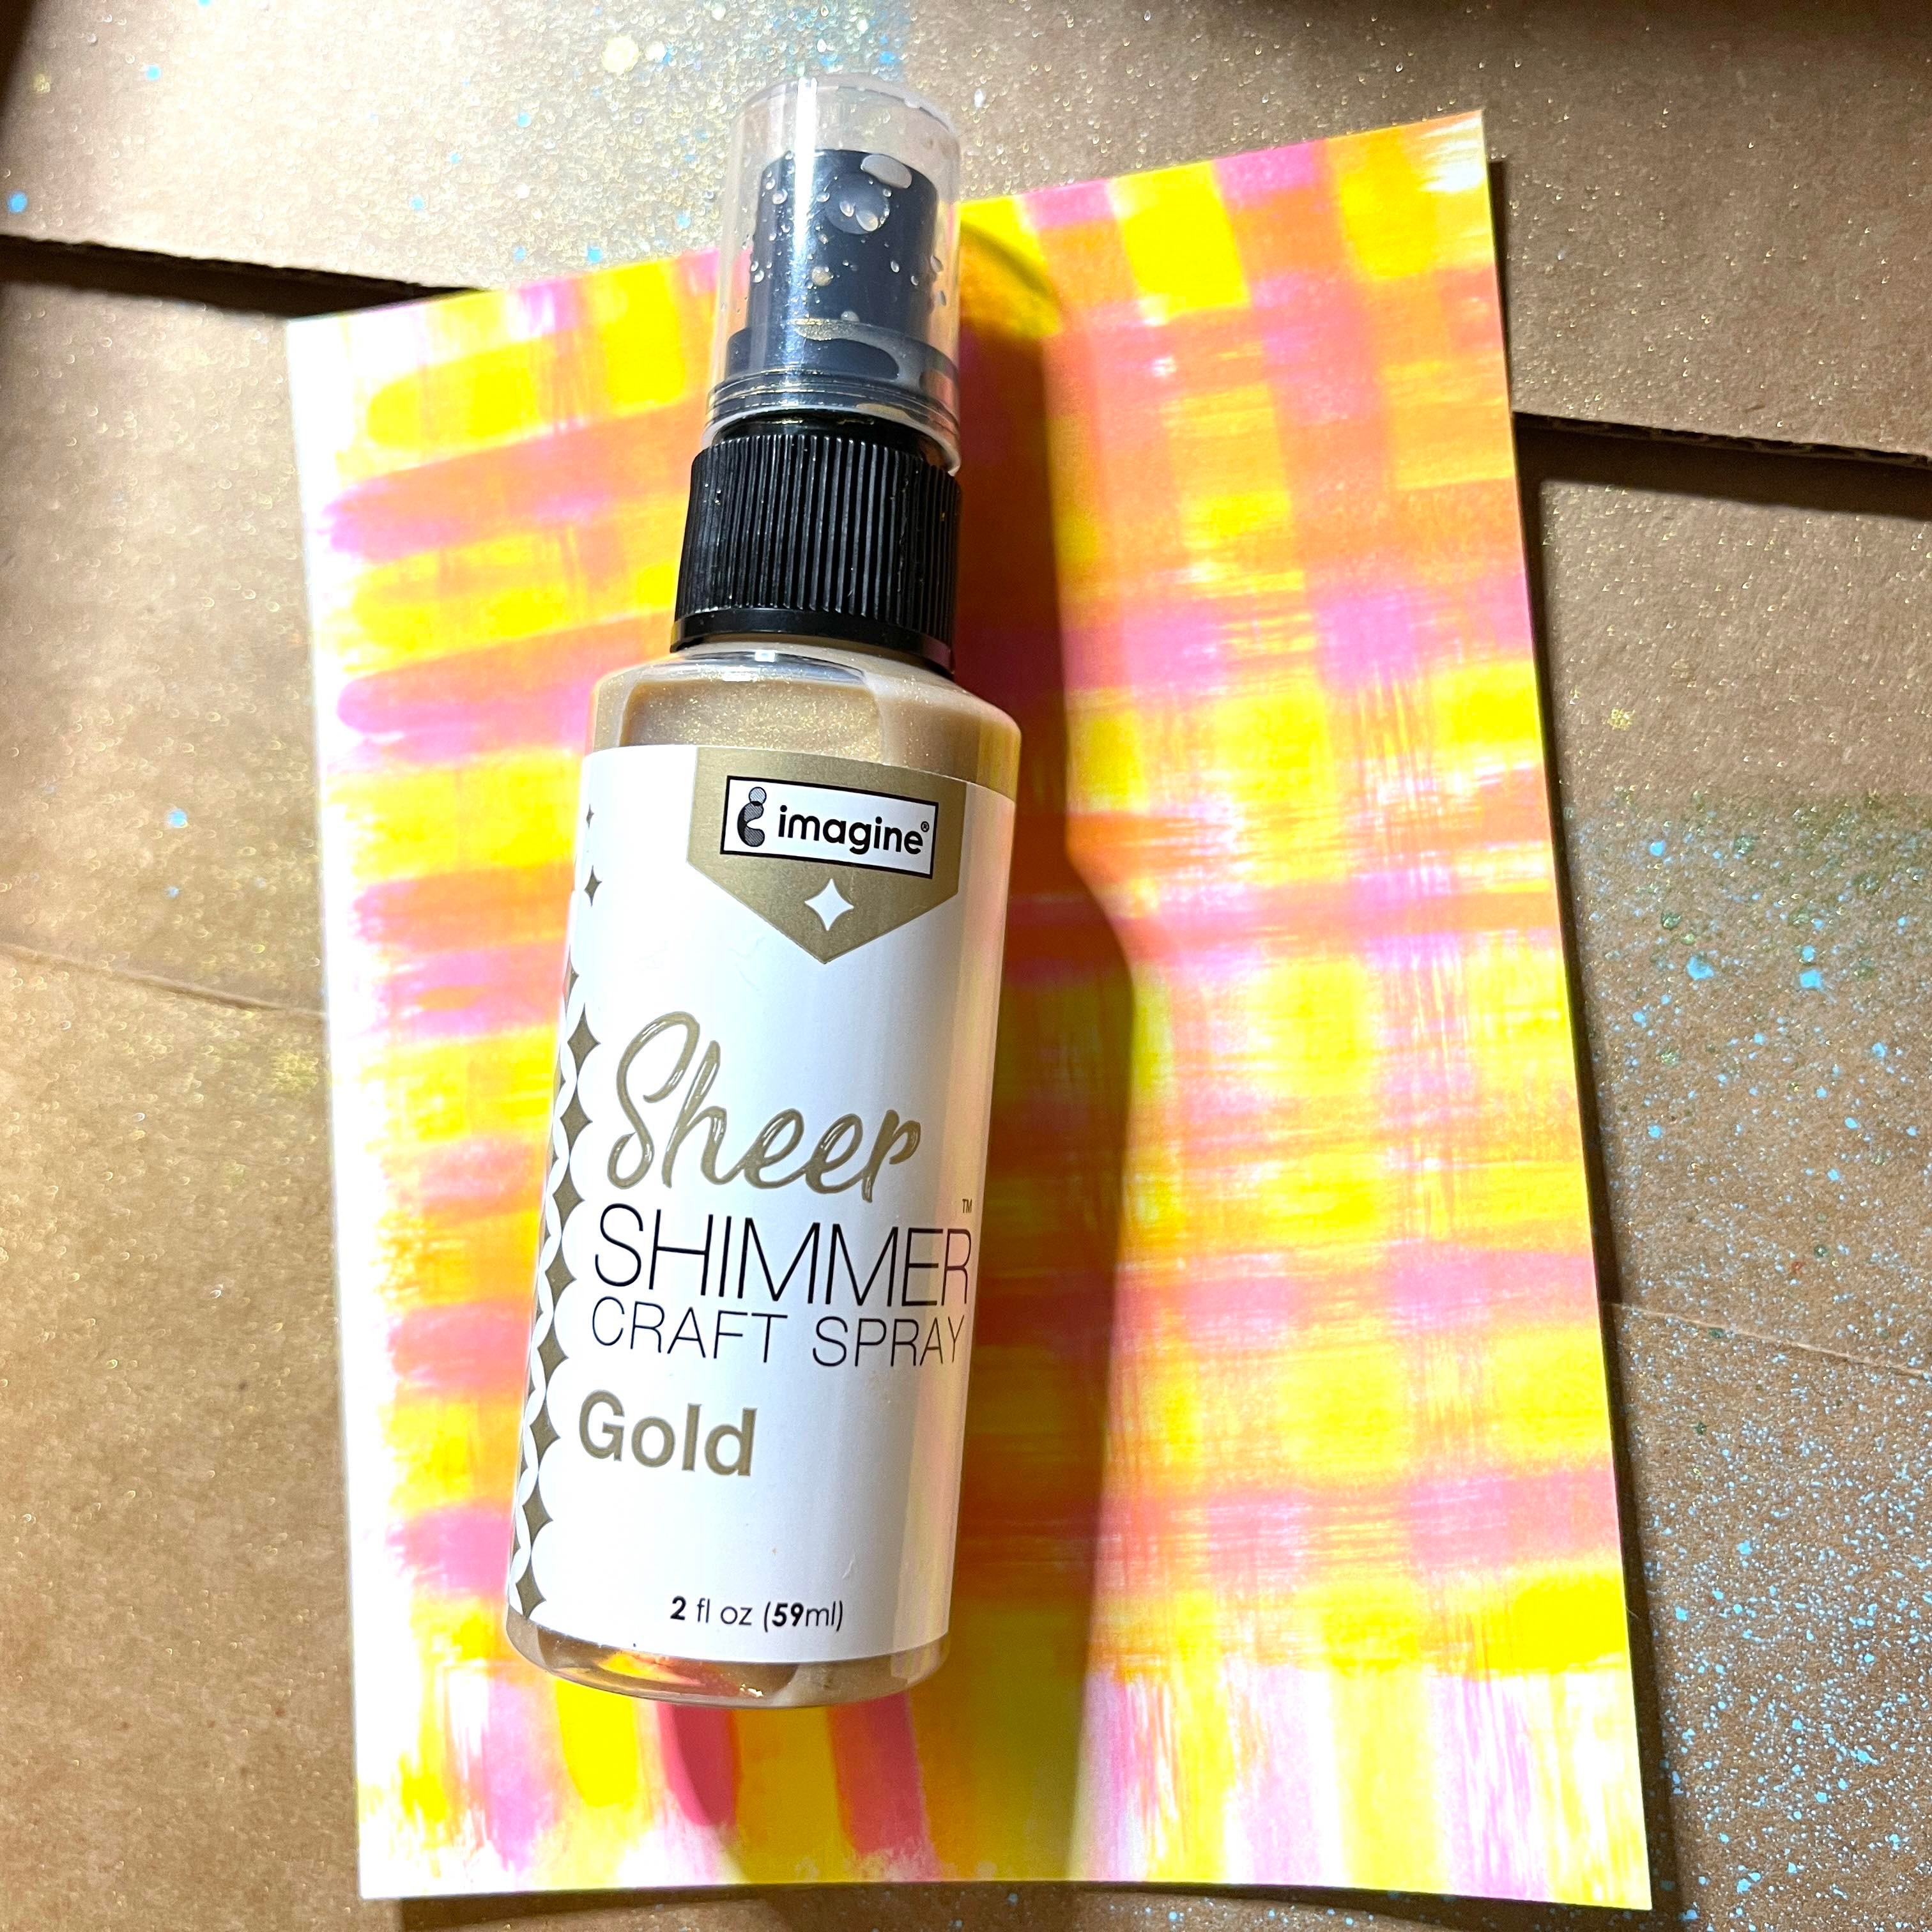
Time to get messy again! We will spray Sheer Shimmer Spray in Gold all over the panel. I use an old box and lay the panel inside. This contains the spray a bit. The sparkle of these sprays is so pretty and available in so many colors!
.
Step 5
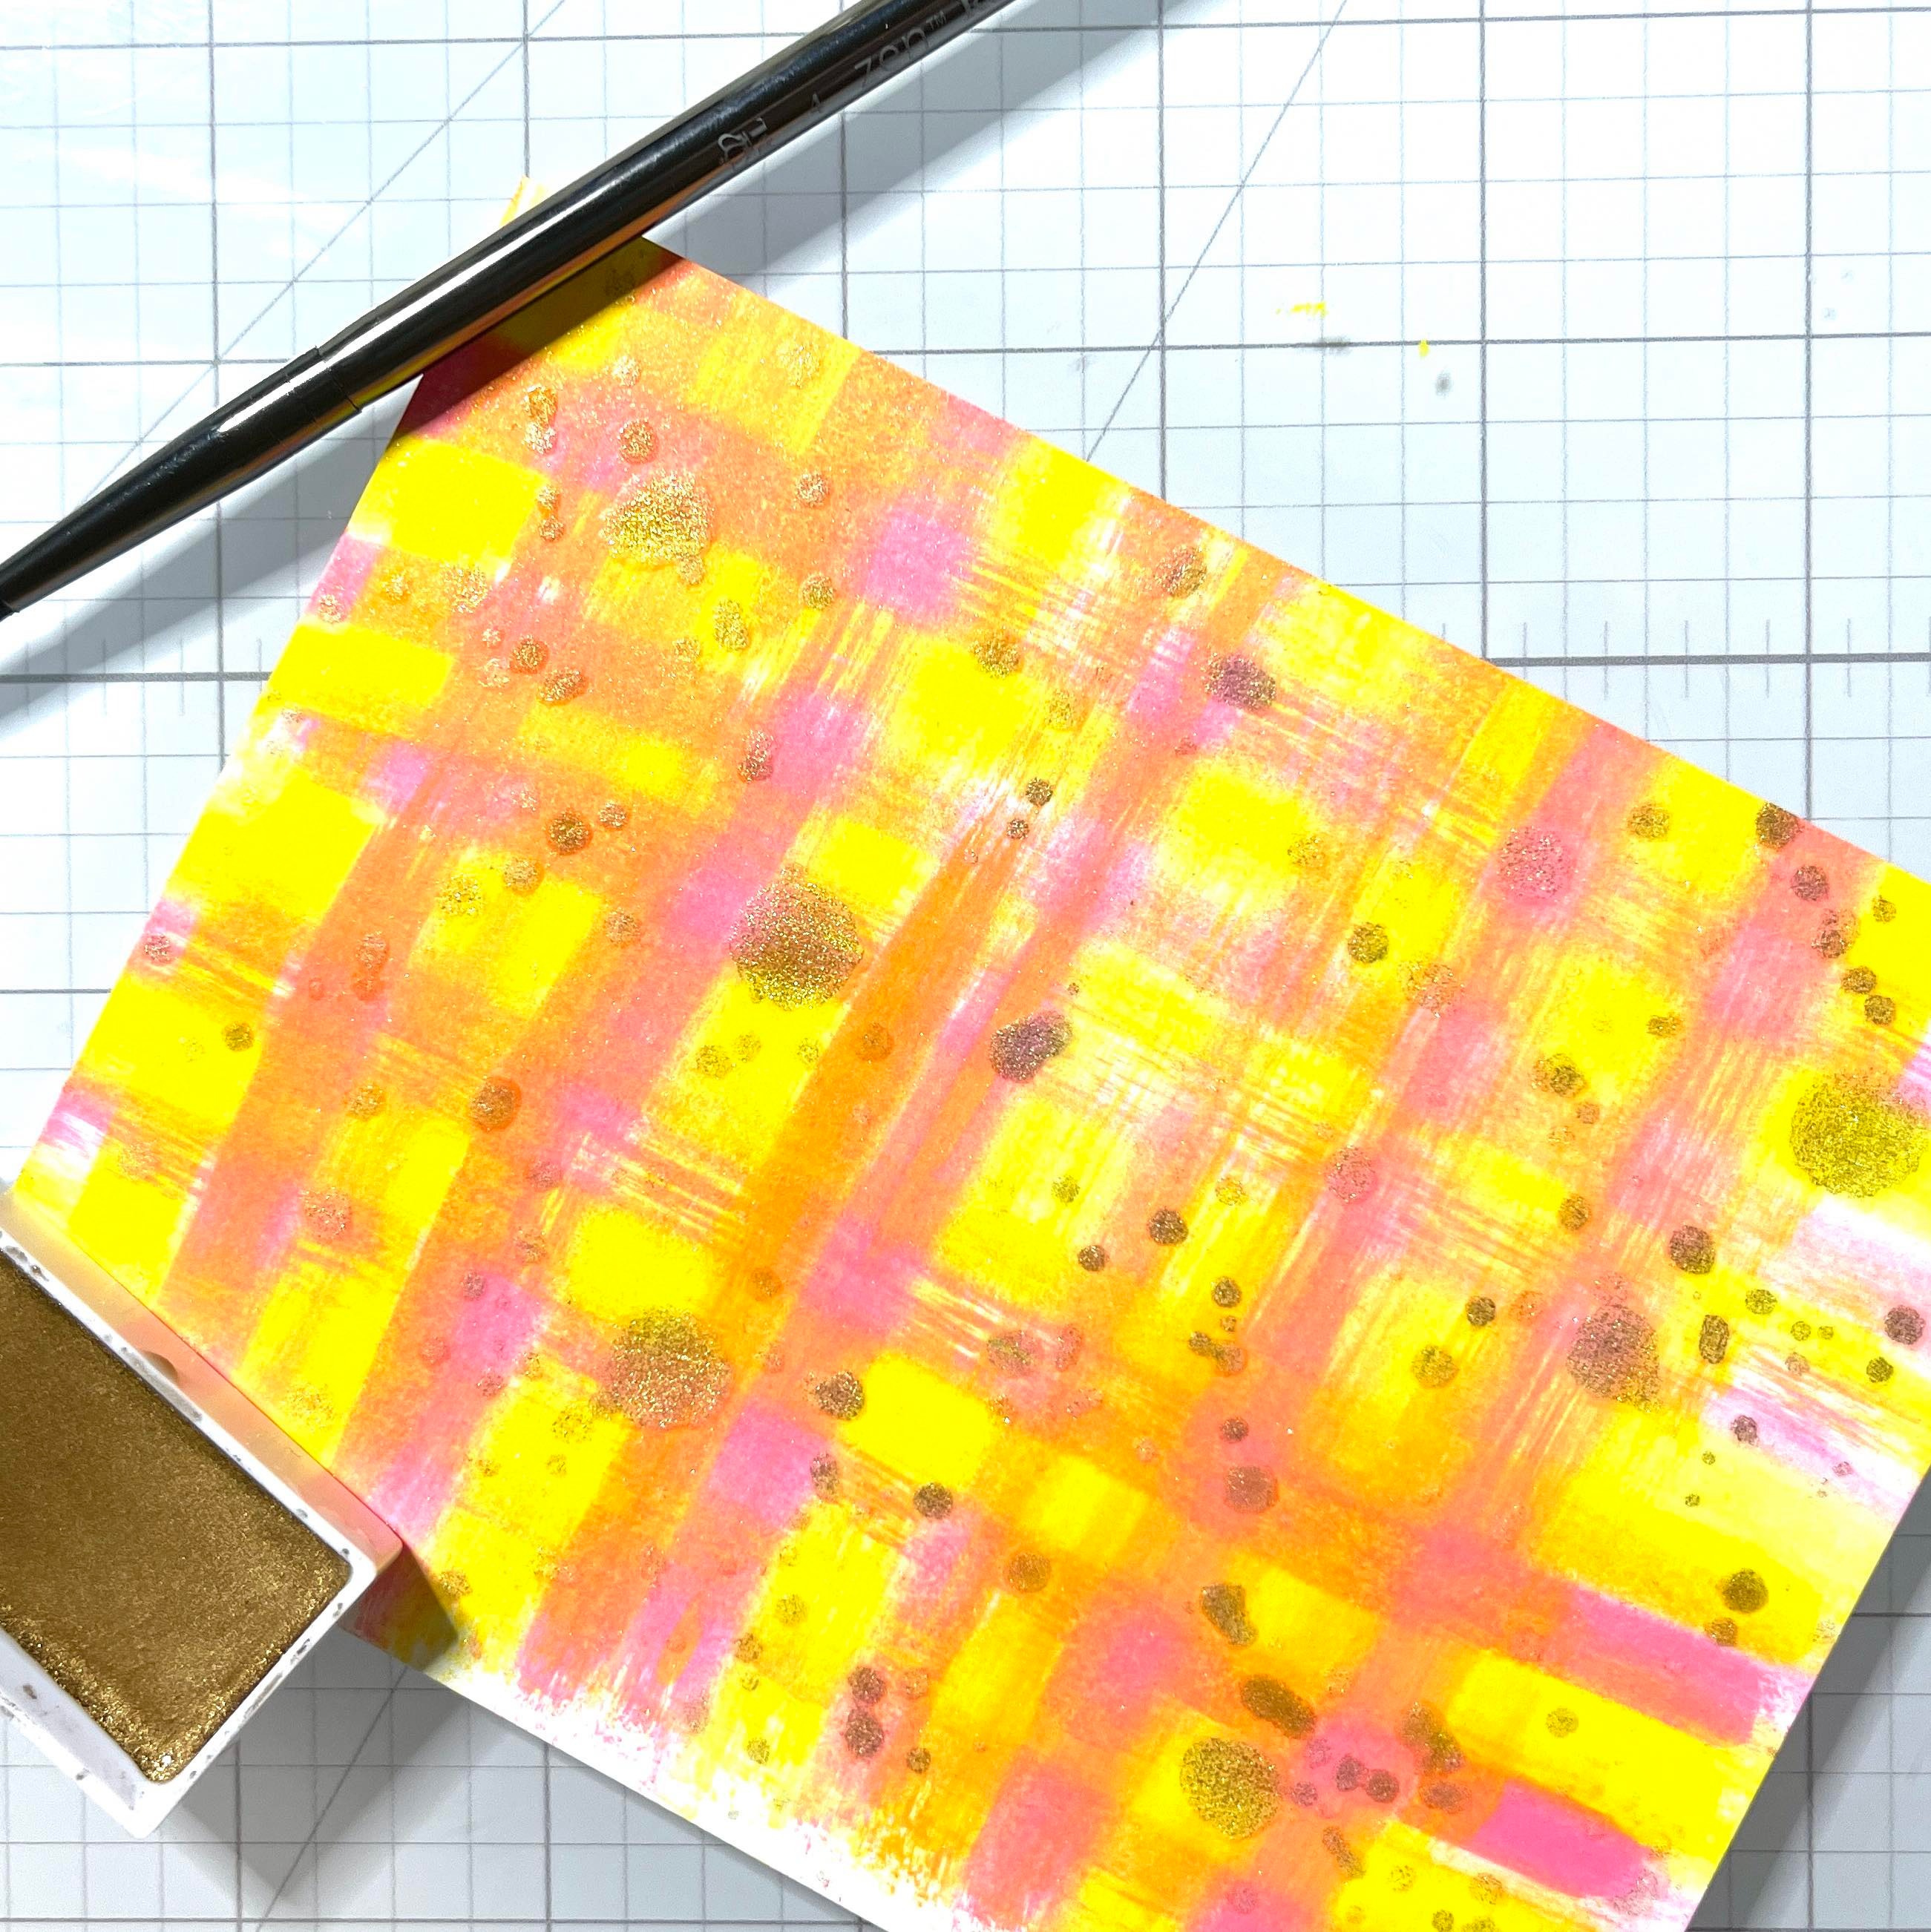
I also unscrewed the top of the Shimmer Spray and splattered some random spots. I splattered some small spots using metallic watercolor paint.
Step 6
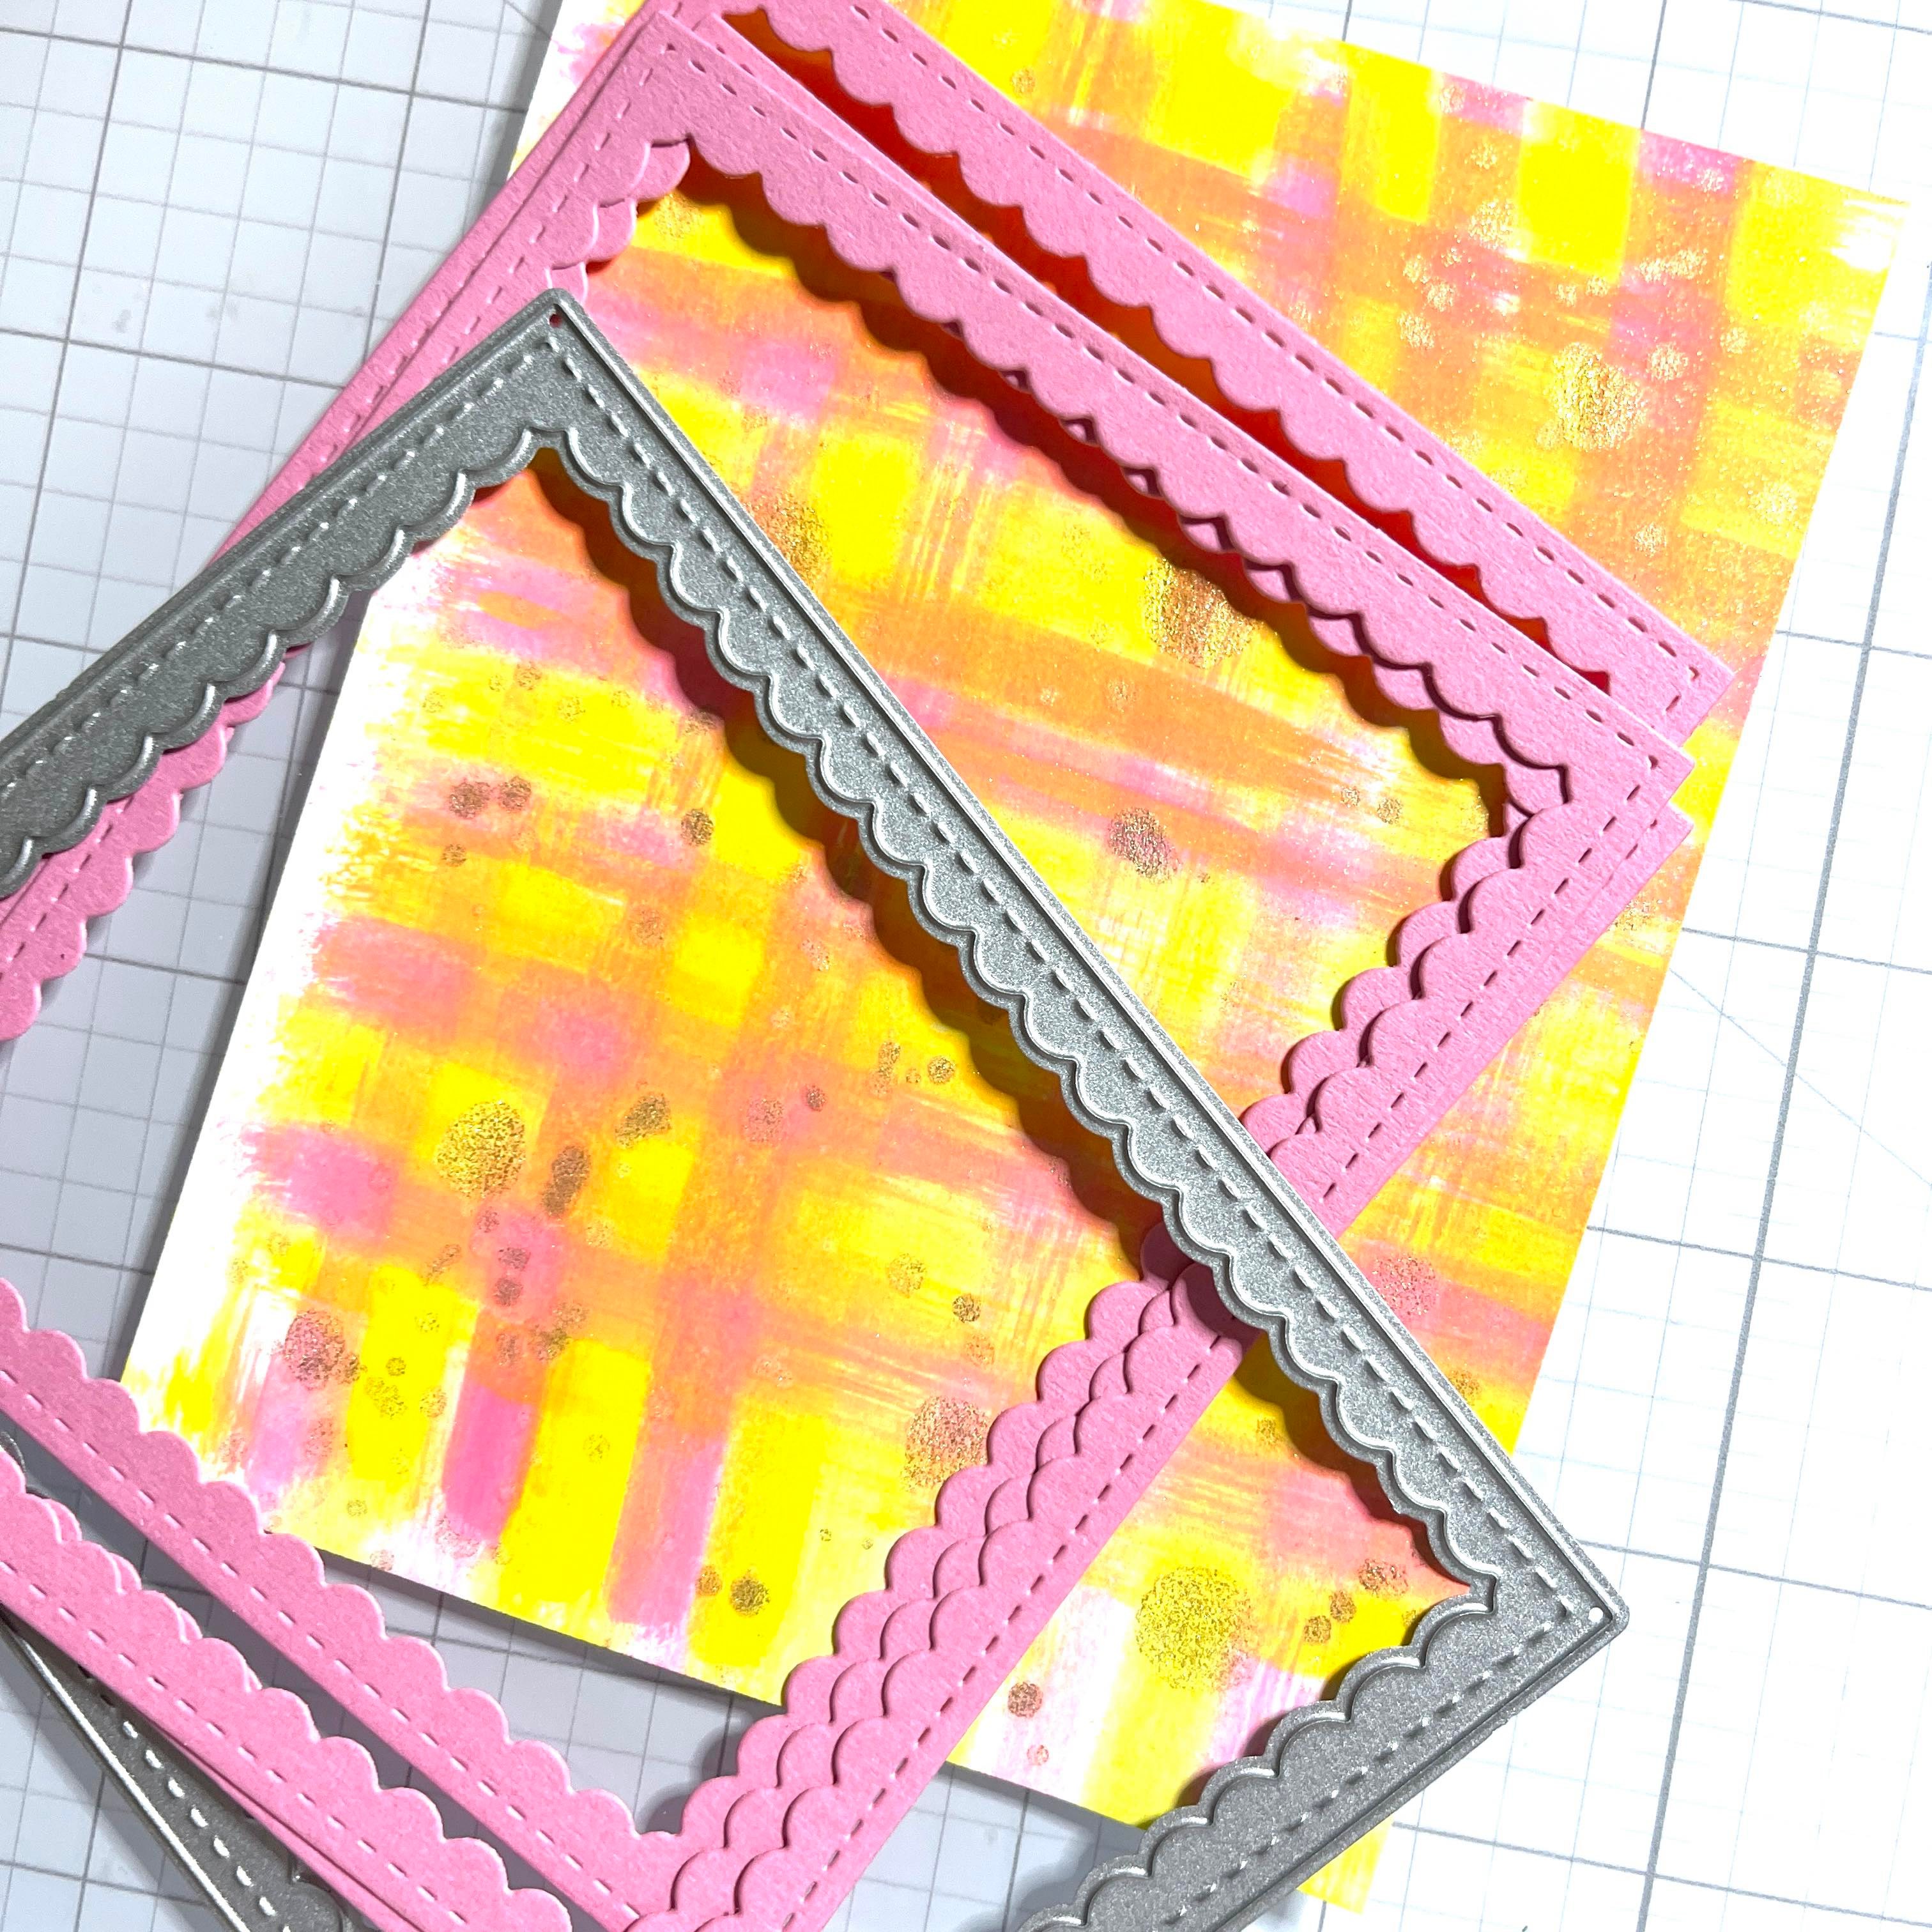
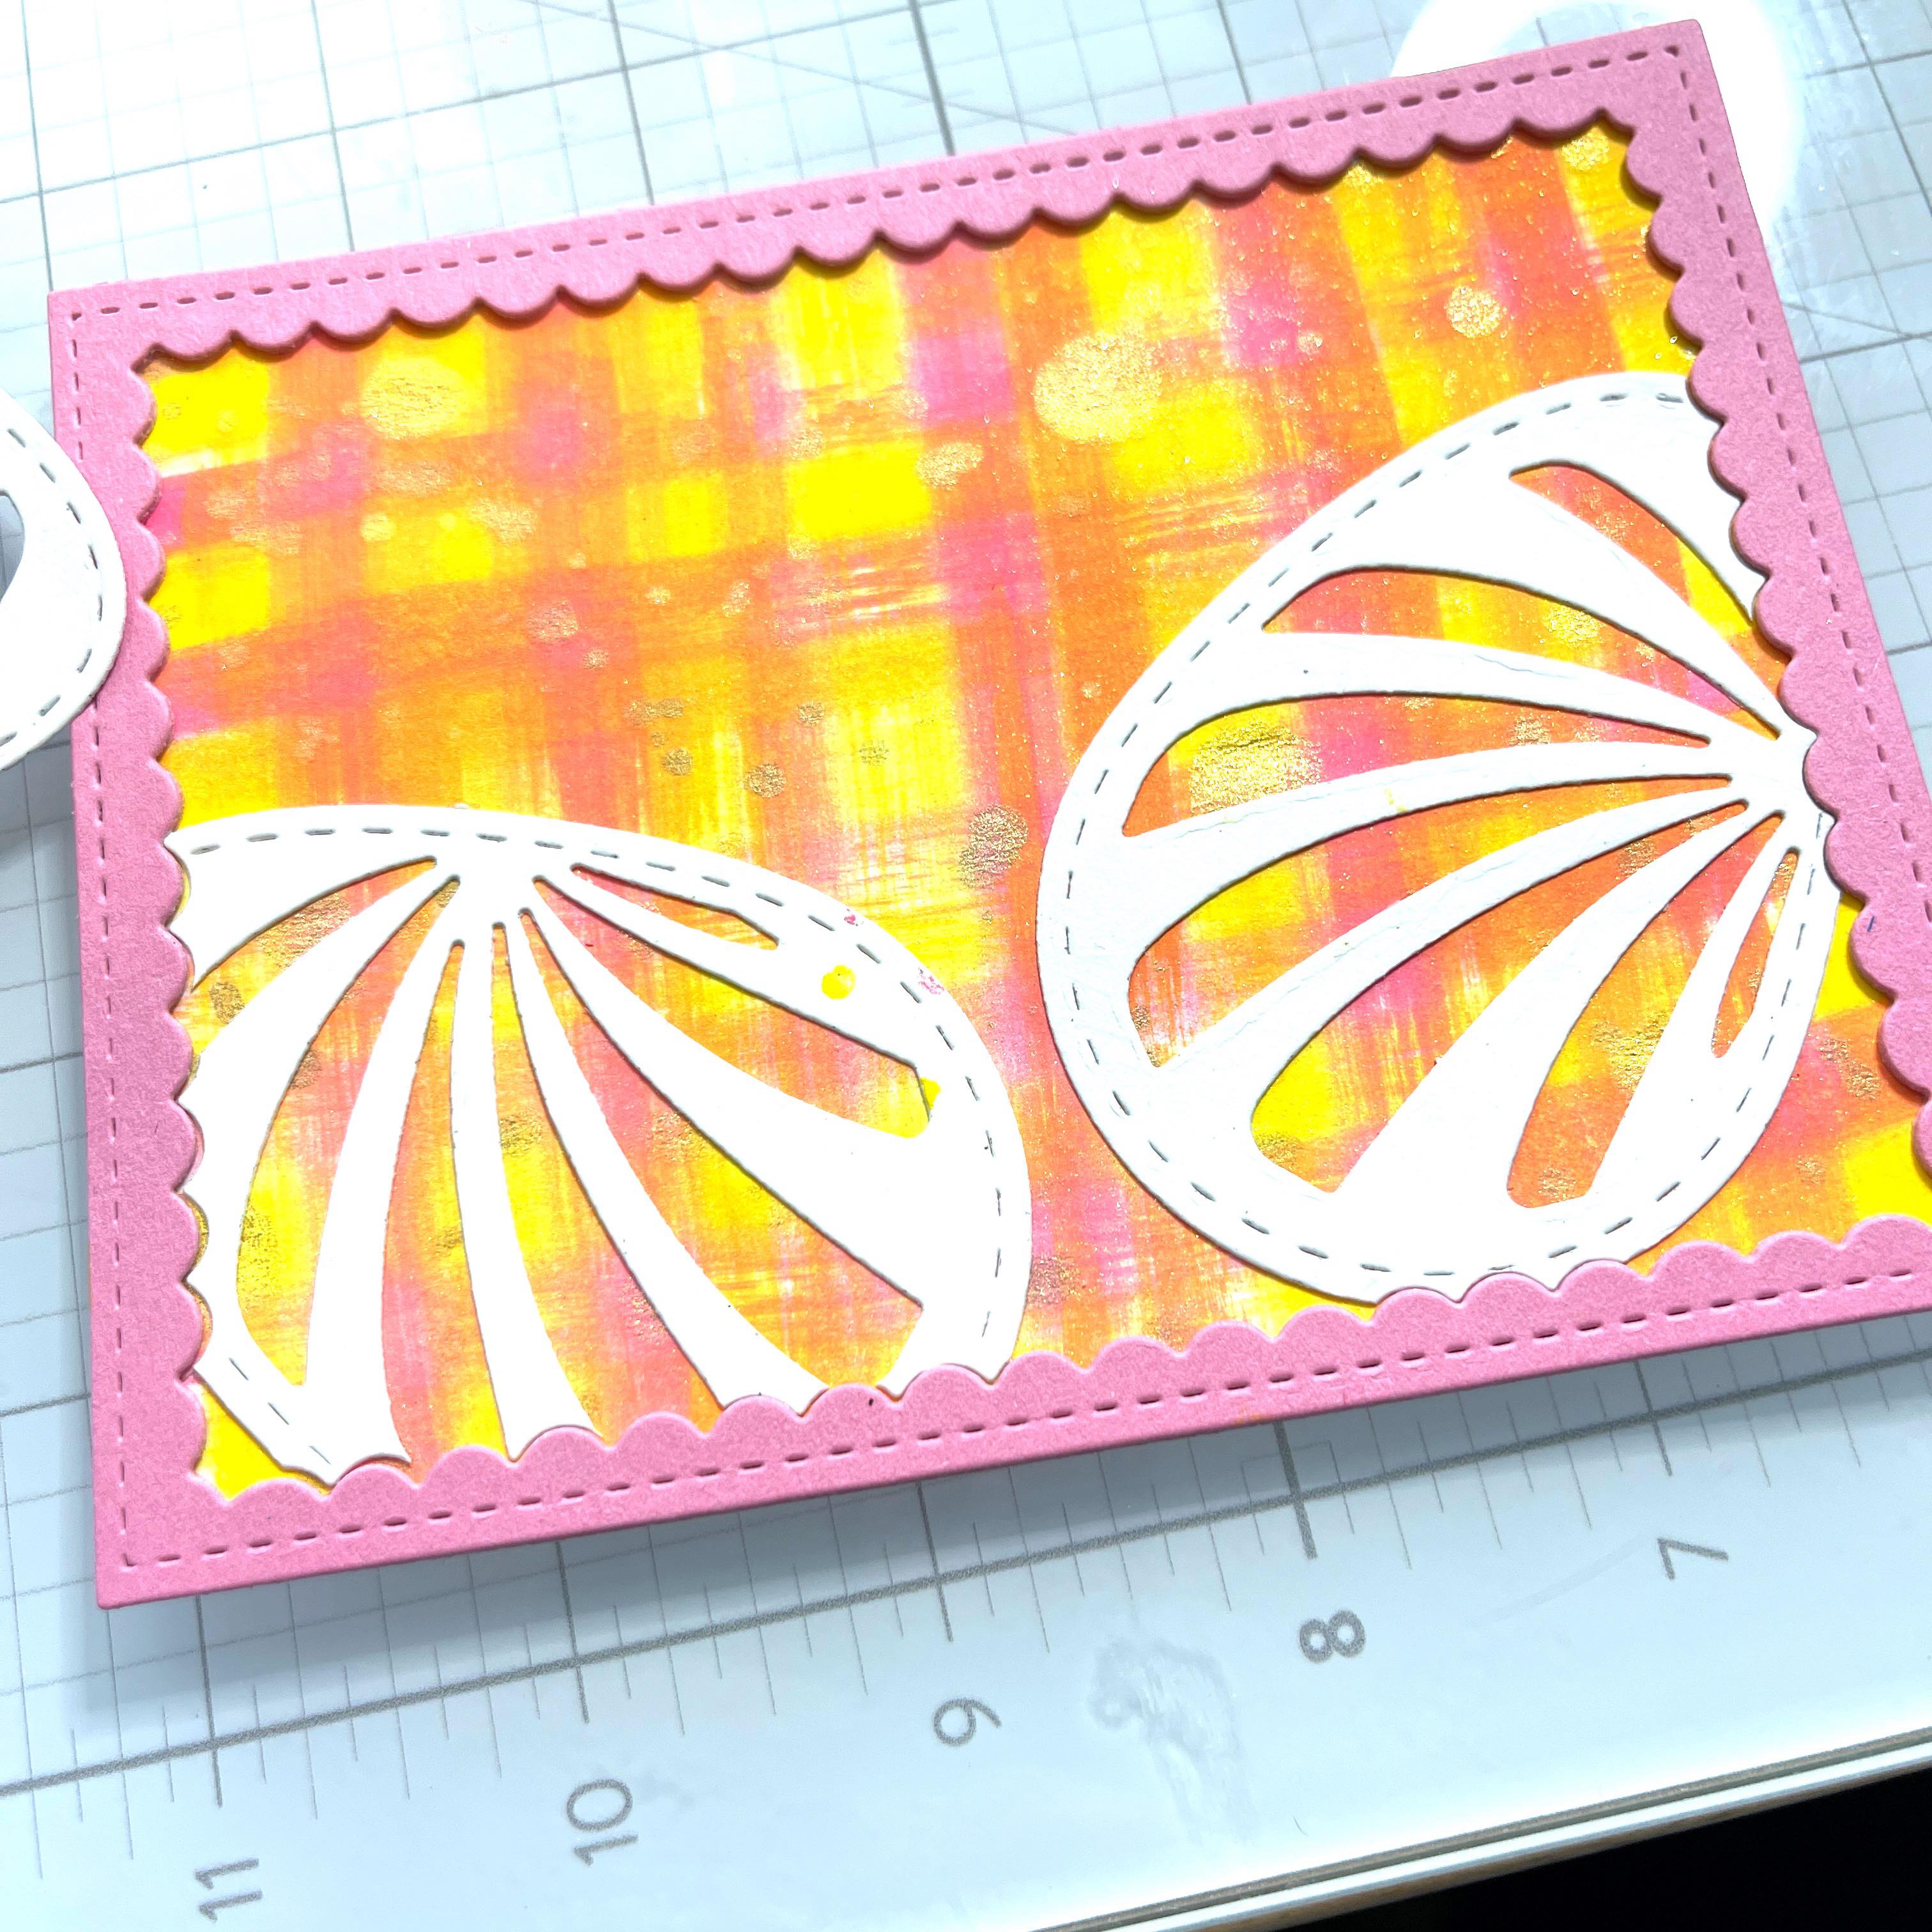
Next, I cut some scalloped frames and glued them together with On Point Glue. I used a coordinating pink card stock. Trim the background panel to fit behind the frame and adhere with On Point Glue from Imagine Crafts.
Step 7
I die-cut some an Easter Egg I had in my stash several times. I used the scalloped frame to die-cut the edges so they would fit perfectly against the frame. I also cut an additional egg to use as the main focal point.
Step 8
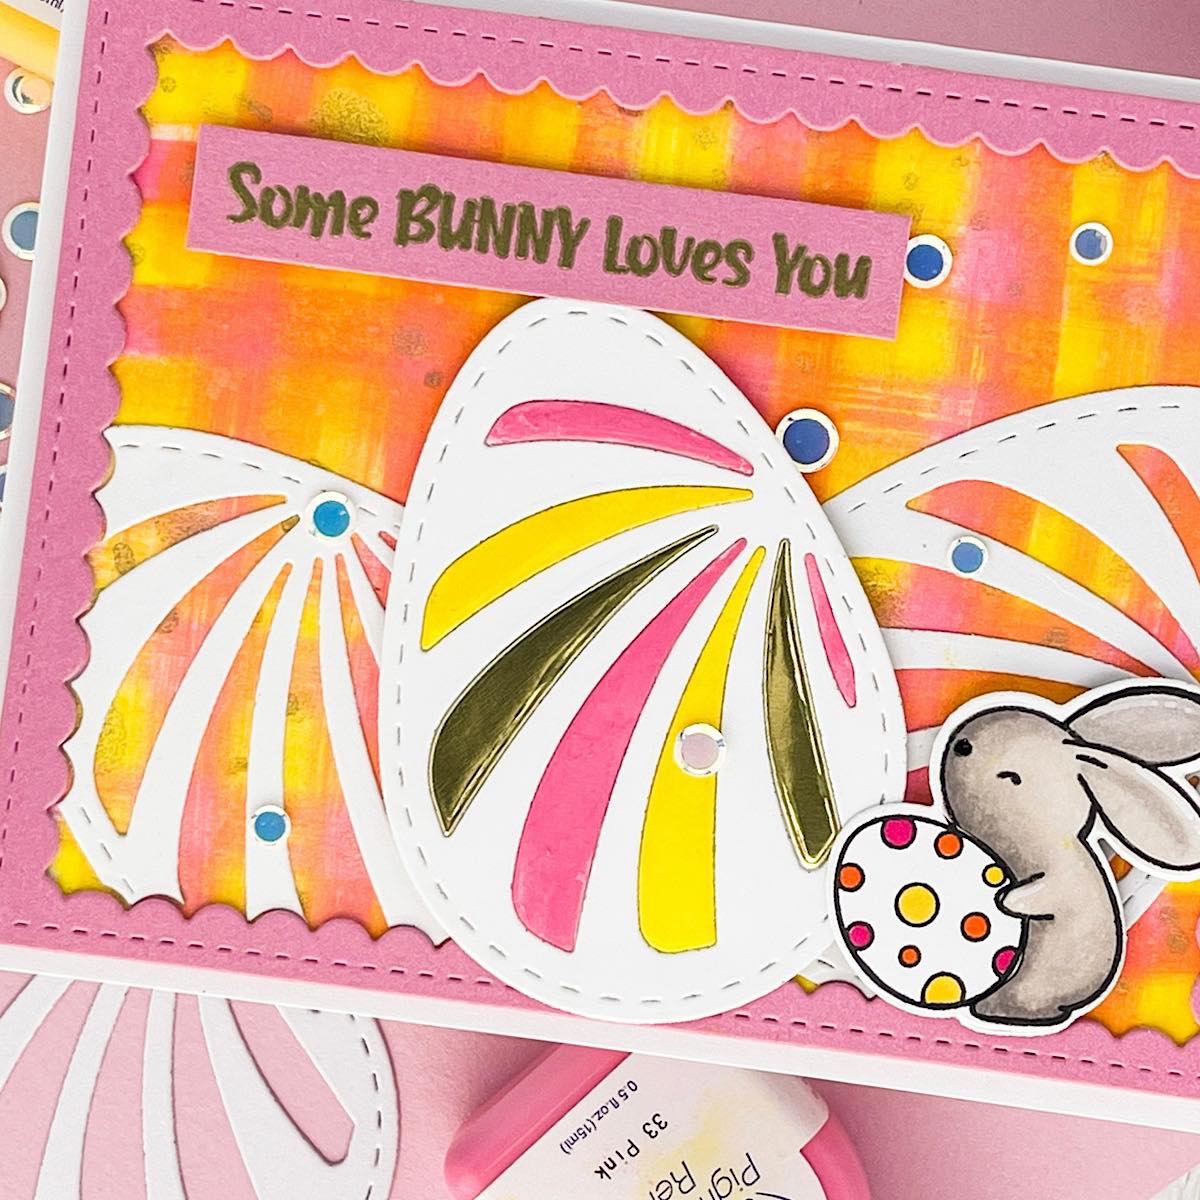
I traced the actual die and cut a solid egg out. I adhered this behind the main egg and adhered with glue. I took the insides of the die cut and just painted some of the pink and yellow refill ink on alternating stripes I also added 2 gold stripes from a metallic card stock.
I stamped, colored and die-cut a cute bunny. I used alcohol markers but any coloring medium will work. I stamped the Easter sentiment on the same pink card stock. I used VersaMark Ink, covered with gold embossing powder and heated. The sentiment, main egg and bunny are popped up with foam tape. The entire panel is added to a horizontal folded A2 card base with foam tape as well. The last thing I did was add a few confetti sequins!
I hope you enjoy this card and the tutorial. Thanks for stopping by I appreciate all of you! Please head over to the Imagine Crafts website to see all the beautiful products. Here is the link IMAGINE CRAFTS.
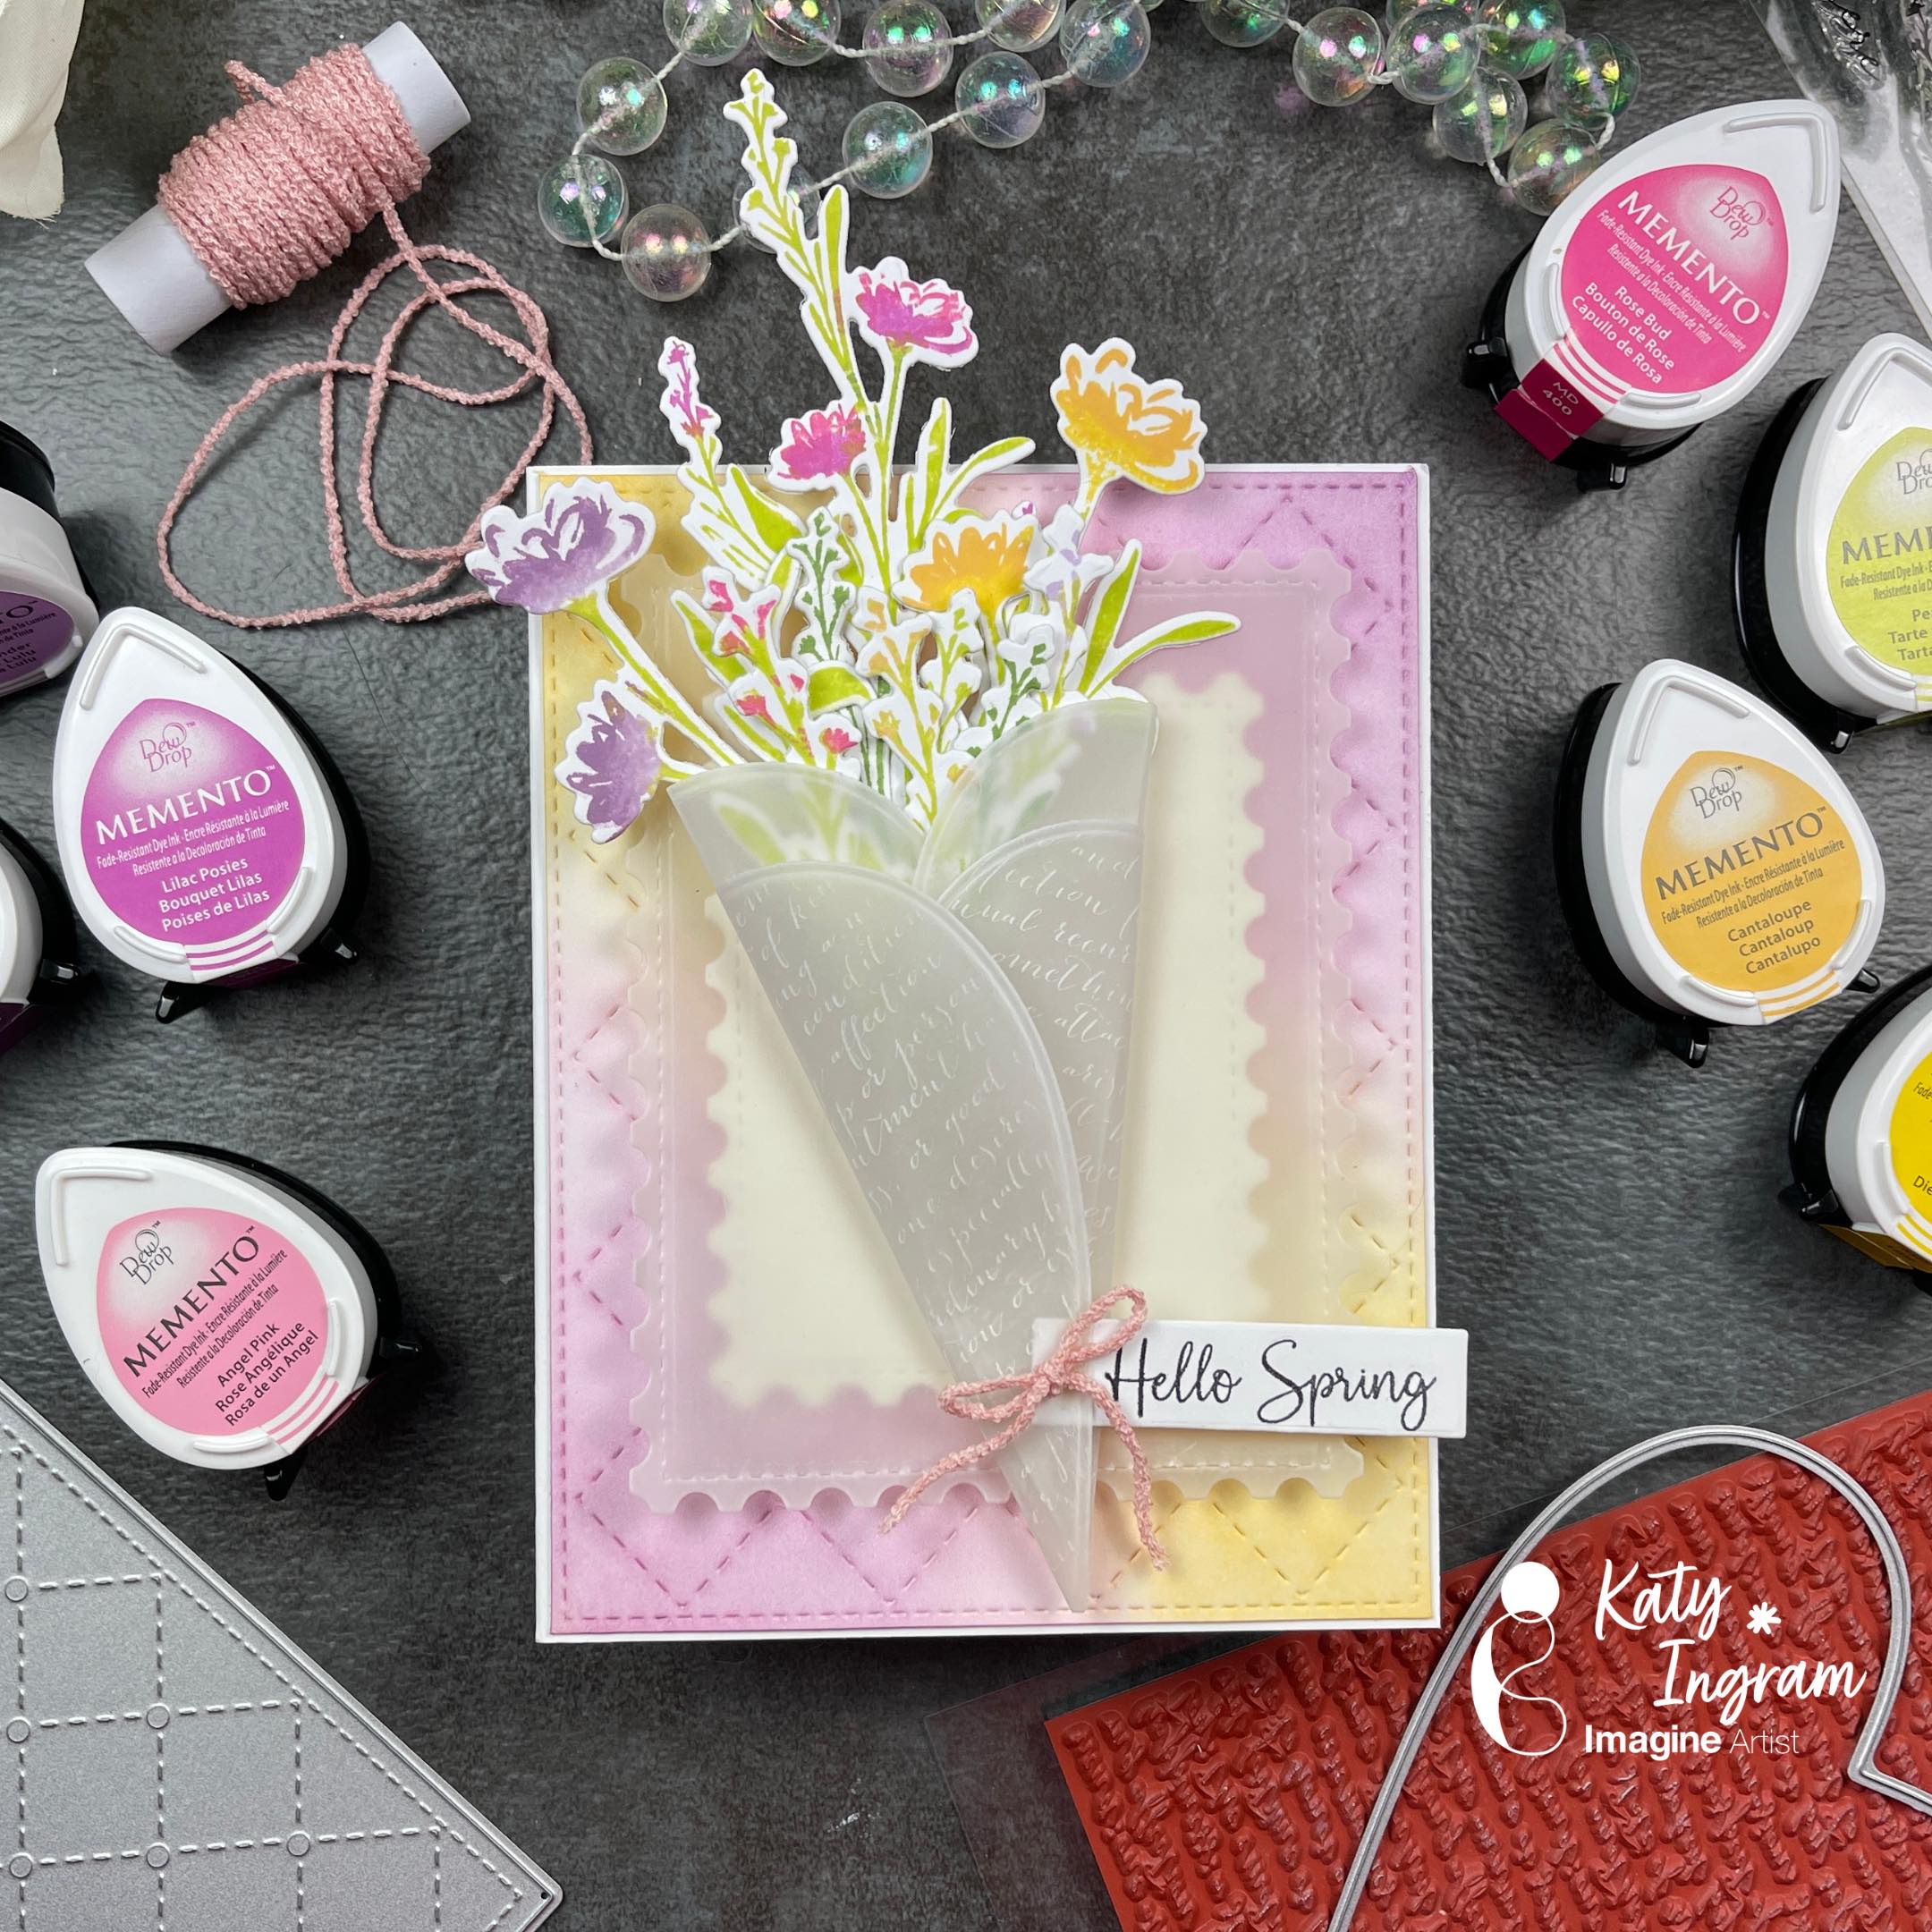
Hello Friends! Katy here and today I am sharing how I used Memento Dew Drop Inks to create a dimensional Spring bouquet.
In todays video tutorial I am sharing how I use the perfectly pointed end of the Memento Dew Drop Inks to layer ink colors on a silhouette stamp. I then die cut them out and create a vellum wrap to go around my bouquet. In the video I also follow up on the Press n Seal barrier that I added to my StazOn Pigment ink pad to see if it keeps it from drying out. It has been about three months since I added the barrier, watch the video below to see if it worked.
Hello friends! This is Linh (or LV Handcrafted on all the socials). Today I’m playing with Fireworks! I start off by using what would normally be used to create a shaped 3D flower and I cut it out of a scrap piece of cardstock to use as a stencil. I lined that over black cardstock and sprayed the Grape Jelly Fireworks! Then I rotated the flower stencil to offset the petals. I sprayed the Lulu Lavendar Fireworks! And without shifting the stencil, I sprayed a bit of the Lilac Posies. What’s fabulous about these Fireworks! sprays is they are opaque and as you can see are gorgeous even on black cardstock. They have a beautiful shimmer and shine!
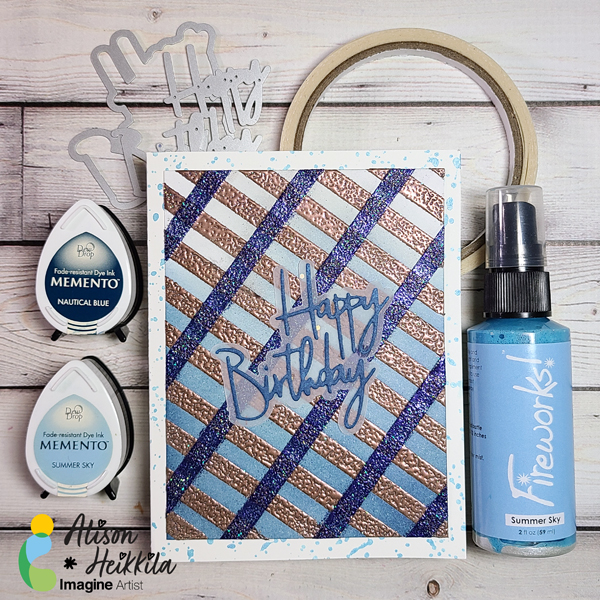
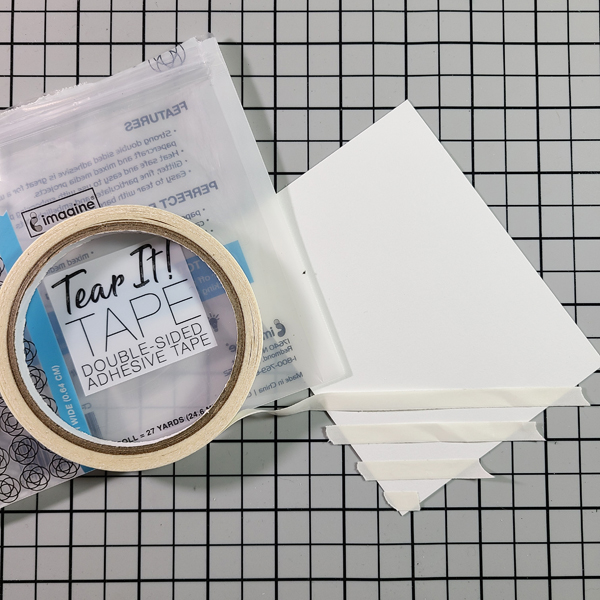
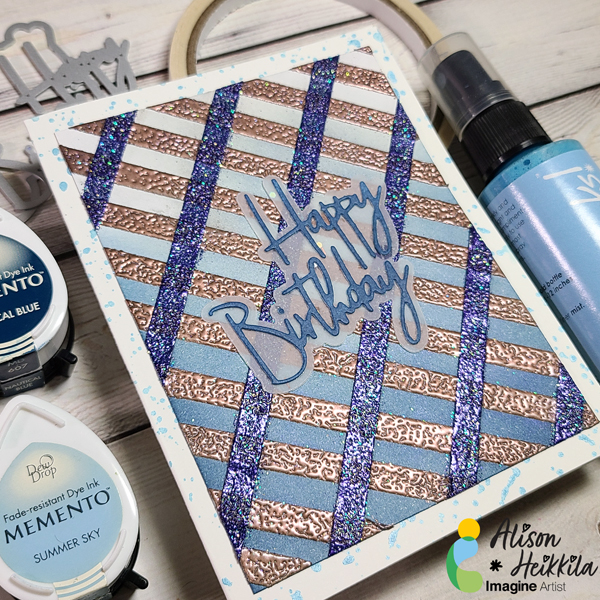
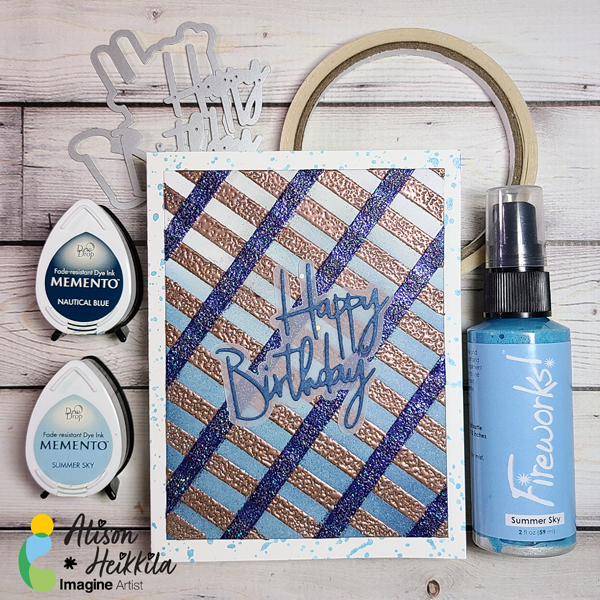
Greetings! One of my favorite products from Imagine is Tear It Tape. That may be surprising, considering all of the fantastic inks and colors they offer. But, Tear It! Tape is an exceptional adhesive that has some cool properties you may not be aware of, namely the fact that it is heat safe. That means you can emboss right on top of it, so I decided to make a plaid, embossed background using it. This doesn’t take too long, but you do need to be precise, which is something I don’t normally try to be when I’m crafting.
*Some affiliate links are used in this post. That means that if you shop through these links, I may receive a small compensation, at no cost to you.For more information, please see my Affiliates page, where I also have some coupon codes.
Time to Complete: Approx. 30-45 Minutes Skill Level: Intermediate to Difficult
Step 1: Lay your Craft Mat with the grid side up. It’s going to be necessary to use it to not only make sure our lines are straight, but also evenly spaced.
Step 2: Lay your cardstock at an angle on the grid. The angle doesn’t really matter.
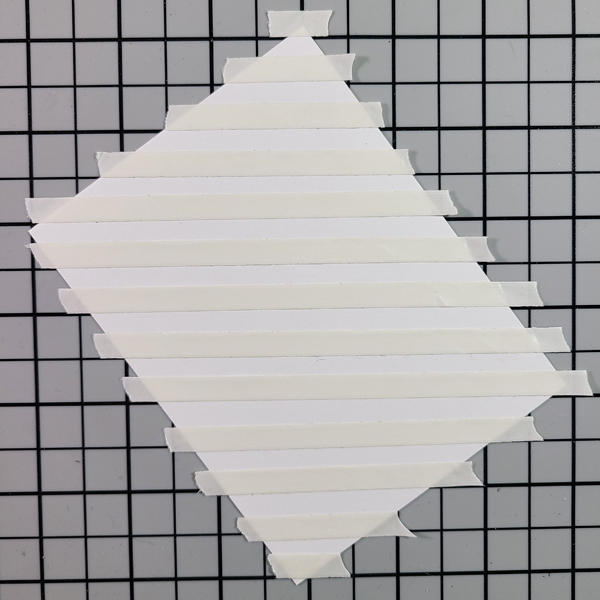
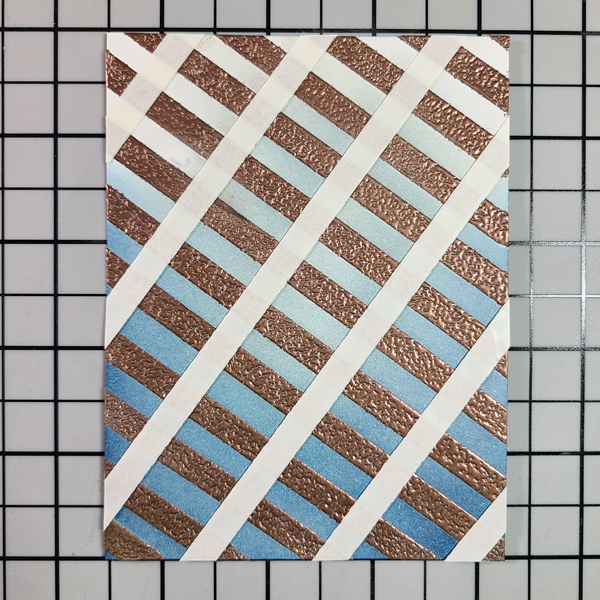
Step 3: Apply a strip of Tear It! Tape at every horizontal grid line. I placed mine above the line consistently.
The panel will look like this when you’re done.
Step 4: Cut off the excess ends to make the tape flush with the edge of the panel.
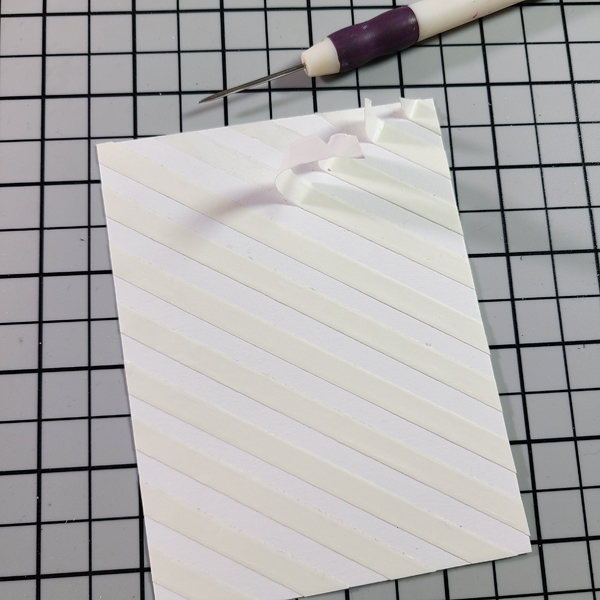
Step 5: Begin to partially remove the release paper from the Tear It! Tape. I found it to be easier to only pull it off part of the way, so that I could still move the card around without getting my fingers on the sticky tape. When you finish lifting a bit of each strip, finish pulling off the release paper.
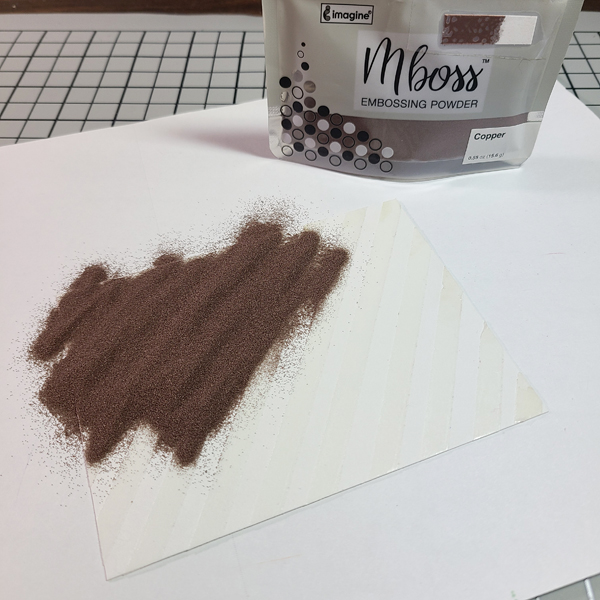
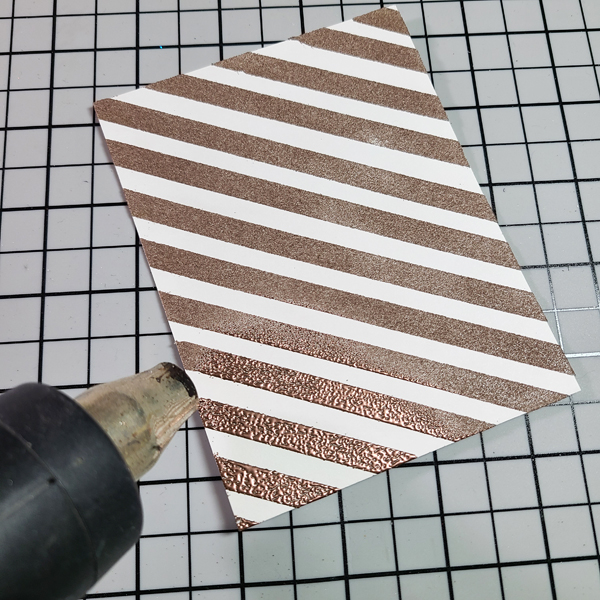
Step 6: Pour Copper MBoss embossing powder on to the panel. I put a piece of copy paper underneath so that I can pour the excess back into the bag. I recommend rubbing your finger across the panel to ensure good coverage of the powder.
Step 7: Shake off the excess powder on to the copy paper, and heat set the powder that’s on the panel.
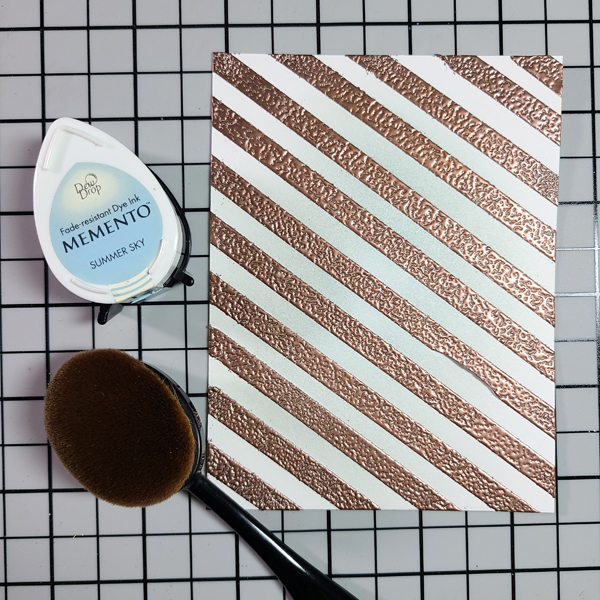
Step 8: Begin applying Summer Sky Memento Ink in the middle of the card panel using the applicator of your choice. Admittedly, my brush wasn’t thoroughly clean, so my inking doesn’t look exactly like the ink color.
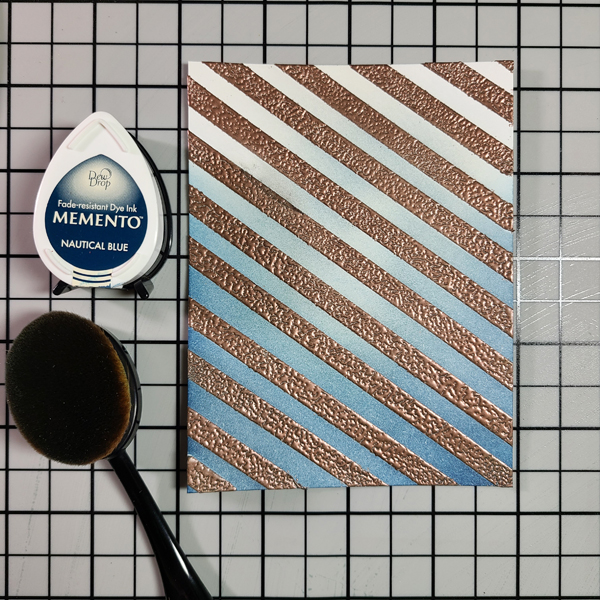
Step 9: Apply Nautical Blue Memento around the Summer Sky Ink, in a “U” shape.
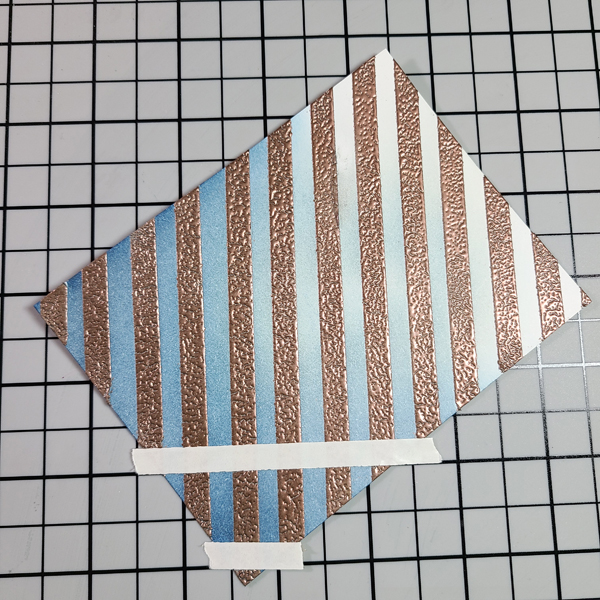
Step 10: Lay the inked panel back on to the grid at a different angle from before and begin laying down more Tear It! Tape. This time, I only applied the tape where the lines were bold, so every inch.
When done applying the tape, this is what the panel should look like.
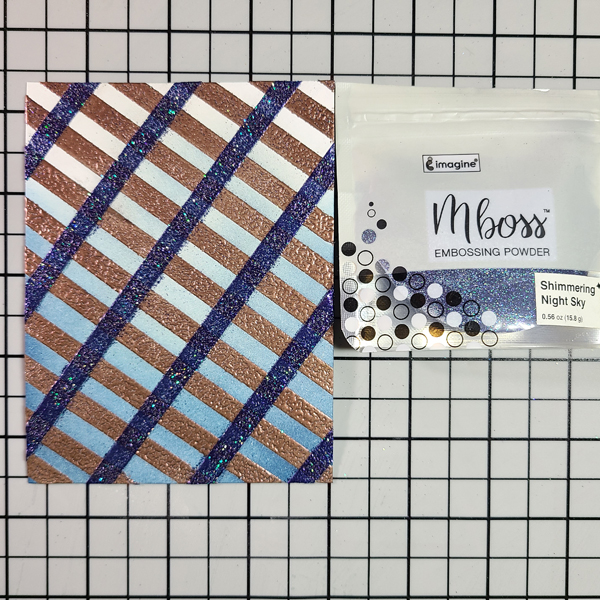
Step 11: Remove the release paper, sprinkle on Shimmering Night Sky MBoss, shake off the excess, and heat set.
Pro Tip: You may be wondering why we didn’t ink the panel after the second layer of MBoss was applied, instead of before. The Shimmering Night Sky powder has glitter in it, which could cause some drag or pulling on your ink applicators when you blend the ink. To avoid that, inking before applying a sparkly powder is advised. The Copper powder is metallic, so there’s no drag, and excess ink can be buffed away with a cloth or paper towel.
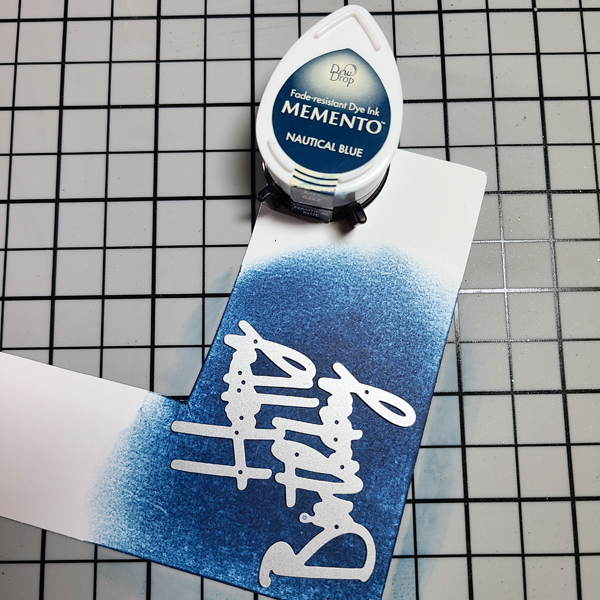
Step 12: To make perfectly coordinated cardstock for your sentiment, ink up a piece of white with Nautical Blue. Die cut the sentiment. Cut the shadow layer from vellum.
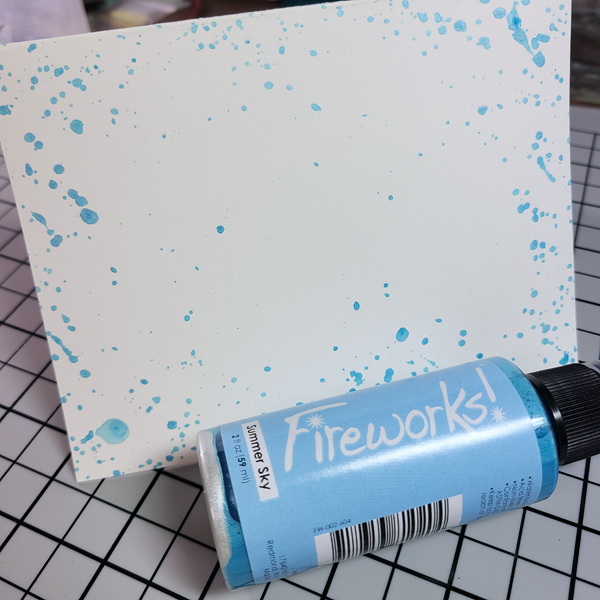
Step 13: Shake up the Summer Sky Fireworks Spray, unscrew the bottle and flick the straw on your card base to create splatters. Let dry.
Step 14: Assemble your card with Tear It Tape for the panel, and On Point Glue for the die cut sentiment.
I love how this card came out! It’s got lots of shine, but with a masculine vibe. You can change the powders and ink colors however you like to suit your needs. I love the indigo tones we’ve got going here. I hope that you’ll try making your own plaid. Thanks for stopping by. Have an inspiring day!
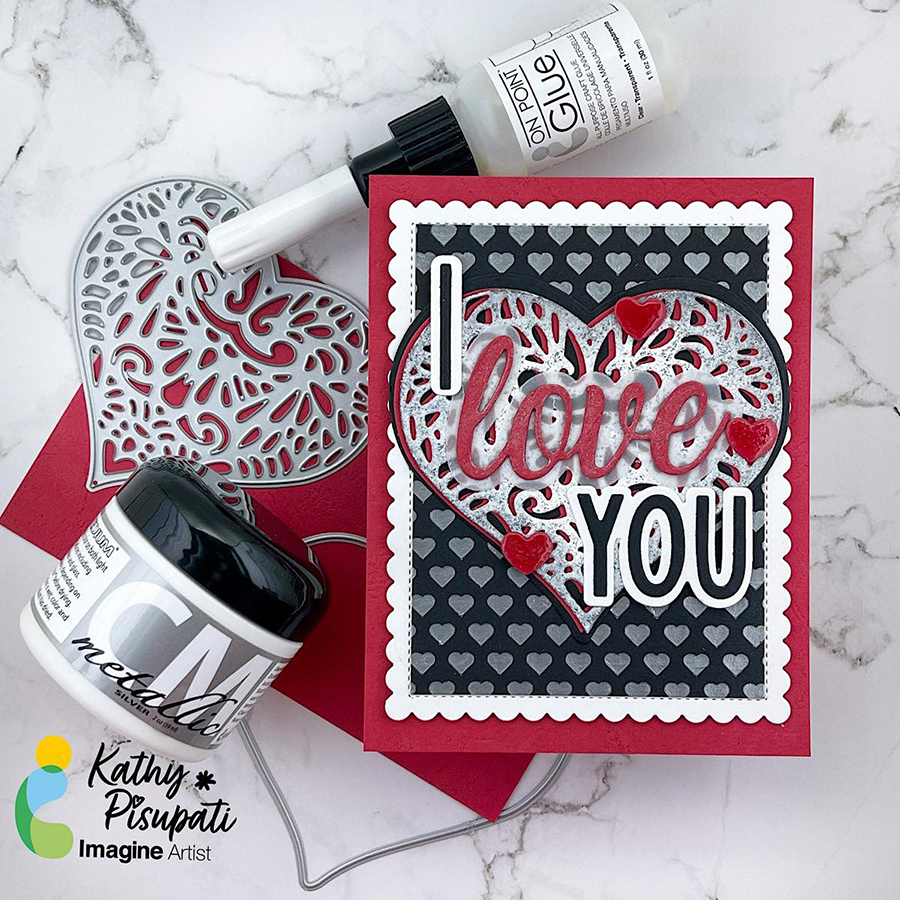
Good morning! I have a new tutorial for you using the beautiful Silver Metallic Creative Medium. It is the perfect medium to add dimension to your cards, scrapbooks, journals or any paper craft! Today I am creating a Valentine’s Day card for you so let’s get started!
Skill Level: Medium
Time to Complete: 1.5 hour
Directions:
Step 1
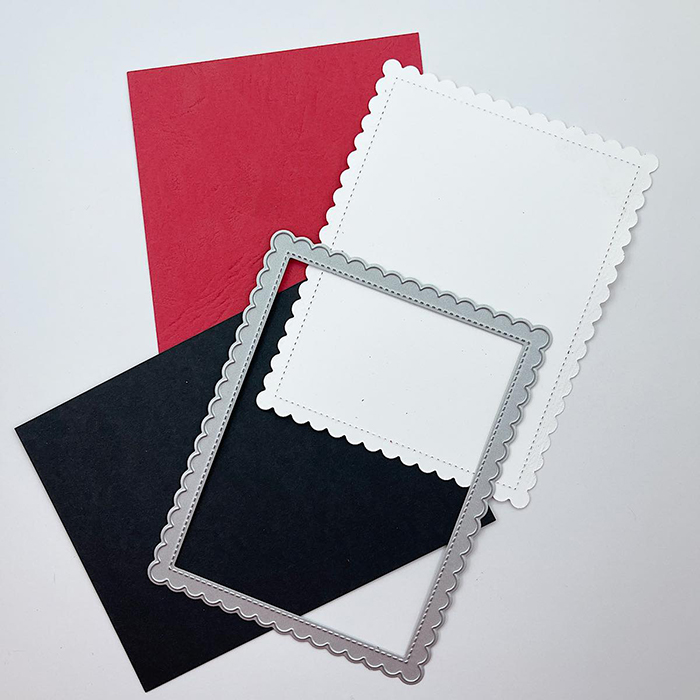
Cut, score and fold a piece of red card stock to create an A2 top-folding card base. Die-cut a piece of white card stock using the scalloped rectangle from the Gina K Design’s Master Layout 4 die set. Cut a piece of black card stock to roughly 4.25” x 5.5”
Step 2
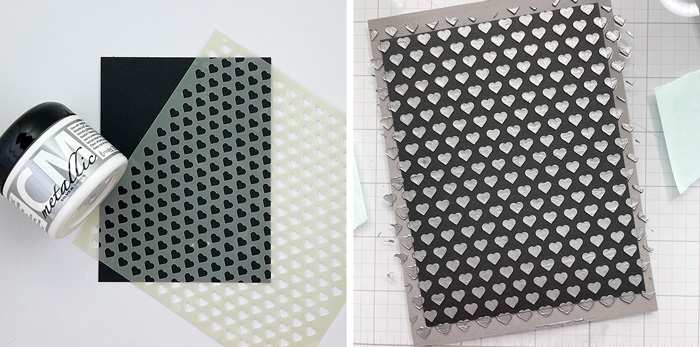
Tape your stencil to the black card panel. Using and Imagine Crafts Spatula and the Silver Metallic Creative Medium, swipe the medium over the entire panel. Remove and clean your stencil and allow panel to dry. Once dry cut the panel to 3 3/8” x 4.5”.
Step 3
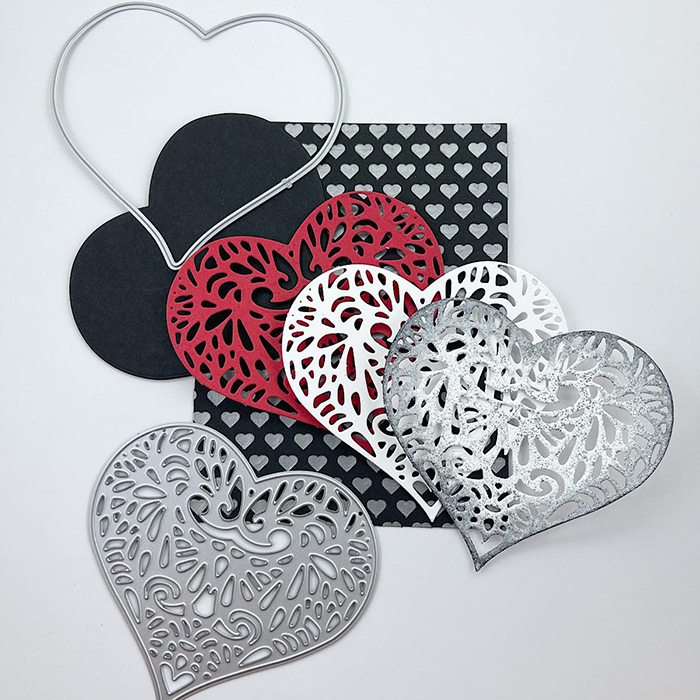
Using the Lacy Layered Heart Die from Kat Scrappiness cut 2 white hearts, 1 red and use the solid heart die to cut a heart from black card stock. Now we will emboss one of the white hearts. Cover the heart with VersaMark watermark ink and then sprinkle with your choice of embossing powder. I used WOW Antique Silver Powder. After heat embossing I glued the two white panels together with On Point. The using Imagine Craft Mixed Media Brush I blended some Versafine Clair Nocturne Ink around the edges. Then offset the red heart and glue it on. This was then glued to the center of the black, solid heart.
Step 4
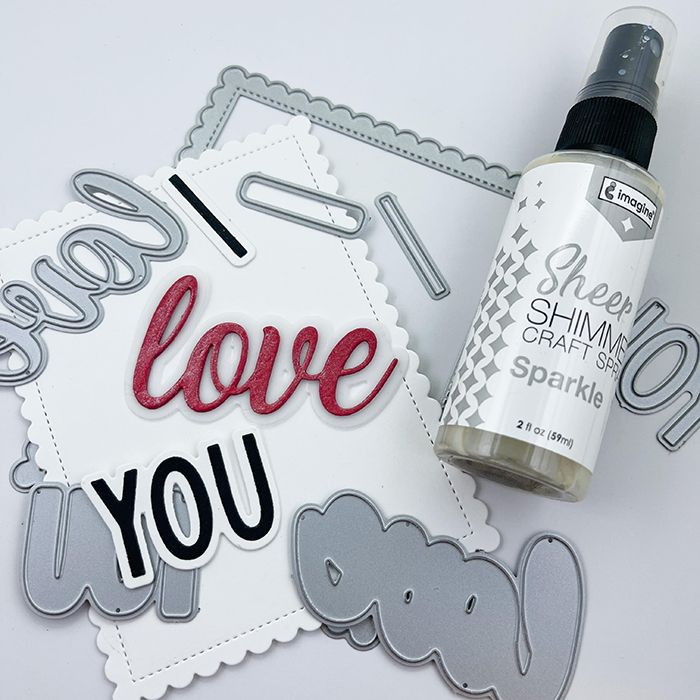
From the same red card stock cut three of the word LOVE from the Kat Scrappiness I Love You Sentiment w/Shadow. I cut the shadow from vellum. I spritzed the word LOVE with Sheer Shimmer Craft Spray in Silver. Cut the I and the YOU from black card stock and the shadows from white. Glue these together.
Step 5
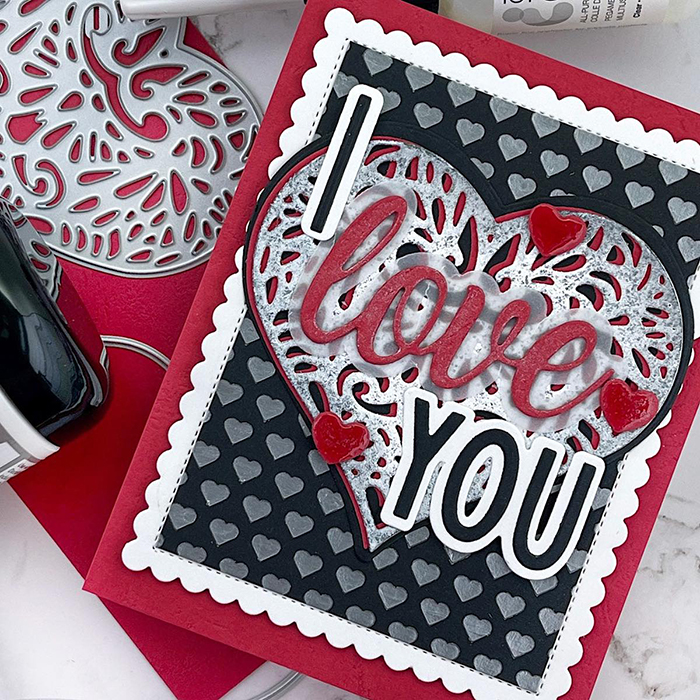
I also cut a few hearts using the die from Concord & 9th’s Sweet Summer die set and the red card stock. I covered them with Glossy Accents and used them as embellishments. For assembly I glued the main heart towards the top of the stenciled panel. the words were glued directly to the heart. For any of the sentiment that hung over the edge, I added a small piece of foam tape. Foam tape was added to the entire panel and then adhered to the red card base.
Thank you so much for stopping by and checking out this tutorial. I hope you have an amazing crafty day and a wonderful Valentine’s Day!