See how to use a variety of inks to create a stunning card using layering stencils and Fireworks! as an embellishment. Layering stamps have been around for a few years, but recently a few companies have come out with layering stencils that match stamp sets. It takes a bit more time, but the results are phenomenal and I find that the placement is just a tiny bit easier. For a finishing touch, The Essential Glue Pad produces the look of foil without the need for heated plates or a laminating machine, a win in my book!
Skill: Intermediate
Time: 1 Hour
Directions:

Step 1
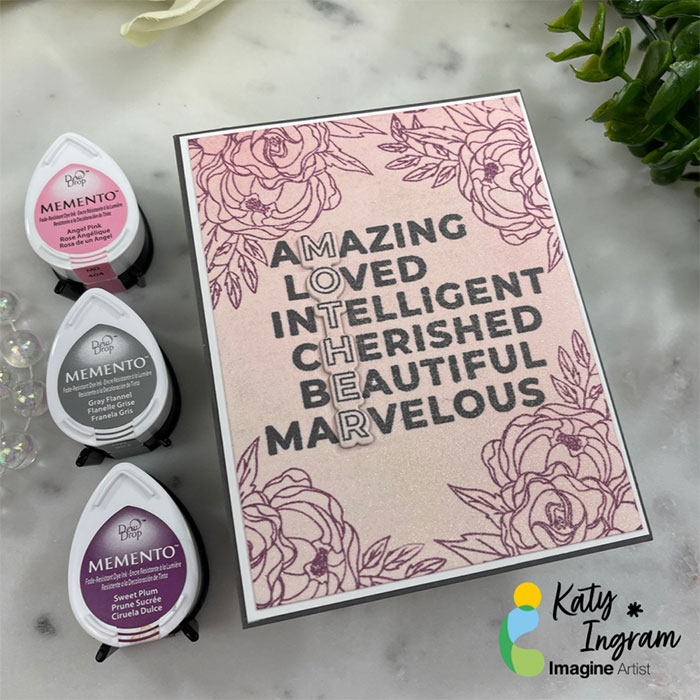
Stamp Pink Fresh Painted Peony Mix in Delicata Golden Glitz and heat emboss with Iridescent Embossing Powder. I placed the stamp at a 45 degree angle on my stamp platform, as the stamped image is longer than most platforms. This technique creates enough images for at least three cards!

Step 2:
Most Peonies are white or light pink. I choose Memento Angel Pink and used a heavy hand with the ink dauber to ink the first stencil. Using an ink dauber allows for a bit of shading in the process as well. Each stencil has registration marks to allow precise placement.

Step 3:
The next stencil in the series colors the complementary flowers in the design. Memento Dandelion Yellow is inked with an ink dauber, again with a heavy hand.
Step 4:
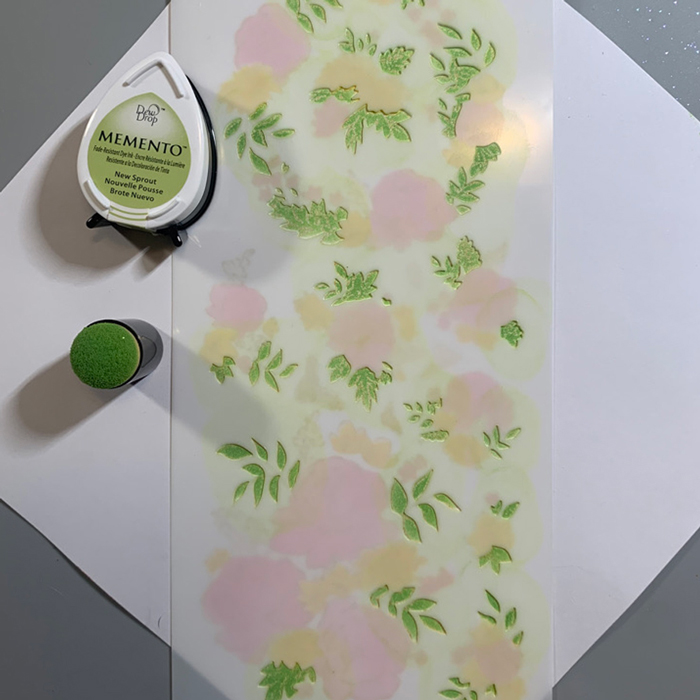
The next layer creates the leafy background. It is inked with Memento New Sprout.

Step 5:
To shade in the fourth layer of color I used VersaColor Orchid. As you can see the images are coming together.
Step 6:
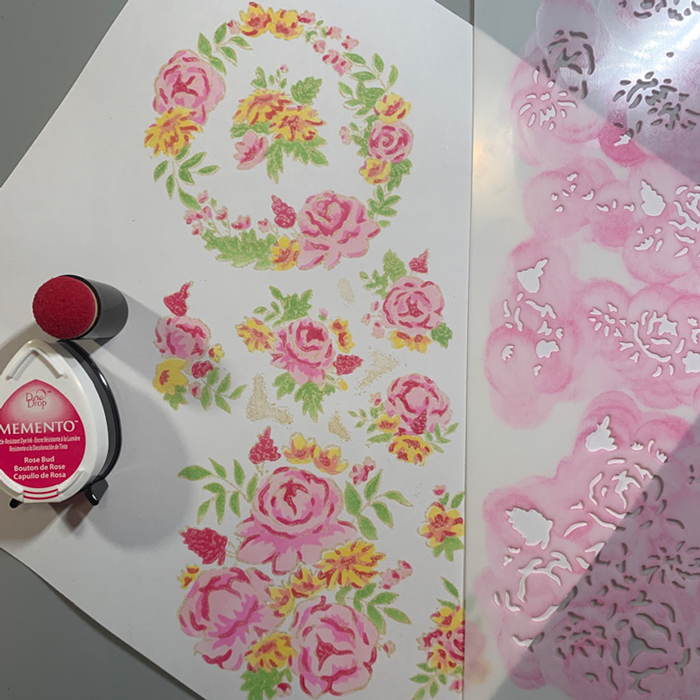
Each successive layer adds more dimension, so pretty! Memento Rose Bud is added in this layer.

Step 7:
Small pieces of removable tape are placed on the flowers that I preferred to accent with something other than the Memento Cottage Ivy used on the leaves.

Step 8
To finish the flowers, Memento Sweet Plum was inked through the previously covered sections of the stencil.

Step 9
Die cut with the matching die. All nine pieces cut at the same time!
 Step 10
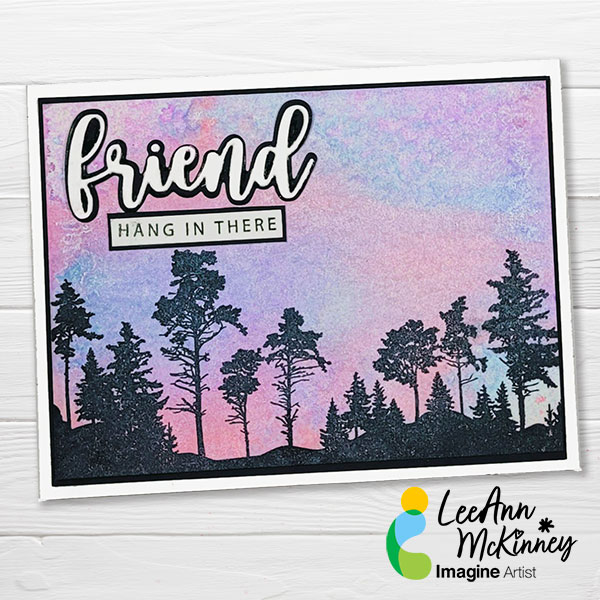
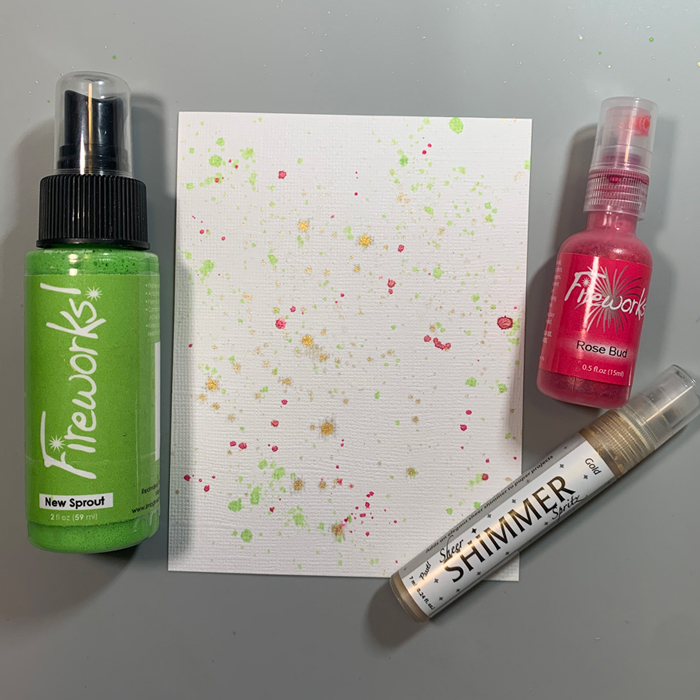
Trim a section of white linen textured cardstock to 4” x 5.25”. Shake each Fireworks! and Shimmer spray until the fine shimmer particles are dispersed in the bottle. Remove sprayer nozzle and tap gently to add color sprays around the white cardstock. This method produces larger droplets that are not as closely placed together as compared to using the direct spray technique.
Step 11
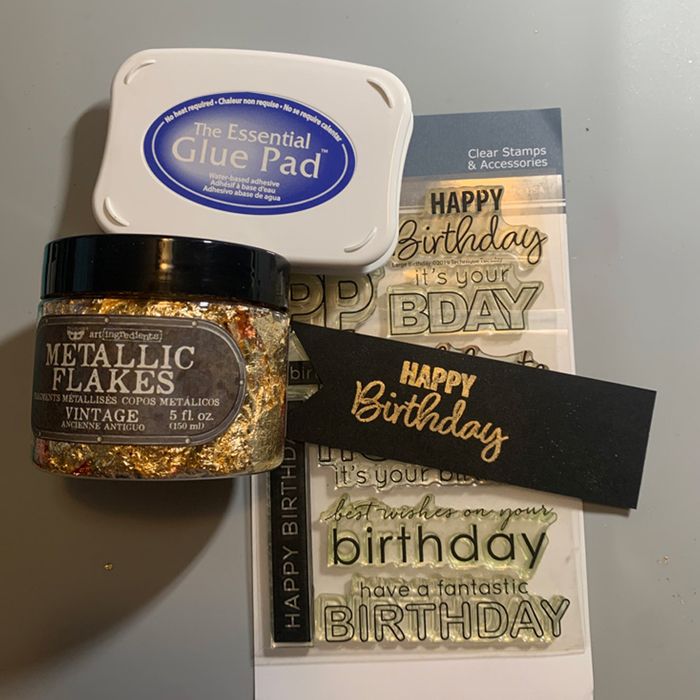
Stamp the sentiment on a piece of black cardstock with The Essential Glue Pad and gently place Metallic Flakes over the glue. Use a brush to remove larger pieces of Metallic Flakes and return to the jar. A paper towel will clean up the rest of the image. Trim to desired shape, in this case a fishtail banner.
Step 12
Trim black cardstock to 5 3/8” x 4 1/8”. Adhere layers together on a A-2 size card base with Tear It! tape. The flower bouquet is adhere with dimensional foam adhesive.
Art Supplies
Imagine
• Delicate Golden Glitz
• Iridescent Embossing Powder
• Memento–Angel Pink, Dandelion, New Sprout, Rose Bud, Cottage Ivy
• VersaColor: Orchid
• Fireworks!–Rose Bud, New Sprout
• Sheer Shimmer Spray Gold
• Tear It! Tape
• Sponge Daubers
Other
• Pink Fresh–Painted Peony Mix Stamp, Stencil Set, Die
• Black and white cardstock
• Stamp Platform
• Heat Embossing Gun
• Paper Studio Fish Tail punch
• Painter’s tape
• Prima Art Ingredients Metallic Flakes Vintage
• Small paint brush
• Dimensional Foam Adhesive
• The Essential Glue Pad