Create Beautiful Mixed Media Artist Trading Coins

by Kassy Tousignant

Artist Trading Coins are very popular right now and so fun! I love having different shapes to work with to create fun projects. Of course, Imagine supplies pair perfectly with these ATC Coins to create a cute banner to decorate your space. Use Fireworks Shimmery Craft Spray and Creative Medium to apply great colors and textures to your background. StazOn Ink is always the perfect choice when you need a permanent ink for your mixed media project.

Skill: Advanced
Time: 1 hour + dry time

Directions

Supplies

Imagine
Other
  • Unity Stamp Co- sentiment stamp
  • Washi tape
  • Stencils
  • DecoArt – matte medium
  • Elizabeth Craft Designs – moonbeam glitter
  • Twine
  • Prima – flowers
  • Fringe ribbon
  • Heavy gel
  • Office clips

Create a Home Décor Using Leftover Letter Stickers

by Elina Stromberg

We scrapbookers and card makers love letter stickers. And we have lots of them. However, after using the sticker sets for writing card sentiments and scrapbook titles we end up with a growing pile of sets with only a few letters left. This project idea takes those single letter stickers of varying patterns, colors, and size into a new use. Choose your favorite inspirational quote and favorite colors to create this fun project!

Skill: Beginner
Time: 1 hour + drying time

Directions


Step 1

Select letters from various sticker sets to write your quote. Form words and glue letters on a white painting board or canvas.


Step 2

Cover the letters with white gesso. Apply a few thin layers letting the layers dry in between.


Step 3

Color the letters with VersaFine Clair ink. Use one or several colors of your choice. Let dry. Decorate with sequins, seed beads or stamped patterns.

In addition to the whiteboard I decided to do another version of the quote board with a colorful background and white letters: I placed the loose letters on my craft mat, painted them with gesso, colored the background, and as the last step glued the letters on my board. The background is heavy watercolor paper, and I painted it with a few Fireworks! inks. That shimmering watercolor look creates a beautiful contrast to the simple white letters!

Supplies

Imagine
Other
  • White gesso
  • Painting board or heavy watercolor paper
  • Glue
  • Sequins

Create a Vibrant Night Sky for Halloween Card

by Melissa Andrew

Create a Vibrant Night Sky for Halloween Card

Blended faded backgrounds on cards are beautiful and in this video, I show you how I create a night sky using a stencil and VersaFine Clair inks. These inks are blendable and have such bright vibrant colors and are perfect for making your night sky pop!

Skill: Intermediate
Time: 30 minutes

Directions


Supplies

Imagine
Other
  • Clarity Stencil – Birch Tree
  • Suzy Stamps – Bats Flying By, Bats in Belfry, Ghost Vamp, Pumpkin Smiling
  • Paper Trimmer
  • Heat Tool
  • White Card – Bristol Smooth
  • Black Card
  • Vellum

Create Quick and Easy Advent Calendar Gifts

by Roni Johnson

Create Quick and Easy Advent Calendar Gifts

It’s never too early to start preparing for the holidays to help avoid the rush. Today I have a fun and easy upcycled project for the little ones in your life – a Toilet Paper Roll Advent Calendar. Now I just have to save up 20 more toilet paper rolls!

Skill: Beginner
Time: 1 hour

Directions


Step 1

Buy or collect 25 paper rolls for the 25 days of the advent calendar.


Step 2

Bend the ends of each roll towards the center to make a “pillow box”.


Step 3

Spritz the rolls with Lady Bug, Bamboo Leaves and Wedding Dress irRESISTible Texture Spray. Let dry before moving on to another color.


Step 4

Dye rayon seam binding with All-Purpose Ink in Spring Green and Red Delicious.


Step 5

Stamp white cardstock with a variety of Christmas-theme images using VersaMagic inks. Die-cut circles from the stamped cardstock. Stamp a large number stamp in the center of each circle using VersaFine Clair ink.


Step 6

Sprinkle the circles with clear embossing powder, shake off excess and set with a heat tool. Die-cut scallop circles from Rinea Foiled Papers.


Step 7

Fill and assemble each pillow box with a treat; affix the ribbon around the box using Tear It! Tape and top it off with the number.

Supplies

Imagine
Other
  • Paper Rolls
  • Rinea Foiled Paper – Ruby/Gold Glossy Foiled Paper, Emerald/Gold Glossy Foiled Paper; Emerald/Emerald Starstruck Foiled Paper
  • Rayon Seam Binding
  • Rubber Stamp Tapestry Peg Stamps – Gingerbread Man, Gift, Candy Cane, Stocking, Holly Club Scrap – Number Stamps
  • Cardstock

Create a Reversible Naughty or Nice Christmas Stocking

by Jennifer Vanderbeek

Create a Reversible Naughty or Nice Christmas Stocking

Getting a head start on the holiday crafting rush, I decided to sew up a quick stocking and decorate the linen cuff with Fabrico markers, All-Purpose Ink, and some heat-embossed accents. While deciding just how I wanted to do the embossing I tried out a lot of products: VersaMark, Delicata, and Creative Medium to name the top three contenders, but I decided that the fine details that On Point Glue afforded made it the best choice for this project. Because of the heat embossing, you want to make sure that the area you’re decorating is a fabric that won’t melt when you hit it with the heat tool. Linen, cotton, canvas, or wool (the natural, sheepy stuff, not the polyester kind) should all work just fine, but you might want to test a small piece before getting too far into decorating your stocking.

Skill: Advanced
Time: 1 hour + dry time

Directions

Supplies

Imagine
Other
  • Stocking blank (or materials to make your own)
  • Pencil
  • Watercolor paper
  • Darice – Heat tool

Check Out This Fun Mixed Media Door Hanger Project

by Steph Ackerman

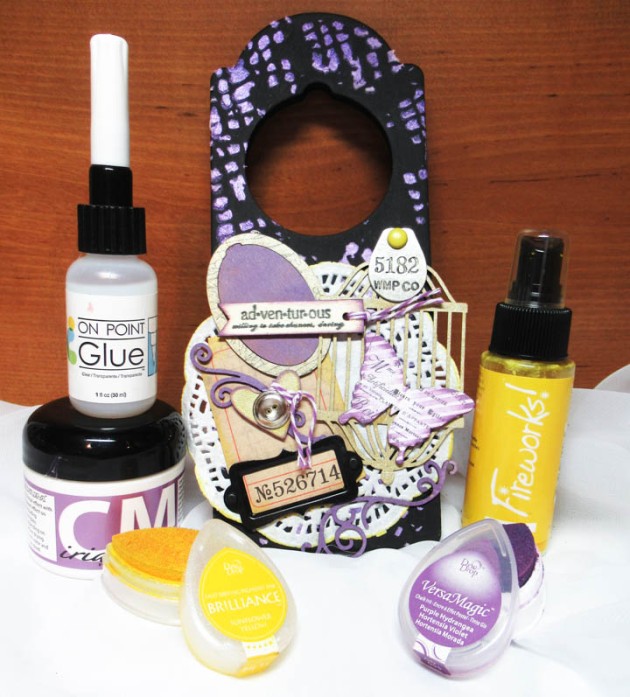
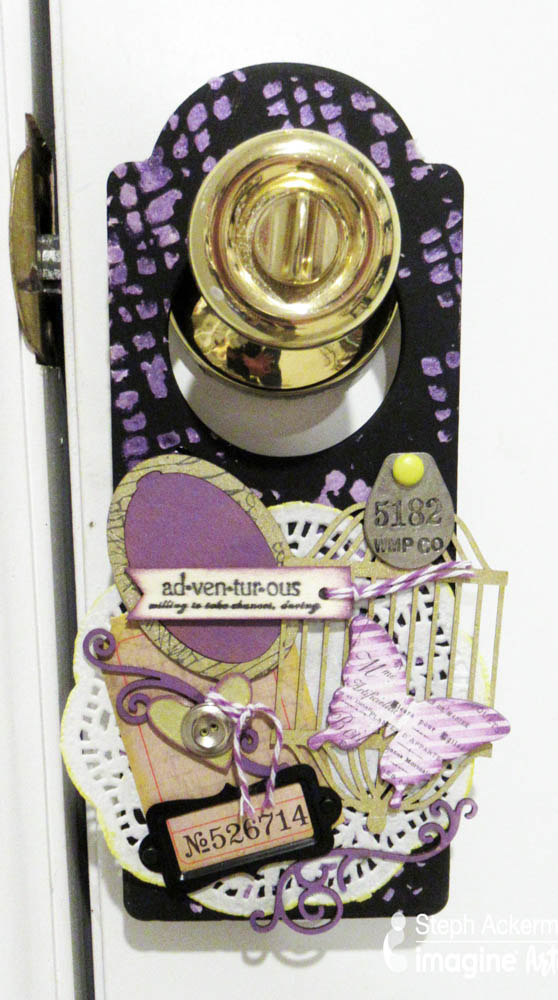
Mixed media projects consist of a variety of projects in all shapes and sizes. Mixed media means you can mix an assortment of products to create a one of a kind piece of artwork. So decide on your base, grab some items from your stash, several colors of ink, a stencil and let your imagination flow. Create with no expectations and see what happens. In today’s tutorial, I put together a beautiful door hanger in a lavender and dandelion color scheme.

Skill: Intermediate
Time: 1 hour + drying time

Directions


Step 1

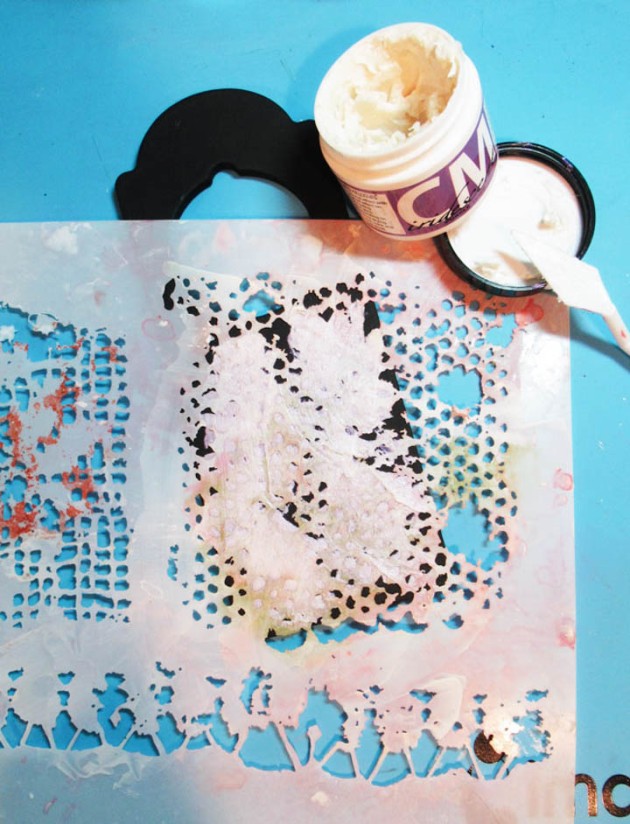
Paint door hanger with black gesso; alternatively use a black door hanger. Place stencil on top. Use Creative Medium with a palette knife randomly about the door hanger. Allow to dry thoroughly.


Step 2

Ink assorted chipboard elements with VersaMagic in Purple Hydrangea and Brilliance in Sunflower Yellow, or choose the ink colors that speak to you.


Step 3

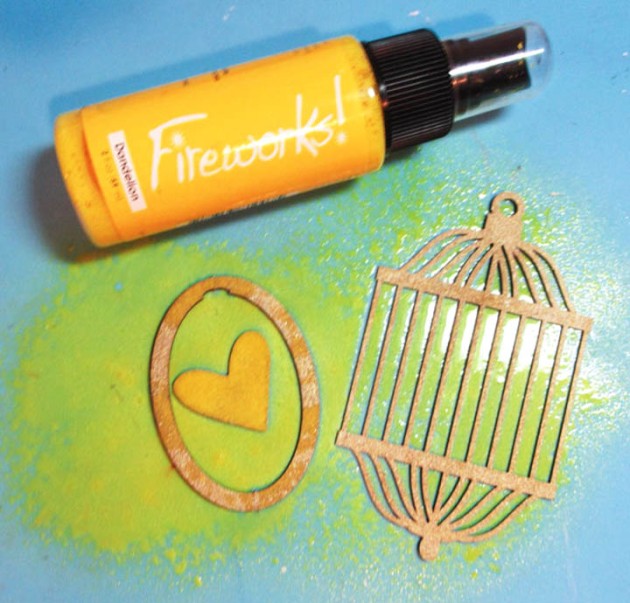
Add shimmer by spritzing several chipboard elements with Fireworks Shimmery Craft Spray in Dandelion.


Step 4

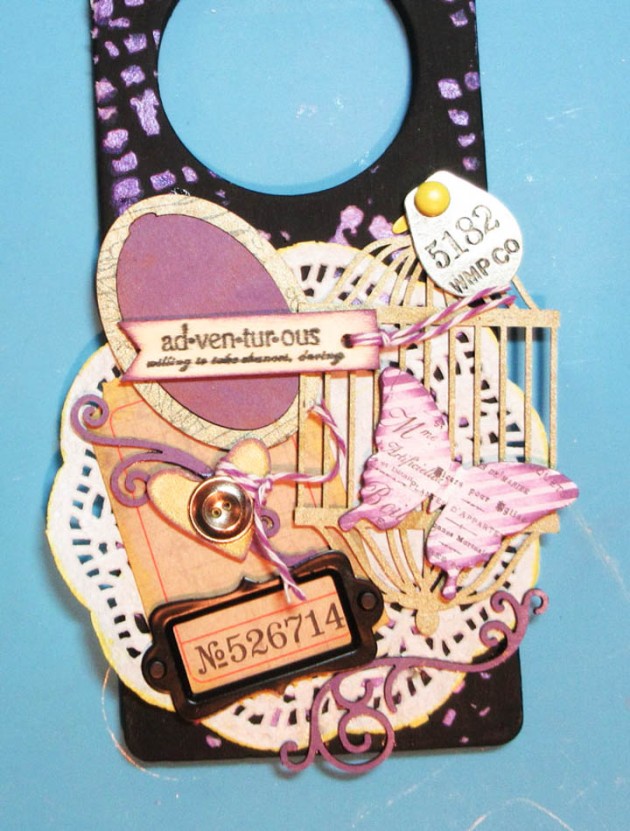
Stamp a phrase using VersaFine Clair in Nocturne on a wood sign. Ink a portion of the image stamp with VersaFine Clair in Nocturne and stamp around the oval chipboard element.


Step 5

Using the doily as the base, determine the position of each element. Use On Point Glue to adhere the elements. Glue doily to door hanger. Wrap twine around the heart and adhere. Add twine to the stamped tag and adhere.

Supplies

Imagine
Other
  • Door Hanger
  • The Crafter’s Workshop – Stencil
  • Unity Stamp Co. – Stamp
  • Paper Doily
  • Metal, chipboard elements
  • Black Gesso
  • Twine