See How to Create Stunning Card Design on Black Paper

by Arjita Sepaha Singh
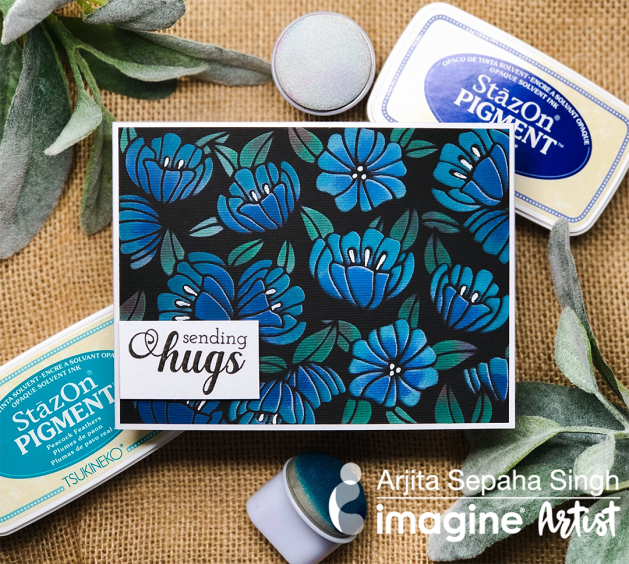
See How to Create Stunning Card Design on Black Paper

For today’s card, I used the new StazOn Pigment inks to create this stenciled floral background. I love the way StazOn Pigment Ink looks on dark/black card stock. This is a very easy and simple card to make because the ink is so vibrant. I used my old daubers to add the pigment on my black card stock if you do not have old dauber then consider using an InkBlusher. To make an impact on this design, I first added white ink and then the colored ink on top. This gives me a brighter vibrant impression and I like it a lot. I used a sentiment “sending hugs” stamped in black and added few details to the inside of the flowers with my white gel pen to finish the card.

Skill: Beginner
Time: 20 minutes

Directions

Supplies

Imagine
Other
  • Cardstock – Black, White
  • Altenew – Floral Garden Stencil
  • Misti Stamping Tool

See How to Upcycle a Tea Tin with Walnut Ink

by Kassy Tousignant

See How to Upcycle a Tea Tin with Walnut Ink

I love upcycling old, found items. In today’s video, I give this tea tin has a fresh new shabby chic look while still holding on to that vintage feel using the VersaFine Clair ink in Fallen Leaves paired with the Walnut ink. I love this way this turned out and hopefully, you will give this project a try.

Skill: Intermediate
Time: 1 hour

Directions

Supplies

Imagine

Walnut Ink – Walnut
On Point Glue
VersaFine Clair – Fallen Leaves
InkBlusher
Tear It! Tape

Other

• Jewels
• Patterned paper
• Metal die
• Die-cutting machine (Gemini)
• Glitter
• Tea Tin
• Paintbrush

See How to Stamp in an Embossed Surface with StazOn

by Kassy Tousignant

See How to Stamp in an Embossed Surface with StazOn

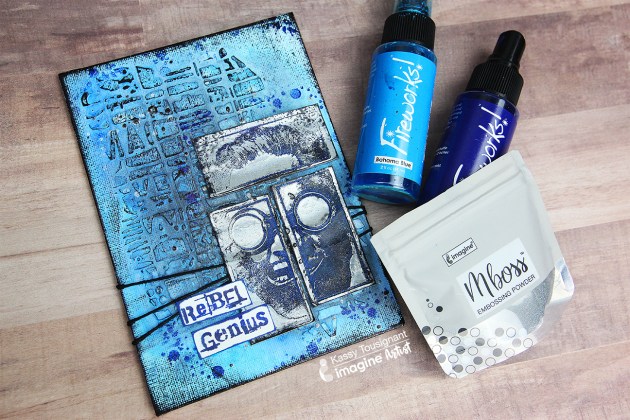
To create this cool Rebel Canvas I used the new MBoss Hologram embossing powder with a fun, classic technique to create a stamped impression in the embossing powder. The new Hologram embossing powder is soooo gorgeous and fun to use. I love that the new MBoss packaging allows for precision application and easy cleanup!

Skill: Advanced
Time: 45 minutes

Directions

Supplies

Imagine
Other
  • Carabelle Studios – stencil
  • Visible Images – stamp
  • Arteza – canvas panel
  • DecoArt Media – White gesso
  • Black twine
  • Heat Tool

Learn How to Create Galaxy Backgrounds with 2 Different Embossing Techniques

by Lindsay Adreon

Learn How to Create Galaxy Backgrounds with 2 Different Embossing Techniques

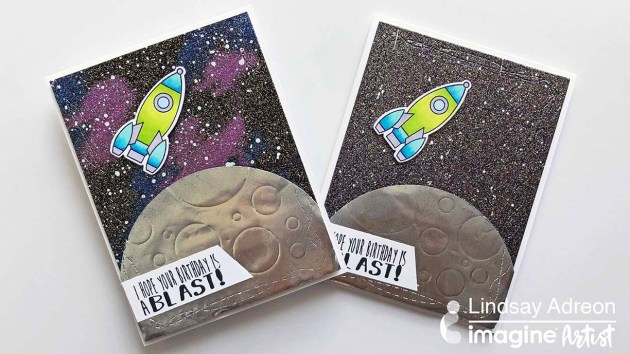
There are many ways to create galaxy/night sky backgrounds for your cards. You can use ink blending, watercolor, ink smooshing, braying, and so much more. But did you know you can create galaxy and night sky backgrounds with embossing powder? It’s such a fast and easy way to get the galaxy look! I’m using a few of the new glittery Mboss Embossing Powders from Imagine to show you how to create your own backgrounds! I hope you all enjoy it!

Skill: Intermediate
Time: 30 – 45 minutes

Directions

Supplies

Imagine
Other
  • Heat Tool
  • MISTI Stamping Tool
  • Papertrey Ink – Out of This World Mini Stamp Set & Rocket Die
  • Joy Clair Stamps – Out of This World Stamp Set
  • Rinea Silver Foil Paper
  • Circle Die Set
  • Kat Scrappiness Wonky Wavy Stitched Rectangle Dies
  • Die Cutting Machine

Learn How To Make An Intricate Wedding Congratulations Card

by Arjita Sepaha Singh

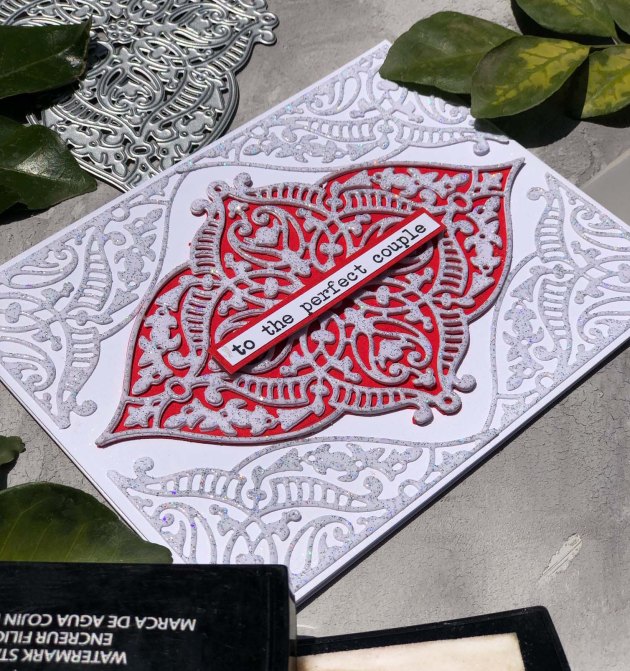
Learn How To Make An Intricate Wedding Congratulations Card using Mboss embossing powder and a metal diecut

For today’s card, I used a very intricate die that has a bit of a mandala look and the gorgeous Mboss embossing powder in Sparkle. This “To the Perfect Couple” Wedding card is super simple to create and the sparkle you get is amazing. I stacked 3 die cuts on top of each other to create a chipboard effect and added a red paper to make it look brighter and festive. I finished it with a sentiment. This design is perfect for wedding invites & envelopes.

Skill: Intermediate to Advanced
Time: 45 minutes

Directions

Supplies

Imagine
Other
  • Cardstock – White, Red
  • Heat gun
  • Acrylic block
  • Intricate metal diecut
  • Diecut Machine
  • Sentiment Stamp
  • Paintbrush

Create an Underwater Scene with Mboss Shimmering Night Sky

by Melissa Andrew

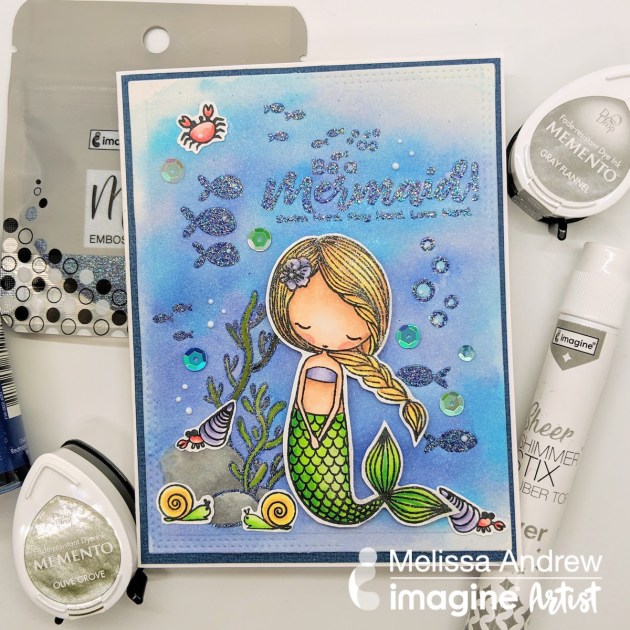
In today’s tutorial, I show you how to use your Mboss embossing powder in Shimmering Night Sky to create an underwater scene. Together with Fireworks spray and Memento ink you can create a gorgeous card straight from a mermaid’s home, complete with sea critters. I show you beginning to end how to create a sea-filled, embossed, and watercolored card.

Skill: Intermediate
Time: 45 minutes

Directions

Supplies

Imagine
Other
  • Whimsy Stamps Die – Card Builder 1
  • Picket Fence Studios – Little Coral Girl stamp set
  • Heat Tool
  • Watercolor paper
  • Copic markers
  • Cardstock – White, Blue Shimmer
  • Paper trimmer
  • 6 round paintbrush
  • Antistatic tool