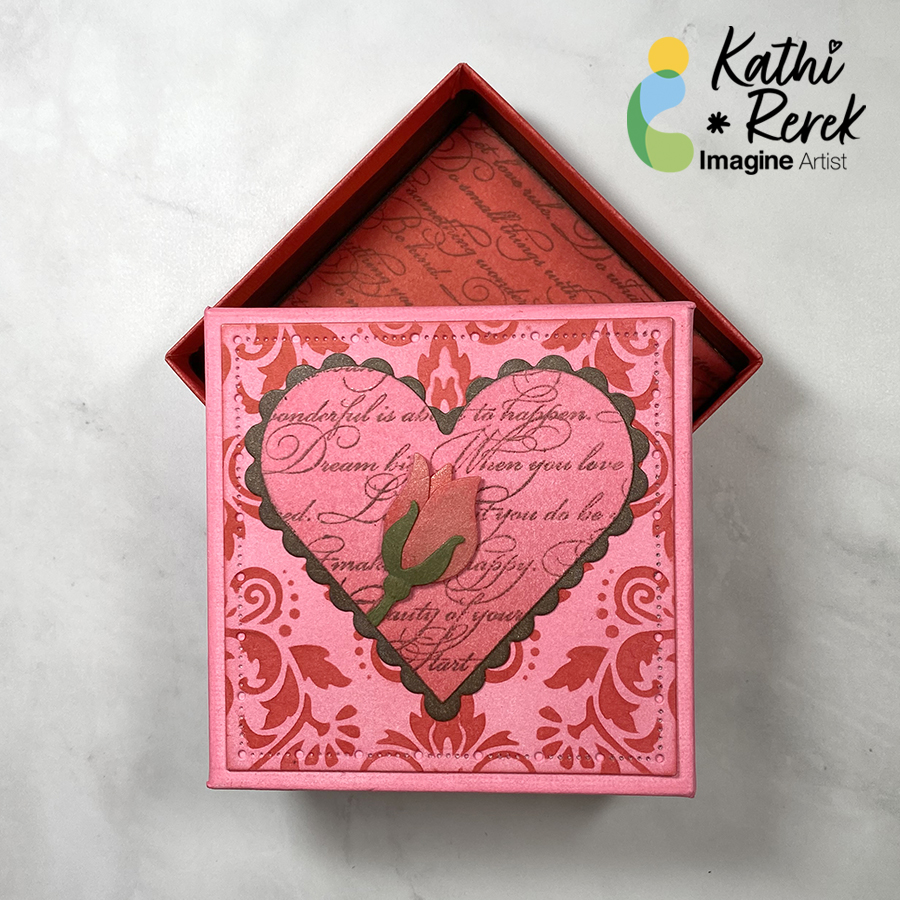
By Kathi Rerek
Keep the gift boxes you receive and decorate them to hold special gifts.
The recipient will treasure the gift and the stunning box. Great for Valentines or any occasion!
Skill Level: Intermediate
Time: 1 hour plus drying time
Directions:
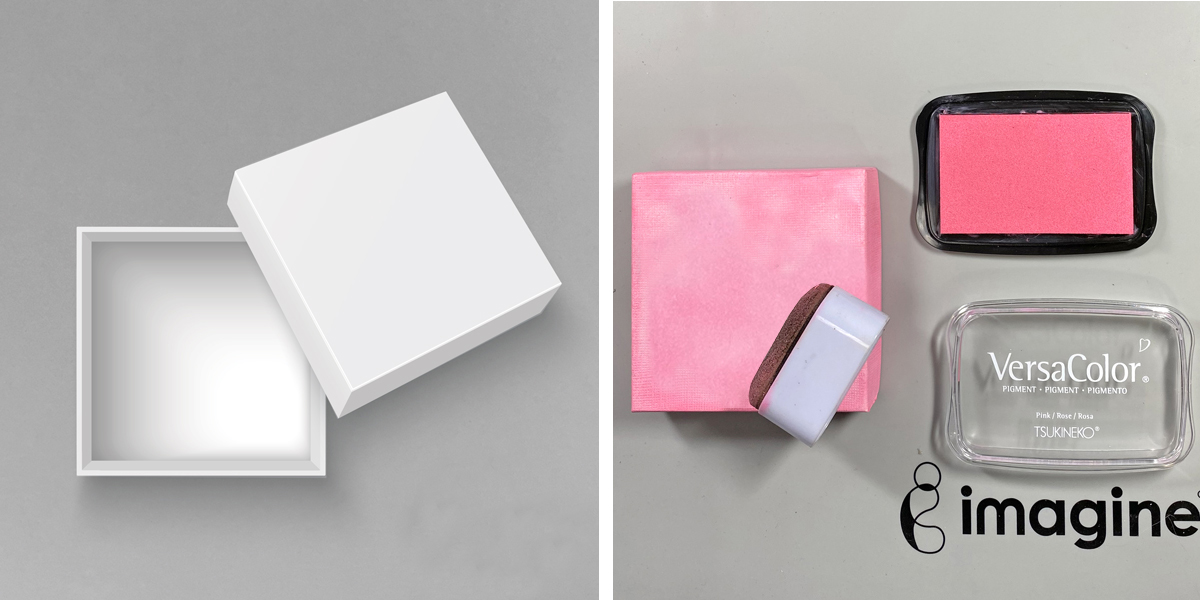
Step 1:
Using an Ink Sweeper, stamp the lid using Pink VersaColor covering the top and all sides.
You don’t need to ink the entire top of the box because you will be covering it. Heat set thoroughly. Set aside.
TIP: I use a heat tool to speed up the drying process.
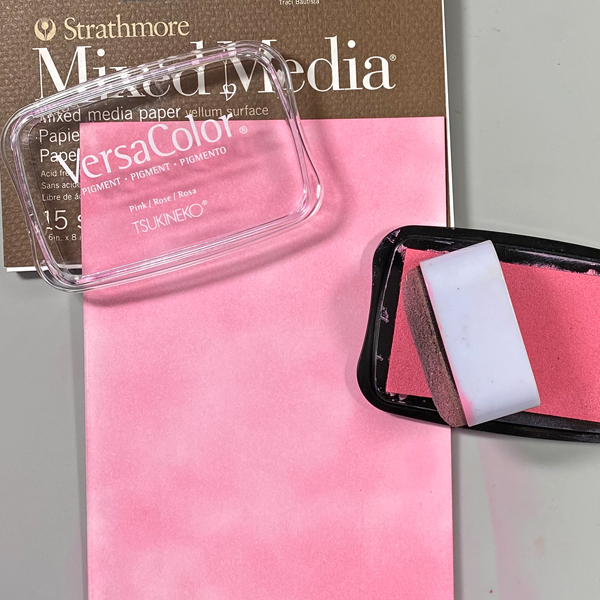
Step 2:
Trim a sheet of Mixed Media Strathmore piece of cardstock to about 3″x3″
Ink with Pink VersaColor. Heat Set.
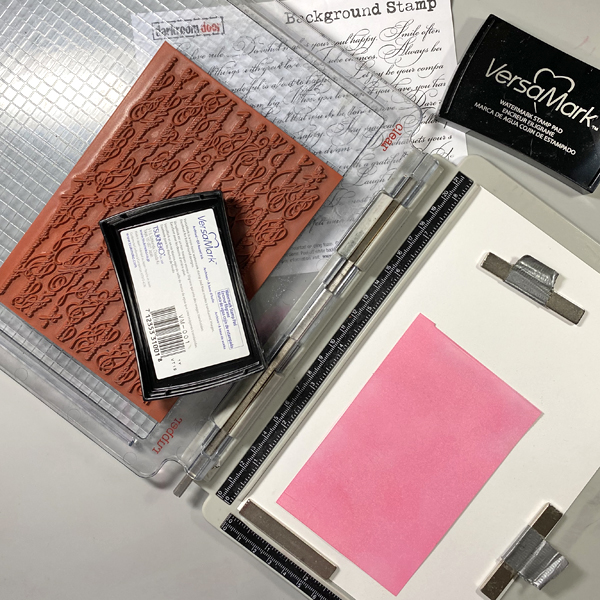
Step 3:
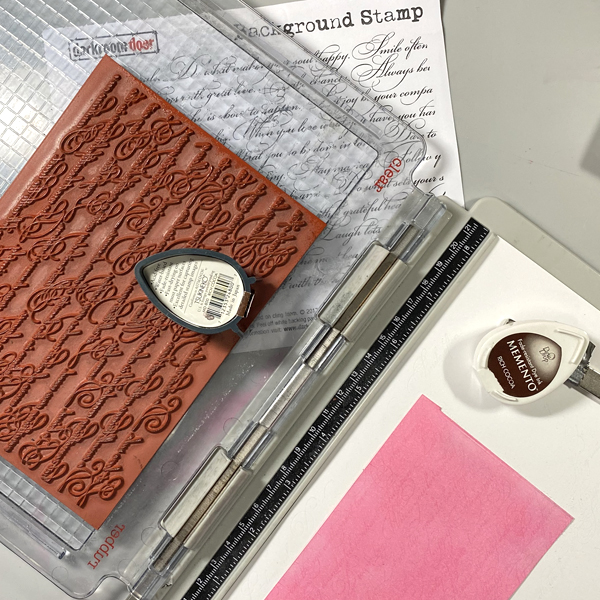
Secure the inked cardstock to the base of a stamping platform. Position your Elegant Script Background stamp and cover surface with VersaMark. It is important to use a stamp platform for this technique to ensure that the image lines up properly.
Step 4:
Ink the Elegant Script stamp with Rich Cocoa Memento ink.
Heat emboss with MBoss powder. (Photo not shown)
Step 5.
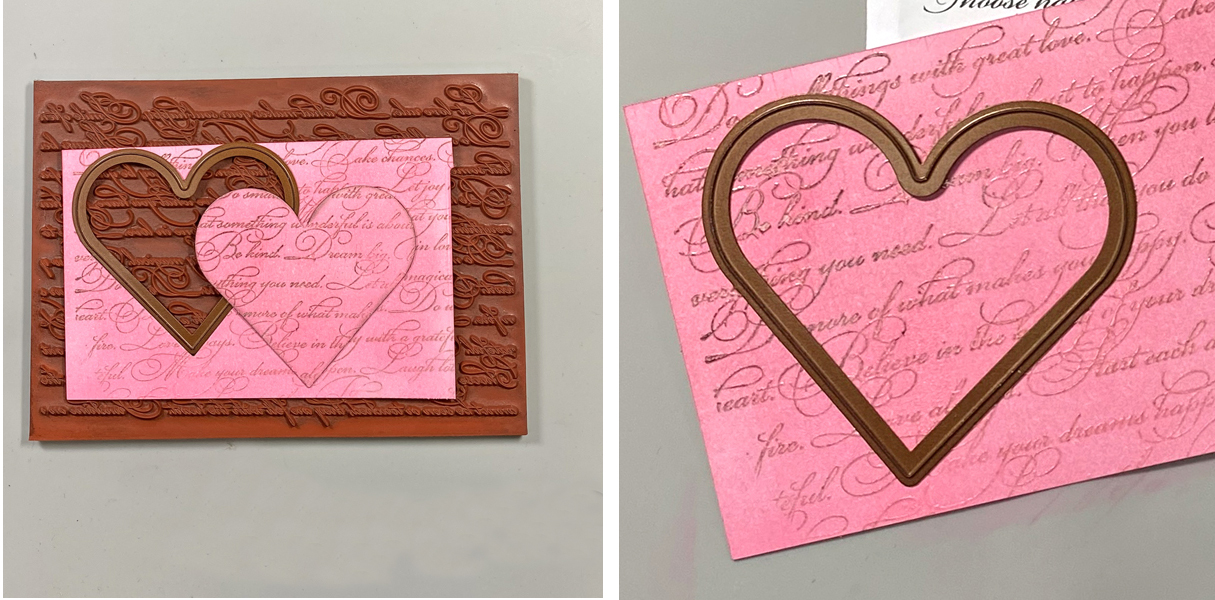
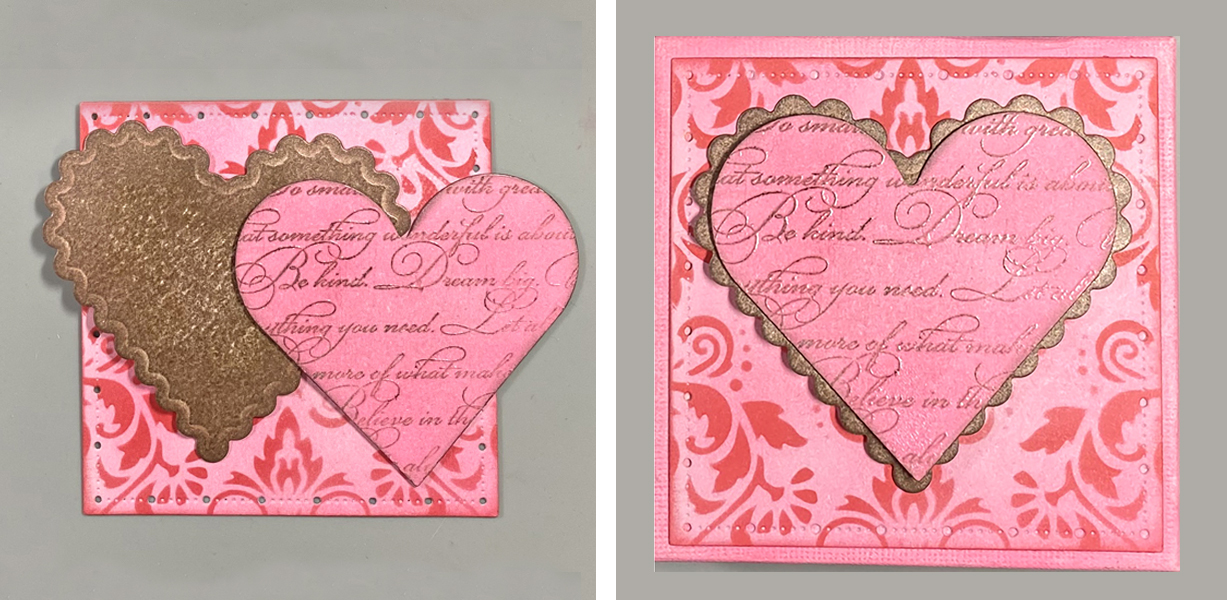
Die-cut heart using the Nestabilities Plain Heart Die Set by Spellbinders.
Pro Tip: You can use Rich Cocoa Memento Ink to edge the heart.
Step 6:
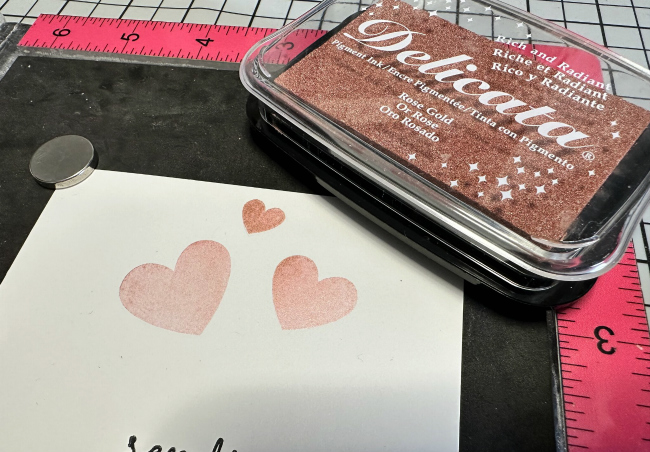
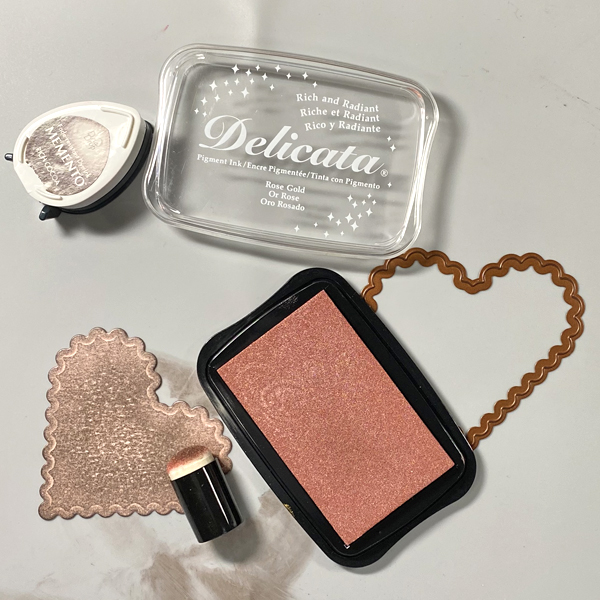
Trim a small piece of Mixed Media cardstock (about 3″x3″) and using the Scalloped Heart Die Set from Spellbinders, die-cut another heart. Ink using Rich Cocoa Memento. Heat set. Using a Sponge Dauber, apply Rose Gold Delicata ink to add a touch of rosy shimmer.
Step 7:
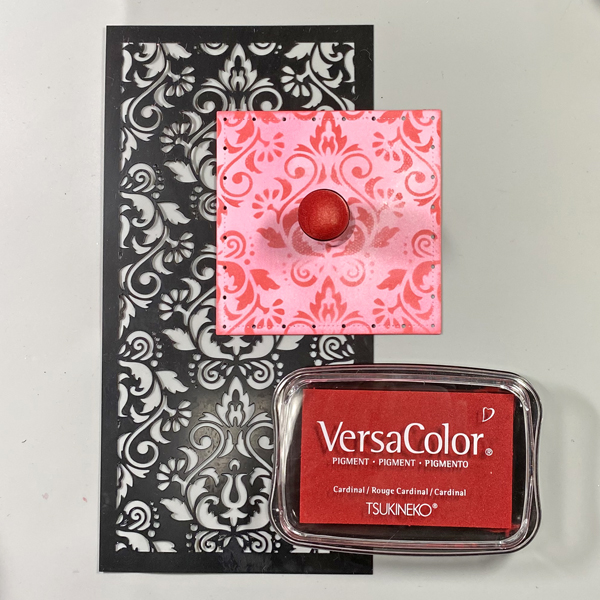
Use a square die (that’s a bit smaller than your box) to cut Mixed Media cardstock. Stamp with Pink VersaColor.
Tape the inked square to the back of the Slimline Baroque Stencil and ink with Cardinal VersaColor.
Step 8:
Tape each element using Tear-It! Tape. Set Aside.
Step 9:
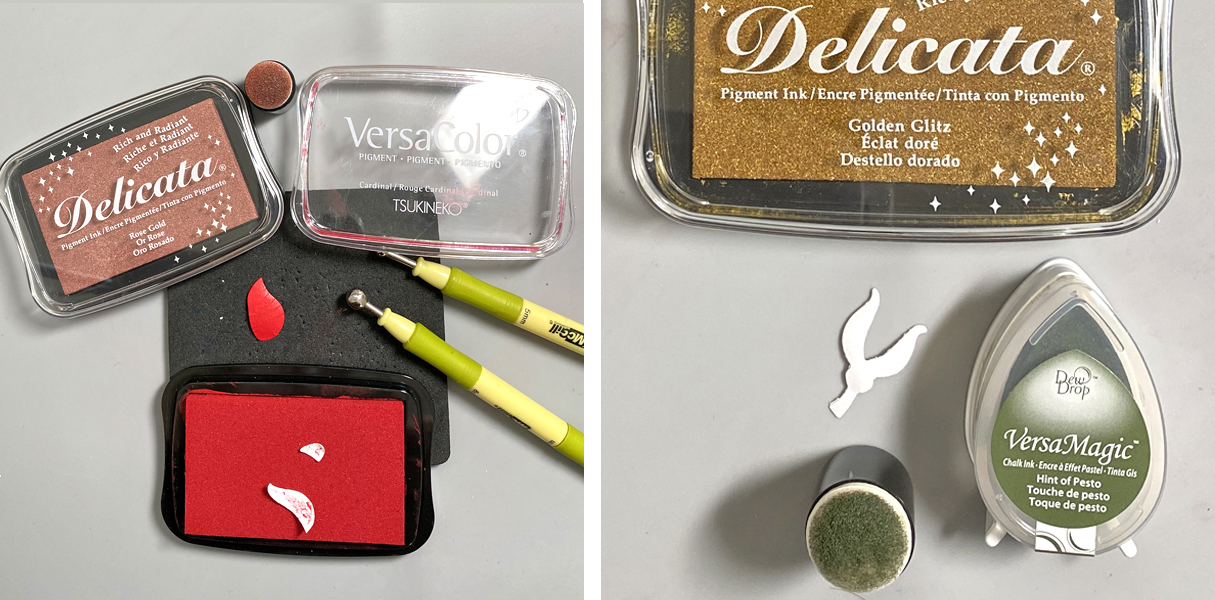
To create the rose embellishment, take a small piece of cardstock and die cut the flower pieces. The Quickutz Doublekutz Rose bud die set was used here.
Using embossing styluses can add dimension to the petals. Press the flower petals into the Cardinal VersaColor ink pad. Let them dry. Sponge with Rose Gold Delicata ink to give them some shimmer. Heat set.
Ink the stem and rose-hip with VersaMagic Hint of Pesto. Heat step. Then add a little Delicata Golden Glitz.
Step 10
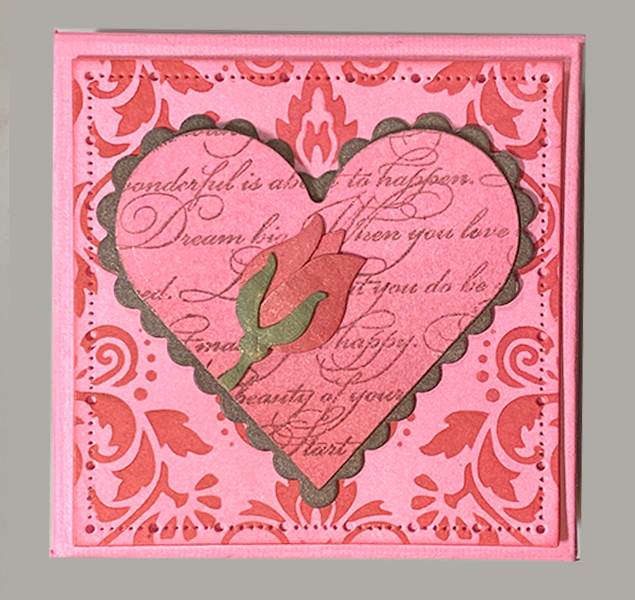
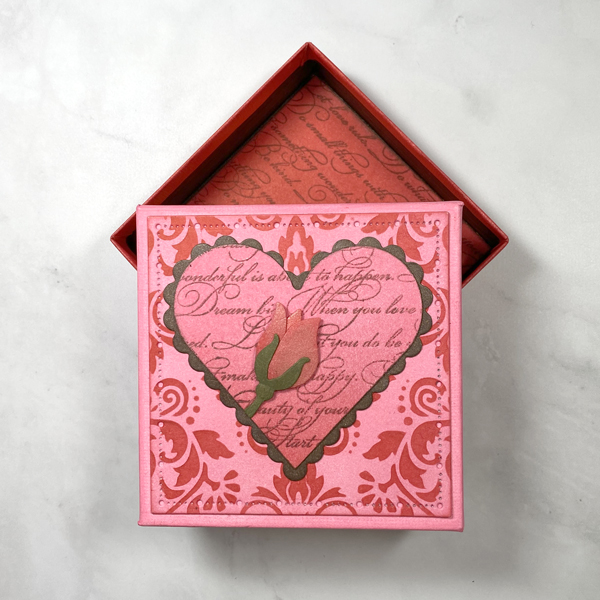
Tape rose to the top of the lid using Tear It! Tape. Now your lid is complete.
Directions – Box Bottom
Step 11:
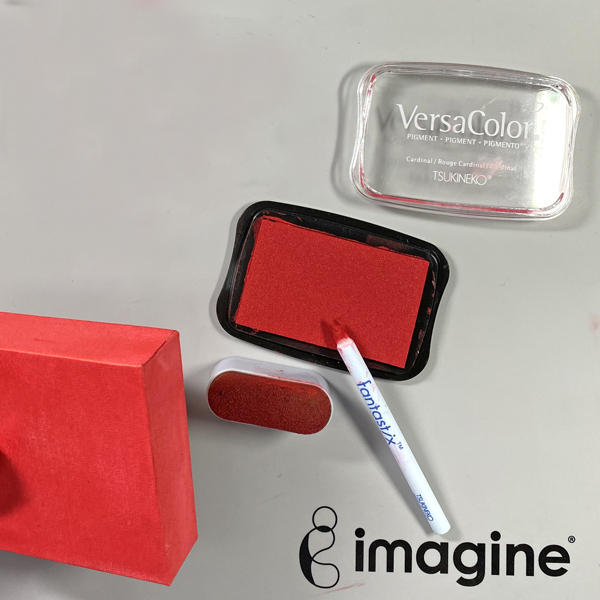
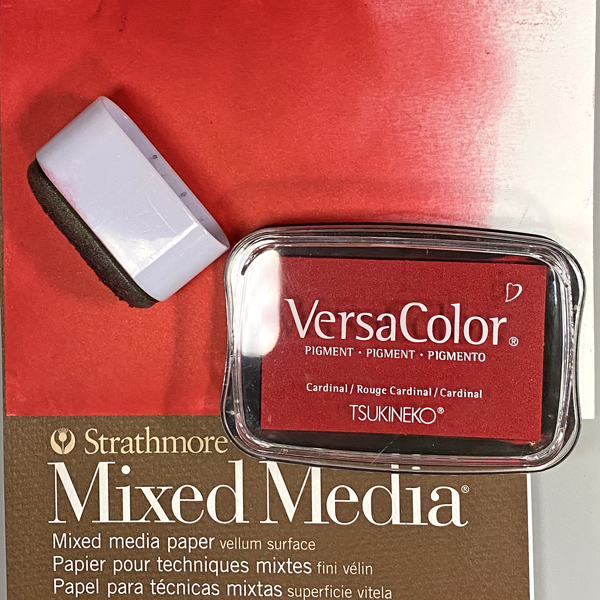
Ink box bottom with VersaColor Cardinal. Heat set.
Step 12:
Cut a piece of Mixed Media Strathmore piece of cardstock no smaller than 4″x4″.
(This piece will be used to decorate the inside of the box)
Ink with Cardinal VersaColor. Heat set.
Step 13:
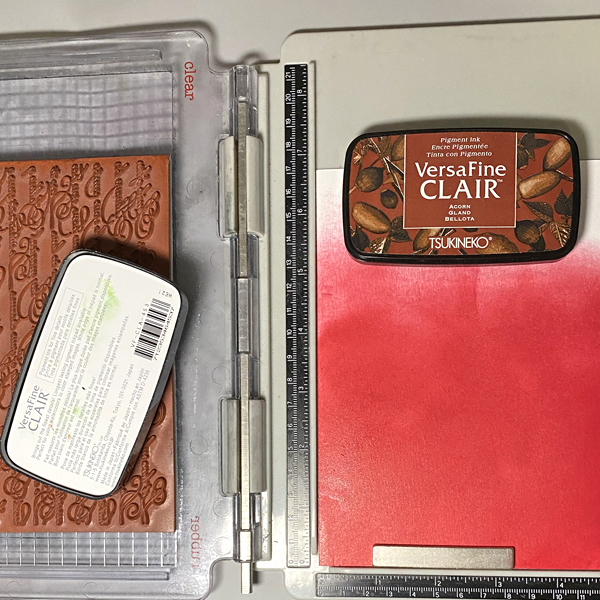
Secure the inked cardstock to the base of a stamping platform. Position your Elegant Script Background stamp and ink with VersaFine Clair – Acorn.
Step 14:
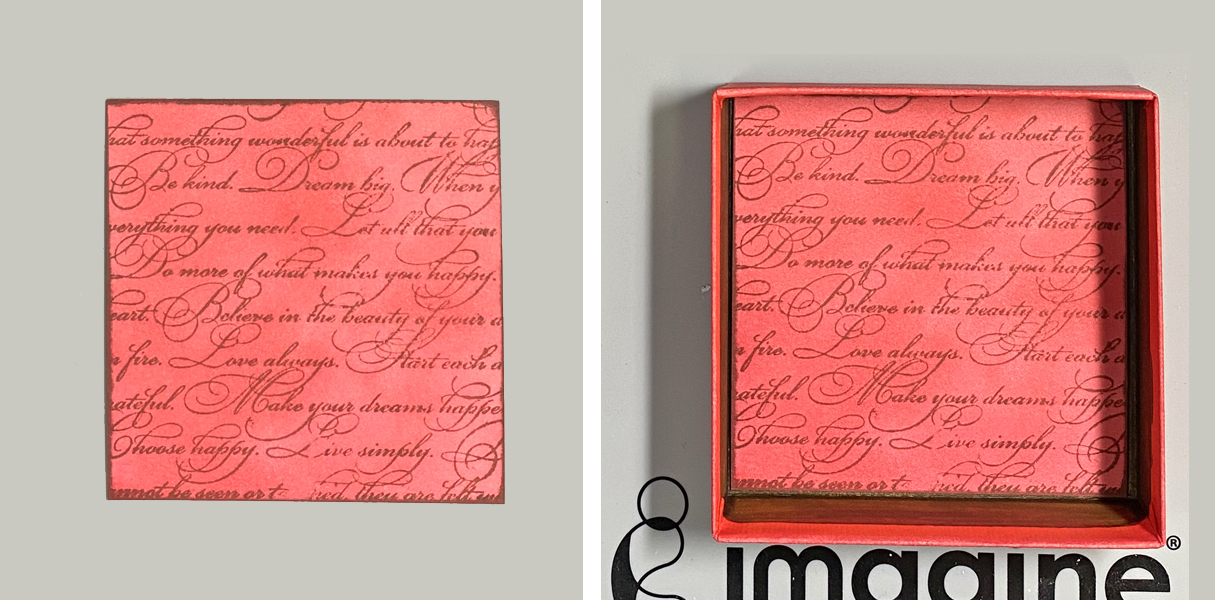
Trim the stamped red panel slightly smaller than the box. Edge with Acorn VersaFine ink and heat set. Adhere to the interior of the box with Tear It! Tape. Now your bottom box is done.
Supplies Used
Imagine:
VersaColor – Pink and Cardinal
Delicata – Golden Glitz and Rose Gold
Other
Gift Box
Strathmore – 140 lb Mixed Media Cardstock
Spellbinders – Nestabilities- Scalloped Heart Die Set
Spellbinders – Nestabilities – Plain Heart Die Set
Gina Marie Designs – Big and Little Chains Square Die Set
QuicKutz – Rose Die Set
Darkroom Door – Elegant Script Background Cling Rubber Stamp
Studio Light – Jenine’s Mindful Collection – Inner Peace Slimline Baroque Stencil
McGill – Paper Blossoms Tool Kit
EK Success – Martha Stewart Heat Gun
Sizzix – Big Shot