By Kathi Rerek
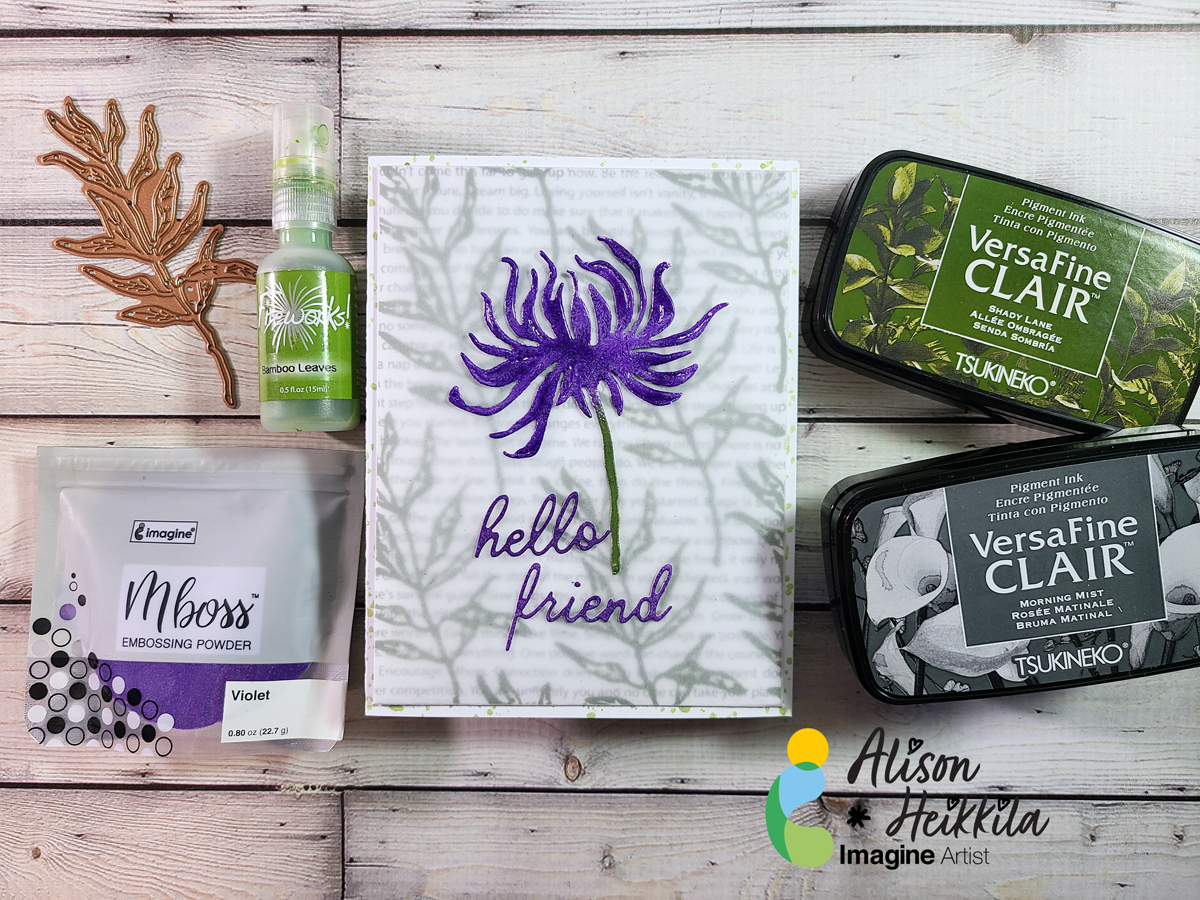
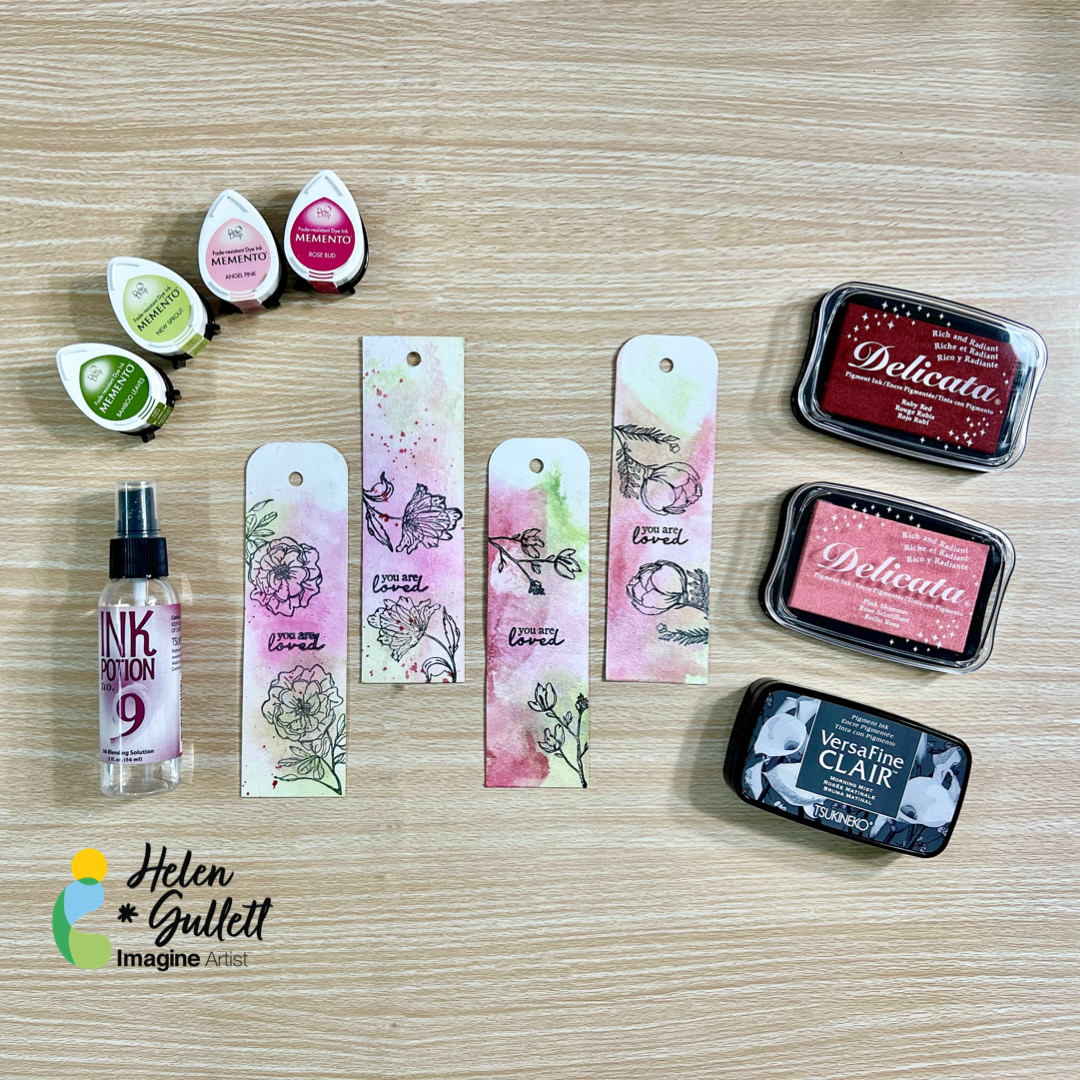
Let’s experiment with Imagine’s fabulous Walnut Ink Sprays!
Skill Level: Intermediate
Time: 1 hour

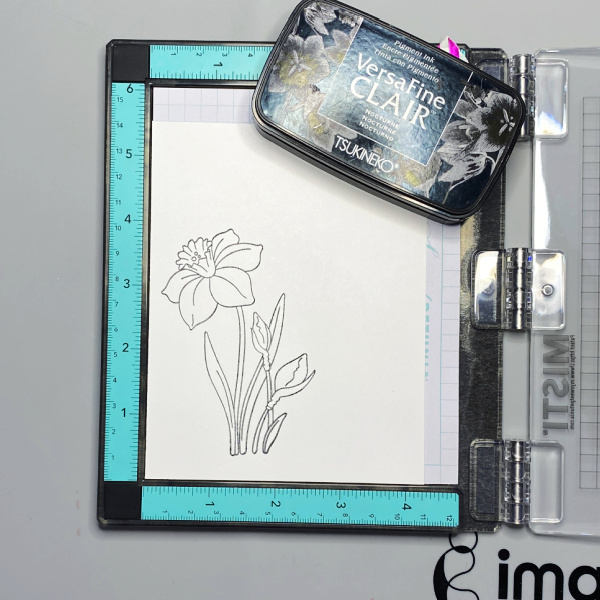
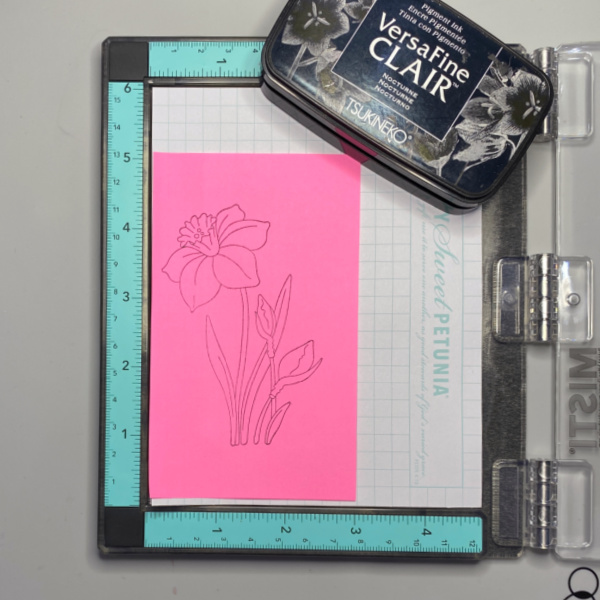
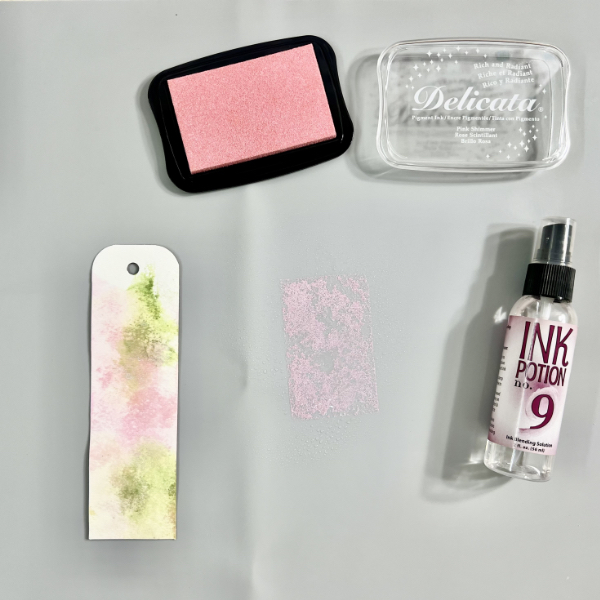
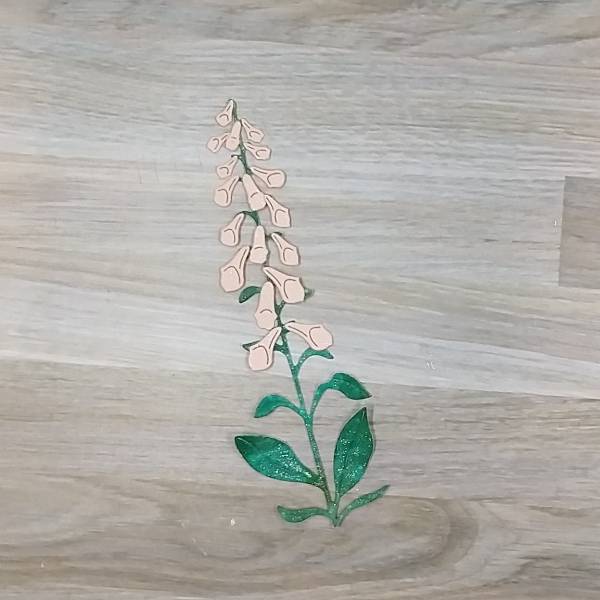
Step 1:
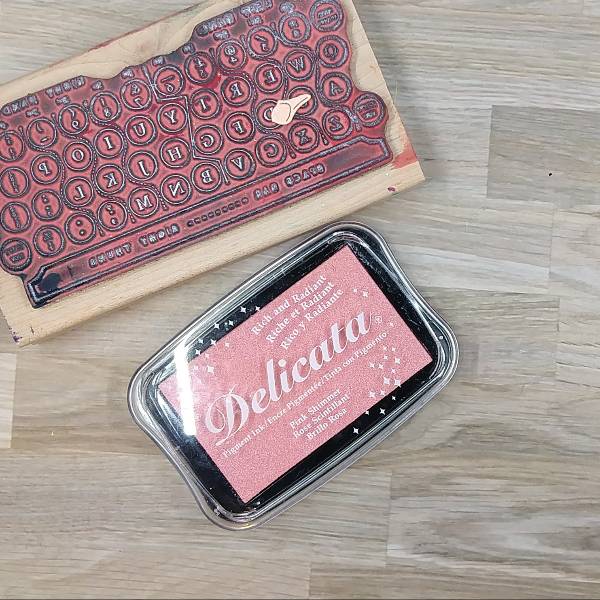
Using a stamping platform, ink the Grunge Flower stamp with Nocturne VersaFine Clair ink and stamp. Re-ink and stamp again if necessary to attain a good. Impression. Stamp a second time onto repositionable sticker paper. Fussy-cut the sticker paper version to be used as a mask later.
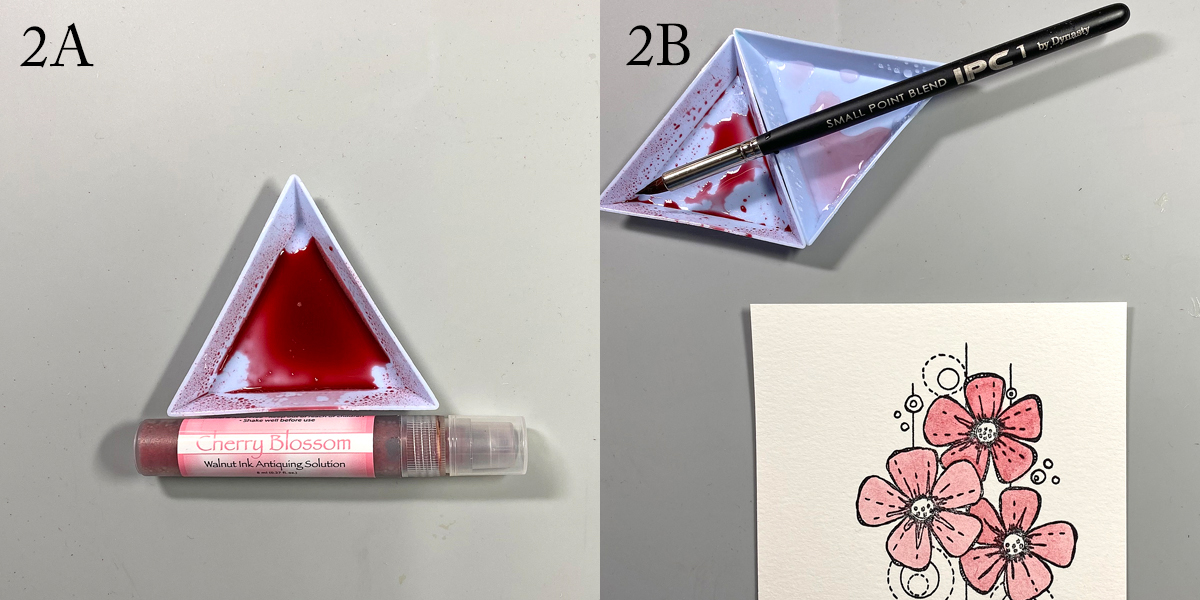
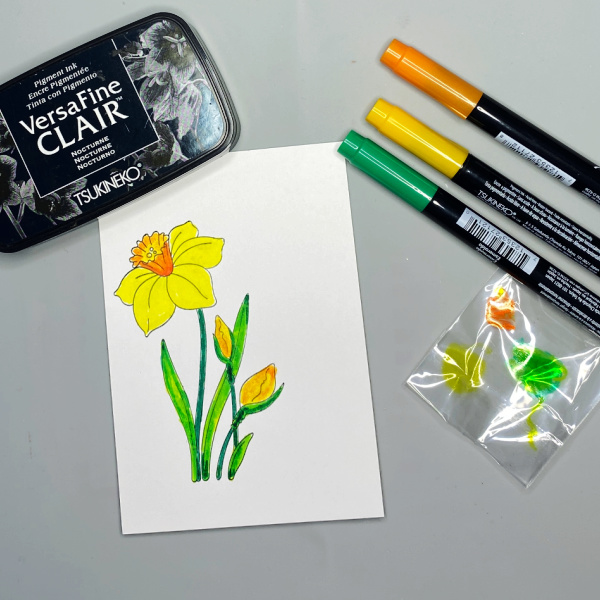
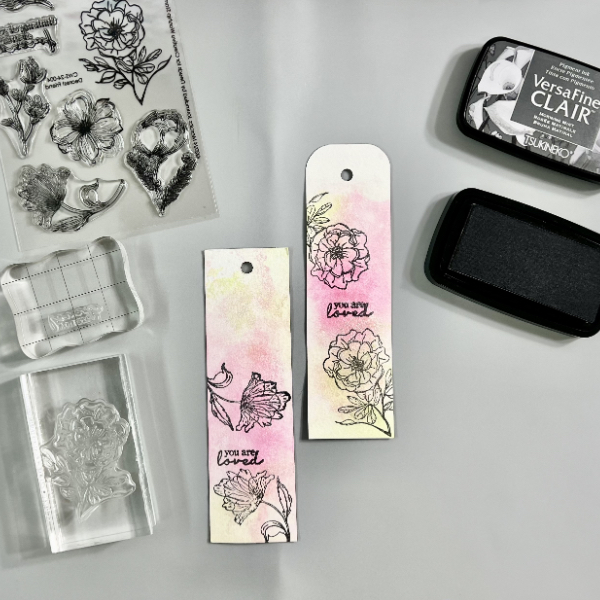
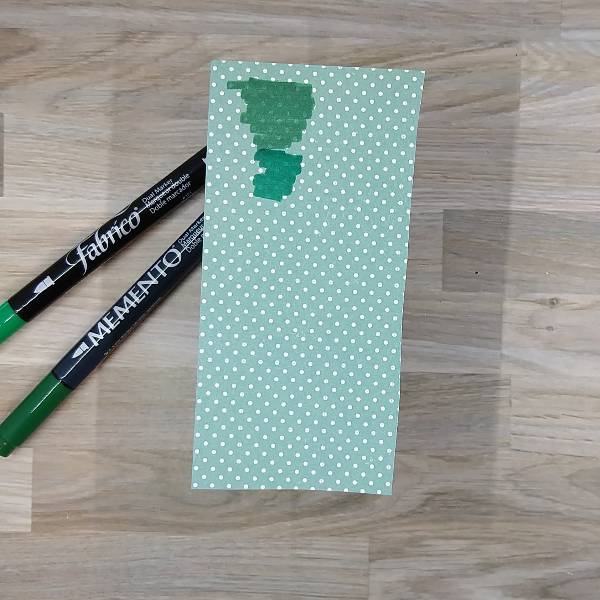
Steps 2A and 2B :
Spray Cherry Blossom Walnut Ink into a small container (2A). Add water into a second container. Use a paint brush to watercolor the flowers’ petals, varying the intensity of the color by diluting the ink with water (2B). When done, wash and dry the containers.

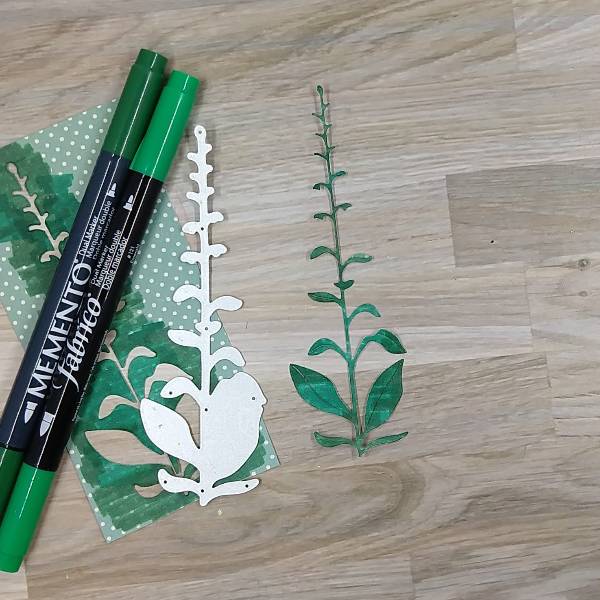
Steps 3A and 3B:
Spray Lilac Walnut Ink and water into small containers (3A). Use a paint brush to watercolor the flowers centers, varying the intensity of the color by diluting the ink with water (3B). When done, wash and dry the containers
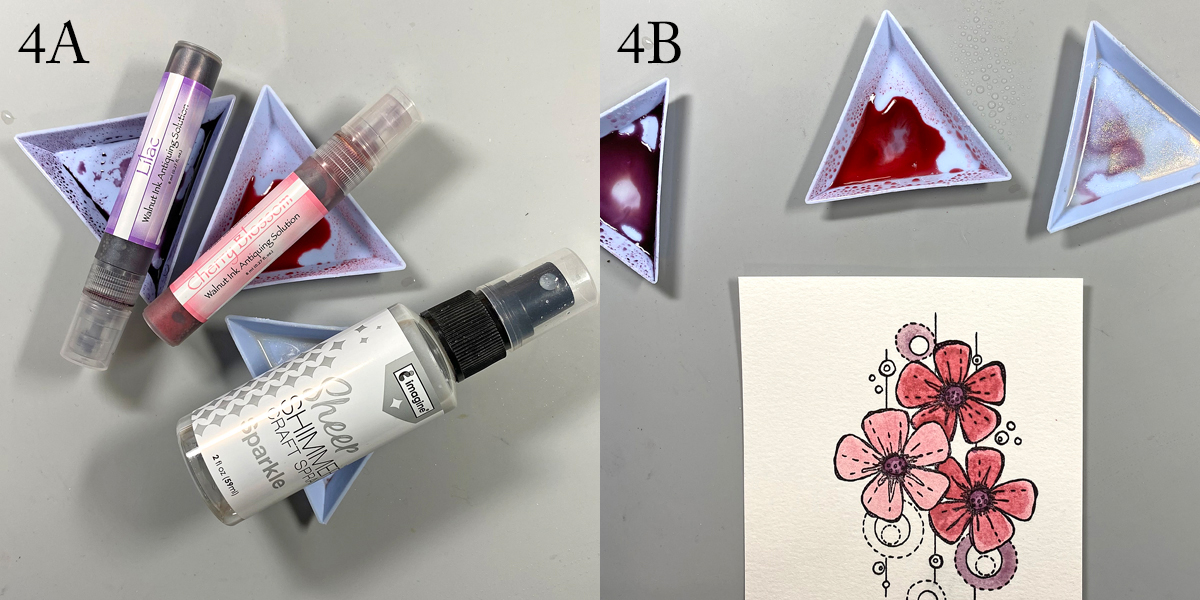
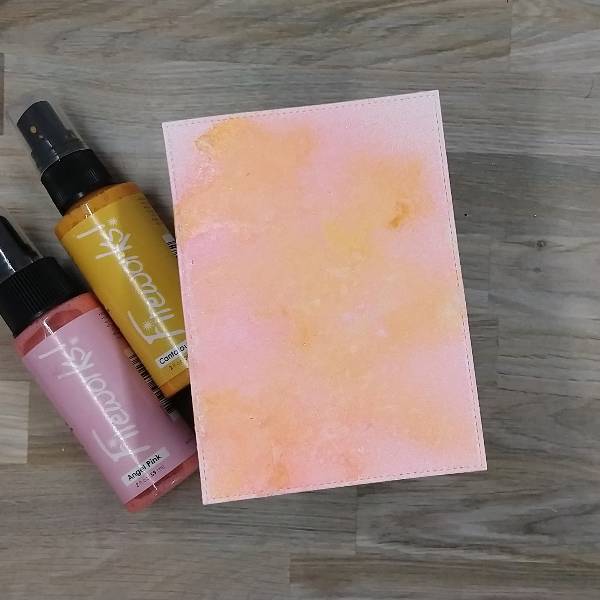
Steps 4A and 4B:
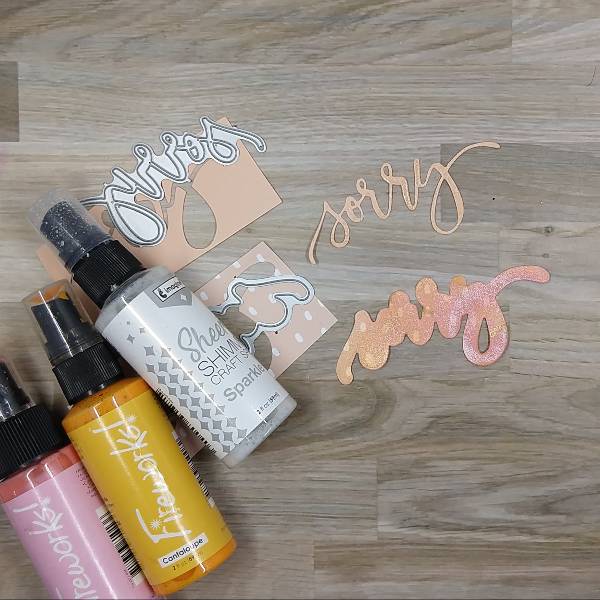
Spray Cherry Blossom and Lilac Walnut Inks into separate containers. Spray a small amount of Sparkle Sheer Shimmer Craft Spray into both containers and into a third container (4A). Use paint brushes to paint the circular elements of the stamped image with sparkly Walnut inks (4B).
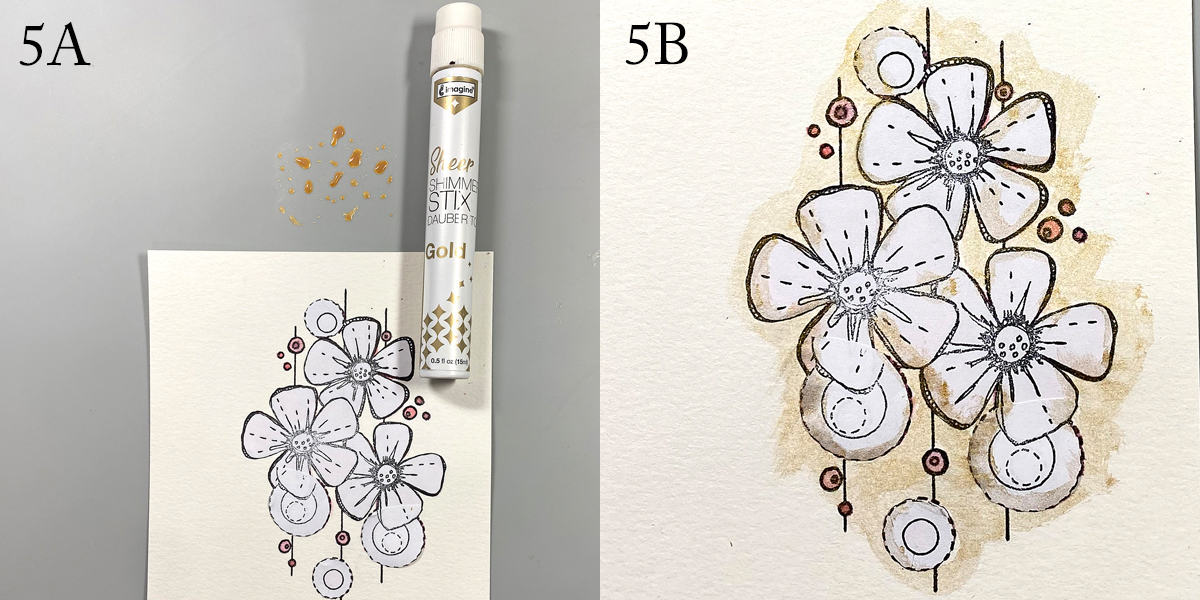
Steps 5A and 5B:
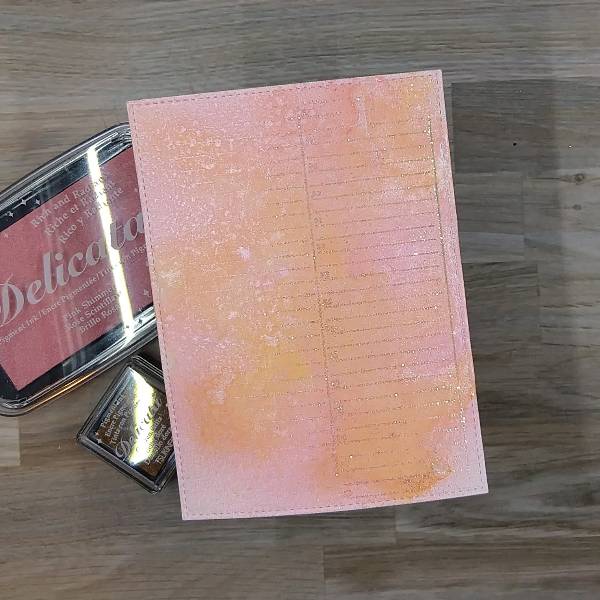
Adhere the repositionable sticker masks from Step 1 atop the stamped and painted images. Smoosh Gold Sheer Shimmer Stix onto the craft mat (5A). Use a brush to apply over the masked images. Also use the applicator top to apply the shimmery gold ink directly to the image panel. Wipe the excess away with a paper towel (5B).

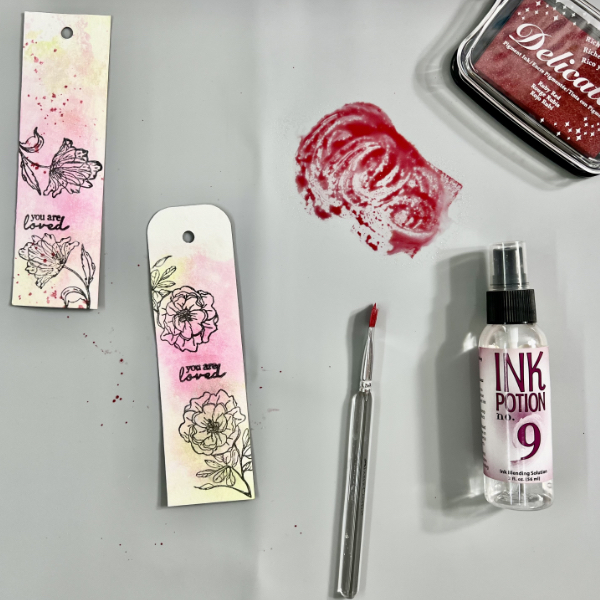
Steps 6A and 6B:
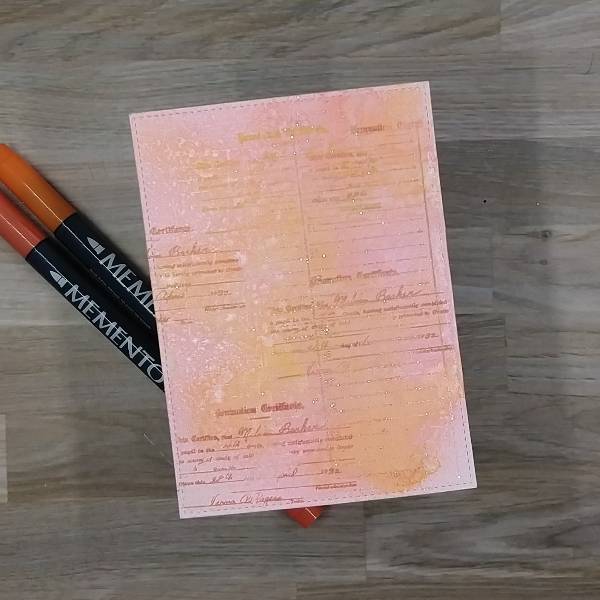
Repeat Steps 4A and 4B to add more shimmery walnut ink to the containers (6A). Load a paint brush with the ink then tap the paint brush to splatter the image panel (6B). Repeat with the second color. I wanted more splatter, so I loaded a clean toothbrush with ink and splattered the panel even more. (No photo). Remove the masks and heat set the panel.
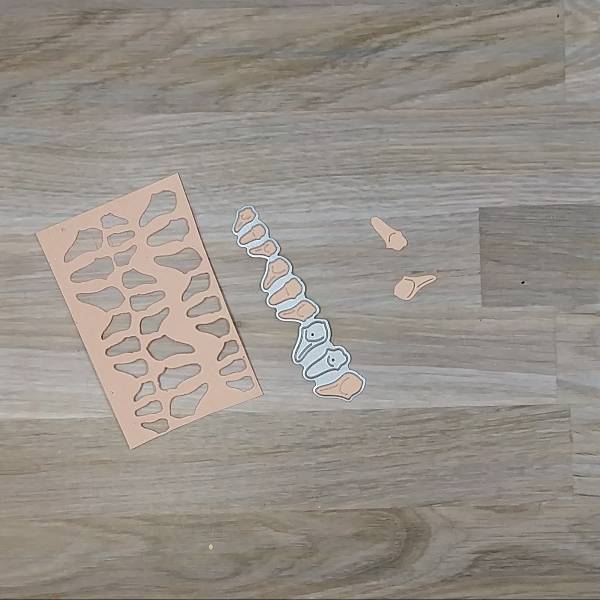
Step 7:
Use the smaller die from the Frayed Frames Die Set 26 to cut the image panel. Use the larger die from the same set to cut black cardstock. Use Tear-It! Tape to mat the image panel die-cut with the black die-cut. (Sorry! No photo).

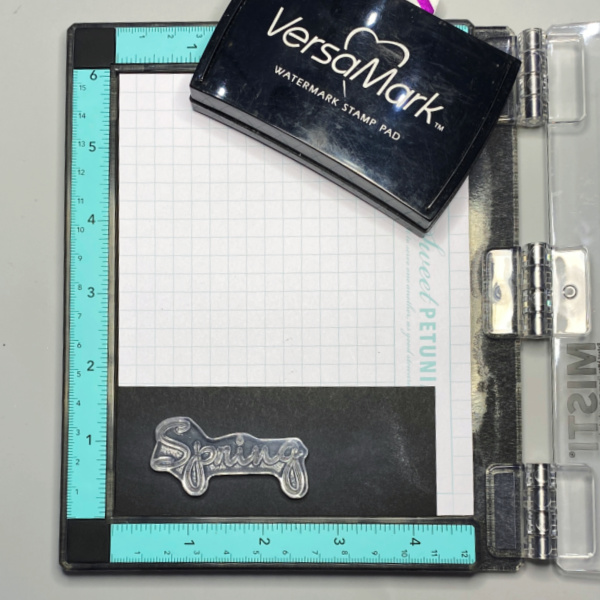
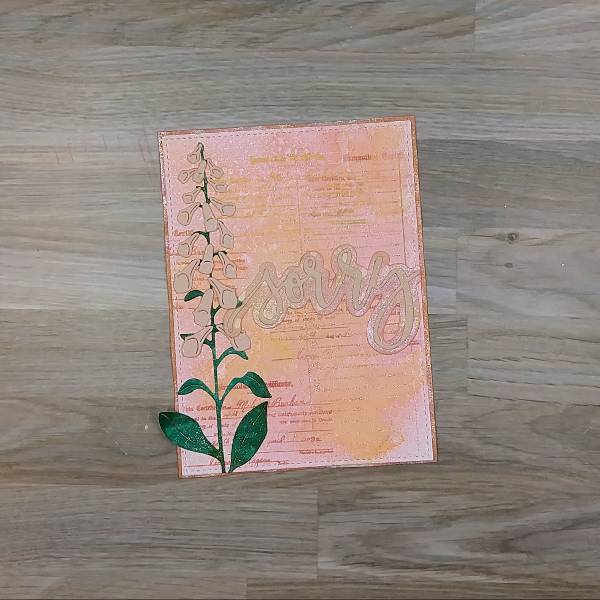
Step 8:
Place the matted image panel into a stamping platform. Position the “Flower” Sentiment from the Grunge Flowers Stamp Set 2 facedown on the bottom right of the image panel. Press the platform’s lid onto the back of the stamp and lift. Ink the stamp with Nocturne VersaFine Clair Ink and stamp. Re-ink and stamp again if necessary to attain a good impression.

Step 9:
Remove the impute panel from the platform and place onto paper. Sprinkle Clear MBoss powder onto the stamped sentiment. Dump the excess back into the container. Heat set the sentiment.
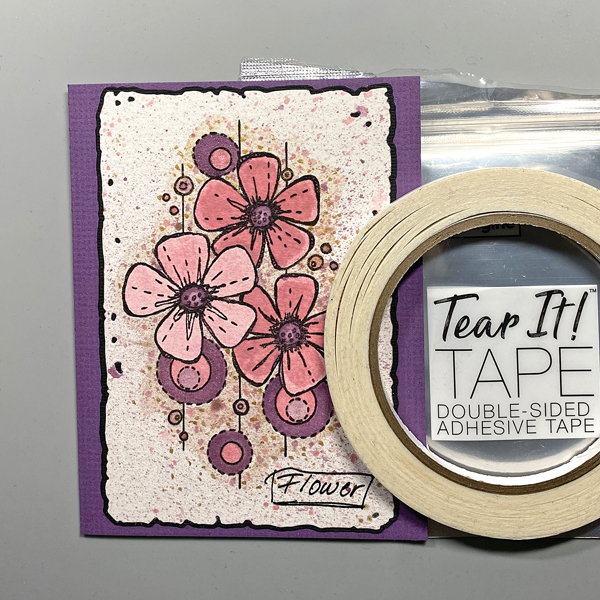
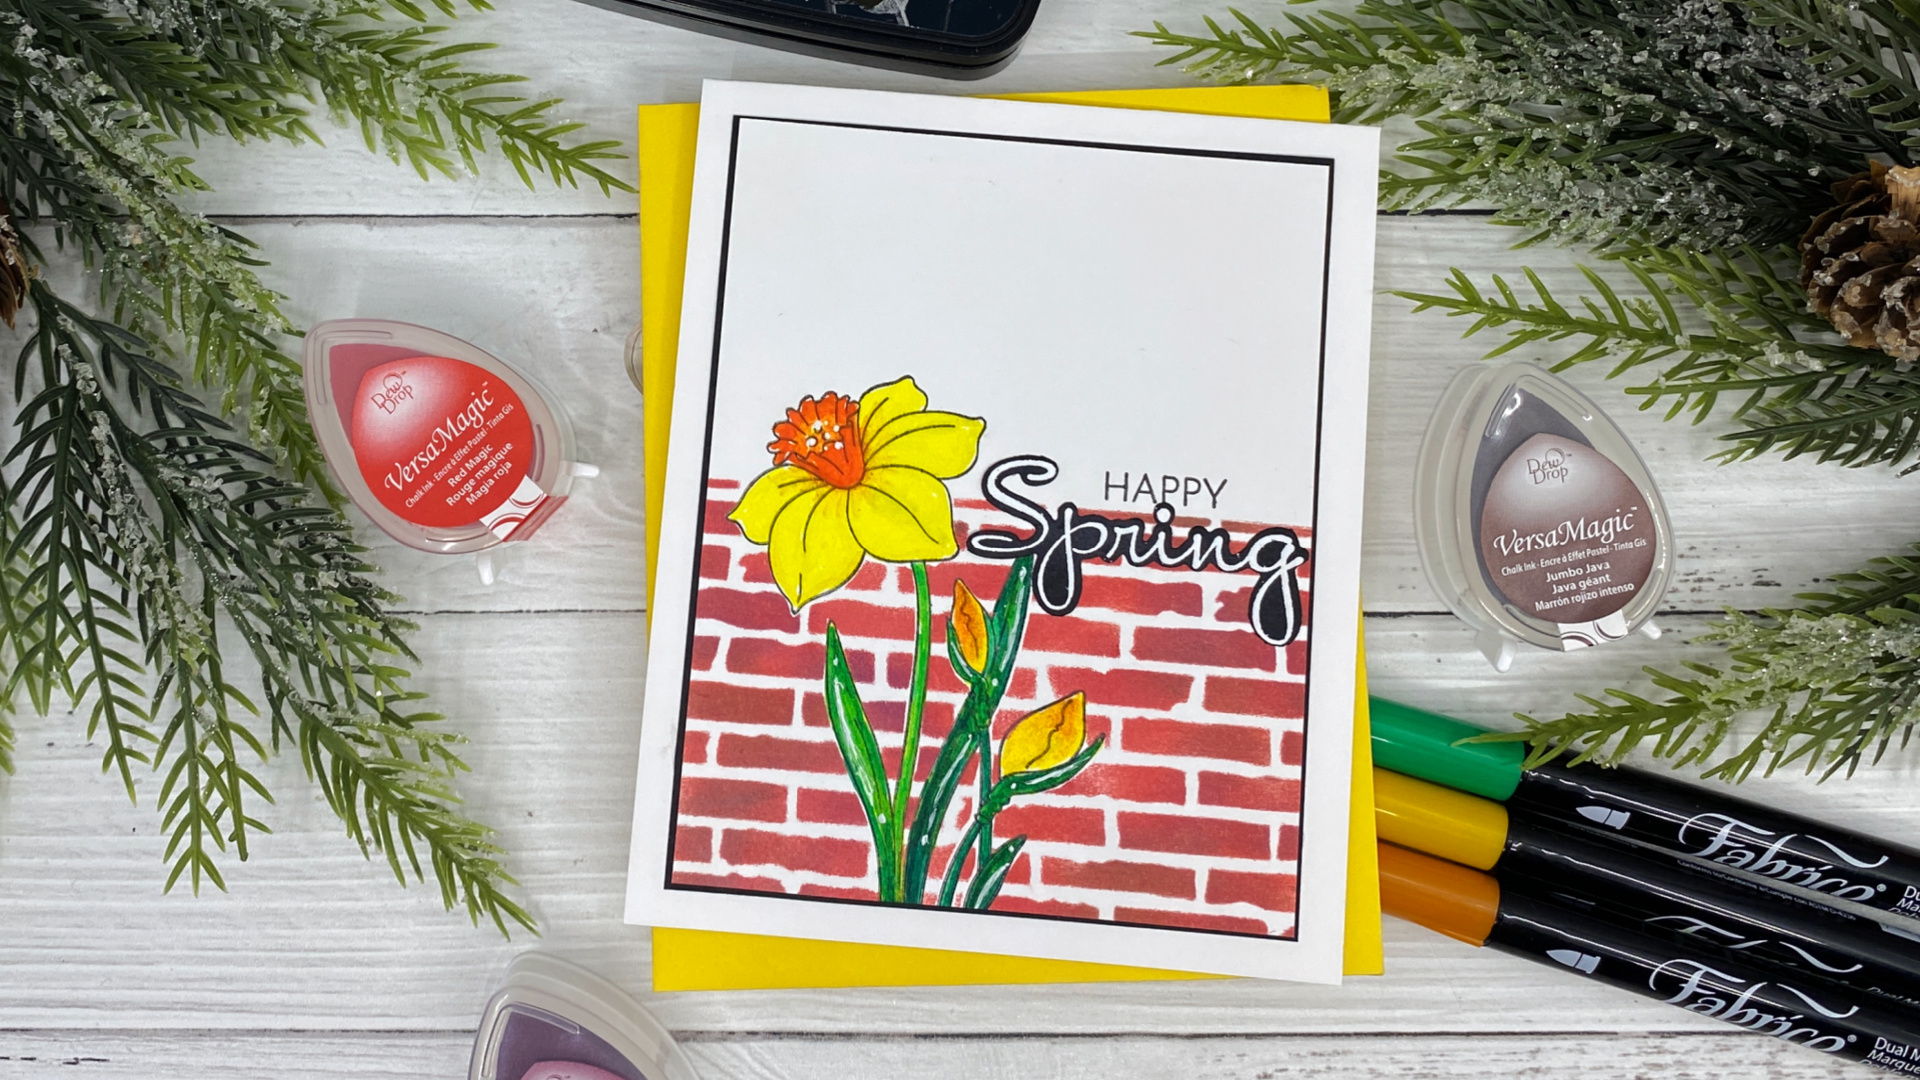
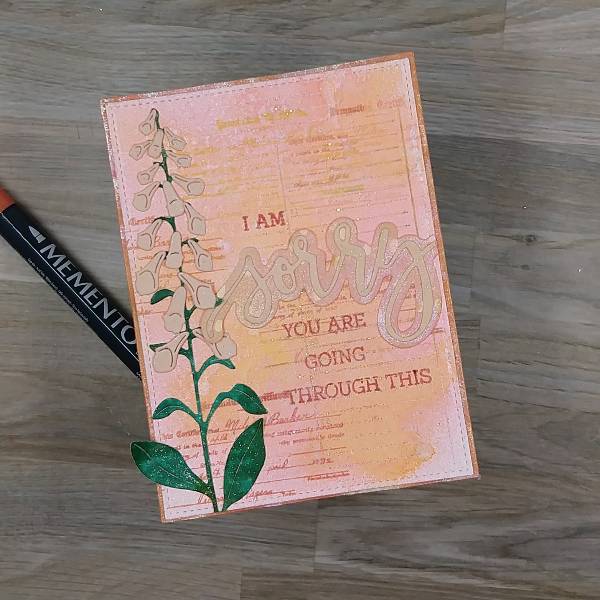
Step 10:
Create an A2 card from purple cardstock. Use Tear-It! Tape to adhere the image panel to the card.
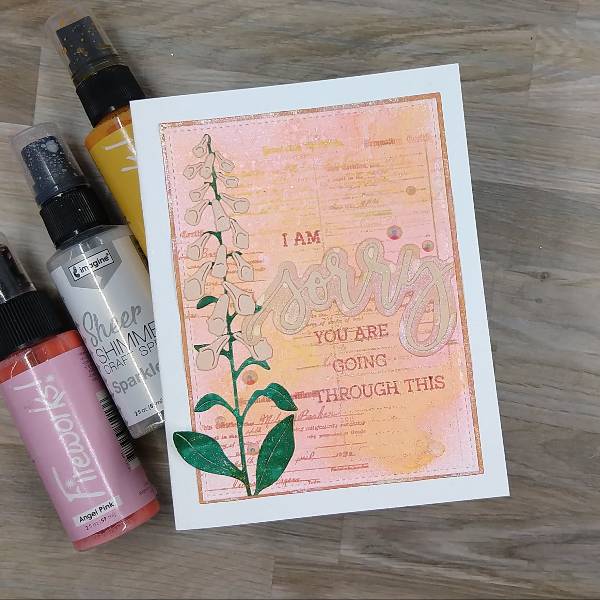
Craft Supplies
Imagine:
- Walnut Ink Spray – Cherry Blossom
- Walnut Ink Spray – Lilac
- Sparkle Sheer Shimmer Craft Spray
- Gold Sheer Shimmer Stix
- VersaFine Clair Ink – Nocturne
- Clear MBoss
- Sponge Daubers
- Fantastix
- Tear It! Tape
- On Point Glue
- Craft Mat
Other:
- Watercolor Paper by Canson
- Raven and Purple Cardstock by Bazzill Basics
- Crafty Grunge Flowers Stamp Set 2 by Melina Dahl for That’s Crafty
- Frayed Frames Die Set 26 by AALL and Create
- Repositionable Sticker Paper by Avery
- Curved Craft Scissors by Fiskar’s
- Heat Gun
- Misti Stamping Platform by My Sweet Petunia
- Big Shot by Sizzix