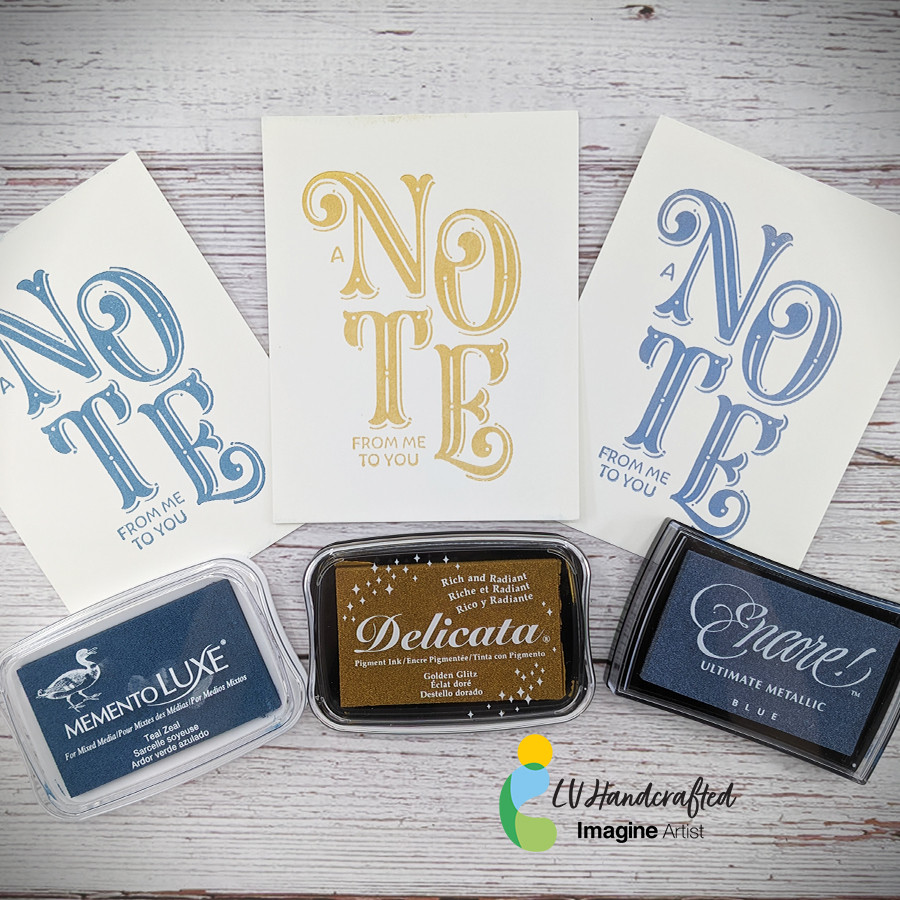
Hello friends! This is Linh (or LV Handcrafted on all the socials). Did you know just about all the Tsukineko inks work BEAUTIFULLY with the BetterPress system? You aren’t restricted to just the special BetterPress Inks. You have the whole rainbow of Tsukineko inks that work just as well. Here are three that I think are particularly gorgeous and fairly consistent and easy to use. These make amazing gift sets that are easy and fast to make yet impressive!
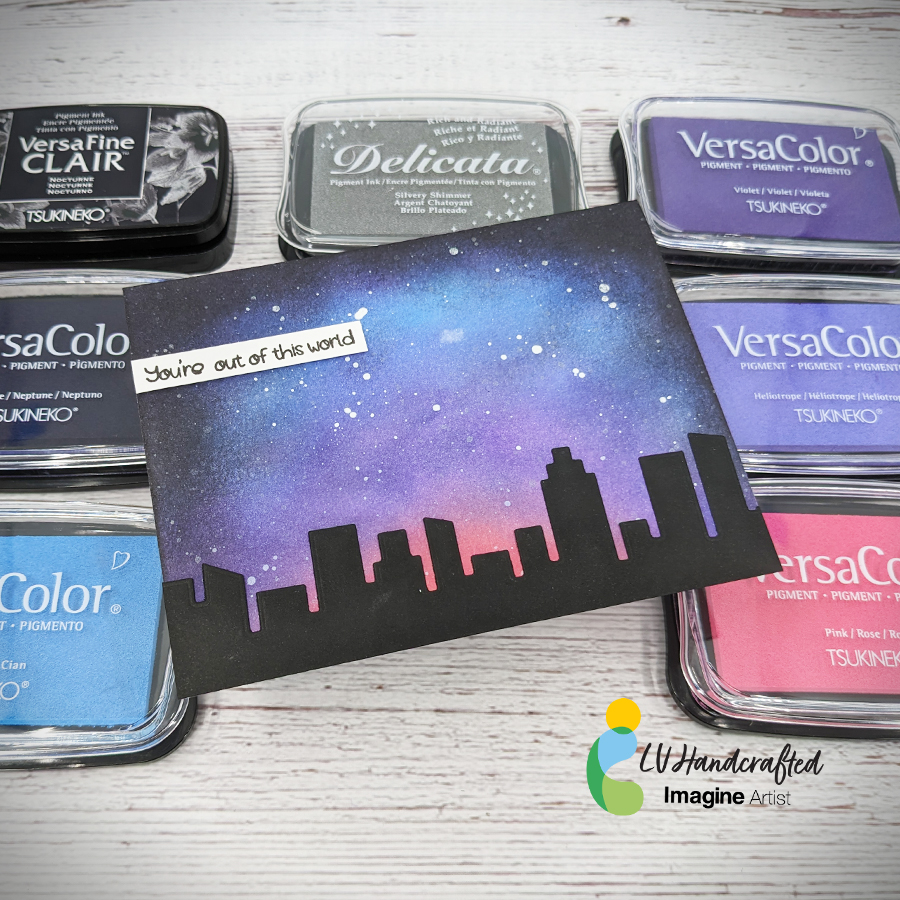
Hello friends! This is Linh (or LV Handcrafted on all the socials). In today’s video I’m showing how to create a fun galaxy with a combination of different inks! It’s so fast and easy to do!
Hello friends! This is Linh (or LV Handcrafted on all the socials). This is a fun way to create your own heat embossed ombre effect. I used Delicata ink, which is a pigment ink and remains sticky for period of time to swipe across a white cardstock panel. I made a very solid swatch of ink. Before the ink dried, I covered one end (the bottom) with Mboss powder in gold. I aimed for about 25% of the way up with solid coverage. Then I tipped the panel so the letter “C” is at the bottom and the letter “S” is at the top. Then spooned more Mboss powder from one and and further tipped the panel so it runs down the panel to create that graduated, ombre effect.
When I make panels like this, I really want the panel and the effect to shine, so I like to keep the rest of the card really simple. These word dies are wonderful because they are so big, they nearly take up the entire card. And with a panel this beautiful, I save everything and made a second card using the negative effect of the word die.
NOTE: In the video, you will actually see me create a smaller panel that I decided against using. I used a Sakura glue pen to draw a design over the Delicata-inked panel and then poured Mboss powder over it. The glue pen lets you draw or write anything you want and have that lovely embossed effect.
Hello Friends! Katy here and today I am excited to share this really cool background technique.
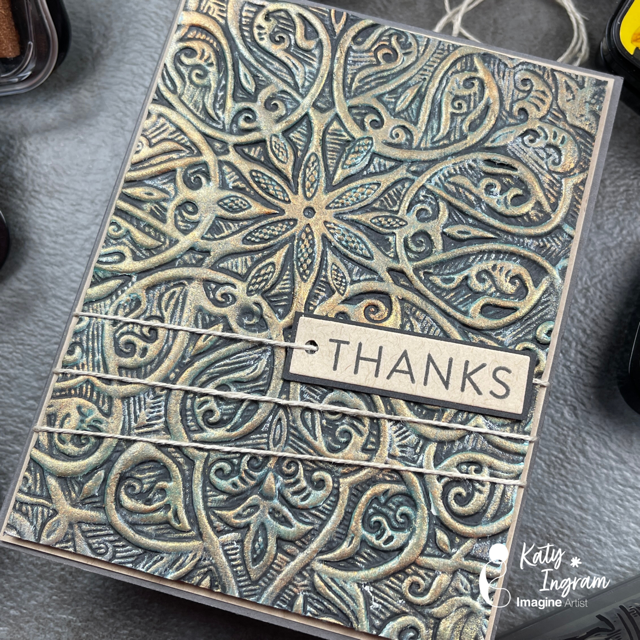
In today’s video tutorial, I am sharing how I use some All Purpose Inks, Delicata Inks and a 3D embossing folder to create a Gilded/Aged Celtic background. I have to admit I am in love with these backgrounds and in the video I show two ways to create it and both give different results depending on how you apply the ink. I also give some alternatives to the products I am using in the video, so be sure and watch to find out what they are. This technique will work with any embossing folder and I will for sure be using it with other folders I have in my stash.
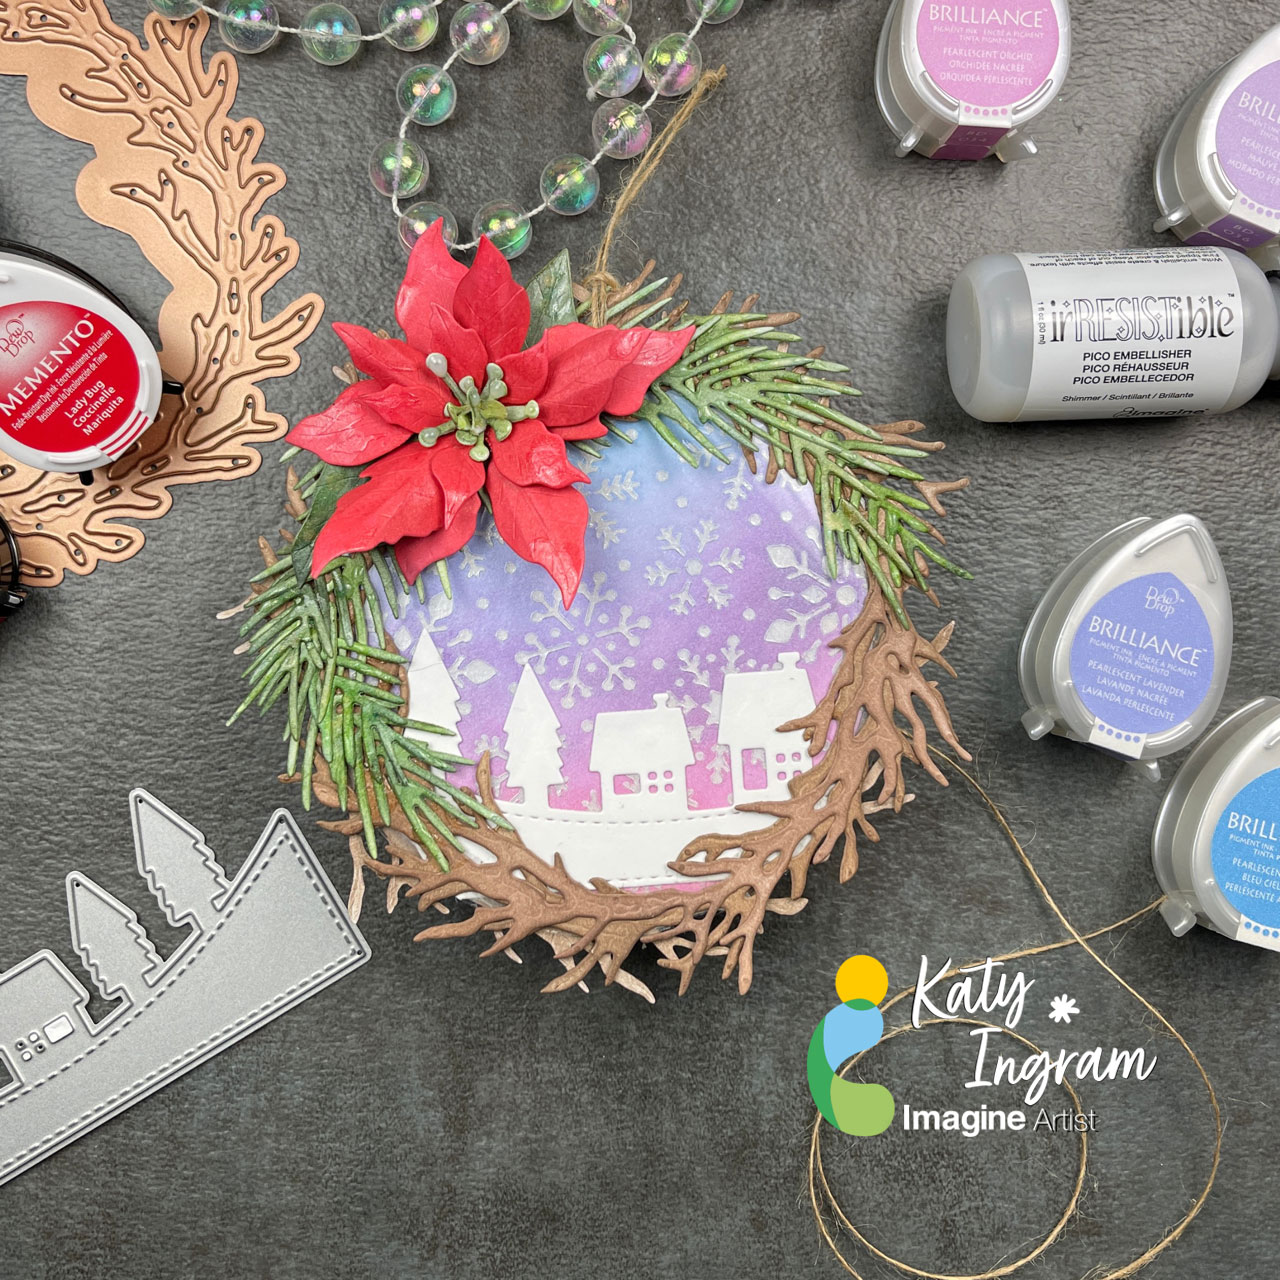
Hello Friends! Katy here and for todays project I thought I would used a variety of products with some die cuts to create an ornament for the Christmas tree.
In todays video tutorial I explain each layer of the ornament starting with the snowy background which uses the Creative Medium with a snowflake stencil, once dried I applied the Brilliance Ink in Pearlescent Orchid, Pearlescent Purple, Pearlescent Lavender and Pearlescent Sky Blue and was blown away. Check out the video for all the details on how this ornament came together.
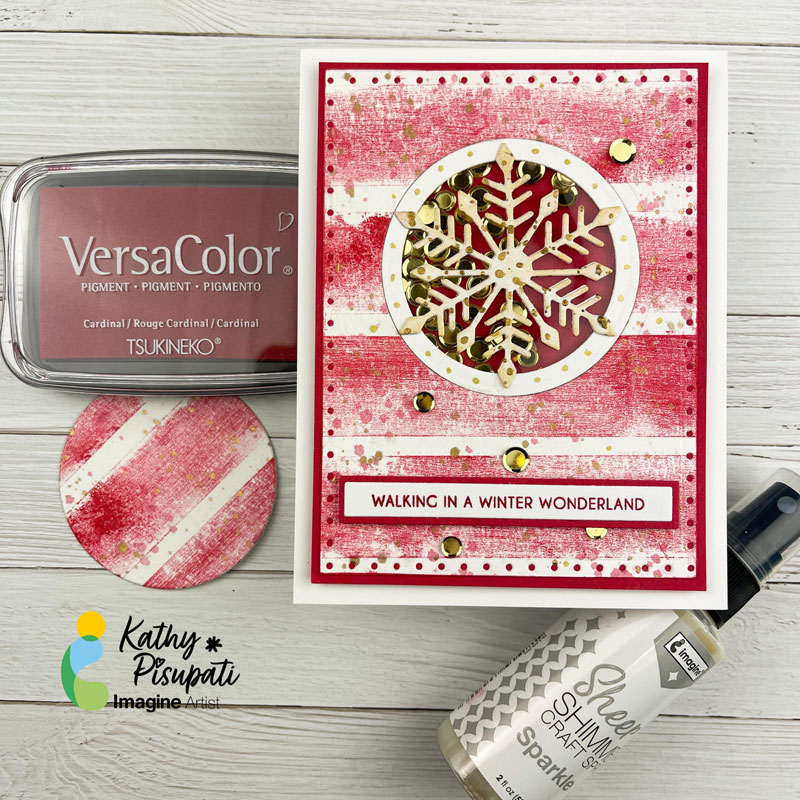
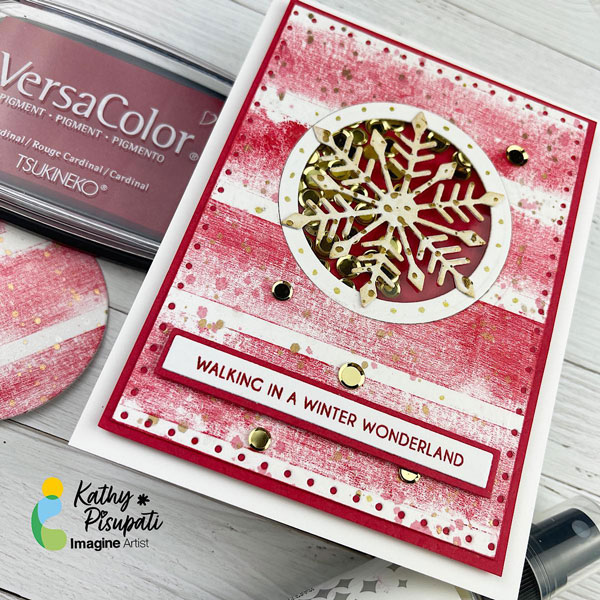
creating art for Imagine Crafts! Today I have a new tutorial for you. This is an OLD technique it is still fun, but messy! What do you need? A fabulous VersaColor Ink and some painter’s tape or any masking tape!
Skill Level: Intermediate
Time to complete: 1 hour
Step 1
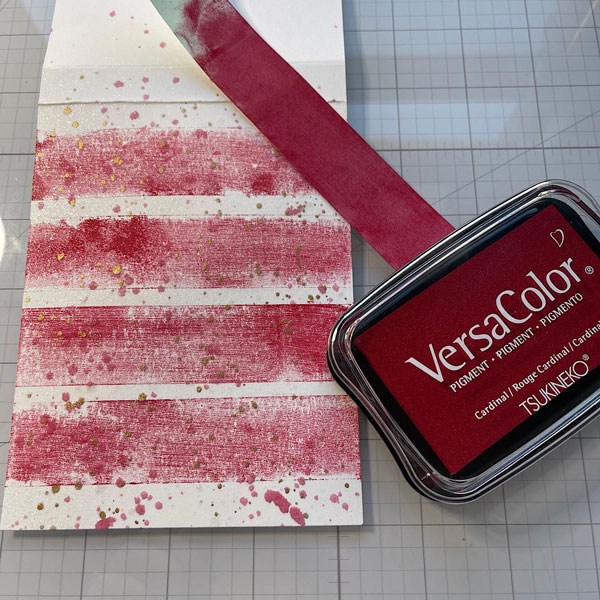
You will need a top-folding card base measuring 4 1/4 x 5 1/2“. You will also need another white panel measuring 3.75” x 5”. Grab your masking tape and a VersaColor ink. I used Cardinal. At this point you can put on some gloves if you want but I didn’t. I swiped the ink across a 5”piece of tap. I then laid the tape across the white card stock panel, put a piece of copy paper over it and pressed. I repeated this stripe 4 times. I like the texture of the stripe.
Step 2
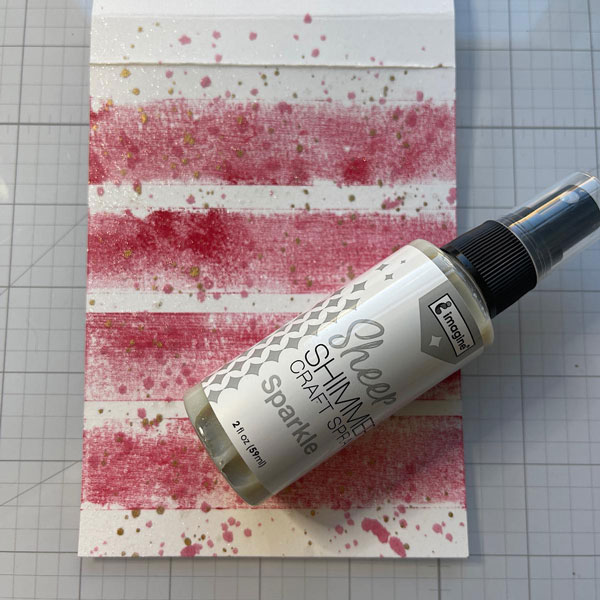
Next I smushed some of the Cardinal ink on my glass mat, added water and with a paint brush I splattered the panel. I did the same with some gold water color paint. Finally, I spritzed the Sheer Shimmer Craft Spray in Sparkle all over the panel. Can you see the shimmer? It is pretty!
Step 3
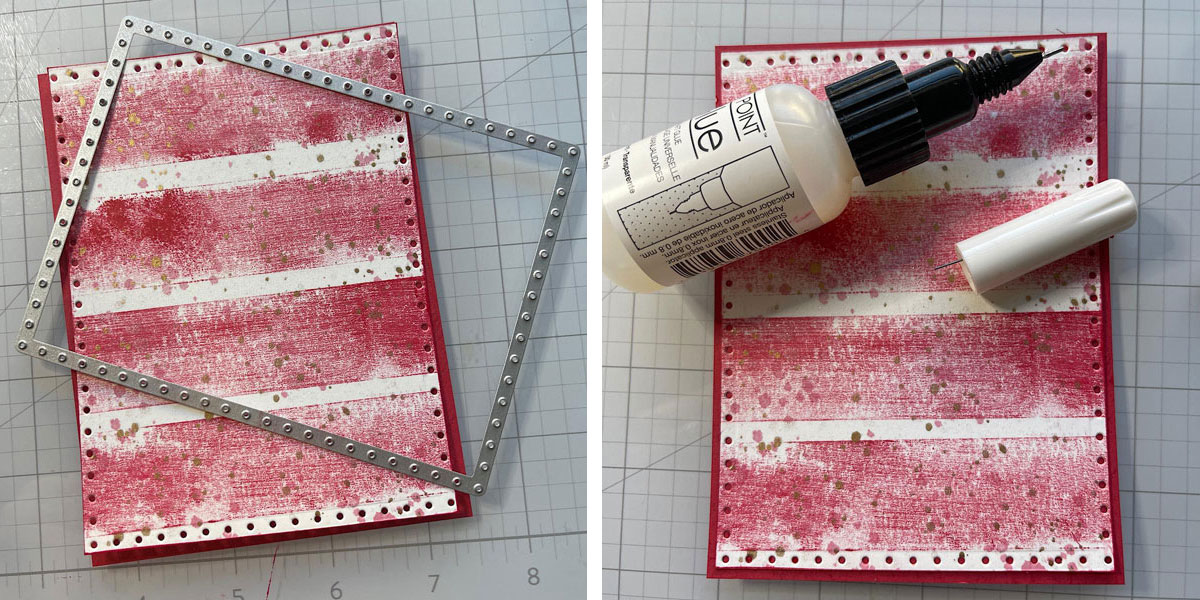
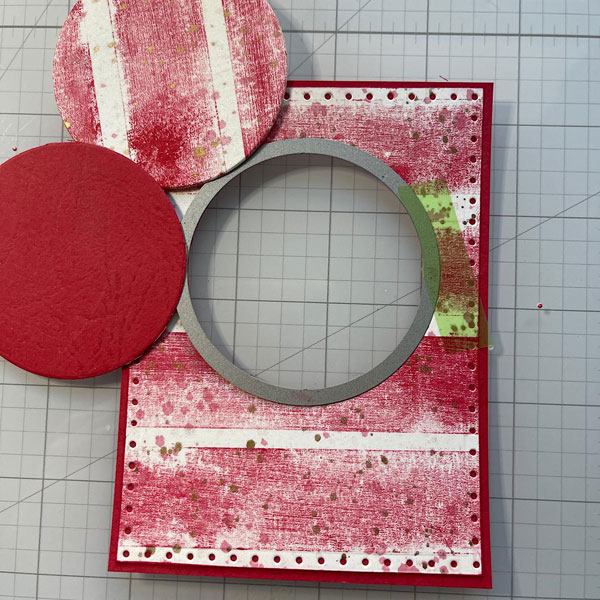
Next, I cut the panel with a die and added a piece of red stock to the back. The red card stock is 1/4’’ larger than the striped panel. Adhere with some On Point liquid glue.
Step 4
Now cut a hole from the panel and the red card stock you used for the frame.
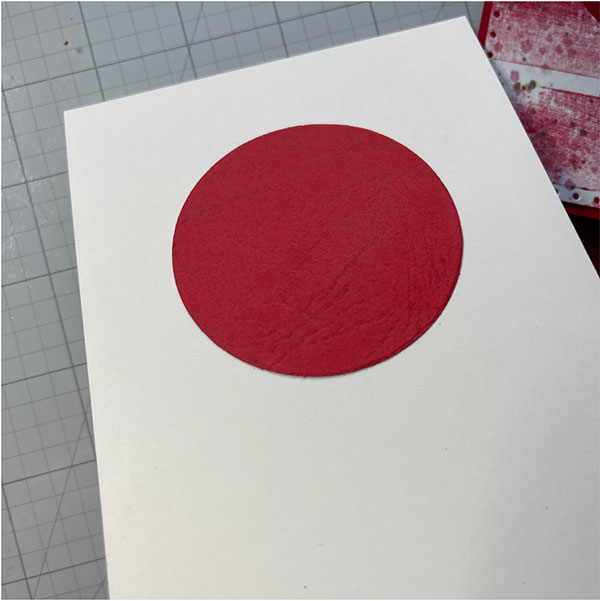
Step 5
Cut a panel of white card stock slightly smaller than your main panel. Add liquid glue to the back of the red circle. Use your main panel as a guide, place over the white panel and press your circle into place.
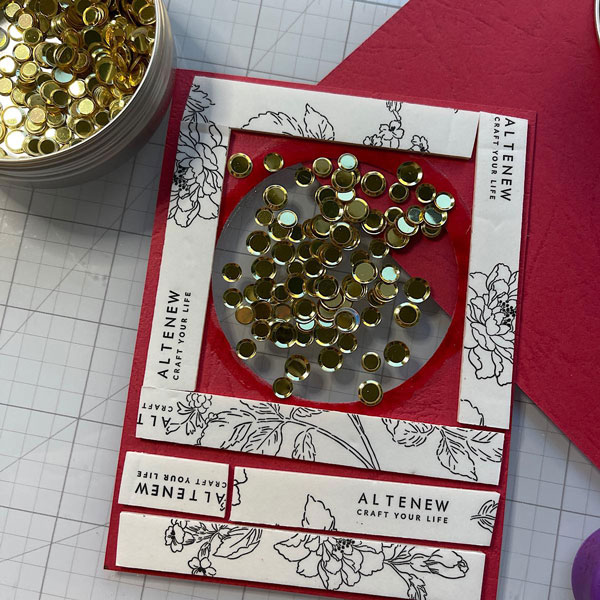
Step 6
Cut a slightly larger circle from acetate or old packing and glue to the back of the main panel. Add foam tape all around and add flat embellishments to the center. I used gold confetti from Kat Scrappiness.
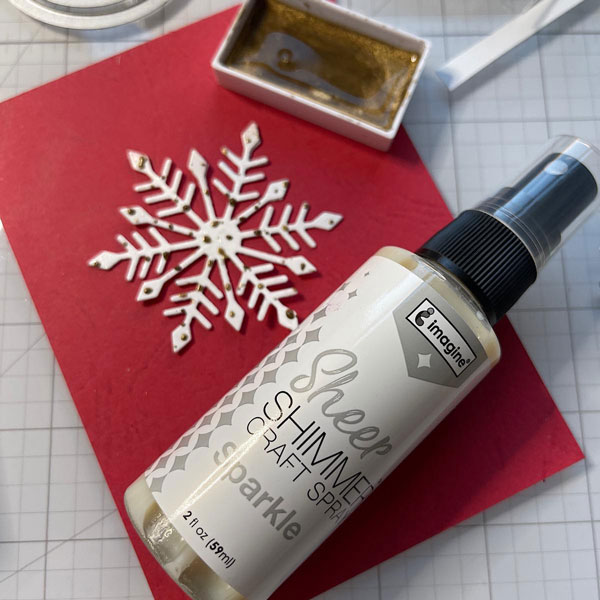
Step 7
Die-cut a few of the medium sized snowflakes from the Kat Scrappiness Snowflake Trio and glue together. Then I used the Sheer Shimmer Craft Spray and spritzed the snowflake. I also splattered it with gold water color paint. It was still a bit too white so I pressed the snowflake into my Delicata Golden Glitz ink pad.
Step 8
Cut a circle frame using the die you used for the front panel and a slightly smaller one. Glue this inside the cut out on top of the acetate. Adhere the snowflake on top of the acetate and allow to dry. Add a sentiment, I used the Christmas Stack Sentiment from LDRS Creative with the Sentiment Stack Shadow. I glued these together and then popped it up with foam tape. I also added a few of the gold confetti around the outside of the card and some dots to the frame with a gold gel pen. I added foam tape to the back of the panel and adhered to an A2 top-folding, white card base.
I hope you enjoy this card and the tutorial. Thanks for stopping by.