Hello everyone!
We are happy to introduce our amazing and talented 2021 design teams.
2021 OFFICIAL DESIGN TEAM

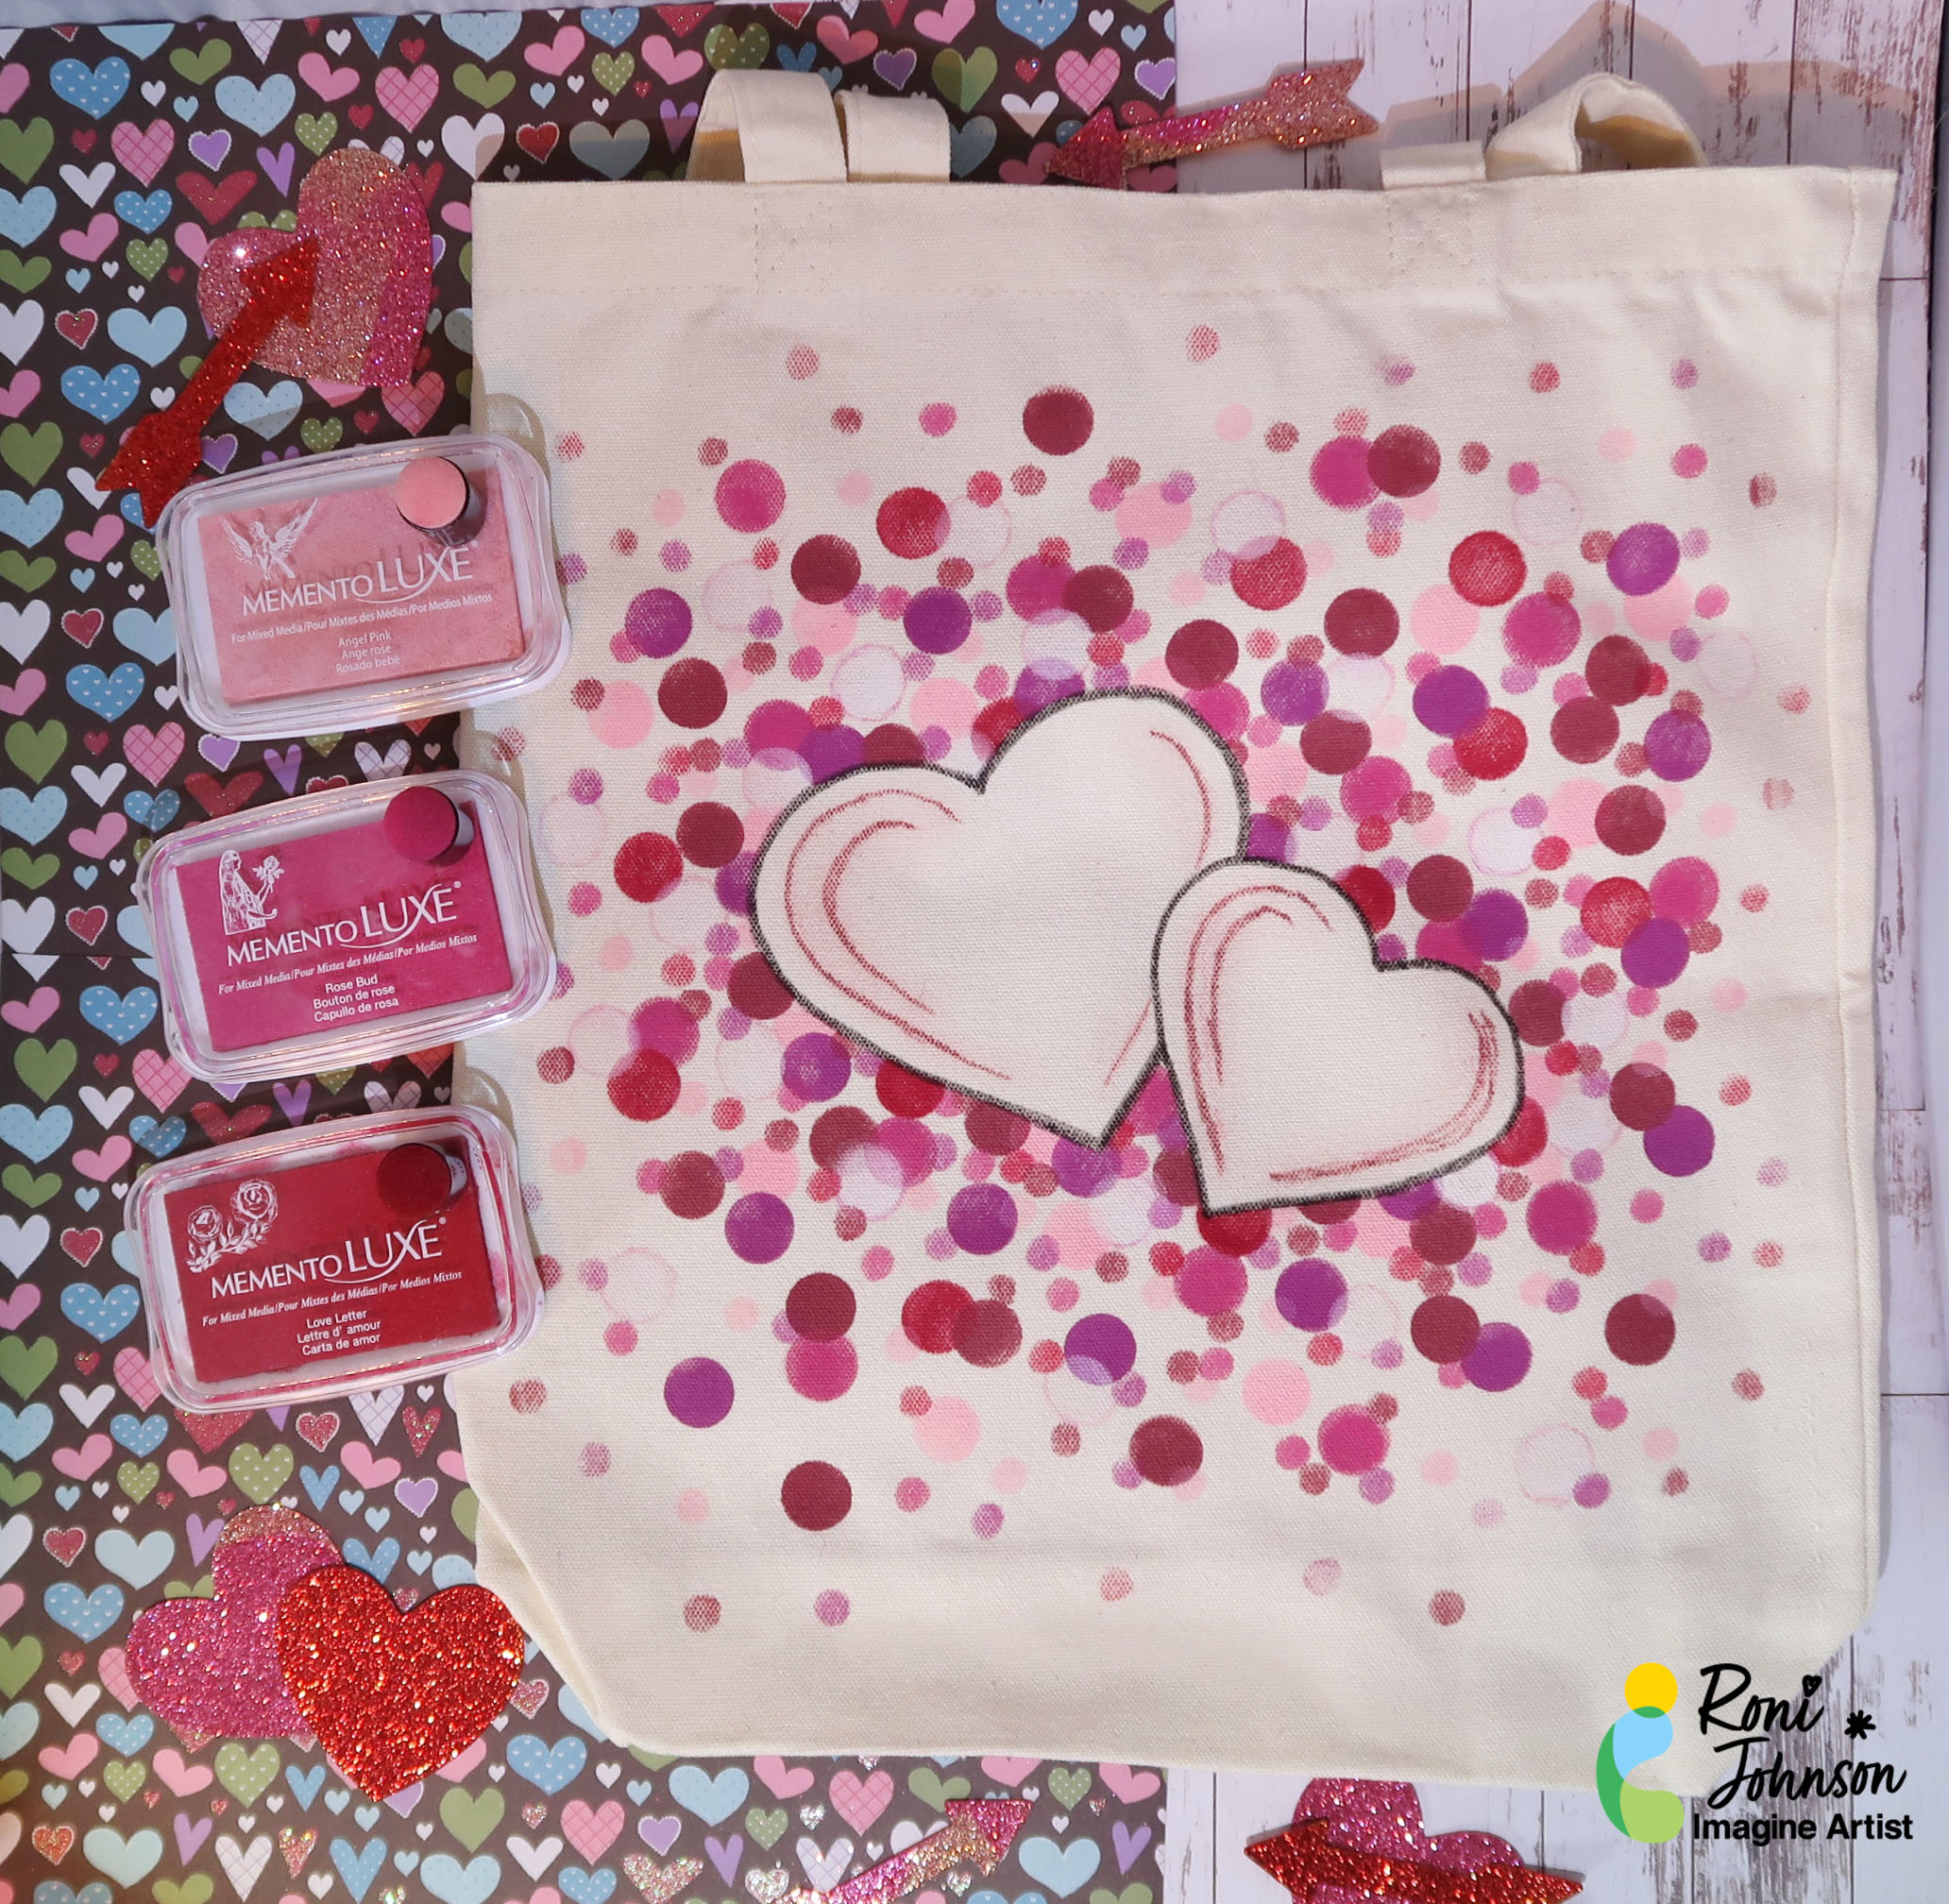
Roni Johnson
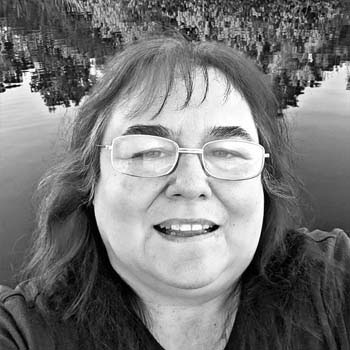
Hello everyone, my name is Roni Johnson (a.k.a. – Ink Stained Roni) and I’ve been crafting for as long as I can remember. I am a paper and paste girl at heart and can often be found covered in glitter with Ink Stains on my fingers which is how I got my nickname and the name of my blog – Ink Stains. I love rubber stamping both on and off paper. I try to think outside of the box and love to come up with new ideas for old supplies. I hope you’ll find some inspiration while I share my passion for ink, paper and more! Blog – Ink Stains
Follow Roni on Instagram https://www.instagram.com/inkstainedroni/

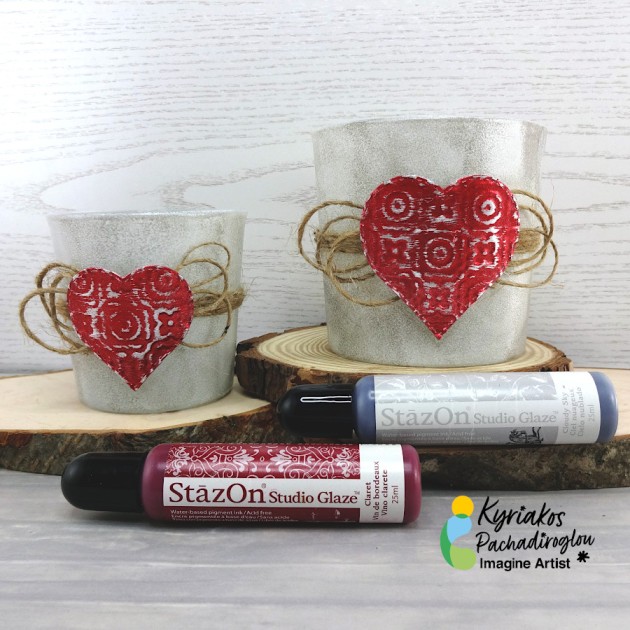
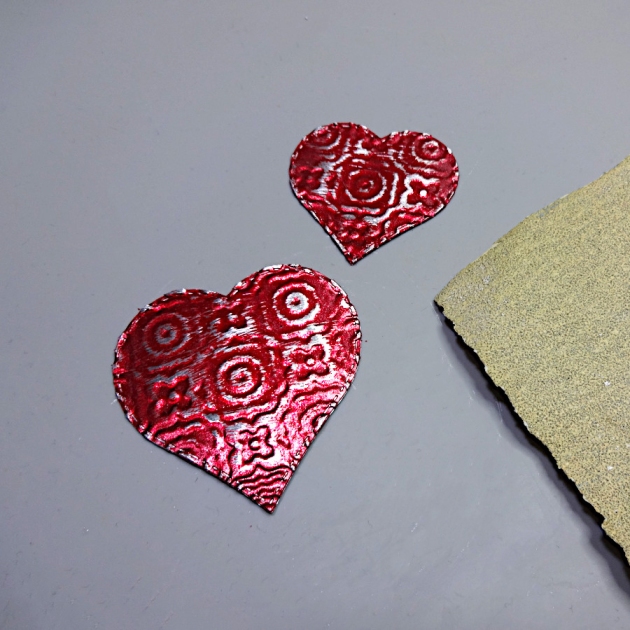
Kyriakos Pachadiroglou
Hello! My name is Kyriakos and I live in Greece. I love crafting and creating projects that show alternative ways of using materials; either these are creative supplies or simple craft items. I like using inks, embossing powders and stamps on my projects, where I try to make each material show it’s own beauty on the final project.
Follow Kyriakos on Instagram https://www.instagram.com/pachadiroglou

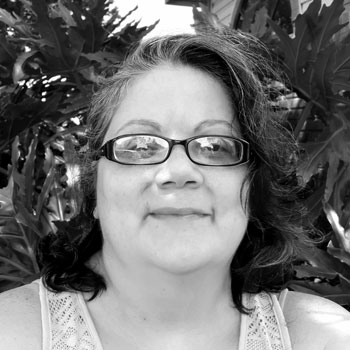
Jowilna Nolte
Scrapbooking has been a natural extension of my love for card making and stamping that also accommodates my love and passion for photography. I currently teach regular classes and host workshops around the country that mainly focuses on different techniques and stamping, and how to incorporate them into your scrapbooking and card making.
Follow Jowilna on Instagram https://www.jowilnanolte.co.za

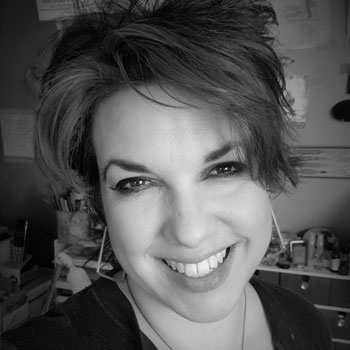
Nadine Carlier
I have been crafting for as long as I can remember with scrapbooking, handmade cards, mixed media, and altered art projects being my favorite things to create although I have done and love all things crafty. I would say my style would best be described as eclectic with a mixed media twist. Almost all my craft projects have some kind of ink, mist, or paint on them. I love getting messy and trying new techniques. Inspiring others is something I love to do by creating videos and sharing how I create my projects.
Follow Nadine on Instagram https://www.instagram.com/scrappinready
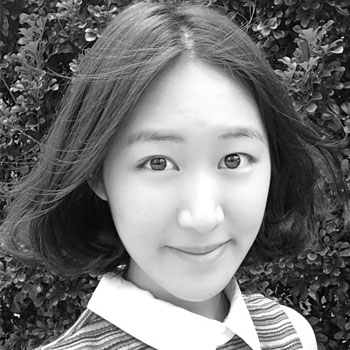
Jessica Lin
Passionate about all things crafty! Jessica is a card maker and video artist who has created insightful and lengthy videos explaining embossing techniques and other interesting paper crafting topics.
Follow Jessica on Instagram
2021 GUEST DESIGN TEAM
Alison Heikkila
Hello! My name is Alison Heikkila and I have been a crafter my entire life. My mom started me off with coloring and stringing beads from a very young age, and I never stopped. I have an art degree with a specialization in jewelry and sculpture, but I love working in many mediums and styles. Getting inky is absolutely one of my favorite things!
I have an amazing husband who loves to see what I create each day (and even crafts along with me sometimes!) and two very creative kids. Sometimes the four of us craft together, which is so much fun. We’ve also got a cat and two dogs, and we reside on Long Island.
I love to create, as I feel it truly feeds my soul. Getting a little “playtime” in my craft room each day is really important to me. I look forward to sharing projects with you.
Follow Alison on Instagram
Annie Collins
Hello Friends, my name is Annie Collins and I have been crafting all my life. I started at 4 years old sewing with my mother. My passion for crafting and sharing continued to grow over the years. I love paper crafting the most all forms of it. I live in sunny Florida with my fantastic family, my husband, our 3 children, son in law, our first grandchild and pets. I can’t wait to share some projects and be inspired by all of you.
Follow Annie on Instagram

Baerbel Born
Born in 1961 and crafting since 1966. I ran a stamp shop until 2003 and my favorite stamp pad of all time has been StazOn since it has been introduced in 2002. As a vendor and later as a designer I held countless workshops and taught how to use stamps and inks.
I also had the great honor to be part of the Imagine team for two years in the past. After a few years in the world of live streaming, I came back to good old YouTube and call this my home now.
I have 3 children and 2 grandchildren, all very creative in one way or another. I want to make them proud, and crafters all over the world happy. Our beloved stamping hobby is the best on the planet and its for everyone. All you need is a stamp, a bit of paper, and a good stamp pad.
Happy stamping!
Follow Baerbel on Instagram
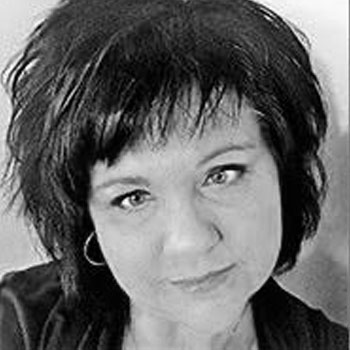
Joy Wilson
Hello friends, I am Joy and have been crafting for at least 20 years. Like most folks, I started out scrapbooking my children’s lives, but then I found a love card making. I tend to think of my style as clean and simple, but find I add too. I’m not afraid to get inky and will try any medium to see what I can come up with. The first love I found in card making was heat embossing, which I am still mesmerized by. Does anyone else feel that way too?
I am very lucky to have a husband who encourages me and enables me to be crafty. I’m not sure who enjoys it more, me or him as he giggles when my eyes light up when I finish a project. We are empty nesters now, but we have a full house that I lovingly call our zoo. Hang around for a while and you’ll get to know them all!
Visit my blog, JoyWilsonInk

Katy Ingram
Hello Crafty Friends! My name is Katy Ingram. I am a wife and mama to 1 son and 4 kitties. I live in southeastern North Carolina off the coast of Topsail Island and I LOVE making handmade cards. I started my card making the journey back in 2016 and in 2019 I started my youtube channel and blog Eastwicks Paper and Ink. I wanted an outlet to share and hopefully inspire your creativity with my card making as well as some tips and tricks along the way. I am so excited to be joining the Imagine Crafts Guest Artist Team. I look forward to meeting and crafting with you!
Follow Katy on Instagram

Neva Cole
Hello fellow crafters, my name is Neva Cole and I live in the high desert of Central Oregon on a mini-farm with my husband, son, four German Shepherds, and one inside kitty. A life-long crafter I gravitated towards mostly paper arts, stamping, card making, and scrapbooking about 25 years ago. My style varies with my mood, sometimes clean and simple then I swing to shabby chic or layered elegance. I have instructed classes in the paper arts, and come by teaching naturally—I am a retired High School Science teacher. I look forward to creating with you in the Imagine Community!
Follow Neva on Instagram
LeeAnn McKinney
Hi there friends and fellow crafters, my name is LeeAnn McKinney and I am so excited to bring my clean and simple projects and tutorials to you throughout 2020. Let’s Get Crafty!!!
Follow LeeAnn McKinney on Instagram