By Helen Gullett
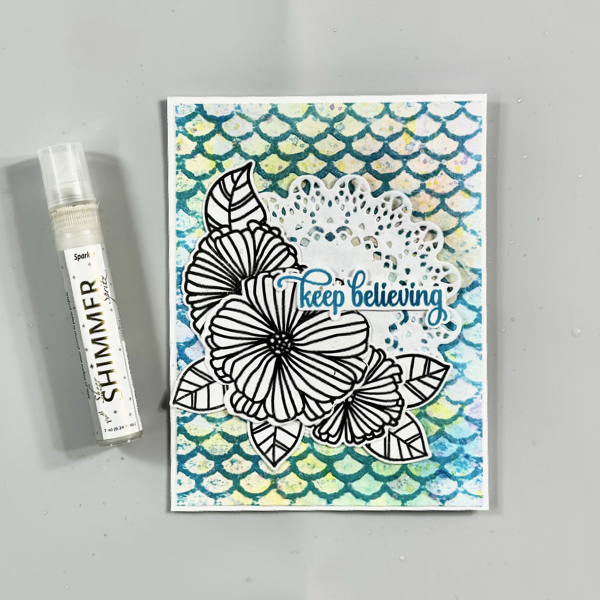
Hello crafty friends! Today we are going to make this floral mixed media card with some ink-smooshing, ink-swiping, ink-splattering, and embossing techniques.
Let’s get crafting!
Skill: Intermediate
Time: 15-30 minutes
Direction:

Step 1
Starting with creating the watercolored background panel by cutting a piece of 140 lb watercolor cardstock into 4 ¼ inch x 5 ½ inch. To pick out the color combo, make sure you pick the colors that won’t turn into a muddy color when they are mixed together.
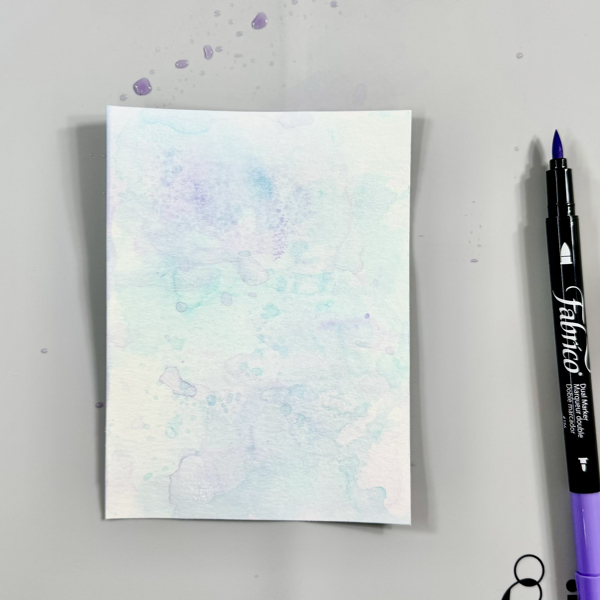
Scribble some of the Tropical Lagoon Fabrico Marker on the craft mat and then spray it lightly with some water. Then, smoosh the watercolor cardstock to the watercolor ink on the mat. Pick it up and dry the watercolor ink on the panel with a craft heat gun. Repeat it until you like the result.
Clean the craft mat with the Staz-On All Purpose Stamp Cleaner and paper towel.
Step 2
Scribble some of the Peony Purple Fabrico Marker on the craft mat and then spray it lightly with some water.
Then, smoosh the watercolor cardstock to the watercolor ink on the mat. Pick it up and dry the watercolor ink on the panel with a craft heat gun. Repeat it until you like the result.
Clean the craft mat with the Staz-On All Purpose Stamp Cleaner and paper towel.
Step 3
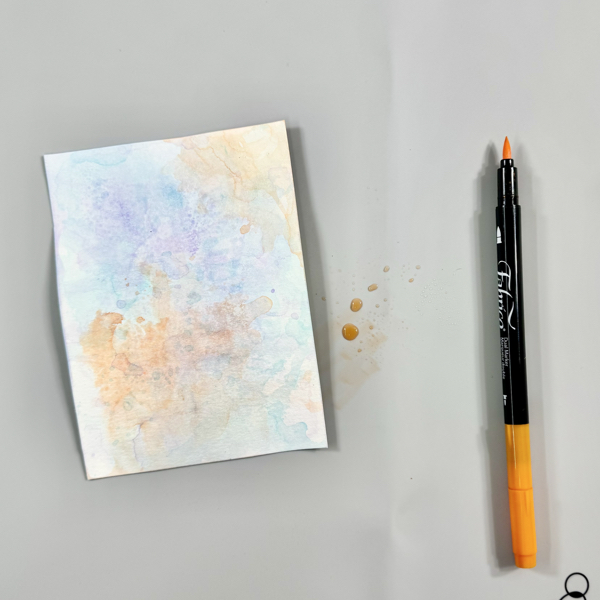
Scribble some of the Tangerine Fabrico Marker on the craft mat and then spray it lightly with some water.
Then, smoosh the watercolor cardstock to the watercolor ink on the mat. Pick it up and dry the watercolor ink on the panel with a craft heat gun. Repeat it until you like the result.
Clean the craft mat with the Staz-On All Purpose Stamp Cleaner and paper towel.
Step 4
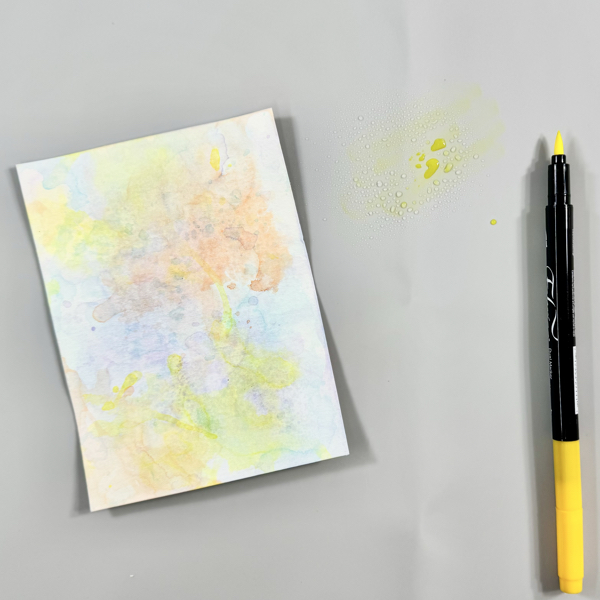
Scribble some of the Lemon Yellow Fabrico Marker on the craft mat and then spray it lightly with some water.
Then, smoosh the watercolor cardstock to the watercolor ink on the mat. Pick it up and dry the watercolor ink on the panel with a craft heat gun. Repeat it until you like the result.
Clean the craft mat with the Staz-On All Purpose Stamp Cleaner and paper towel.
Step 5
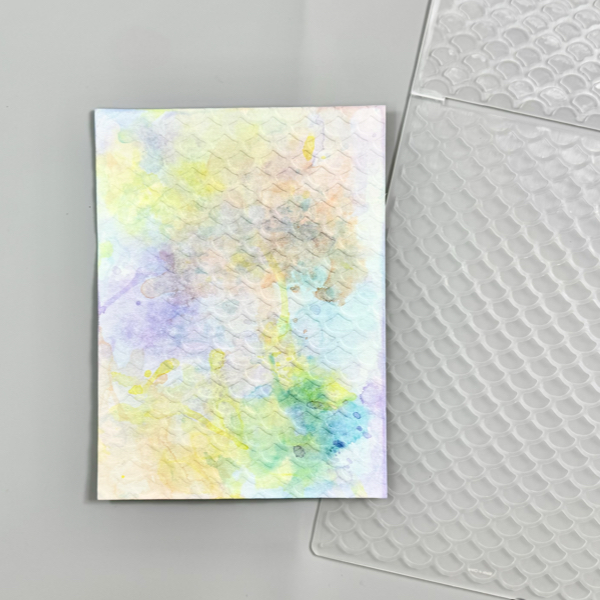
Once the watercolored panel dried well, put it inside the embossing folder, and then run it through the machine.

Step 6
Swipe the VersaFine Clair Warm Breeze ink directly on the embossed part of the panel.
Make sure you swipe the ink lightly and smoothly, do not press down the ink pad to the paper. The juicer (good amount of ink) ink pad, the better.
Dry the ink on the panel with a craft heat gun.
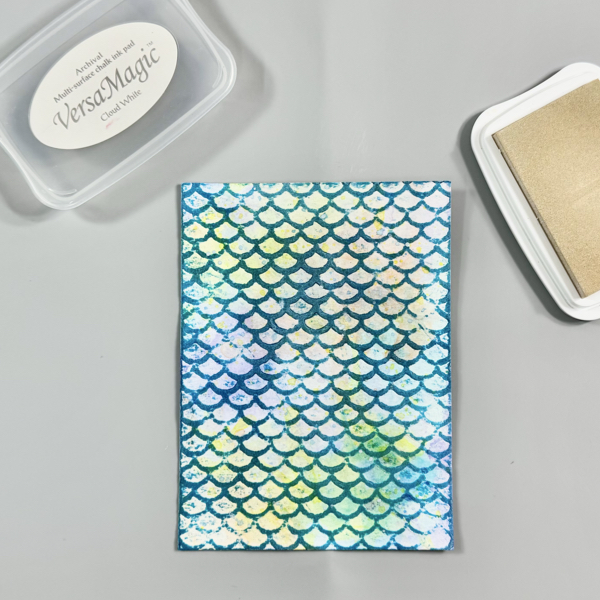
Step 7
To tone down the bright color, swipe some of the VersMagic Cloud White ink on the panel.
This is an optional step, if you prefer a more subtle color background instead of bright color.
Dry the ink on the panel with a craft heat gun.
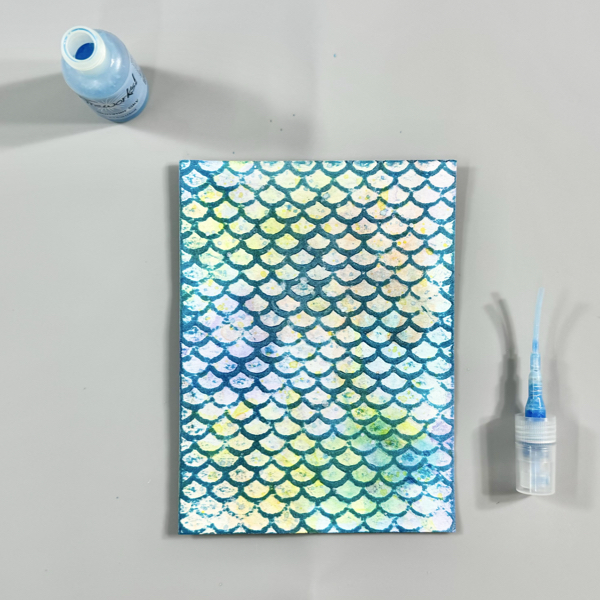
Step 8
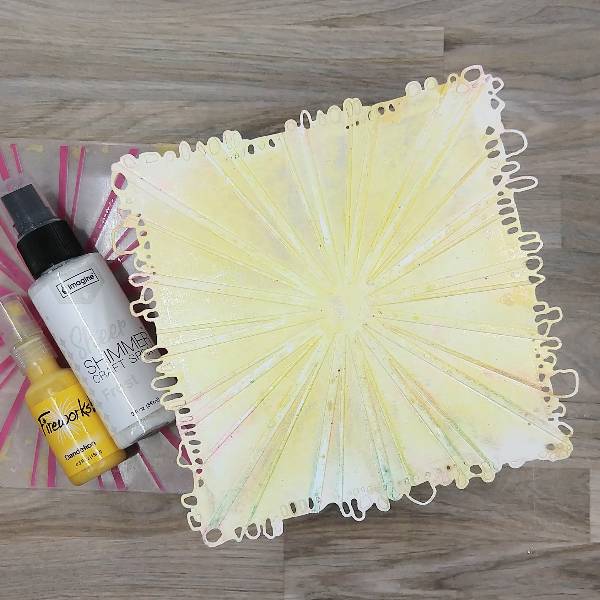
Shake the Fireworks! Shimmery Craft Sprays bottles before you use it to make sure the ink inside mixes well.
Open the top of the spray and use it (or small round brush) to add some splatters of the Summer Sky Fireworks! Shimmery Craft Spray on the panel.
Dry the splatters of ink on the panel with a craft heat gun.
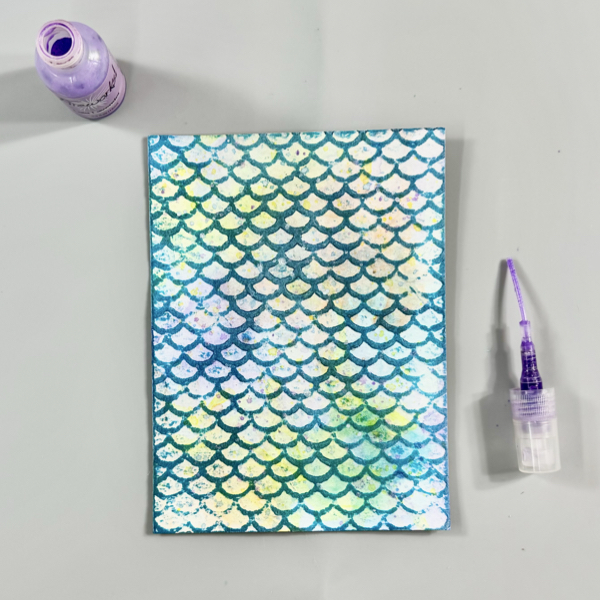
Step 9
Next, open the top of the spray and use it (or small round brush) to add some splatters of the Lulu Lavender Fireworks! Shimmery Craft Spray on the panel.
Dry the splatters of ink on the panel with a craft heat gun.
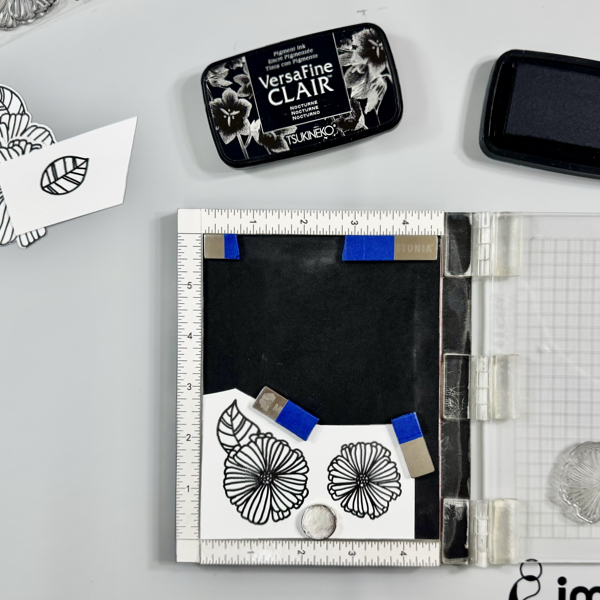
Step 10
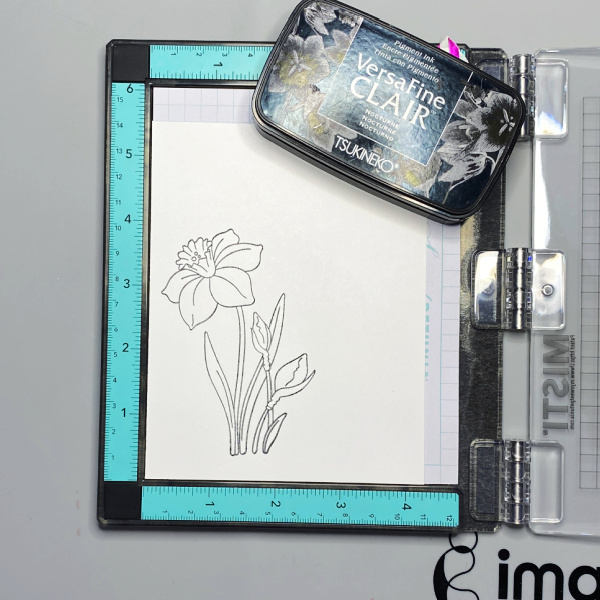
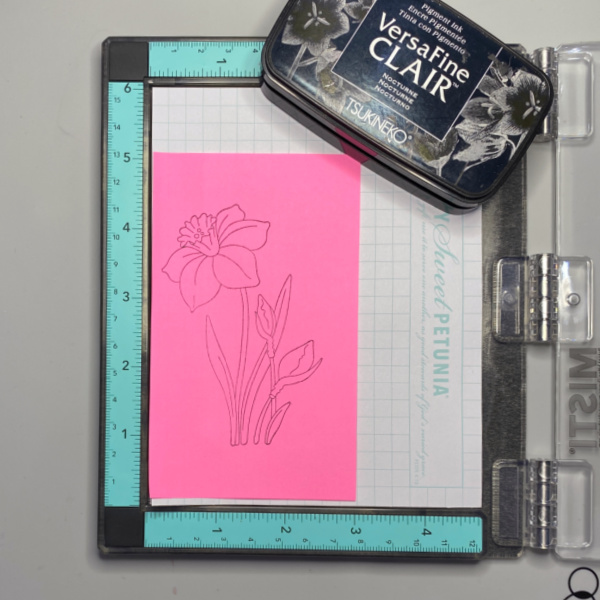
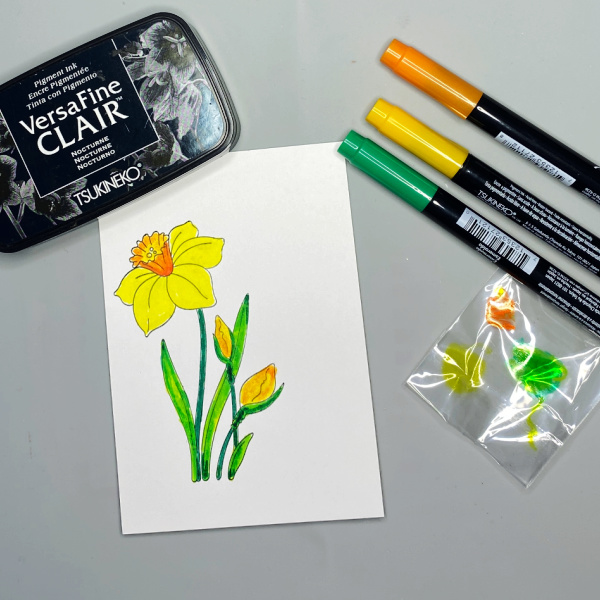
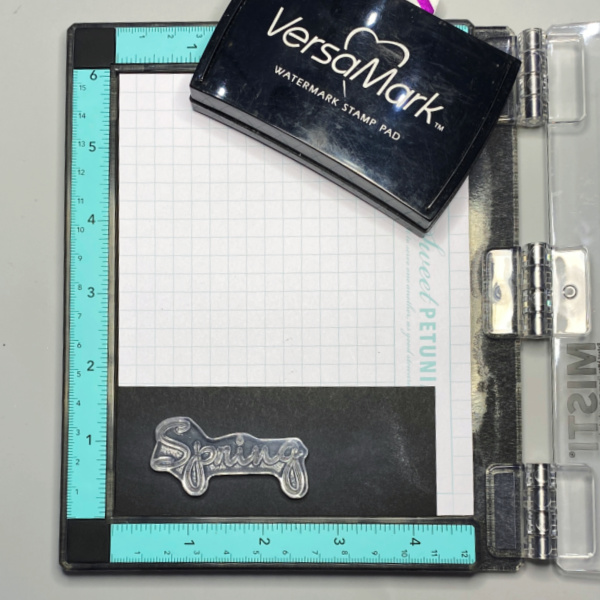
Stamp the flower and leaf images on a white cardstock using the VersaFine Clair Nocturne ink pad with a stamping tool (or acrylic stamping blocks).
Dry the stamped images with a craft heat gun.
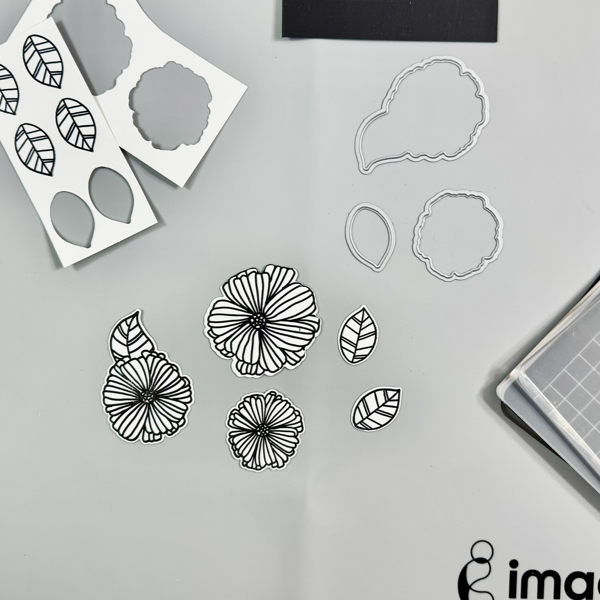
Step 11
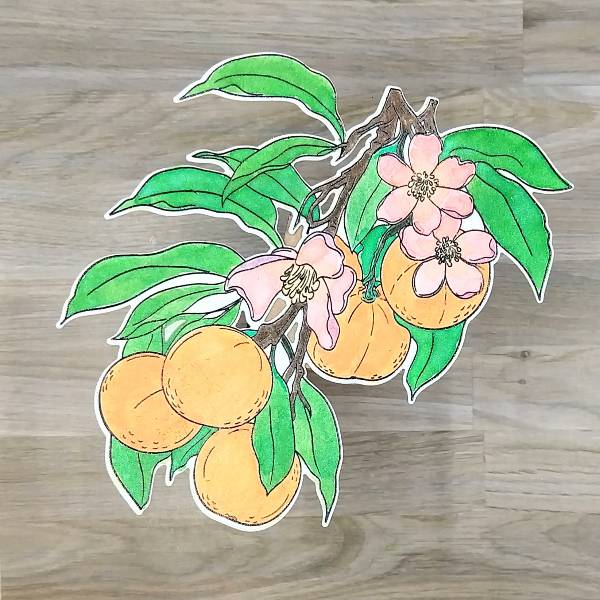
Cut all the stamped flowers and leaves with their matching die set, or you can fussy cut them using micro-tip scissors.
Step 12
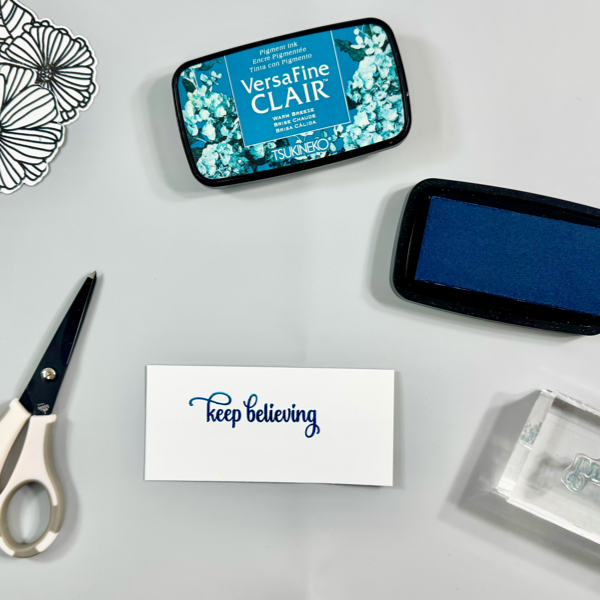
Stamp the sentiment on a white card stock using the VersaFine Clair Warm Breeze ink pad with a stamping block.
Dry the stamped sentiment word with a craft heat gun and then fussy cut it with a micro-tip scissors.

Step 13
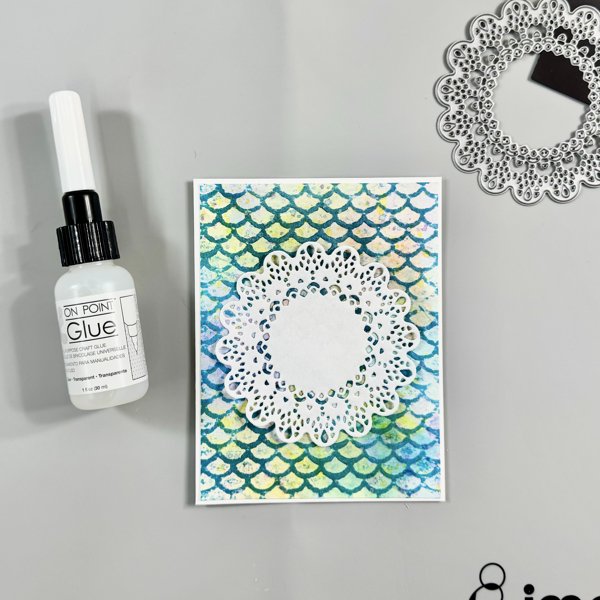
Trim the background panel into 4 inch x 5 ¼ inch using a paper trimmer.
Add the background panel to an A2 card base with the On Point Glue.
Step 14
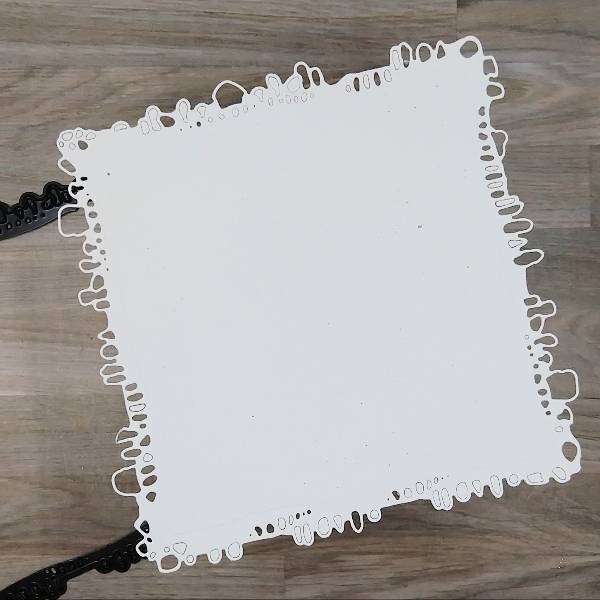
Cut a piece of white paper (copy paper works great) with the Delicate Doily die to create your own doily paper mat.
Add the doily paper to the card with the On Point Glue.
Step 15
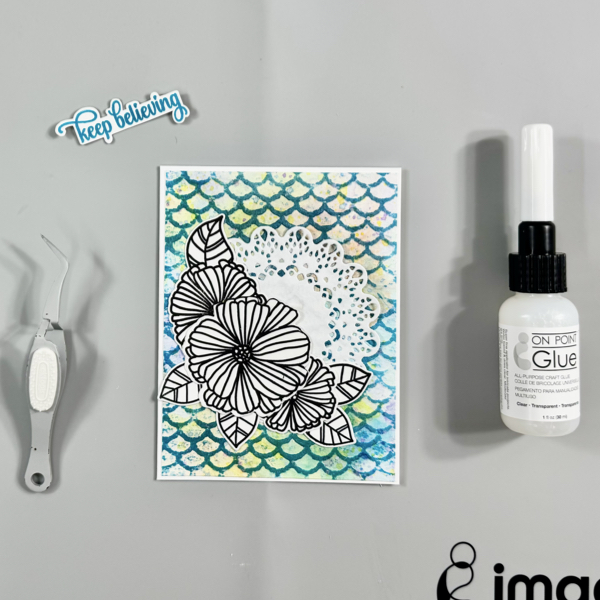
Add the flowers and leaves to the card with On Point Glue.
Then, add some of a thin foam to the sentiment with On Point Glue and add it to the card with the same glue.
Step 16
Add more shimmer to the card by spraying and splatting some of the Sheer Shimmer Spark Spray.

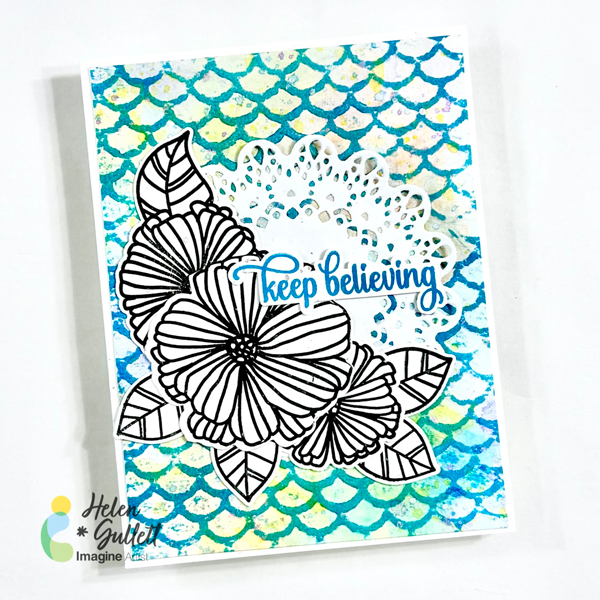
The ink-smooshing, embossing, ink-swiping, and ink-splattering techniques give an amazing texture look to the background of this card.
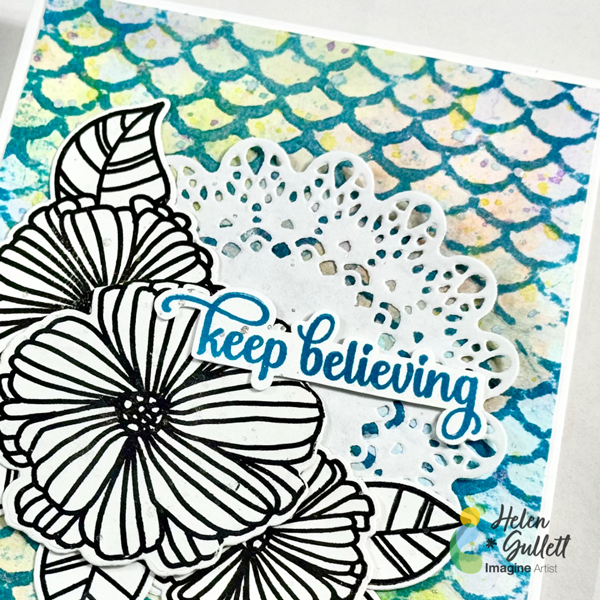
And those layers of doily, flowers, leaves, and sentiment add more dimension to this mixed media card.
I hope you will give this tutorial a try and play around with different colors to see the surprise you will get for your cards. Thanks so much for stopping by our blog today.
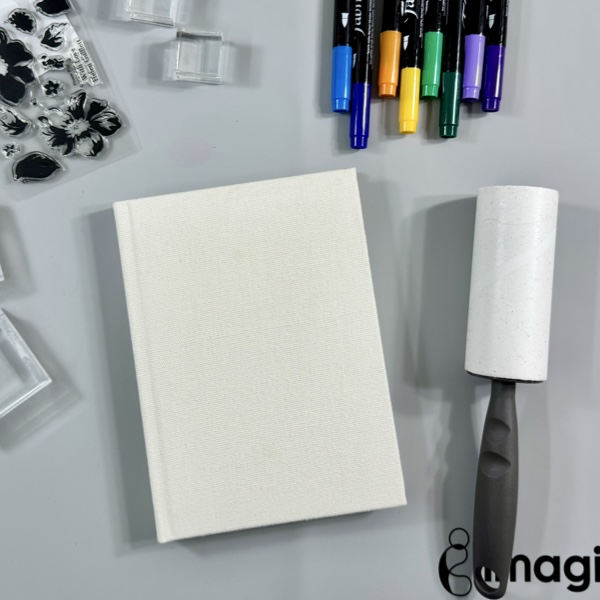
Craft Supplies
Imagine Crafts:
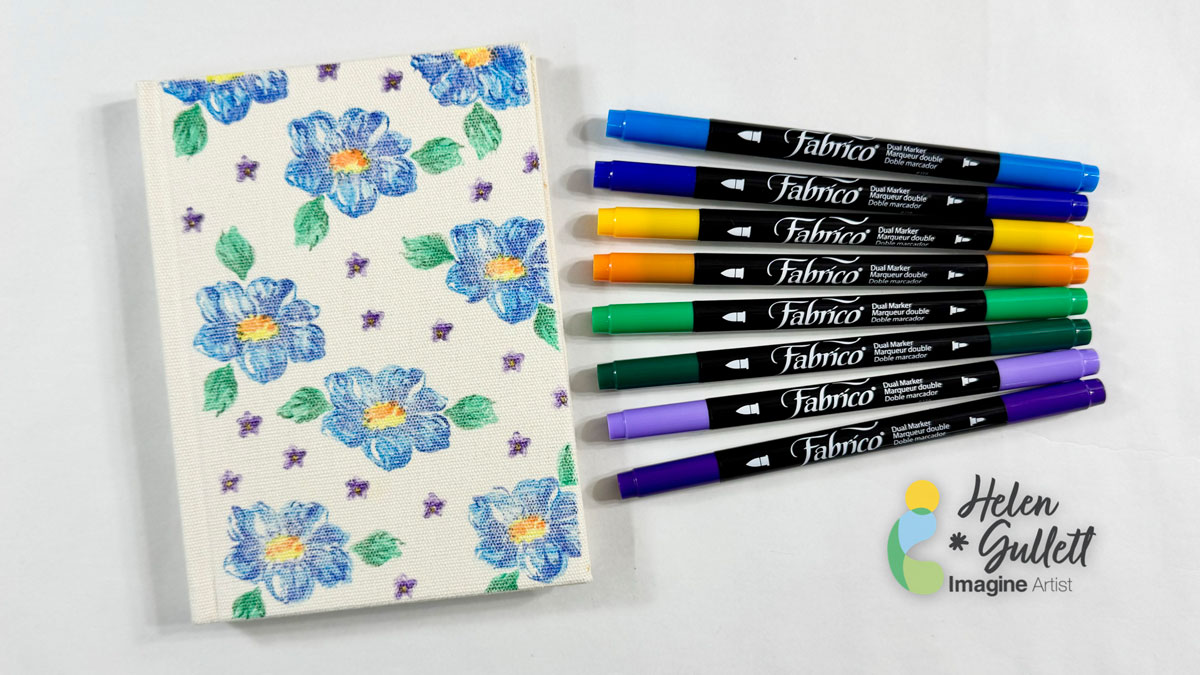
- Fabrico Marker (Peony Purple, Tropical Lagoon, Lemon Yellow, Tangerine)
- VersaFine Clair (Nocturne, Warm Breeze)
- VersaMagic (Cloud White)
- Fireworks! Shimmery Craft Sprays (Lulu Lavender, Summer Sky)
- Sheer Shimmer (Sparkle)
- On Point Glue
- Imagine Craft Mat
- Staz-On All Purpose Stamp Cleaner
Others:
- Bold Blooms stamp & die bundle set (Creative Worship Stamps)
- Delicate Doily die set (Creative Worship Stamps)
- Scallop Embossing Folder (Close To MY Heart, discontinued)
- Watercolor cardstock 140 lb.
- White cardstock
- White copy paper
- Acrylic stamping blocks / Tool
- Micro-tip scissors
- Paper trimmer
- Twizzers
- Bone Folder
- Bottle Sprayer / Mister Bottle
- Paper Towel