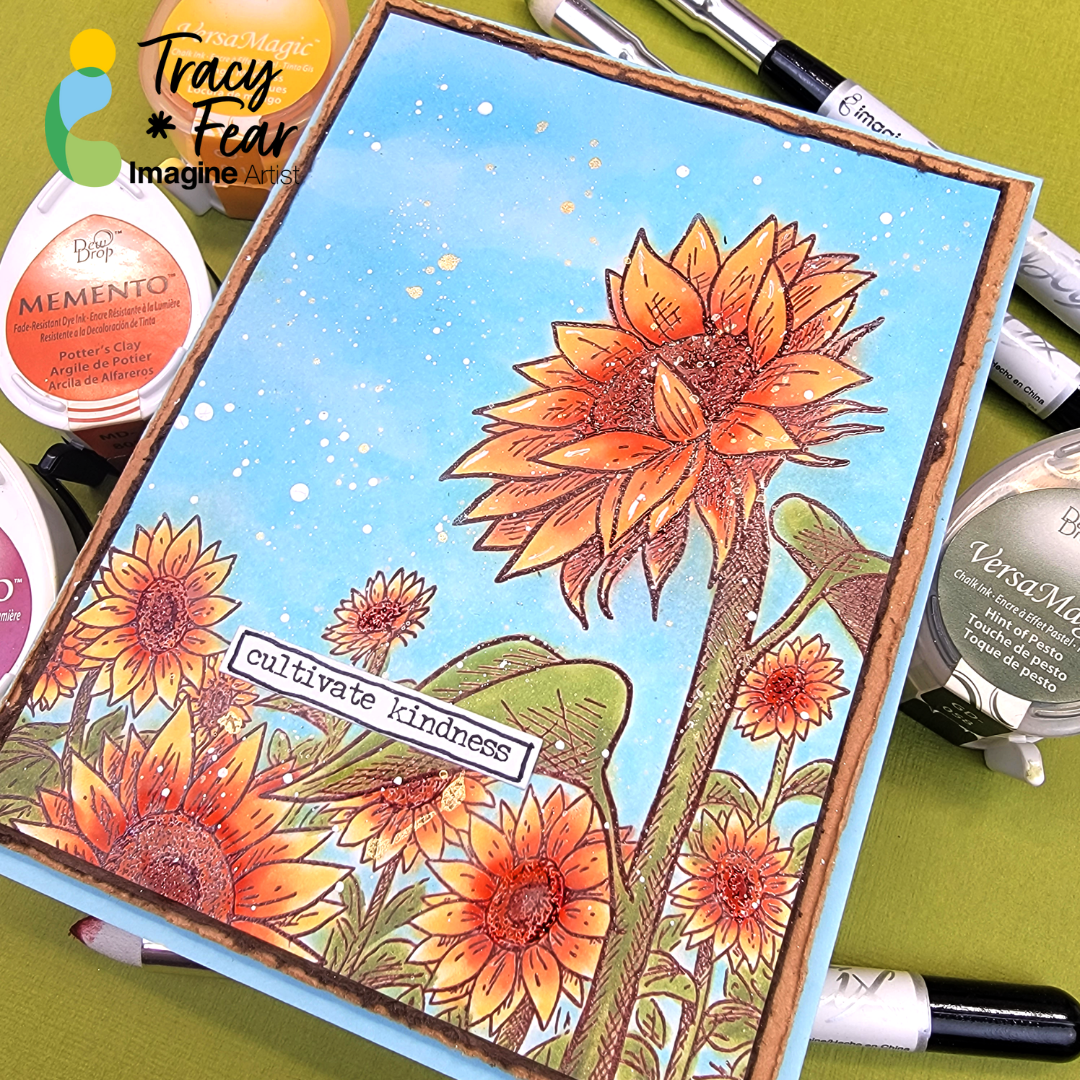
Hello Friends! Tracy here and today I am delighted to share this tutorial about how to color with your inks and using Brushstix to get into those tiny places!
Tracy
Skill: Intermediate Time: 30 Minutes to 90 Minutes
Art Supplies
• Stamping Platform • Glue • Paint Brush • White Paint • Gold Splatter Paint • Scene Stamp • Small Blending Brushes
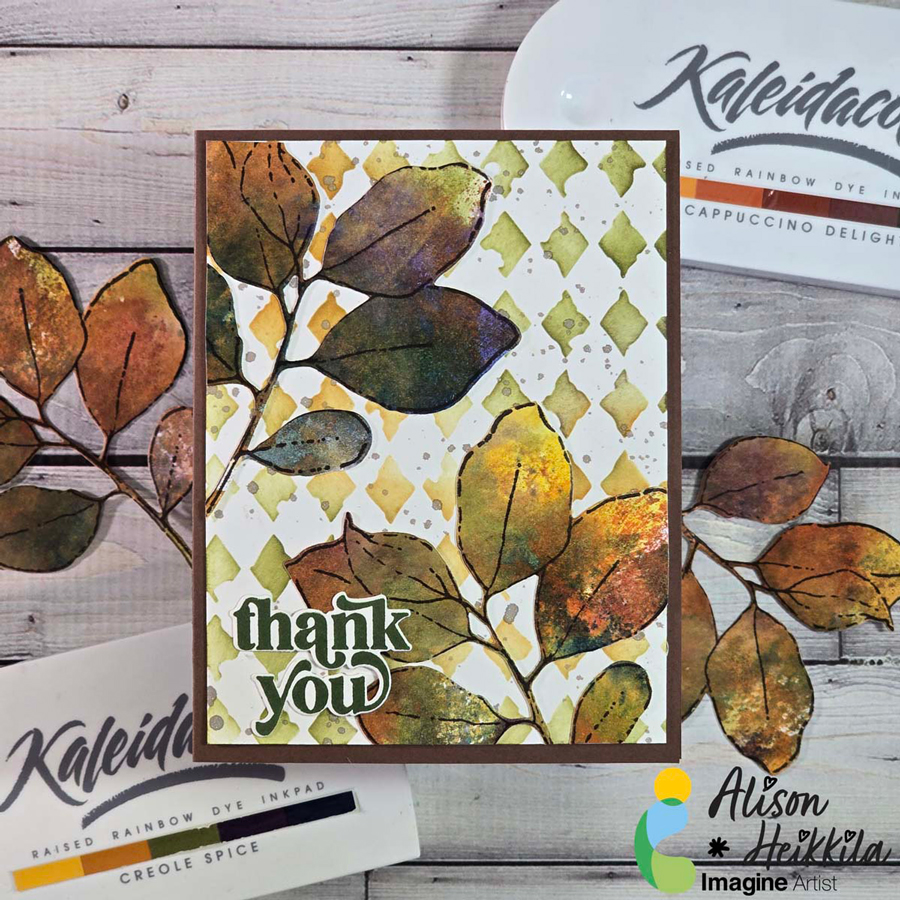
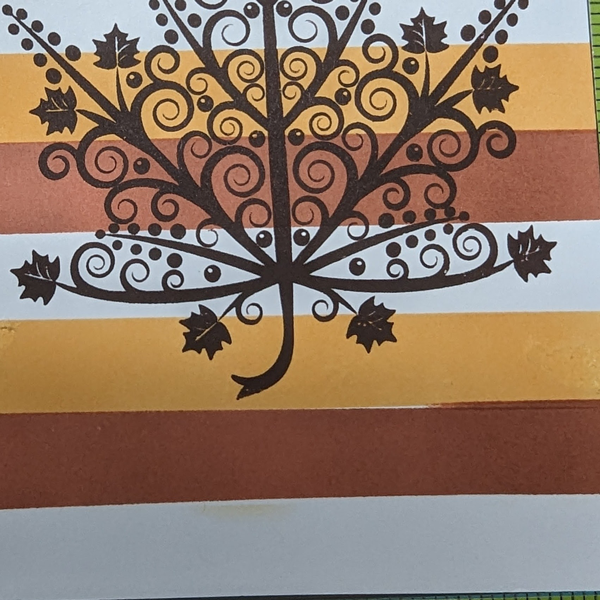
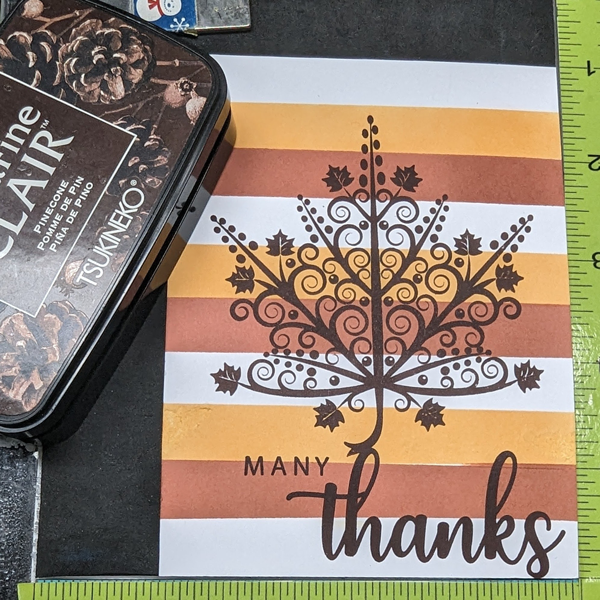
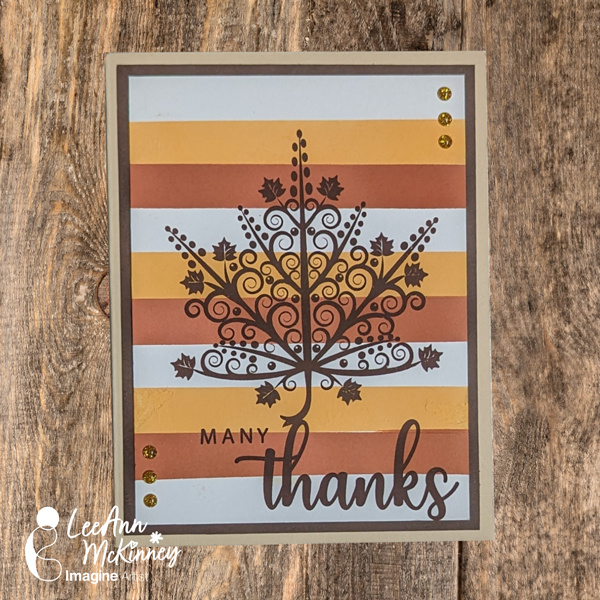
Hello! Alison Heikkila here, and my latest project for Imagine started as a Thanksgiving card, but it morphed into one that can be used at any time of year. I think it’s beautiful, and it’s got some really simple techniques that help you get fantastic results without a lot of products.
Skill Level: Beginner Time to Complete: 20 Minutes
*Some affiliate links are used in this post. That means that if you shop through these links, I may receive a small compensation, at no cost to you.
Here is the YouTube video. If it doesn’t play properly, please click HERE.
I’m so pleased with the foliage. I really love these colors together. I hope you’ll give this a try! Please visit Imagine for more ideas on creative ways to use their products. Thanks so much for stopping by. Have an inspiring day!
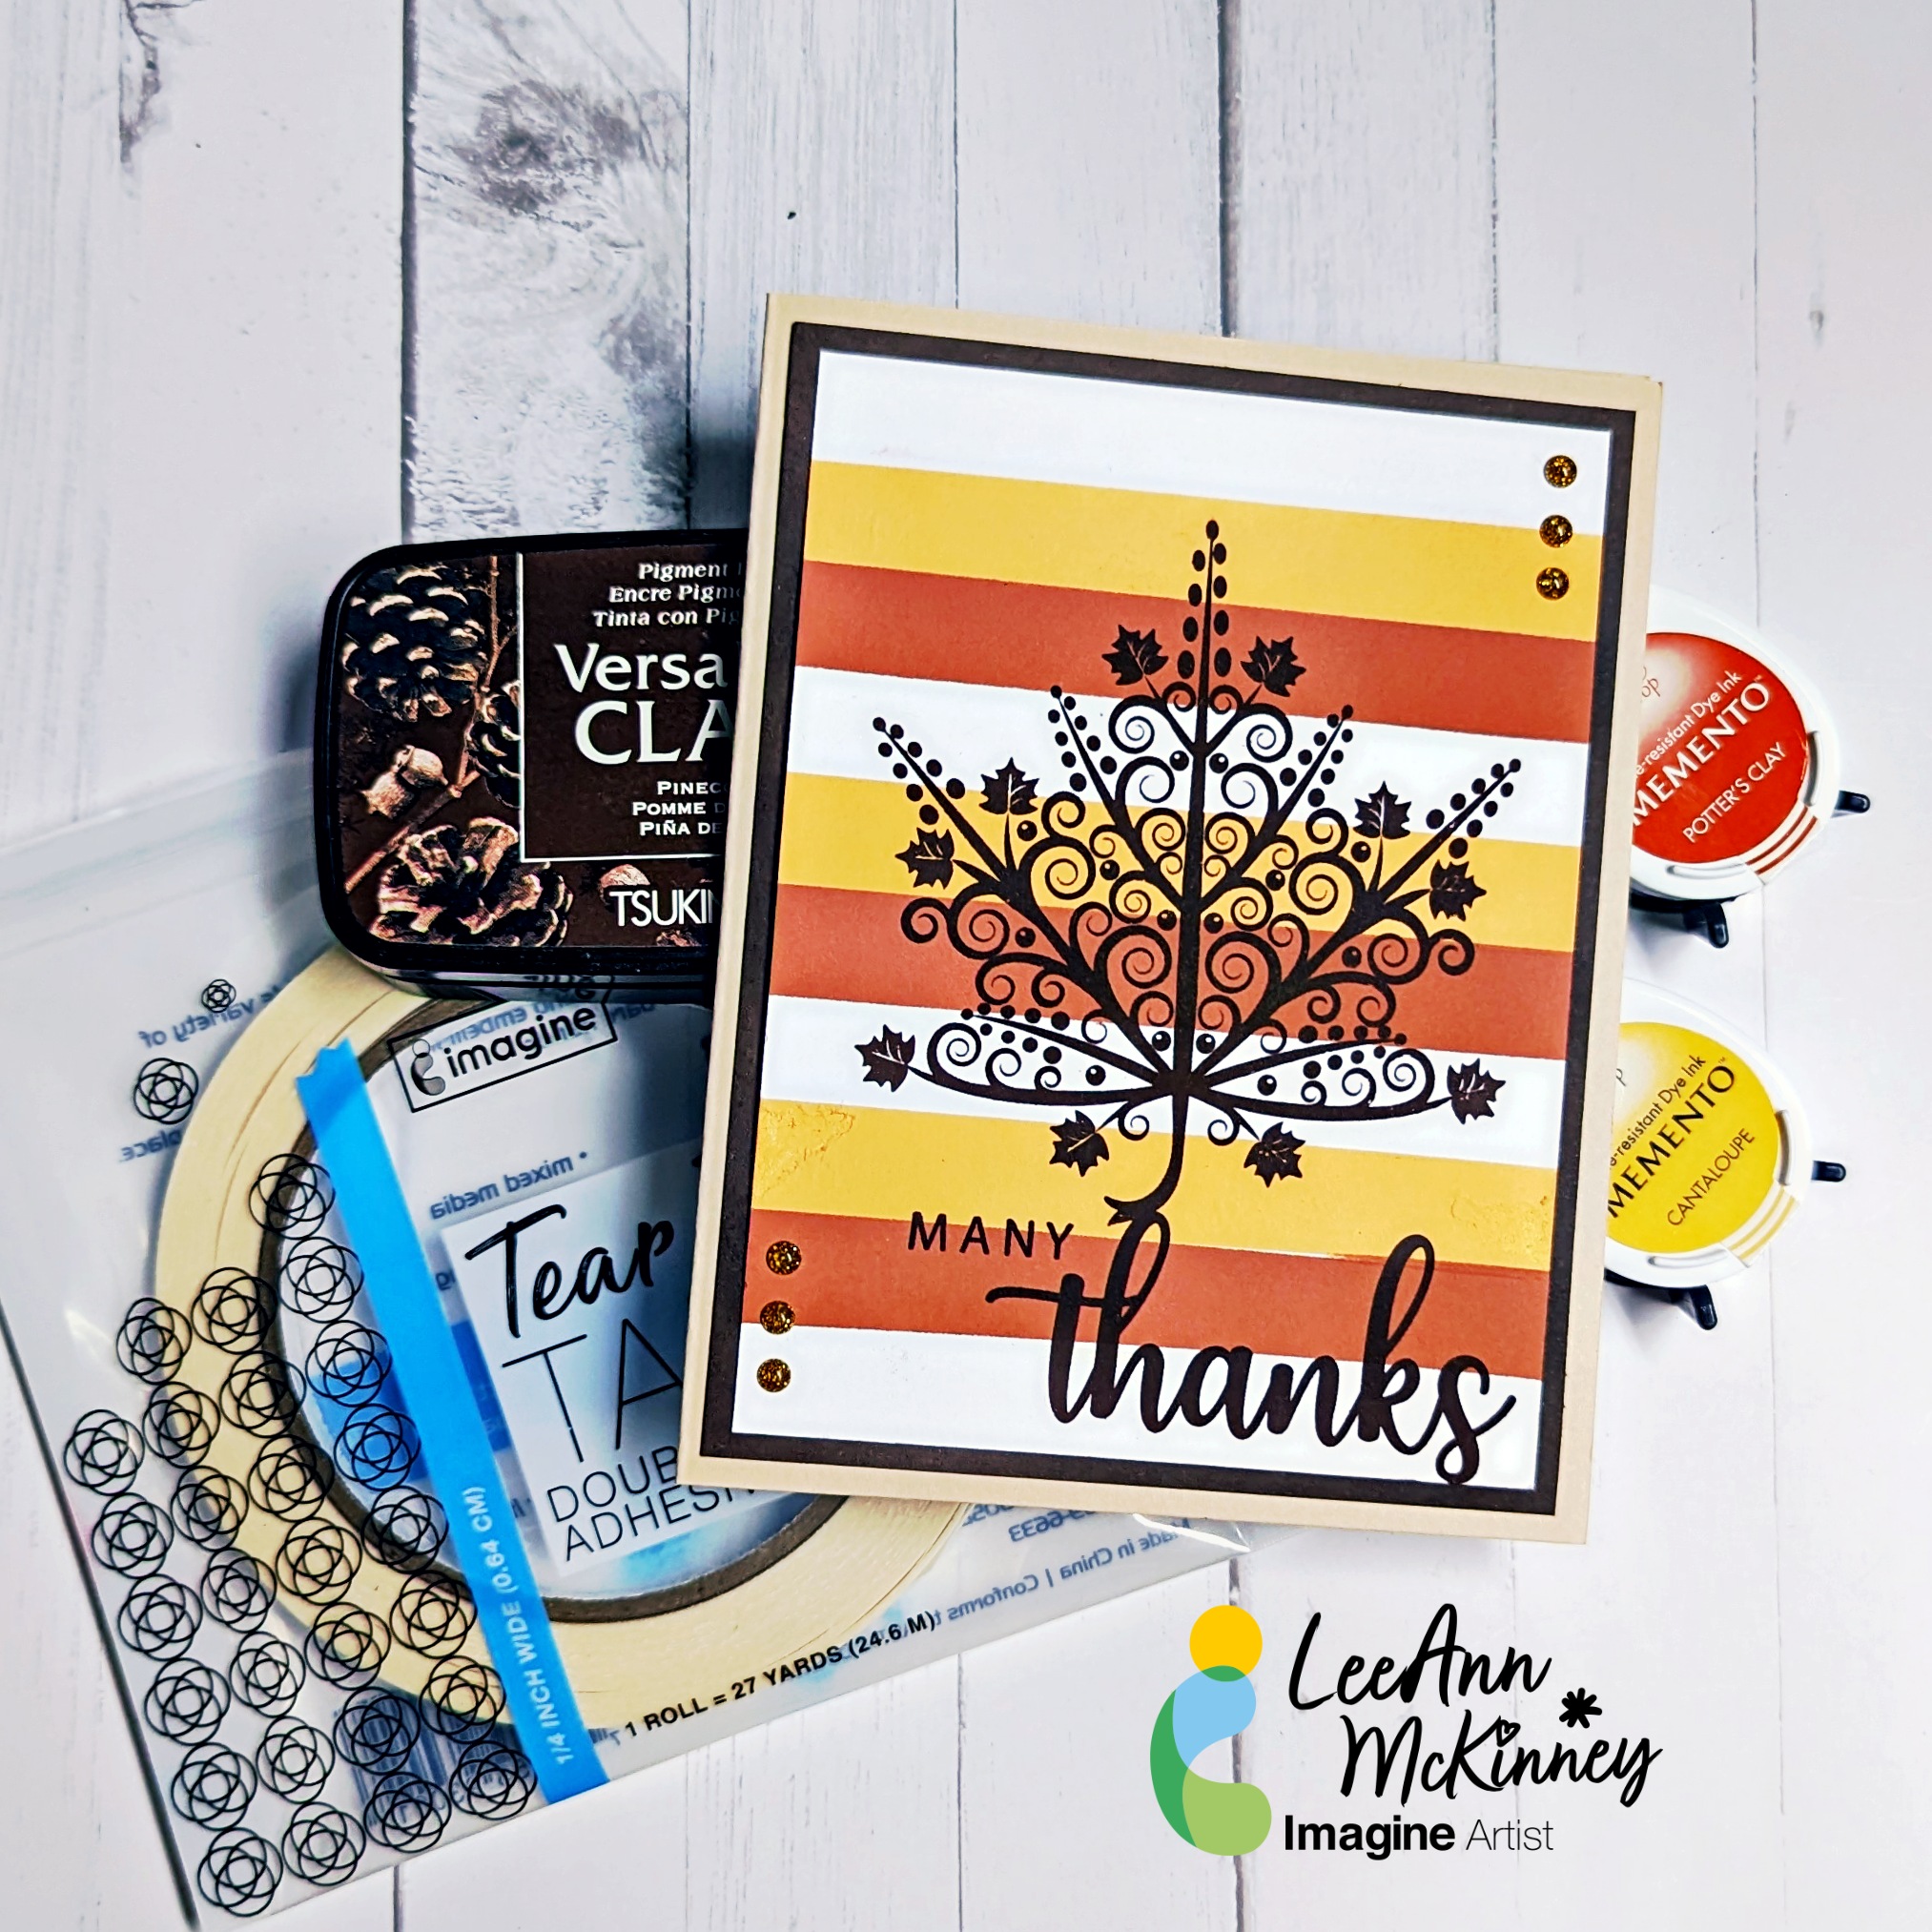
Here’s an Autumn-themed card created with Memento and VersaMagic inks using a lovely stencil and a meaningful quote. This card is meant to encourage a friend who had an accident who is a bit patient for nature to take its course.
Skill Level: Intermediate Time: 1.5 hours
Directions:
Step 1: Use magnets and low-tack tape to secure a piece of mixed media cardstock to a magnetic page. Add a curvy piece of low-tack tape along the bottom as shown. Use a Sponge dauber to apply Danube Blue Memento Ink horizontally across the cardstock.
Step 2: Use another Sponge Dauber to apply Summer Sky Memento ink horizontally across the cardstock, filling in open spaces.
Step 3: Use another Sponge Dauber to add Angel Pink Memento Ink to add some warmth to the sky.
Step 4: Place the other side of the curvy low-tack tape over the bottom part of the sky area. Use a Sponge Dauber to apply Bamboo Leaves Memento ink over the tape horizontally to begin to create a grassy area.
Step 5: Tear a piece of cardstock and use the Sponge Dauber to continue applying Bamboo Leaves Memento ink. Use another Sponge Dauber to apply New Sprout Memento Ink to fill in the grassy area.
Step 6: Use low-tack tape and magnets to secure the Tree Stencil over the sponged paper and the magnetic page. Place low-tack tape over the leaves around the tree trunk and branches. Use a Sponge Dauber to apply Jumbo Java VersaMagic over the stencil onto the paper. Remove the tape to reveal the tree’s leaves. Use a paper towel to wipe the brown ink off of the stencil.
Steps 7A, 7B, 7C, and 7D: Use a Sponge Dauber to Apply Mango Madness VersaMagic Ink over some of the stencil’s leaves (7A). Use a dry paper towel to wipe the ink off the stencil. Use separate Sponge Daubers to apply Aloe Vera, Tea Leaves, Pink Grapefruit, Pumpkin Spice, Red Magic, and Perfect Plumeria VersaMagic Inks over the stencil’s leaves (7B, 7C). 7D shows the completed tree. Heat set.
Step 8: Use magnets to secure the image panel onto the base of the a stamping platform. Place the sentiment facedown where desired. Press the platform’s lid onto the back of the stamp, lift the lid, ink the stamp with Shady Lane VersaFine Clair Ink, and stamp. Re-ink and stamp again if necessary to attain a good impression. Remove the card front from the stamping platform. Heat set the sentiment.
Step 9: Cut a piece of white textured cardstock to 10” x 7”. Score at 5” and fold to form a 5” x 7” card. Place a piece of scrap paper inside the card to protect it. Use a Sponge Dauber to apply Shady Lane VersaFine Clair around the outer .5” perimeter of the card. Heat set.
Step 10: Use Tear It! Tape to adhere the card front to the inked 5” x 7” card.
– I love it when I can incorporate everyday items from around the house in my craft room. Today we are paying with tin foil…aluminum foil…kitchen foil…whatever you might call it…We are going to repurpose basic tin foil into faux metal panels, emboss them with embossing folders and see which Imagine products will adhere to the foil to create that beautiful faux metal look. Then we will make a couple of beautiful cards
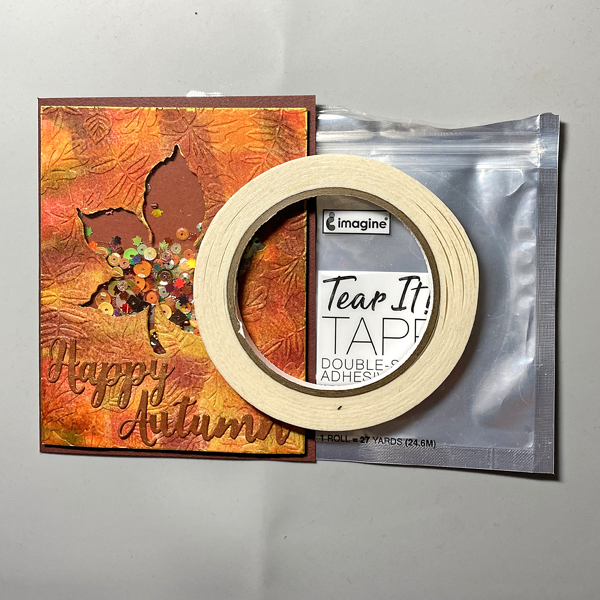
Intro: Here’s an embossed shimmery shaker card created with a Kaleidacolor Inkpad, several Memento Dew Drop Inkpads, and a Golden Glitz Delicata pad.
Skill Level: Beginner to Intermediate
Time: 1.5 hours
Step 1.
Place the square mini Gel Press onto an acrylic block.
Step 2:
Open the Autumn Leaves Kaleidacolor pad, Press the mini Gel Press against the pad, slide the Gel Press down to fill the Press with ink.
Step 3:
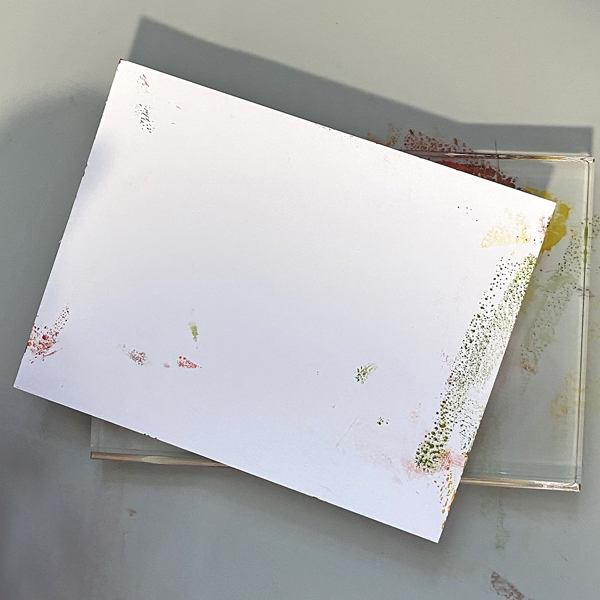
Flip the acrylic block so that the inked Gel Press is facing upward. You’ll notice that the paper is not straight. It’s good to apply the ink in a random pattern. Place a piece of white cardstock against the Gel Press and pull the print.
Repeat Step #2 and Step #3 until the paper is covered with ink.
Repeat Steps #2 and 3 again to create a second print.
Step 4:
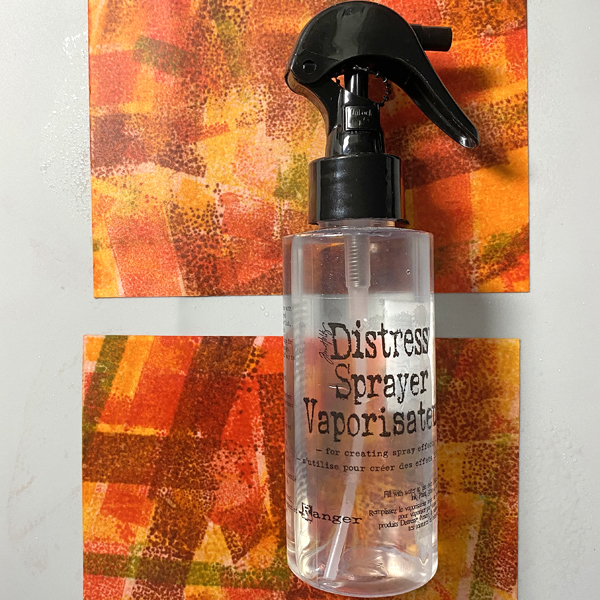
Spray the print (which looks like a hot mess at this point) with 91% Isopropyl Alcohol until the paper is saturated. Heat set.
Step 5:
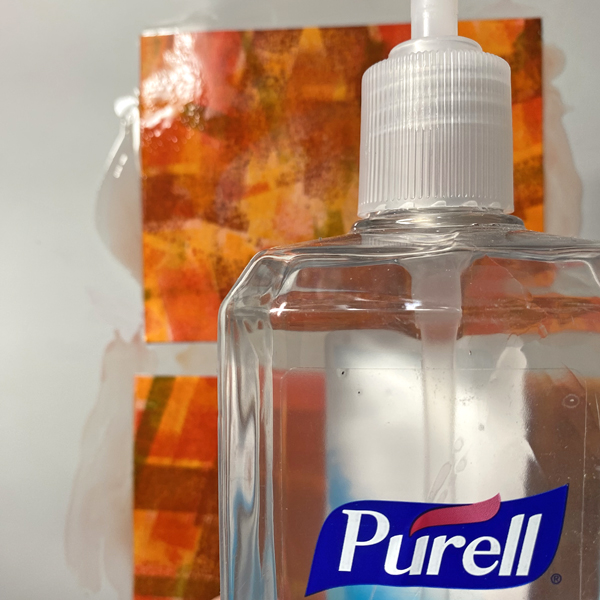
Coat both prints with Purell to further lighten and blend the colors. A side benefit is that your hands will get clean!
Step 6:
Mist the prints with water to add some droplets and white splatter. Heat set.
Step 7:
Use Sponge Daubers to yellow from the Kaleidacolor pad, New Sprout, Bamboo Leaves, Sugar Plum, Dandelion, Tangelo, Lady Bug, Rhubarb Stalk, Ladybug, and Lilac Posies to enhance both prints.
Step 8:
Spray the prints again with 91% Isopropyl Alcohol. Heat set and flatten the prints if necessary.
Step 9:
Place a print inside the embossing folder and run it through a die-cut machine.
Step 10:
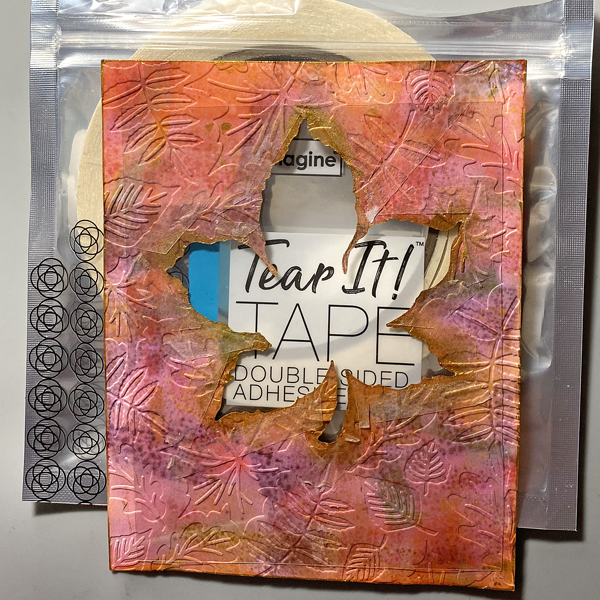
Use a leaf die to cut the embossed print. Reserve the leaf for another use.
Step 11:
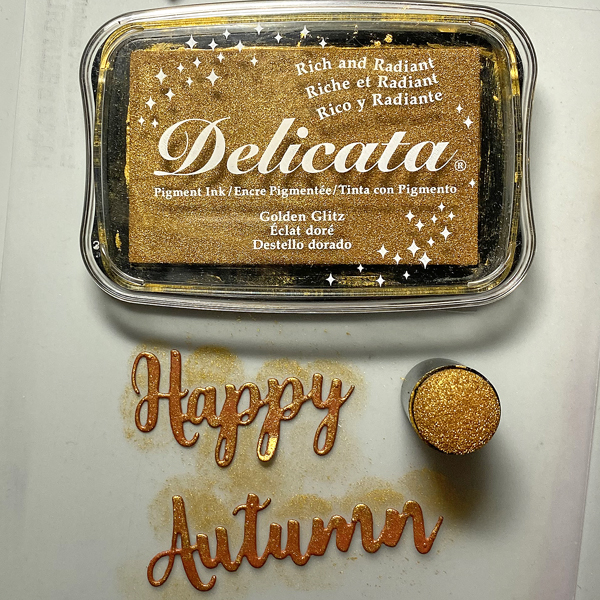
Apply Golden Glitz Delicata to the edges of the leaf window and the panel.
Lightly tickle the embossed elements to add some glittery golden touches to the design.
Heat set.
Step 12:
Flip the embossed print. Take a second to admire the colors of the reverse. The ink colors change and meld somewhat due to the Isopropyl Alcohol.
Place Tear It Tape around the edges of the leaf on the back of the panel. Secure a piece of acetate to the tape on the panel.
Step 13:
Place foam tape around the edges of the leaf to create a well for the shaker contents. Be sure that there are no gaps between the pieces of tape. Use an embossing buddy or a dryer sheet to gently rub the sides of the tape and the acetate window so that the shaker contents can be move freely.
Fill the aperture with your selection of shaker contents.
Carefully pull the backing off of the foam tape and place a piece of cardstock over the aperture to seal the shaker.
Step 14:
Use cutting dies to cut rust cardstock (not shown).
Apply Golden Glitz Delicata Ink to the die-cuts.
Step 15:
Adhere the sentiment below the shaker element.
Step 16:
Use Tear It! Tape to adhere the front of the shaker card to an A2 Rust card.