By Anna Escalada York
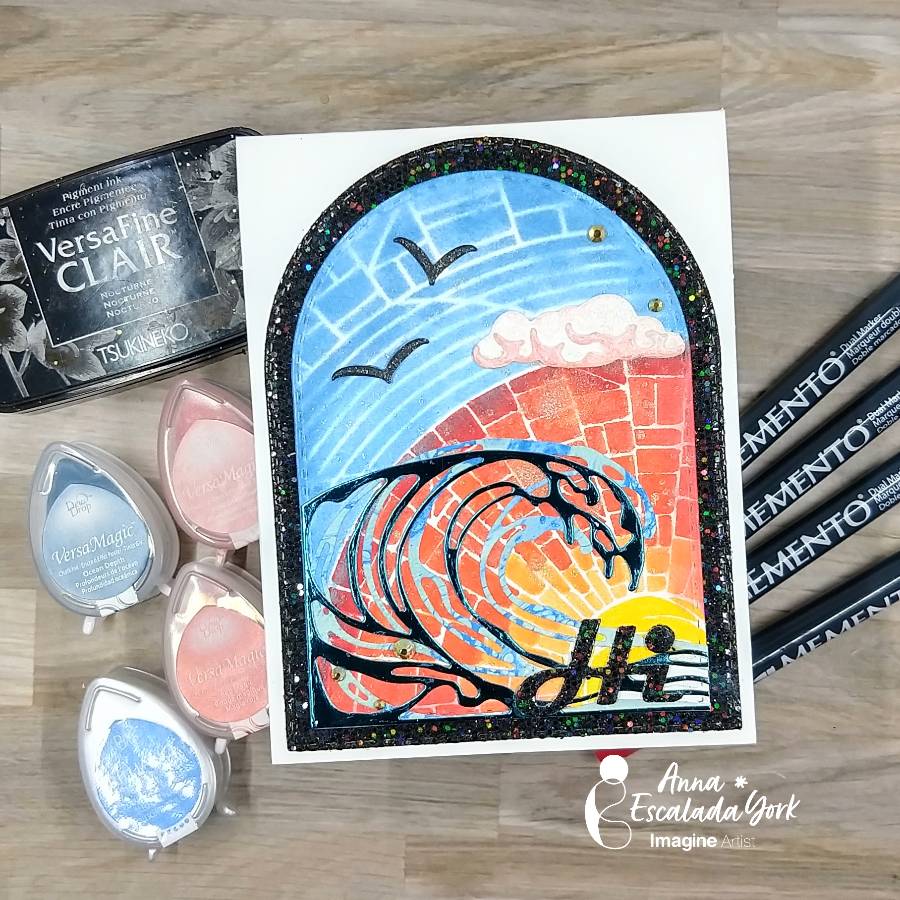
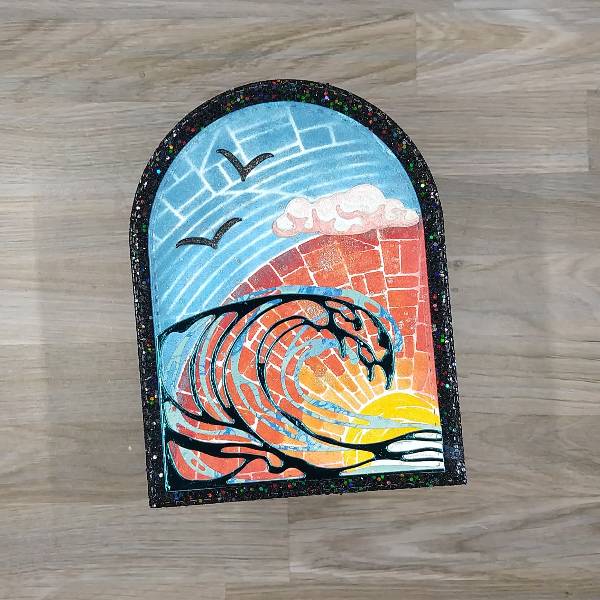
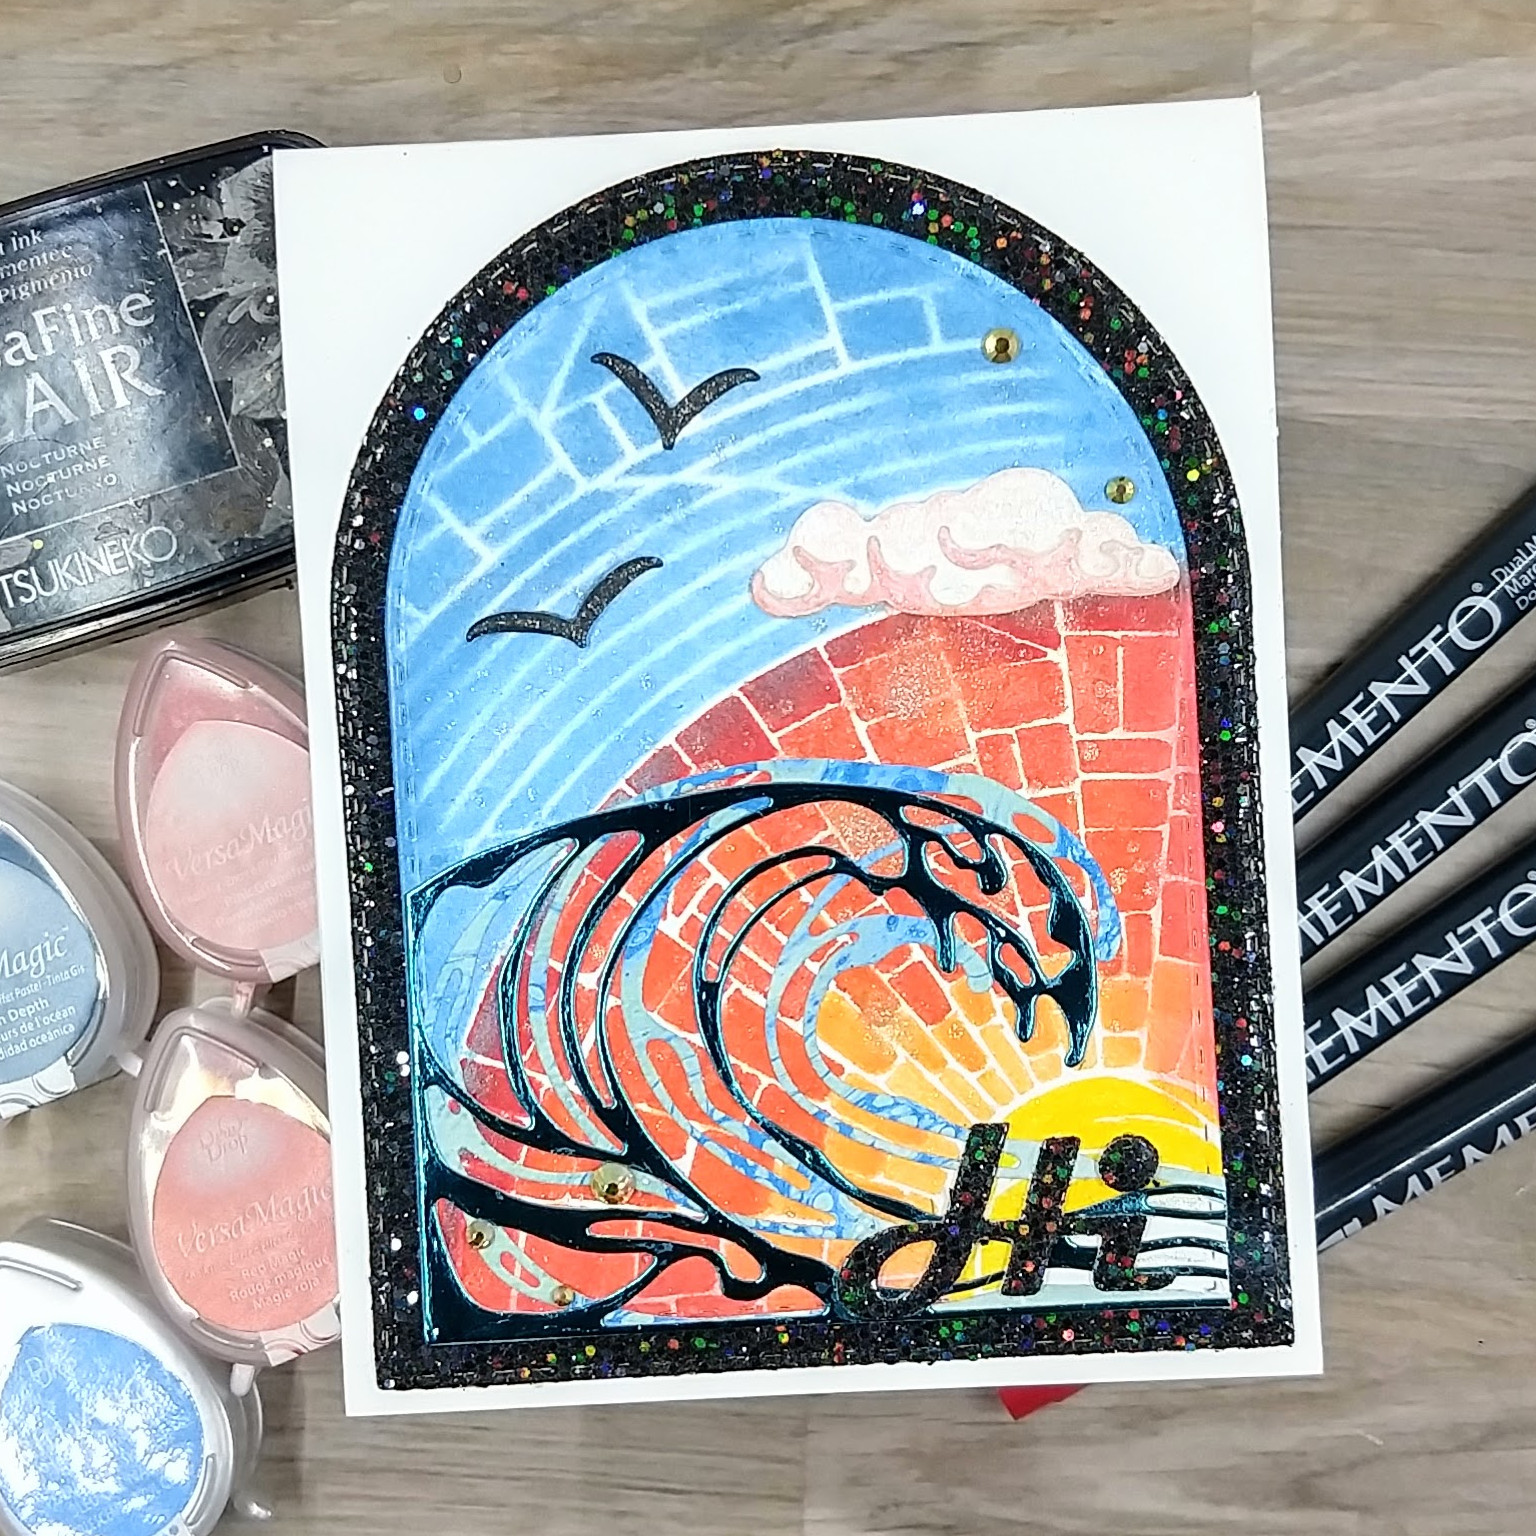
In today’s post, I am sharing a card that features a summer scene.
Skill: Intermediate
Time: 1 hour
Directions:
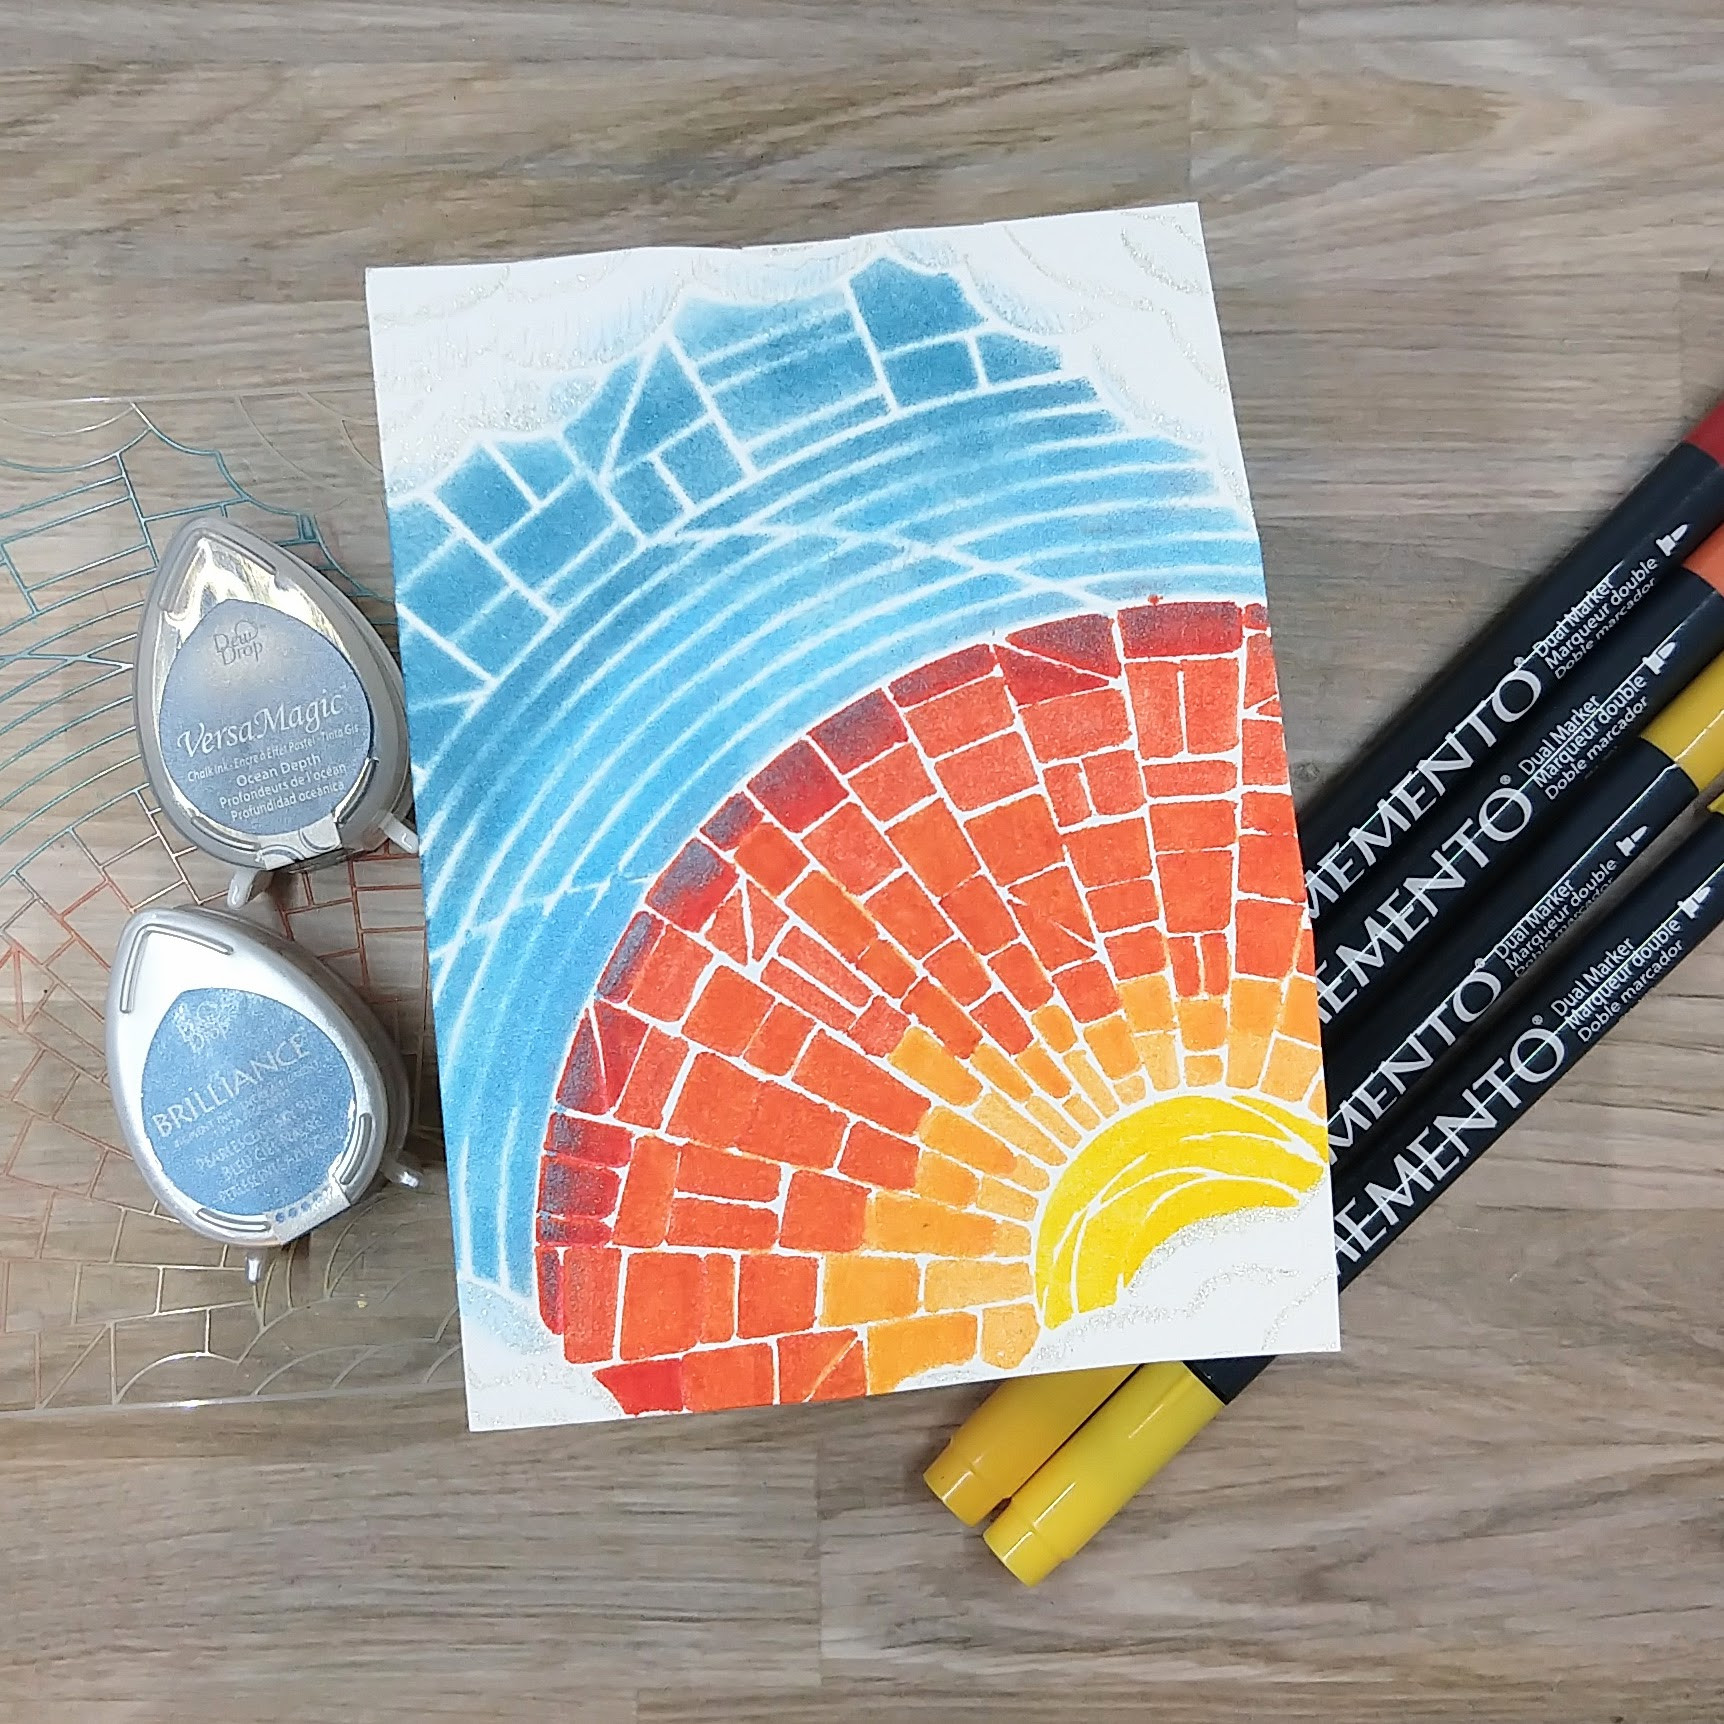
Step 1:
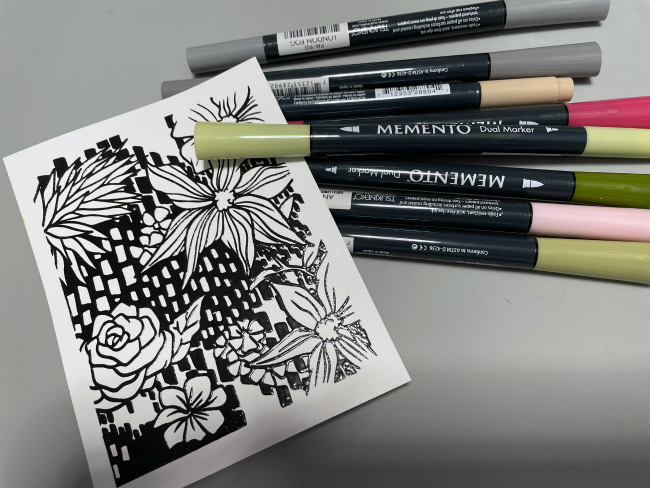
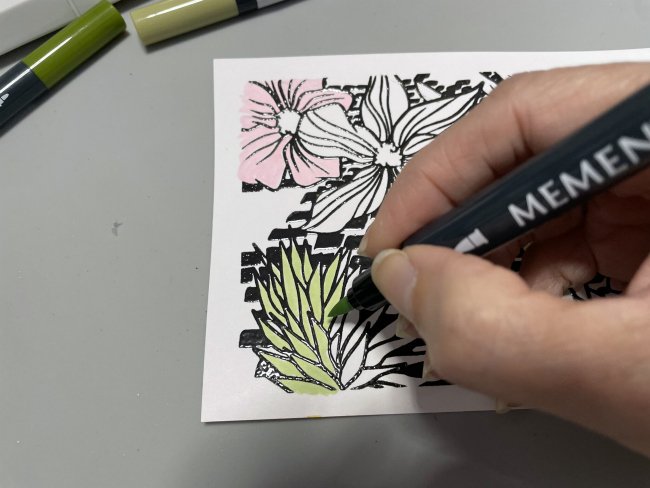
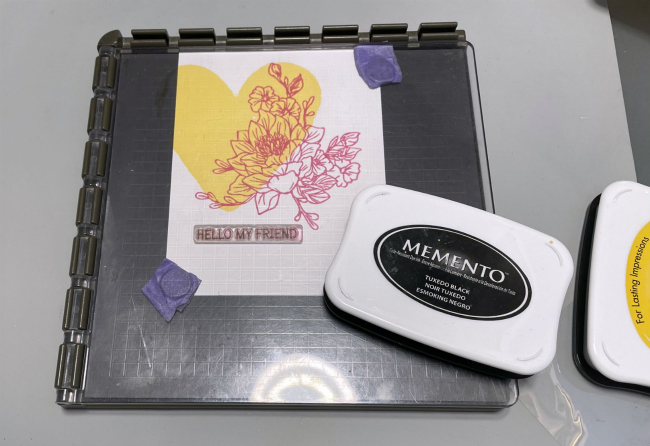
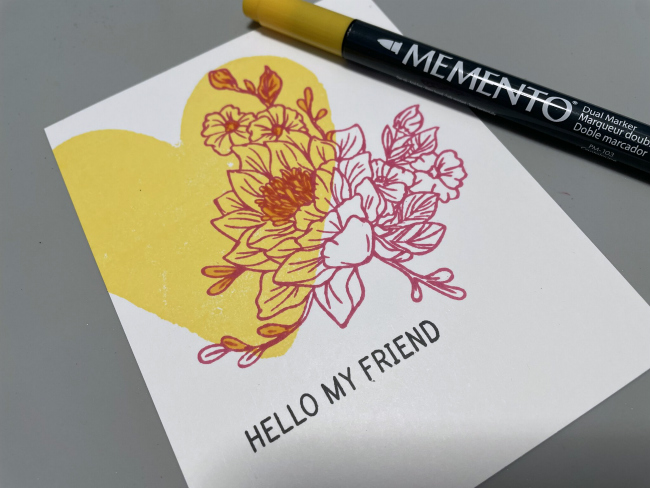
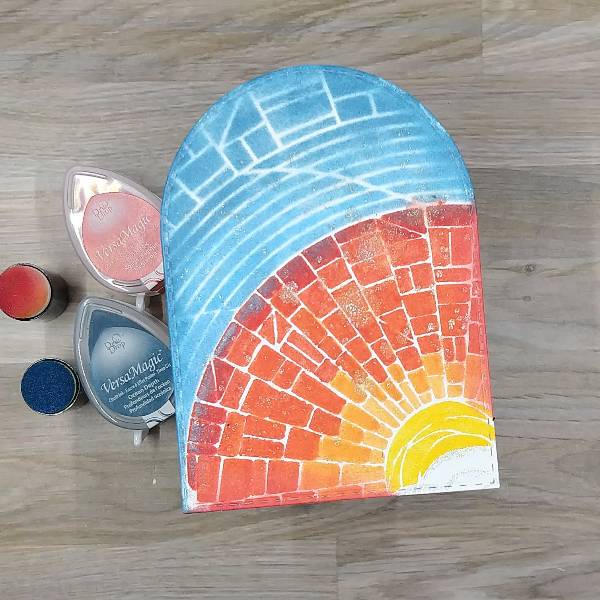
Use Memento Markers–Dandelion, Cantaloupe, Morocco and Lady Bug to color the sun and
sun rays through a stencil onto watercolor paper. Blend some of the colors together by coloring
a lighter color over a darker one to create even more color variety. Use some ink blenders to ink
blend the sky with Pearlescent Sky Blue Brilliance (closer to the sun) and Ocean Depth
VersaMagic Chalk Ink (farther away from the sun.
Use a sparkly clear gel pen to add sparkle to the clouds. (This ended up being mostly die cut
out.)
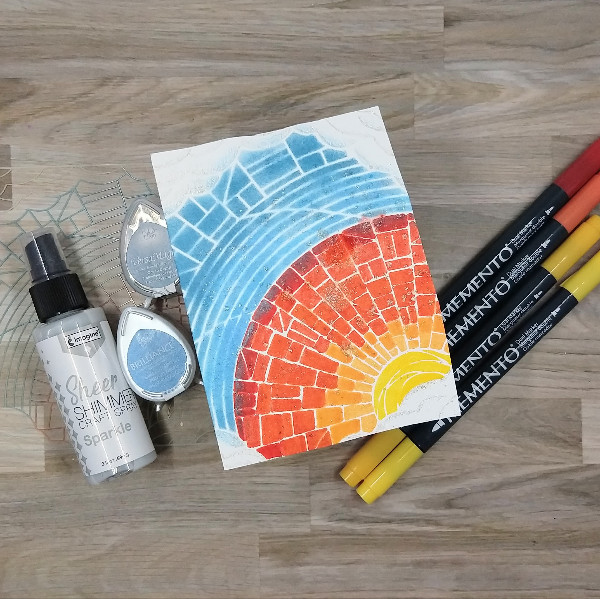
Step 2:
Slowly and gently press on the cap of the Sparkle Sheer Shimmer Craft Spray bottle, making
sure to only press about half way so that a small amount of splatters go onto the watercolor
panel. Allow to dry.
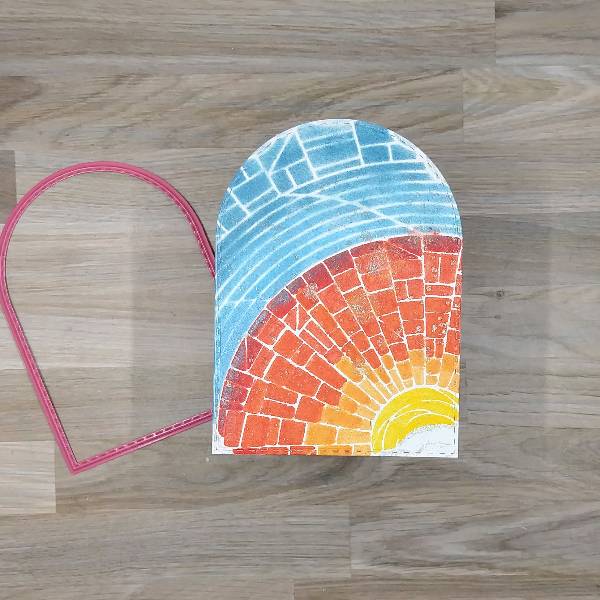
Step 3:
Die cut the panel with a mid-sized arch die.
Step 4:
Using daubers, ink blend Red Magic VersaMagic Chalk Ink along the bottom and right side of
the die cut (where the orange and red rays touch the edges) and more of the Ocean Depth
VersaMagic Chalk Ink along the left edge through the upper third part of the right edge (where
the blue sky touch the edges). Don’t ink blend the bottom right corner of the panel (with the sun
and cloud).
Step 5:
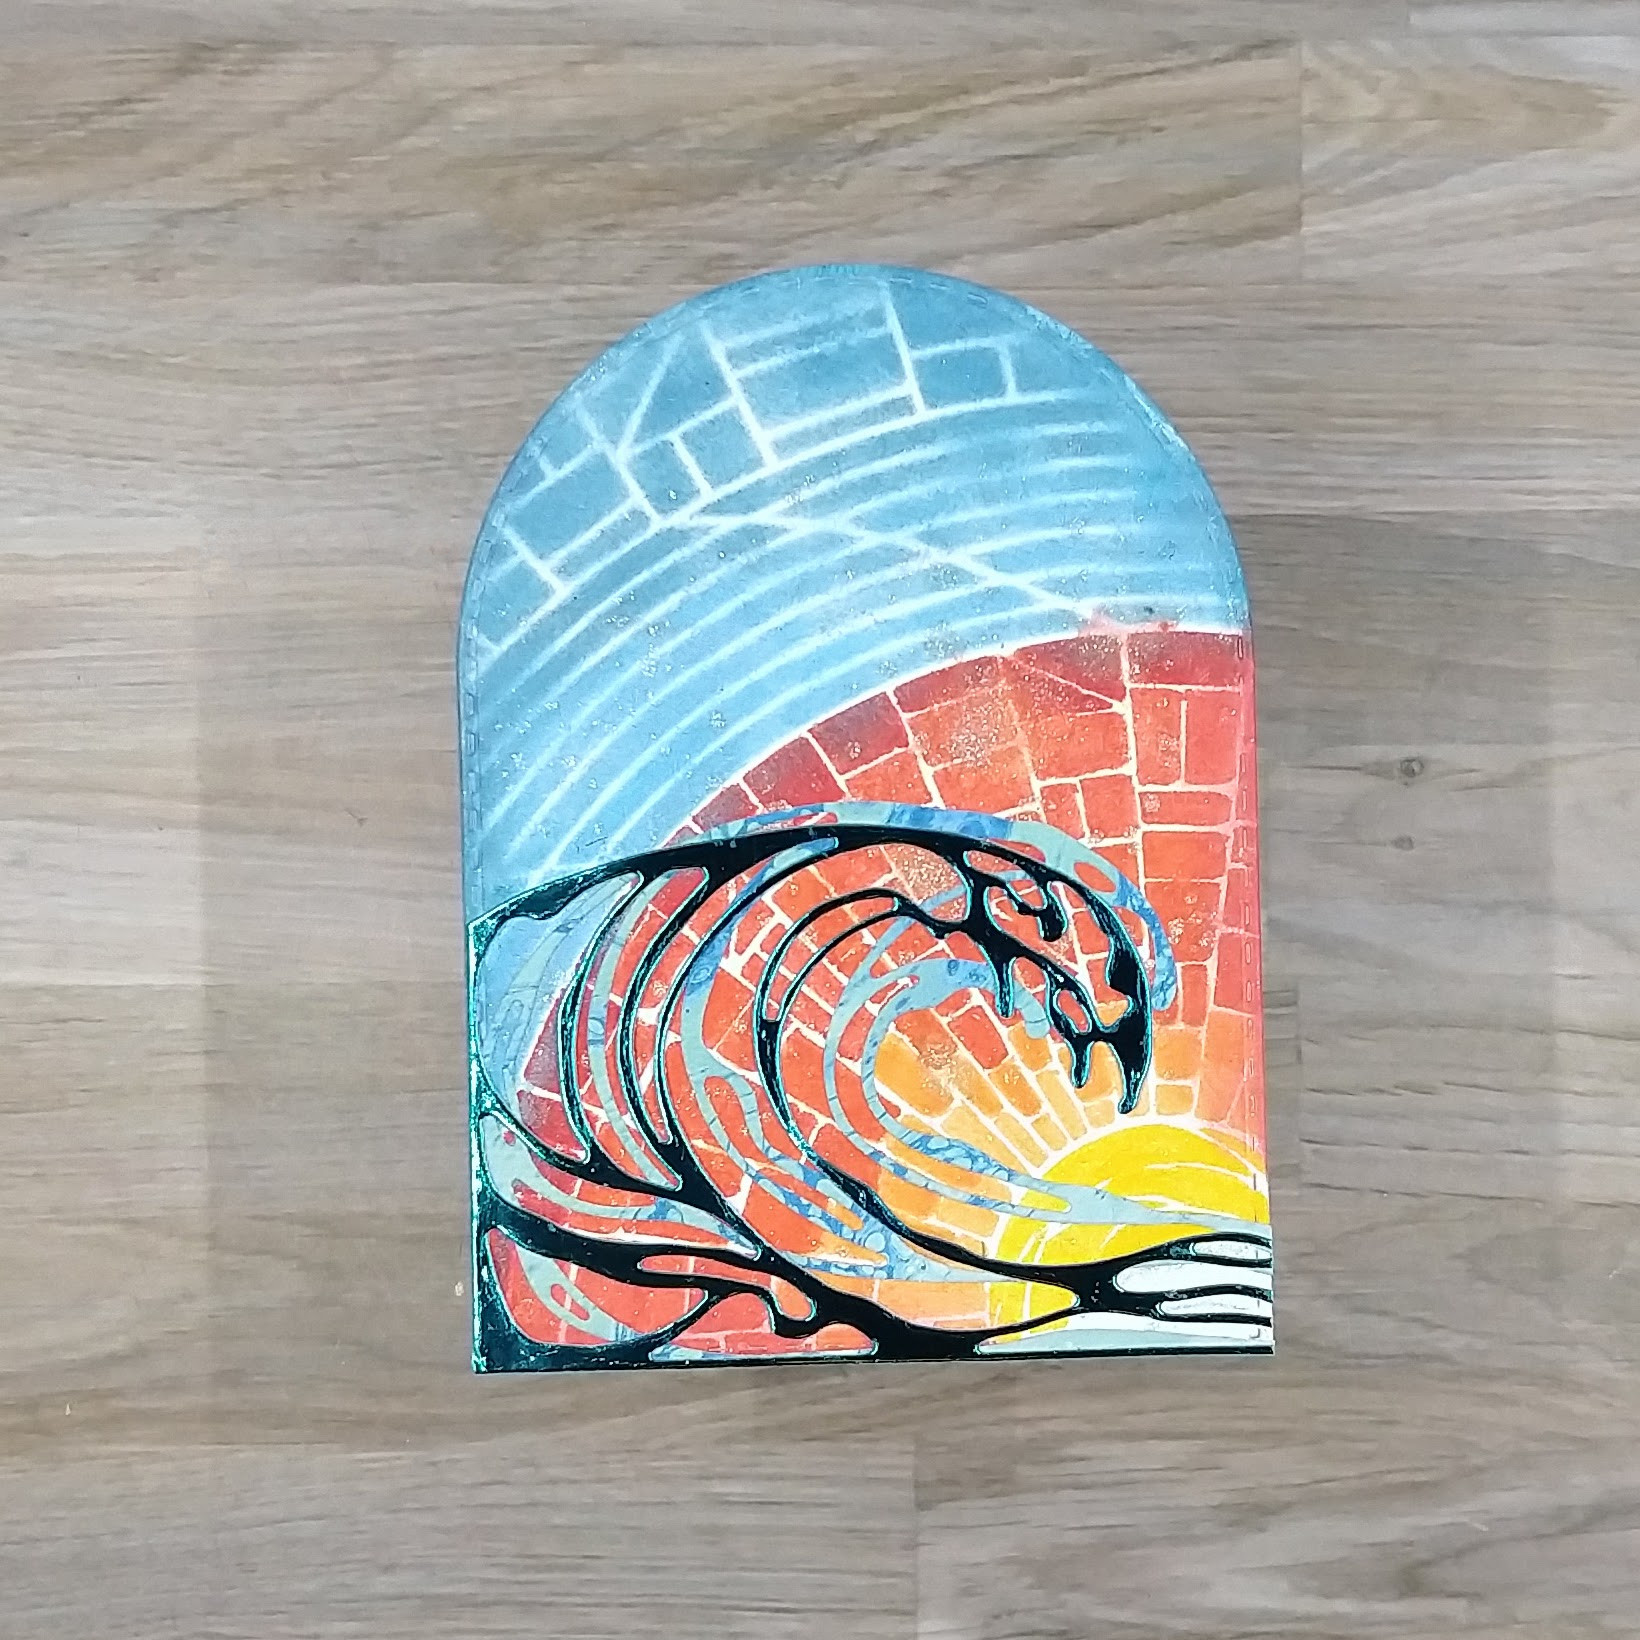
Using die two die cuts, die cut some blue and green patterned paper and blue mirror cardstock
to look like waves. (I used leftover die cuts from a previous project.) Glue the blue and green
cardstock wave first, and then glue the blue mirror cardstock on top of it. Make sure the left side
and bottom of both die cuts align with the edges of the arch. Trim the right side of the die cut
waves so that they stop along the edge of the arch.
Step 6:
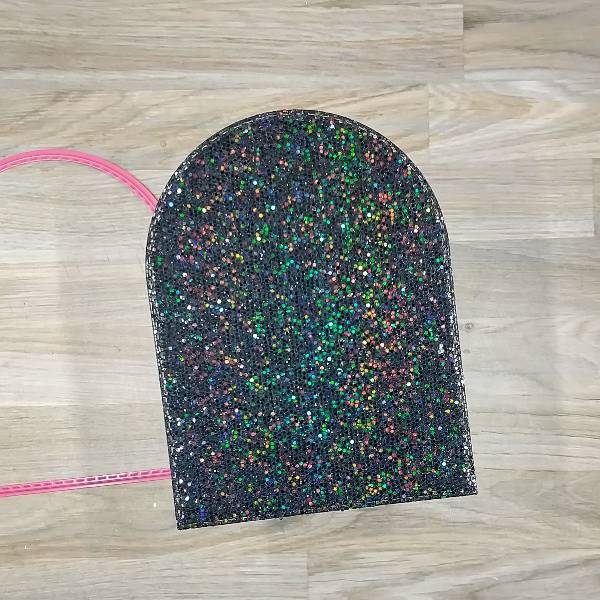
Use the largest arch die in the set to die cut a piece of sparkly black cardstock for the matte
layer.
Step 7:
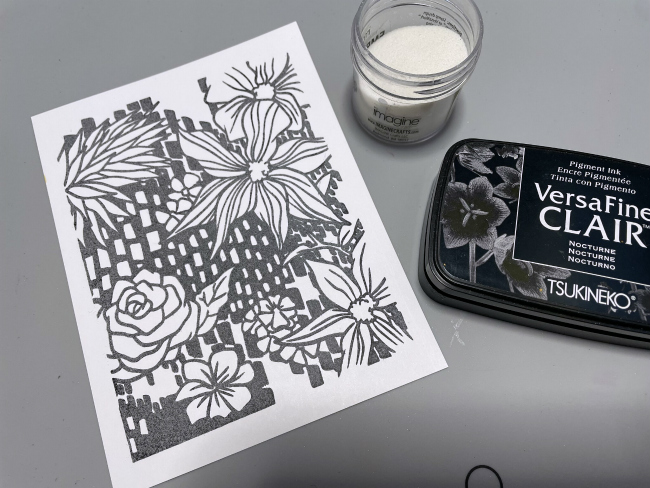
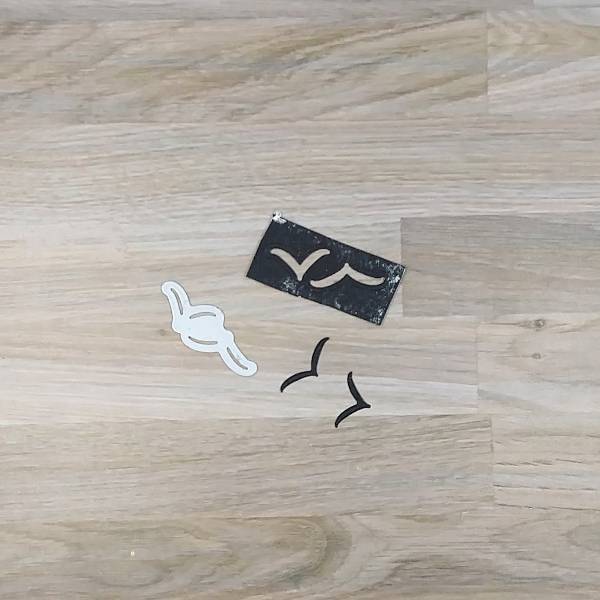
Press the Nocturne VersaFine Clair ink onto a small scrap of watercolor paper to create black
cardstock. Die cut two small bird silhouettes out of the black paper.
Step 8:
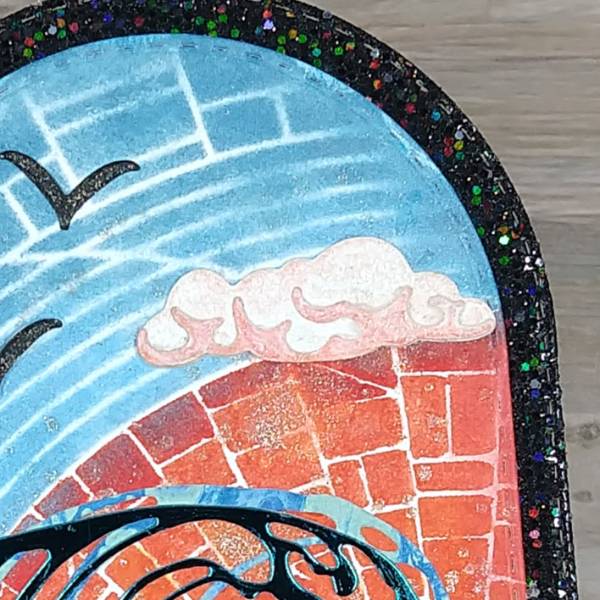
Use two die cuts to create two layers of a cloud, both out of watercolor paper. Use an ink dauber
to very lightly ink blend Pink Grapefruit VersaMagic Chalk Ink onto the base (larger) layer. Ink
blend the upper player with the same Pink Grapefruit VersaMagic Chalk Ink with a heavier hand
so the layer is a darker pink. Then spray both layers of the cloud with more Sparkle Sheer
Shimmer Craft Spray. After both layers of the cloud are dry, glue them together.
Then glue the cloud onto the right side of the card panel. I positioned my cloud to cover a small
imperfection from the stenciling.
Step 9:
Glue the birds onto the card base. (Optional step: Add glitter to the birds by coloring on them
with a sparkly clear gel pen.
Then glue the main scene onto the black matte layer.
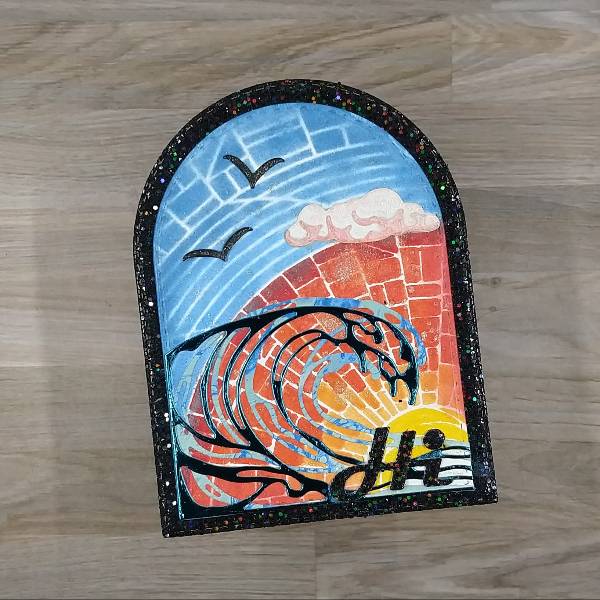
Step 10:
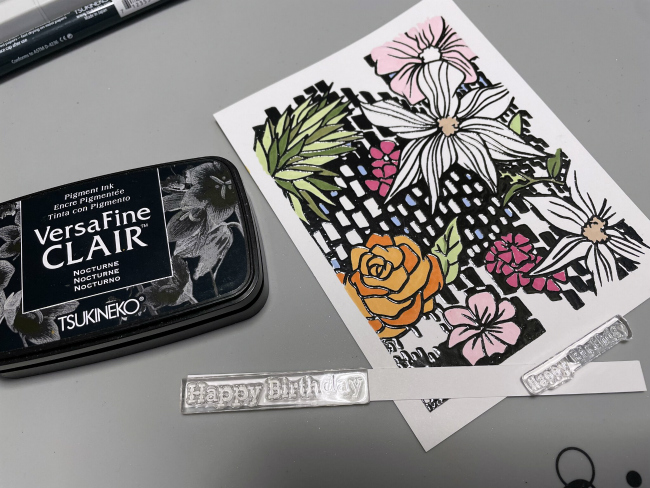
Die cut the sentiment out of the same black sparkly cardstock and attach to the bottom corner of
the upper (stenciled) layer. If desired, die cut a second piece of scrap cardstock with the same
die to add dimension underneath the stencil or to help make the tittle (the dot on the i) pop up as
it doesn’t have layers of die cuts behind it like the rest of the sentiment does.
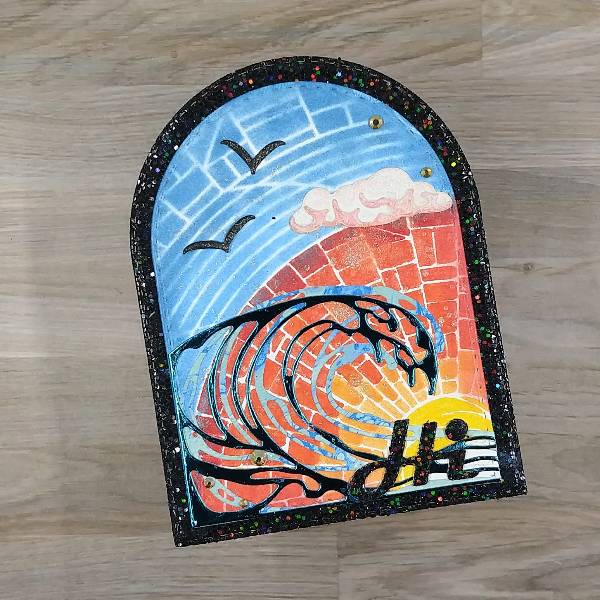
Step 11:
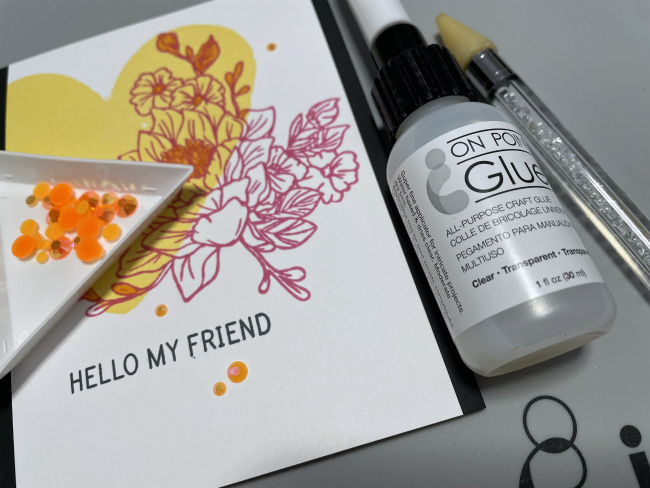
Glue sequins onto the bottom left corner and upper right part of the card.
Step 12:
Glue the whole card onto an A2-sized white card base.
Art Supplies
Imagine
• Brilliance Pigment Ink – Pearlescent Sky Blue
• Memento Marker – Cantaloupe, Dandelion, Lady Bug, Morocco
• Sheer Shimmer Craft Spray – Sparkle
• VersaFine Clair ink – Nocturne
• VersaMagic Chalk Ink – Ocean Depth, Pink Grapefruit, Red Magic
• Sponge Daubers
Other
• Altenew – Dies – Bold Greetings die set
• Crafty Meraki – Meraki Sparkle Gold (embellishment mix)
• Erin Lee Creative – Cardstock – Viva Las Vegas Cardstock
• Picket Fence Studios – Stencil – Glass Window Sunshine
• Pink and Main – Dies – Stitched Arches Dies
• Sakura – Gel Pen – Stardust Clear Gelly Roll pen
• Stampin’ Up – Dies – Waves (retired)
• Watercolor paper
• Clear embossing powder
• Scissors
• Glue