Learn How To Use Yupo Paper In A New Way

by Roni Johnson

Learn How To Use Yupo Paper In A New Way

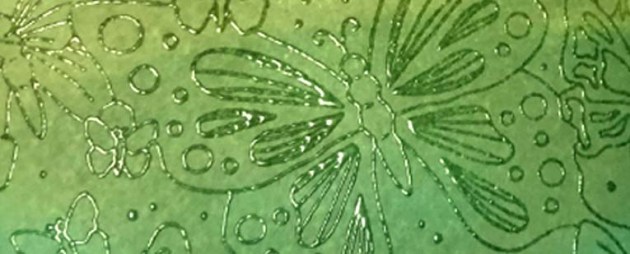
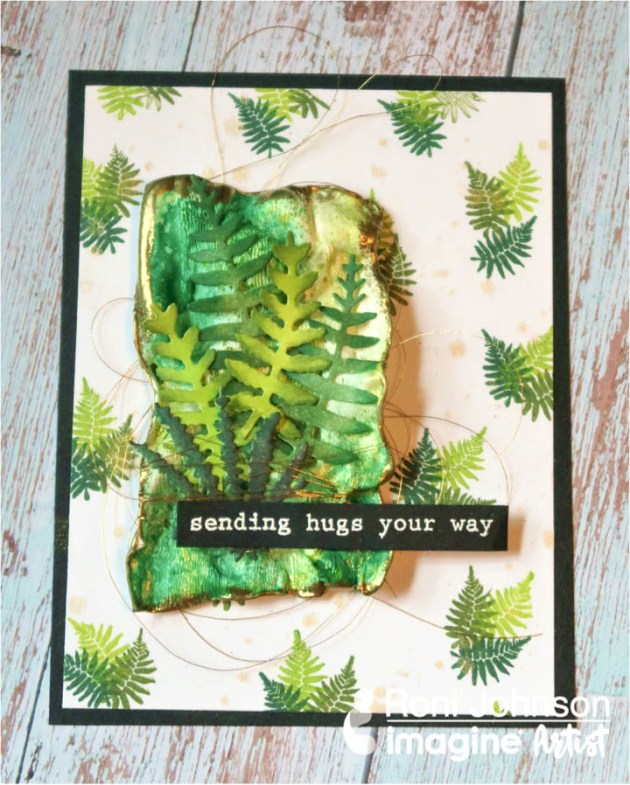
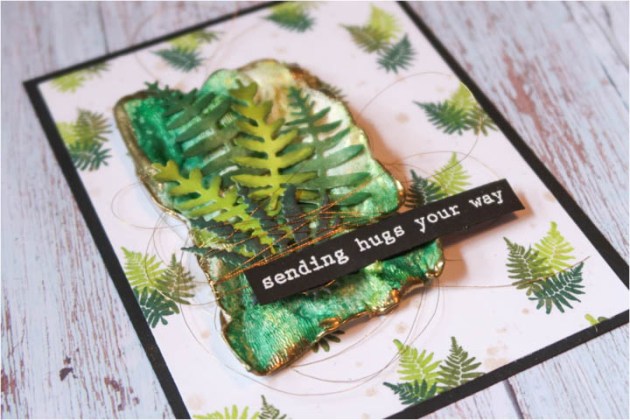
Fern Green…a cool, relaxing shady spot on a hot summer’s day…sounds wonderful, doesn’t it? Well, that’s what June’s color of the Month brings to mind. I thought I’d run with that theme and play around with a few different colors of green from the Fireworks Craft Spray and VersaFine Clair. I use these lovely Fern stamps, fern dies, and a special technique with Yupo paper to create this fun card.

Skill: Intermediate
Time: 1 hour

Directions


Step 1

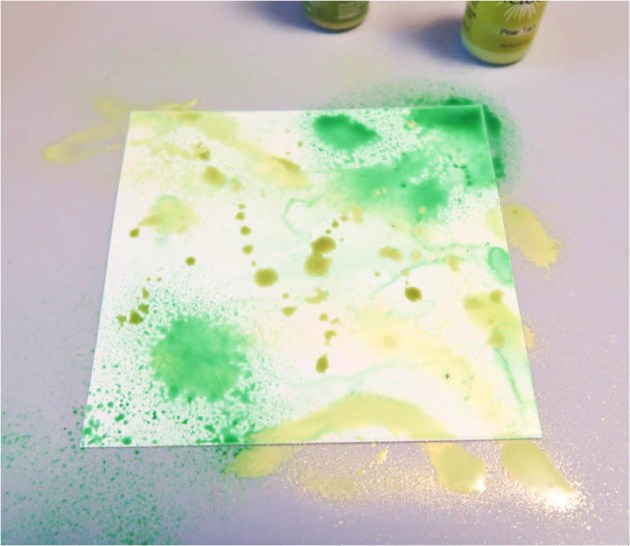
Trim a piece of Yupo paper to 4 x 4.75” and select desired colors of Fireworks spray you’d like to use.

Step 2

Spritz the inks onto the Yupo paper.

Step 3

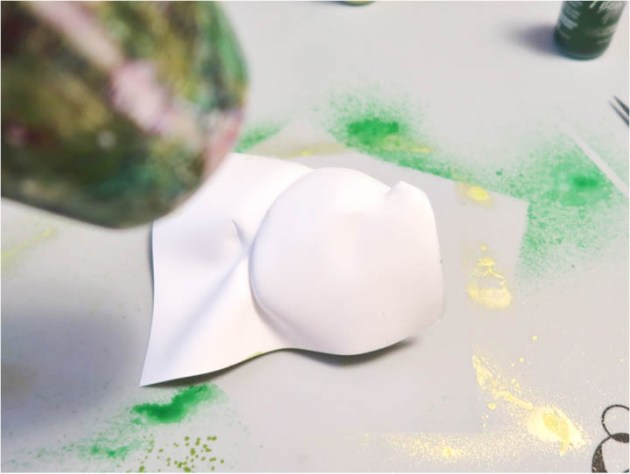
Use a heat tool to dry the inks, continue heating until the paper begins to shrink and wrinkle. Turn the paper over part way through heating, continue to heat and shrink. The Yupo paper is now about 45% of its original size.


Step 4

Turn your heat tool on to preheat so it gets nice and hot.


Step 5

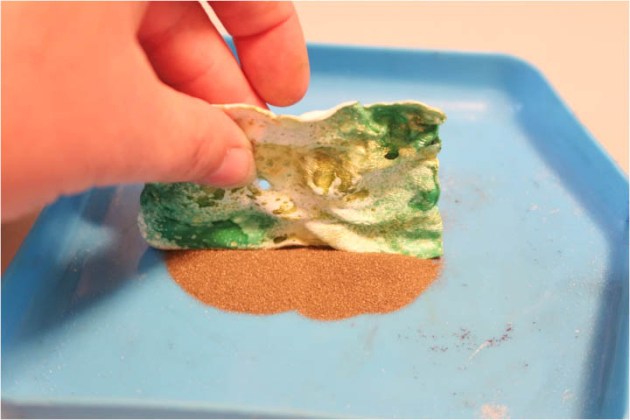
Pounce one edge of the wrinkled Yupo onto a VersaMark ink pad.

Step 6

Dip the inked edge into Mboss embossing powder in Gold and use a pre-heated heat tool to melt the powder. Since the heat tool has been pre-heated melting should occur almost immediately thus causing no further shrinking to the Yupo.


Step 7

Repeat step 6 until all 4 edges have been embossed.


Step 8

Cut a piece of white cardstock 4” x 5.25”. Stamp a trio of fern branches over the entire panel using Rain Forest, Shady Lane, and Verdant VersaFine Clair inks.


Step 10

Flick Gold Sheer Shimmer Spritz over the panel and let dry.

Step 11

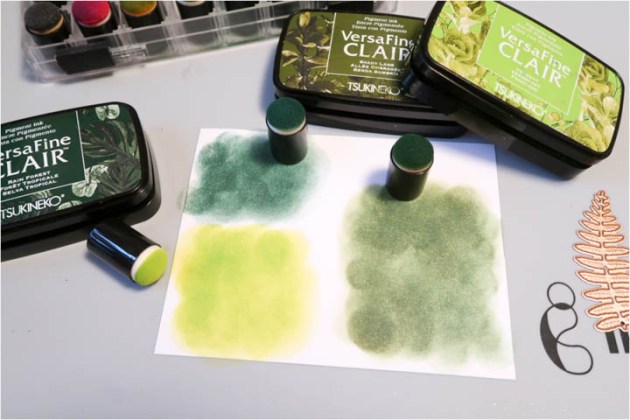
Sponge the same inks onto a scrap of white cardstock. Die-cut ferns from the various colors.

Step 12

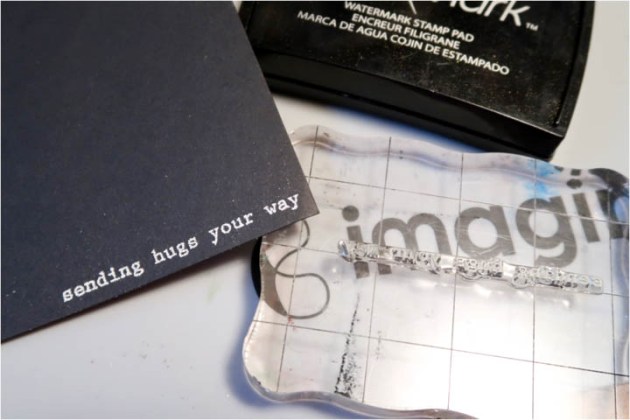
Stamp the sentiment “sending hugs your way” on black cardstock using VersaMark ink. Sprinkle with white Mboss embossing powder, shake off excess and return it to the bag. Use a heat tool to melt the powder and trim.

Step 13

Mount the fern panel onto a black card base; affix the Yupo paper to the card and embellish.

Supplies

Imagine
Other
  • Yupo Paper
  • White & Black Cardstock
  • Rubber Stamp Tapestry – Fern
  • Spellbinders – Ferns
  • Heat Tool
  • Gold Thread
Learn How to Make a Travel Journal

by Kyriakos Pachadiroglou

Learn How to Make a Travel Journal

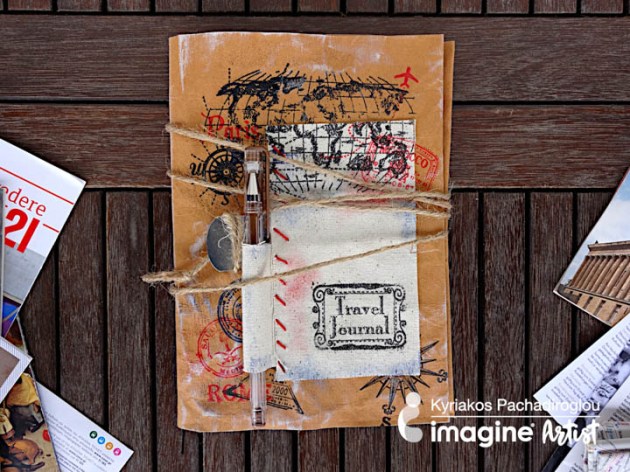
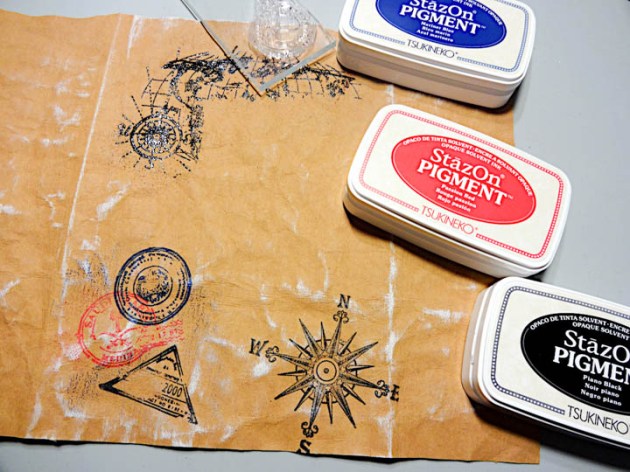
Keeping travel memories in real time while they are taking place and having them all gathered in a journal is the best way to have to keep every moment of your trip. Include blank pages, make pockets and keep tickets, notes, and photos in this handmade travel journal. To make the cover, I used Kraft-tex paper, which a fabric-like paper, which I sprayed with Ink Potion No.9 instead of water to keep it soft and allow better performance of inks. Stamping with the StazOn Pigment inkpads gave great coverage and sharp design on the wrinkled surface, while the ink dried fast to allow moving to the next step. Make this journal before your trip and have it handy during your travels.
Time: 2 hours
Skill: Advanced

Directions


Step 1

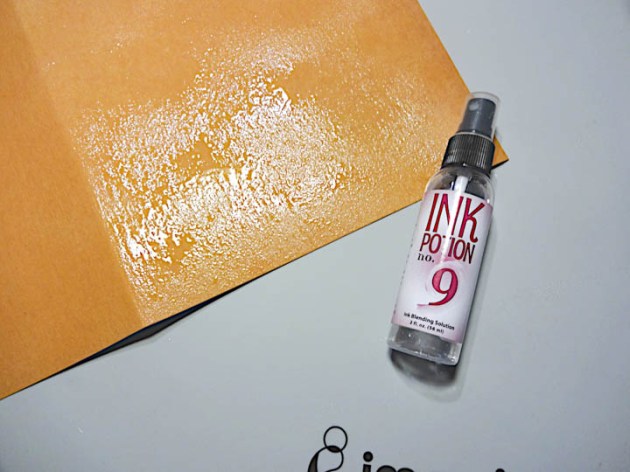
Cut a 16 ½ x 8 ½ inch piece of the Kraft-tex paper and spray it with the Ink Potion No.9


Step 2

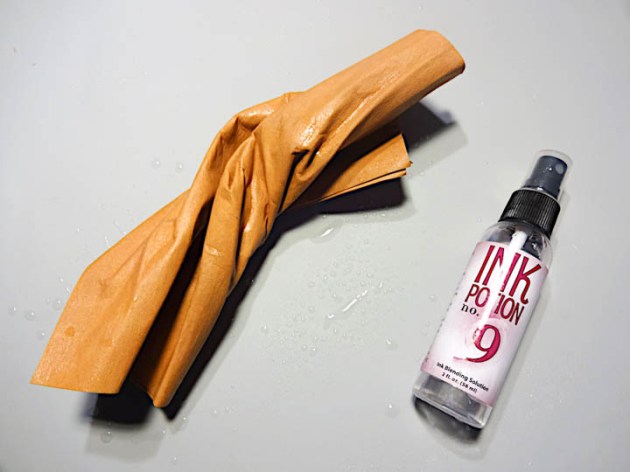
Twist and crinkle the paper and while spraying a bit more of the Ink Potion No.9. Let it dry or use a heat tool.


Step 3

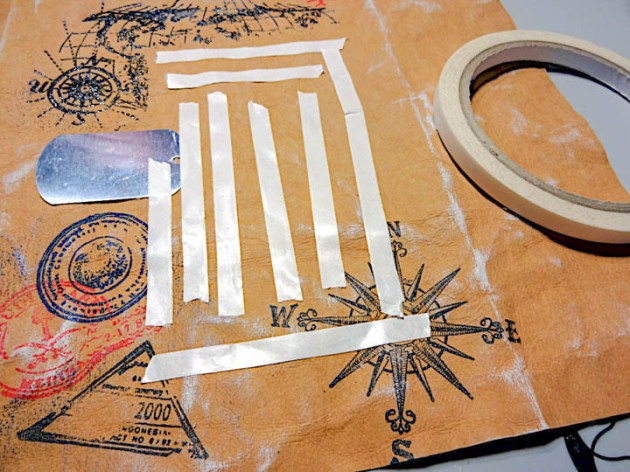
Cut a 5 ½ x 3-inch canvas piece and place it on the cover, leaving 2 ½ inch from the long side on the right, as it will be used an inner flap making a side pocket. Stamp with the map and the travel journal stamp with the VersaMark, cover with Mboss Embossing Powder in Black and heat set.


Step 4

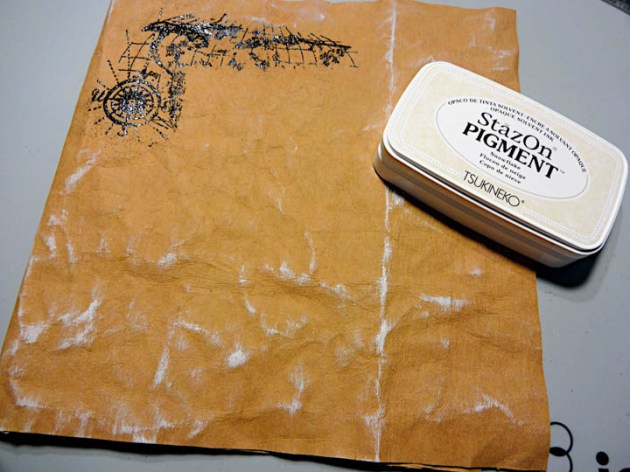
Remove the canvas piece, press lightly on the surface with the StazOn Pigment Snowflake inkpad and distress the surface.

Step 5

Continue stamping with the StazOn Pigment in Passion Red, Mariner Blue, Piano Black ink pads with travel stamps on the surface. Distress around the compass image and maps with the same colors ink pads.


Step 6

Add Tear It Tape to the top side of the canvas piece and a Sheet Metal dog tag, gluing only half of it. Allow space as it will be used a hook to secure the burlap cord wrapped around the journal.


Step 7

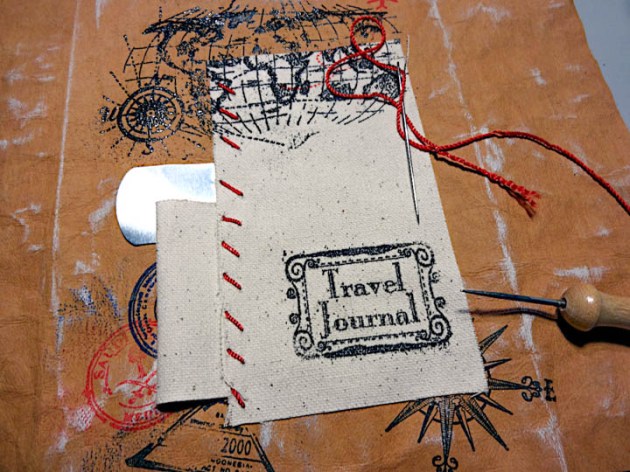
Cut a 2 ½ x 2-inch piece of canvas fabric, fold in half and glue just the edge of the long side with the On Point Glue, creating a pen pocket.


Step 8

Place the canvas pieces on the Kraft-tex cover and using a piercing tool open holes to allow hand sewing of the red twine. Apart from decorative purpose, this also helps to secure it further the pen pocket to the cover.


Step 9

Continue decoration with stamps and the StazOn Pigment in Passion Red, Mariner Blue, Piano Black inkpads.


Step 10

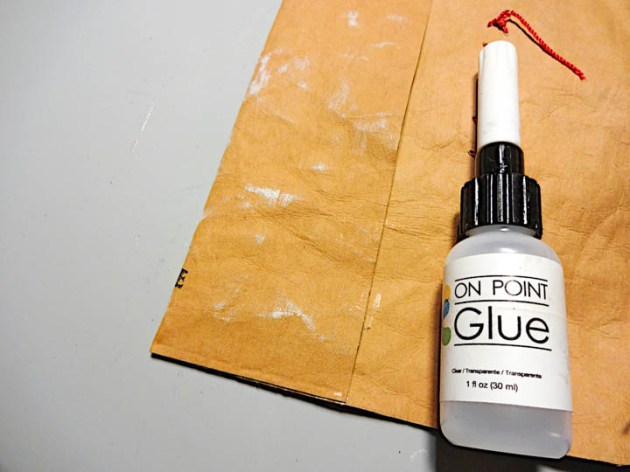
Turn at the back and glue the previously left sides on top and bottom only making side pockets.


Step 11

Open two holes at the middle (spine-like) leaving about 1 ½ inches from top and bottom and pass three times the elastic black cord.


Step 11

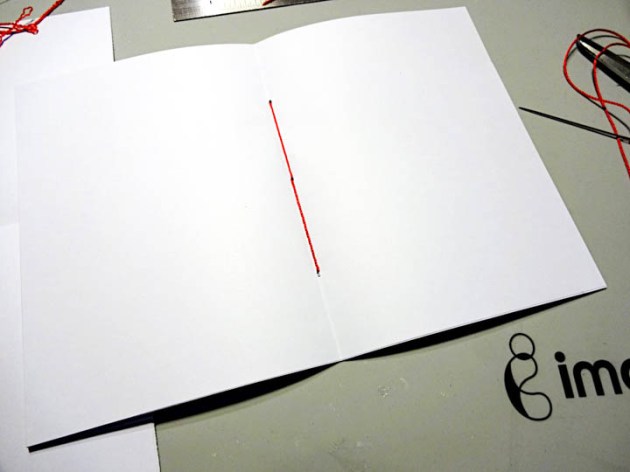
Cut blank pages in stacks of 5 creating signatures in 10 x 7 inch (5×7 when folded) and secure with the red twine by opening 3 holes and passing the twine through them. Repeat the process and just pass between the elastic cord to secure them.

Supplies

Imagine
Other
  • Kraft-tex paper fabric – natural
  • Canvas
  • Viva decor – Travel and Paris, Rome, Berlin stamps
  • Black elastic cord
  • Red twine
  • Burlap cord
  • Blank pages
  • Heat tool
  • Piercing tool

See How to Upcycle a Tea Tin with Walnut Ink

by Kassy Tousignant

See How to Upcycle a Tea Tin with Walnut Ink

I love upcycling old, found items. In today’s video, I give this tea tin has a fresh new shabby chic look while still holding on to that vintage feel using the VersaFine Clair ink in Fallen Leaves paired with the Walnut ink. I love this way this turned out and hopefully, you will give this project a try.

Skill: Intermediate
Time: 1 hour

Directions

Supplies

Imagine

Walnut Ink – Walnut
On Point Glue
VersaFine Clair – Fallen Leaves
InkBlusher
Tear It! Tape

Other

• Jewels
• Patterned paper
• Metal die
• Die-cutting machine (Gemini)
• Glitter
• Tea Tin
• Paintbrush

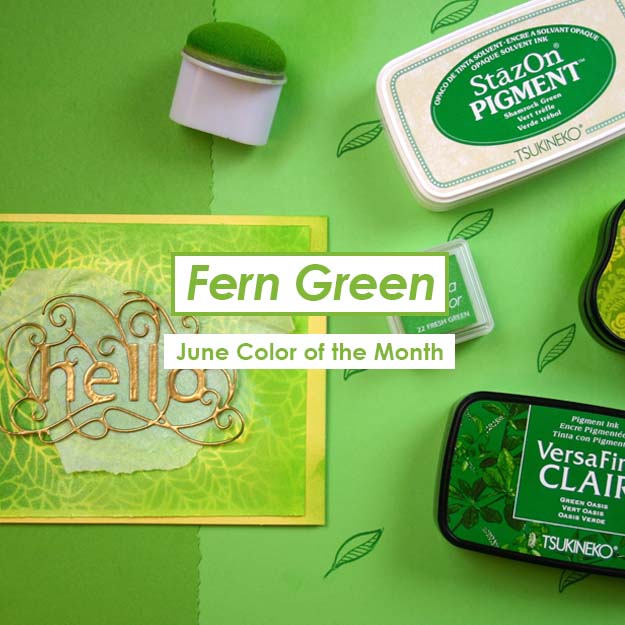
Color of the Month for June is Fern Green

Color of the Month for June is Fern Green. We love this soft green color because it reminds us of the beautiful plants that come bursting forward into the lushness of Summer. Some of the inks we recommend for this color are StazOn Cactus Green, VersaColor Fresh Green, VersaFine Clair in Green Oasis and Verdant.

Here is a sneak peek for what we have coming up this month…

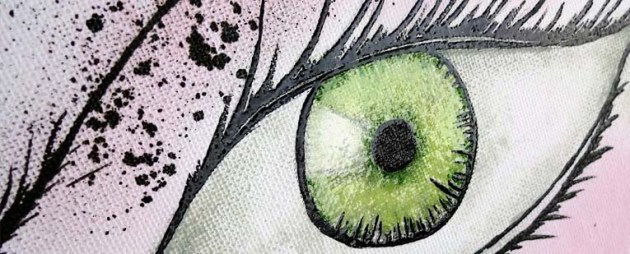
Green Eyes Art Canvas by Kyriakos Pachadiroglou

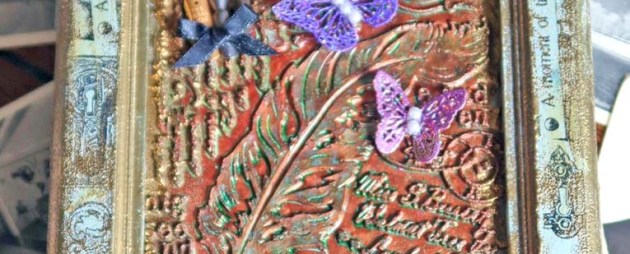
Mixed Media by Roni Johnson

Resist Embossing by Martha Lucia Gomez

Create a Mum Flower Home Decor Piece with Vertigo and StazOn Pigment

by Lori Warren

Create a Mum Flower Home Decor Piece with Vertigo and StazOn Pigment

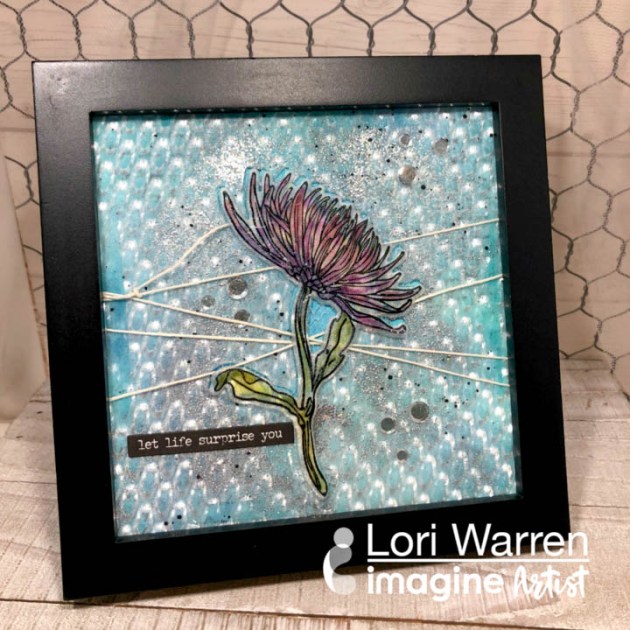
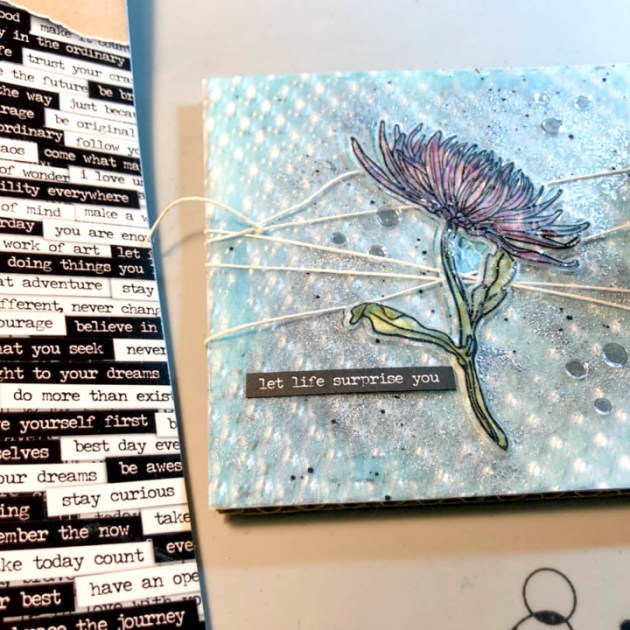
There is nothing better than using your crafting skills to create a gift for someone. That is what I did for this mum, or chrysanthemum, flower project—a gift for my mom. (Get it – a mum for mom?!) Crucial to achieving this fun look, I used Vertigo in Prism and Mboss Embossing Powder in Hologram. I created a 5”x 5” framed Mixed Media piece full of color and texture. See the video slideshow or my instructions below to see how I get some extra dimension with the Vertigo sheet!

Skill: Advanced
Time: 30 minutes


Directions


Step 1

Cut Vertigo into 5” x 5” panel.


Step 2

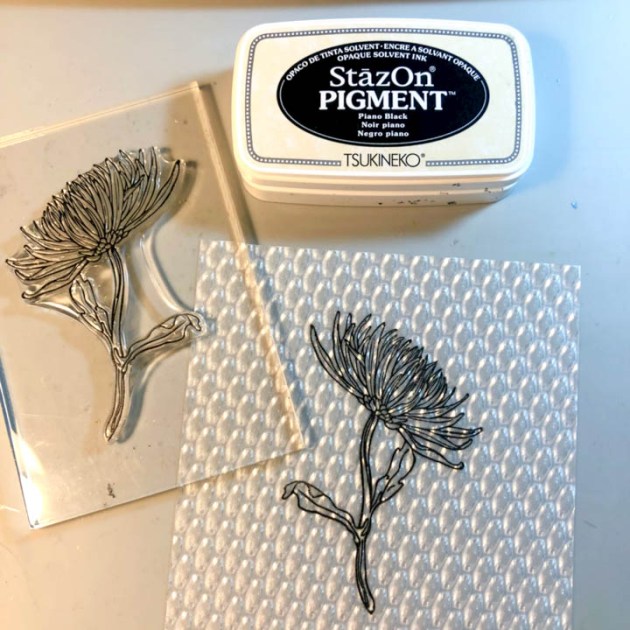
Stamp the Mum flower onto the center of Vertigo panel with StazOn Pigment Piano Black.


Step 3

On the opposite side of the stamped image, color the mum with VersaMagic ink and Fantastix applicators. Simply touch the tips of the Fantastix to the inkpad to pick up the color and use like a marker.


Step 4

Die-cut the mum with coordinating die.


Step 5

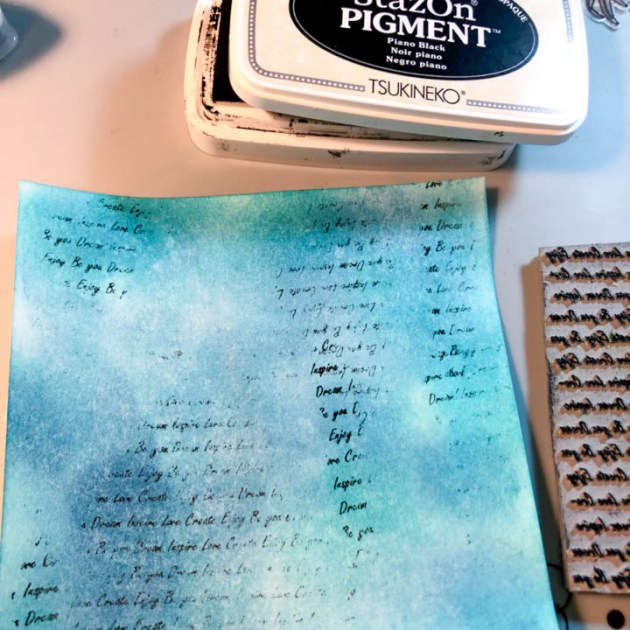
On white cardstock, sponge VersaMagic ink to add color.


Step 6

Stamp script stamp with StazOn Pigment.


Step 7

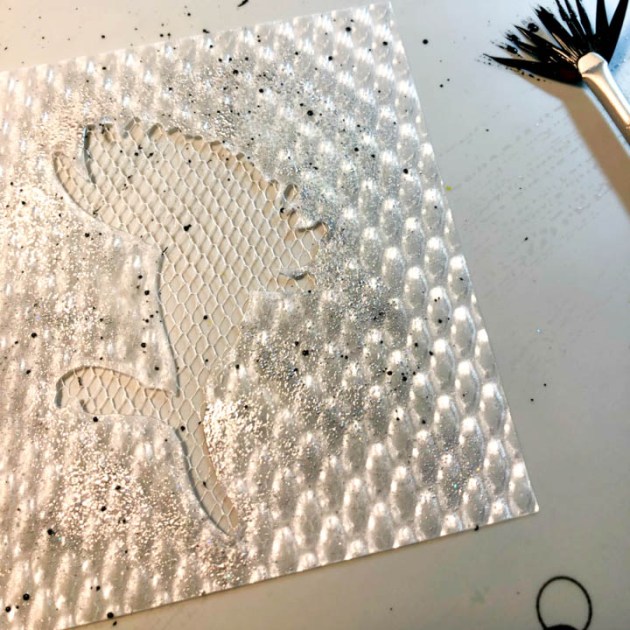
Add texture to Vertigo panel with Hologram Mboss Embossing Powder. To do this, swipe the front of your Vertigo Panel with VersaMark inkpad. Apply powder sparingly and shake off excess. If you want a more sparse texture, you can always use a dry brush to knock off more before heat setting.


Step 8

Add black paint splatters.


Step 9

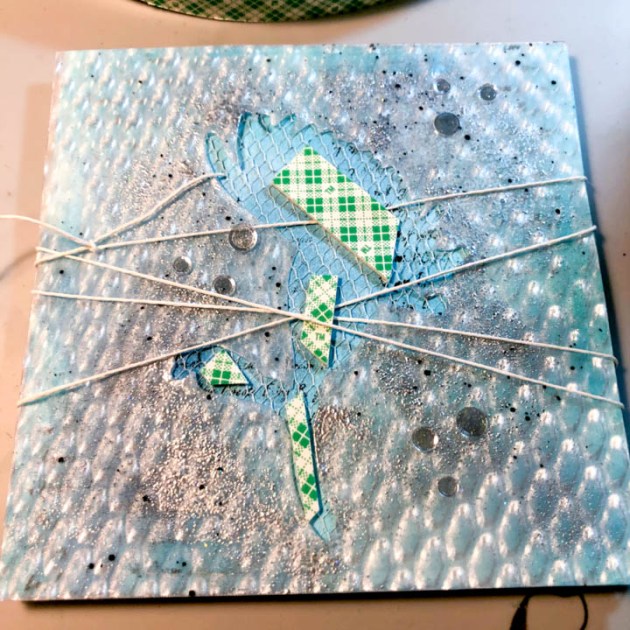
Add Tear It Tape to the back side of the Vertigo panel.


Step 10

Adhere tulle between the cardstock and Vertigo panels, then adhere to piece of prepared cardstock.


Step 11

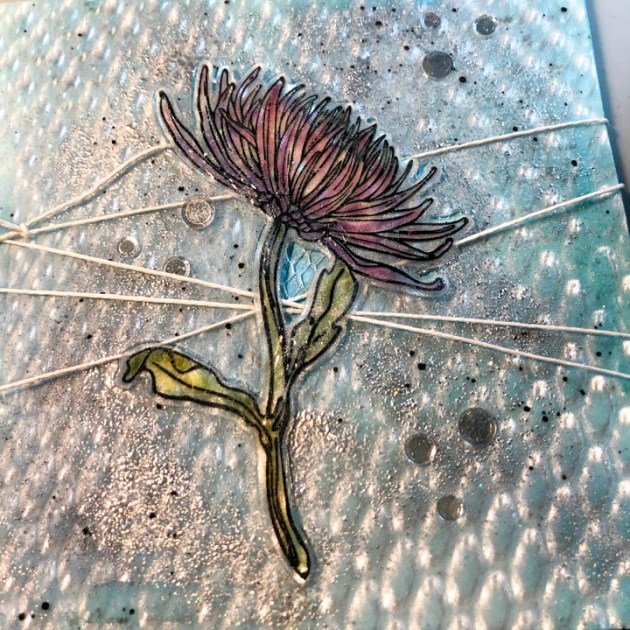
Embellish with sequins.


Step 12

Tie a white string around the panel.


Step 13

Add double sided dimensional tape to the tulle.


Step 14

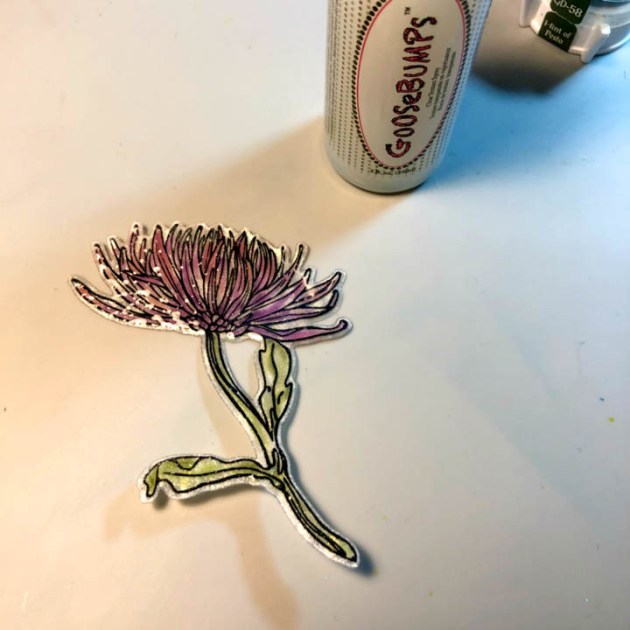
Spray the Mum Die cut element with GooseBumps for extra shine.


Step 15

Once dry, adhere the mum to the panel.


Step 16

Adhere sticker saying “let life surprise you” sentiment. Add any additional finishing touches and insert into the picture frame.

Supplies

Imagine
Other
  • Hero Arts – Hero Florals Mum Stem stamps and die set, Sequins
  • DecoArt Acrylic Paint – Lamp Black
  • Tim Holtz Idea-ology – Small Talk Stickers
  • Cardstock – white
  • String – white
  • Dimensional adhesive
  • Die-cut machine
  • Heat tool
  • Tulle
  • Paint brush

Sparkle And Shine With This Jellyfish Theme Birthday Card

by Jowilna Nolte

Sparkle And Shine With This Jellyfish Theme Birthday Card

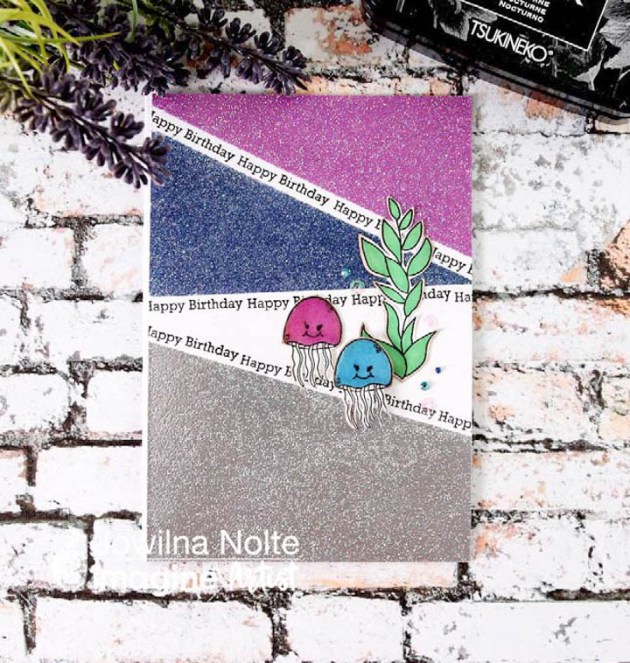
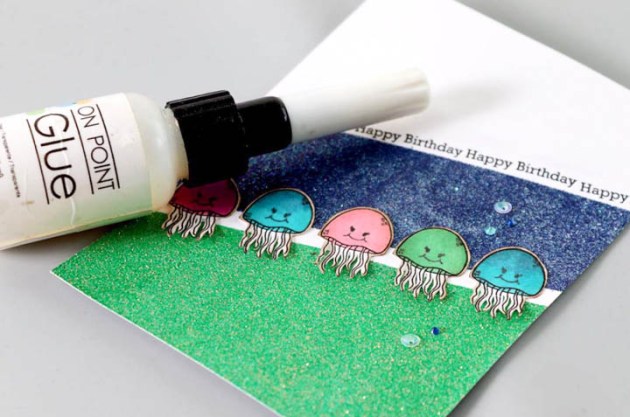
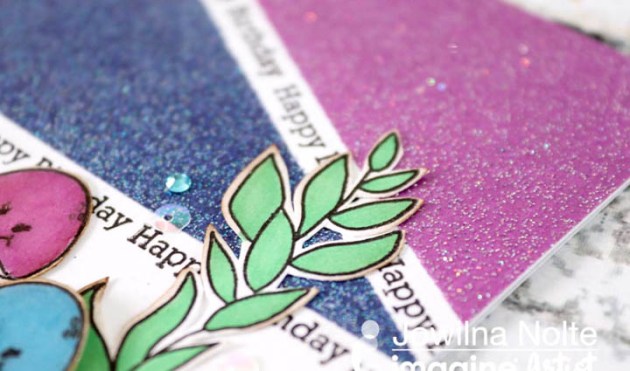
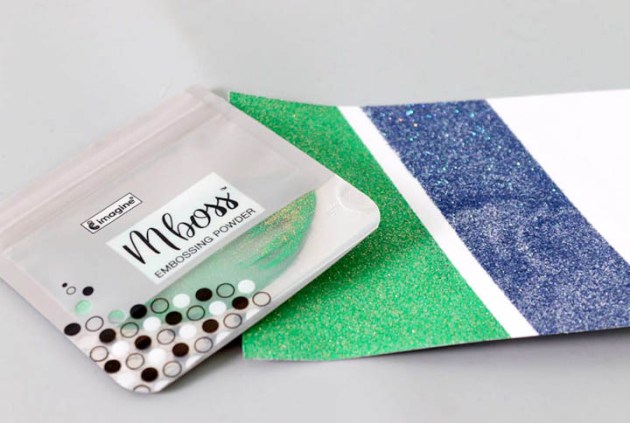
Thinking back when I did my first heat embossing, it was pure magic. That feeling of amazement and wonder hasn’t left but has been ignited once again with the amazing Mboss from Imagine. The new embossing colors are simply amazing and really are over the top beautiful! You have to get some for your stash to experience true magic! Take a look at how I used mine for a fun color-blocked effect.

Skill: Intermediate
Time: 30 minutes

Directions


Step 1

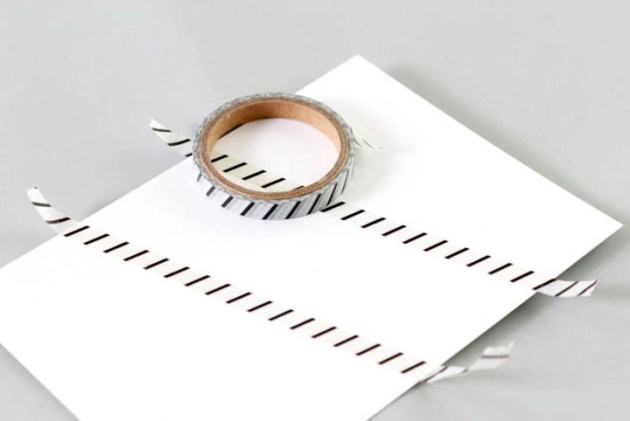
Tape off areas using washi tape on a white cardstock panel.


Step 2

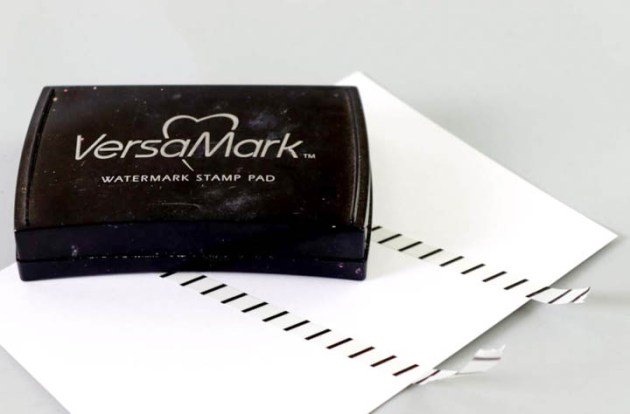
Use your VersaMark inkpad and ink the taped off sections only by tapping the ink pad onto the cardstock.


Step 3

Use the Mboss packet and sprinkle the powder over the inked areas. Peel off the washi tape and then heat set the Embossing Powder using a heat gun.


Step 4

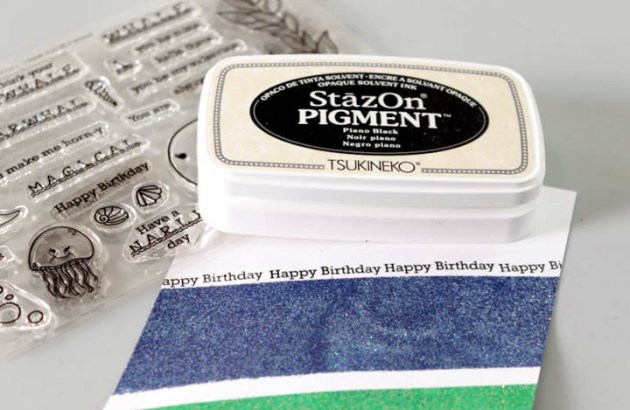
Use StazOn Pigment Piano Black and stamp Happy Birthday sentiment onto a blank area of the embossed panel.


Step 5

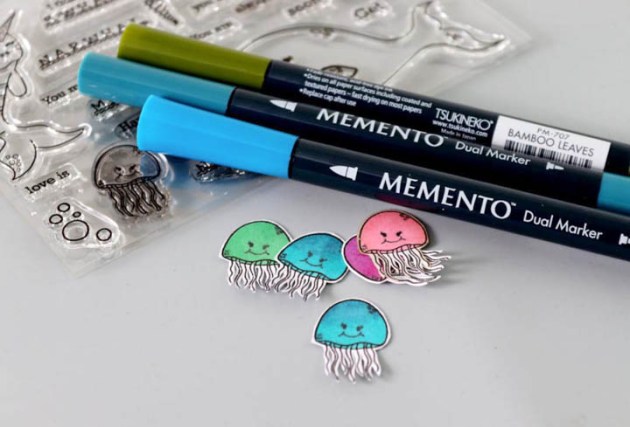
Stamp elements onto white cardstock and cut out. Add a little color using Memento Markers.


Step 6

Adhere the stamped elements onto the embossed panel with On Point Glue. Add diamanté and finishing touches.

Supplies

Imagine

Other

  • White cardstock
  • Washi tape
  • Joy Clair stamps
  • Diamanté and/or sequins