Create an Artsy Book Cover with All Purpose Inks

by Lori Warren

Creating an Artsy book cover is easy with All-Purpose Ink and Ink Droppers. This project will walk you through the step by step process of creating a unique background paired with a large word stamped (with StazOn Pigment Ink) as a focal point. 

Skill: Intermediate
Time: 20 minutes

Directions

Part 1: Create an Artsy book cover with All-Purpose Inks.

Part 2: Color Scheme Tag Journal

  1. Start with a blank hardcover book.
  2. Place a piece of paper under the book cover to protect the pages below.
  3. Using ink droppers, draw up a small amount of All-Purpose Ink into the dropper and release (splatter) the ink onto the cover. Repeat with different colors.
  4. After the ink has dried, stamp “ART” onto the cover using StazOn Pigment ink.
  5. Apply StazOn Ink directly to each edge of the book cover.
  6. Step two – Create Color Swatch Tag
  7. Cut a tag using the Waffle Flower Tag Die.

Supplies

Imagine

Other

A Gift for Someone Special – Create a Chipboard Pendant with StazOn

by Lori Warren

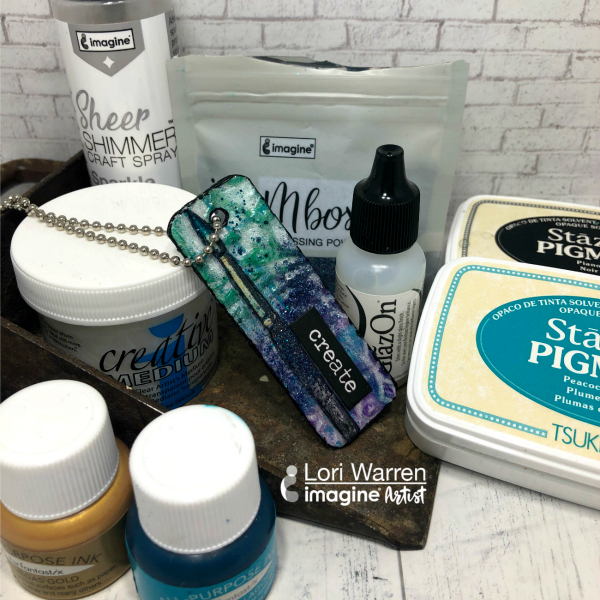
A Gift for Someone Special –  Create a Chipboard Pendant with StazOn. A beautiful teal and blue jewelry piece that features a paintbrush image and reads "create".

This mixed media project is a great example of how you can use different inks and mediums to create a piece full of texture and color. It’s a step by step layering technique to add depth and interest to mixed media artwork.

Skill: Intermediate
Time: 30 minutes

Directions

Written Instructions:

  1. Cut chipboard into a pendant shape and punch a hole at the top. Place a piece of paper under the book cover to protect the pages below.
  2. Cover the front and back of the chipboard piece with white gesso.
  3. Cover the front and back of chipboard piece with white gesso.
  4. Stamp chipboard pendant with VersaFine CLAIR.
  5. Cover pendant with a stencil and apply Creative Artist Medium – Clear.
  6. Stamp brush onto watercolor paper with StazOn Pigment Ink – Piano Black.
  7. Add color to the tip of a brush with StazOn Pigment –Peacock Feathers.
  8. Sponge StazOn Pigment onto Pendant to highlight stencil pattern.  Adhere stamp brush image.
  9. Highlight elements of the pendant with ALL PURPOSE INK – Frost White (using a Doodlestix)
  10. Apply splatters in ALL PURPOSE INK – Tropical Lagoon.
  11. Cover element with GlazOn – Slight Gloss Finish.
  12. Add MBOSS Powder to pendant while GlazOn is still wet.  Heat set.  Round corners of the pendant.
  13. Edge pendant with StazOn Pigment Ink – Piano Black.
  14. Adhere sticker saying.
  15. Use the Waffle Flower – Clear Dies and Combo Swatch Tag Die to record color scheme for this project.

Supplies

Imagine

All-Purpose Ink – Vegas Gold, Tropical Lagoon, Frost White

Creative Medium

Mboss Embossing Powder

Sheer Shimmer Spray – Sparkle

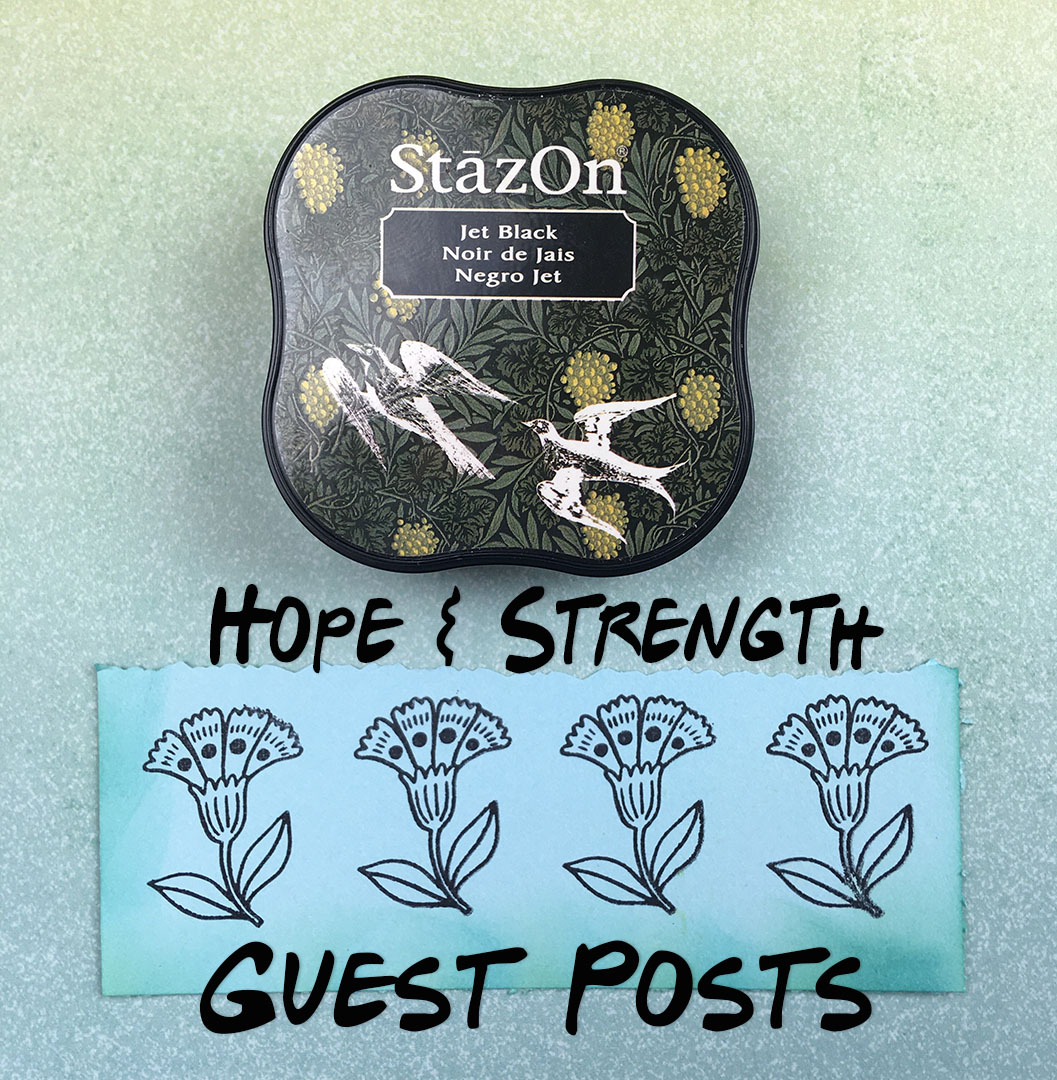
Hope & Strength Guest Artists

In March, we posted a Call for Art with the theme Hope & Strength to reflect the current times we are facing with the Coronavirus.

Here are two artists who submitted beautiful work!

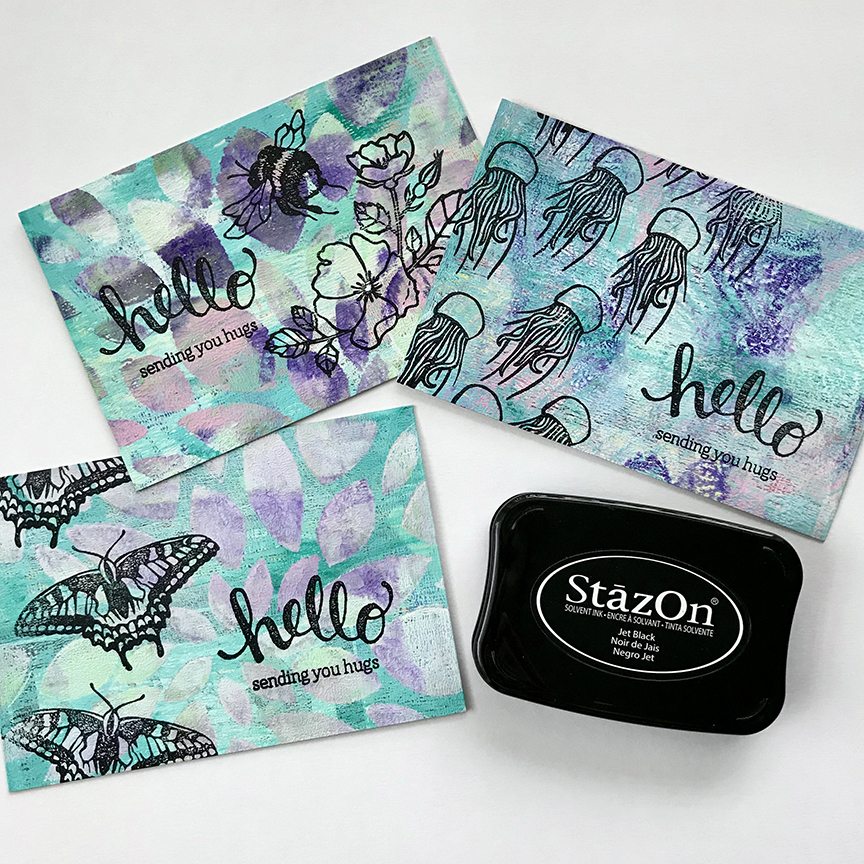
Sending You Hugs by Rebecca Goodwin

I hope you are all well. These postcards were created so that our family could send them to loved ones we know could use a little cheering up. We used cereal boxes from the recycling bin, acrylic paint, and StazOn ink. I hope they may inspire others to use materials they may already have in their home to send a quick note to their loved ones as well.

Follow Rebecca on Instagram

Stronger Together by Annie Williams

I stamped the floral image onto Strathmore Bristol smooth paper with Morning Mist VersaFine Clair Ink and colored it with Zig Clean Color Real Brush Pens. Once dry, I stamp the sentiment beneath the floral bunch in Nocturne VersaFine Clair Ink. This was mounted using foam adhesive onto a background created by stamping blue cardstock with leafy branch line art images using Platinum Planet Brilliance Ink.

Follow Annie on Instagram

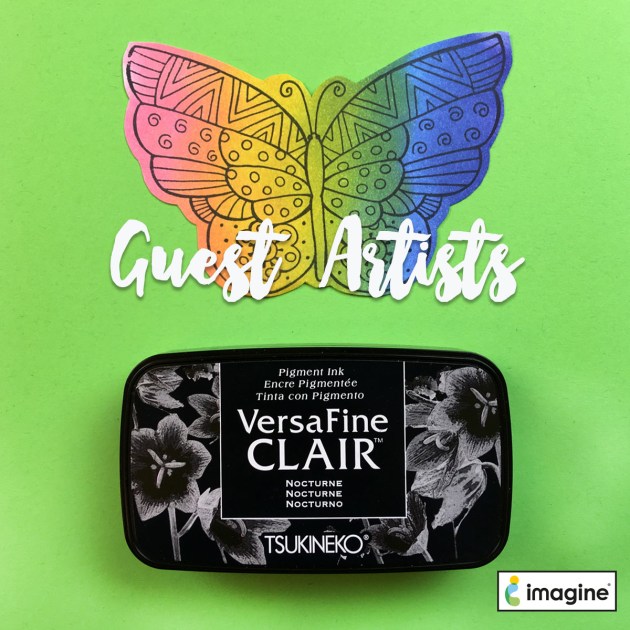
Spring Guest Artists

In late February we announced a Call for Spring Art. We asked for any papercraft or mixed media project that represents spring. Here are some of the art submissions from the Spring Call.

Terre Fry

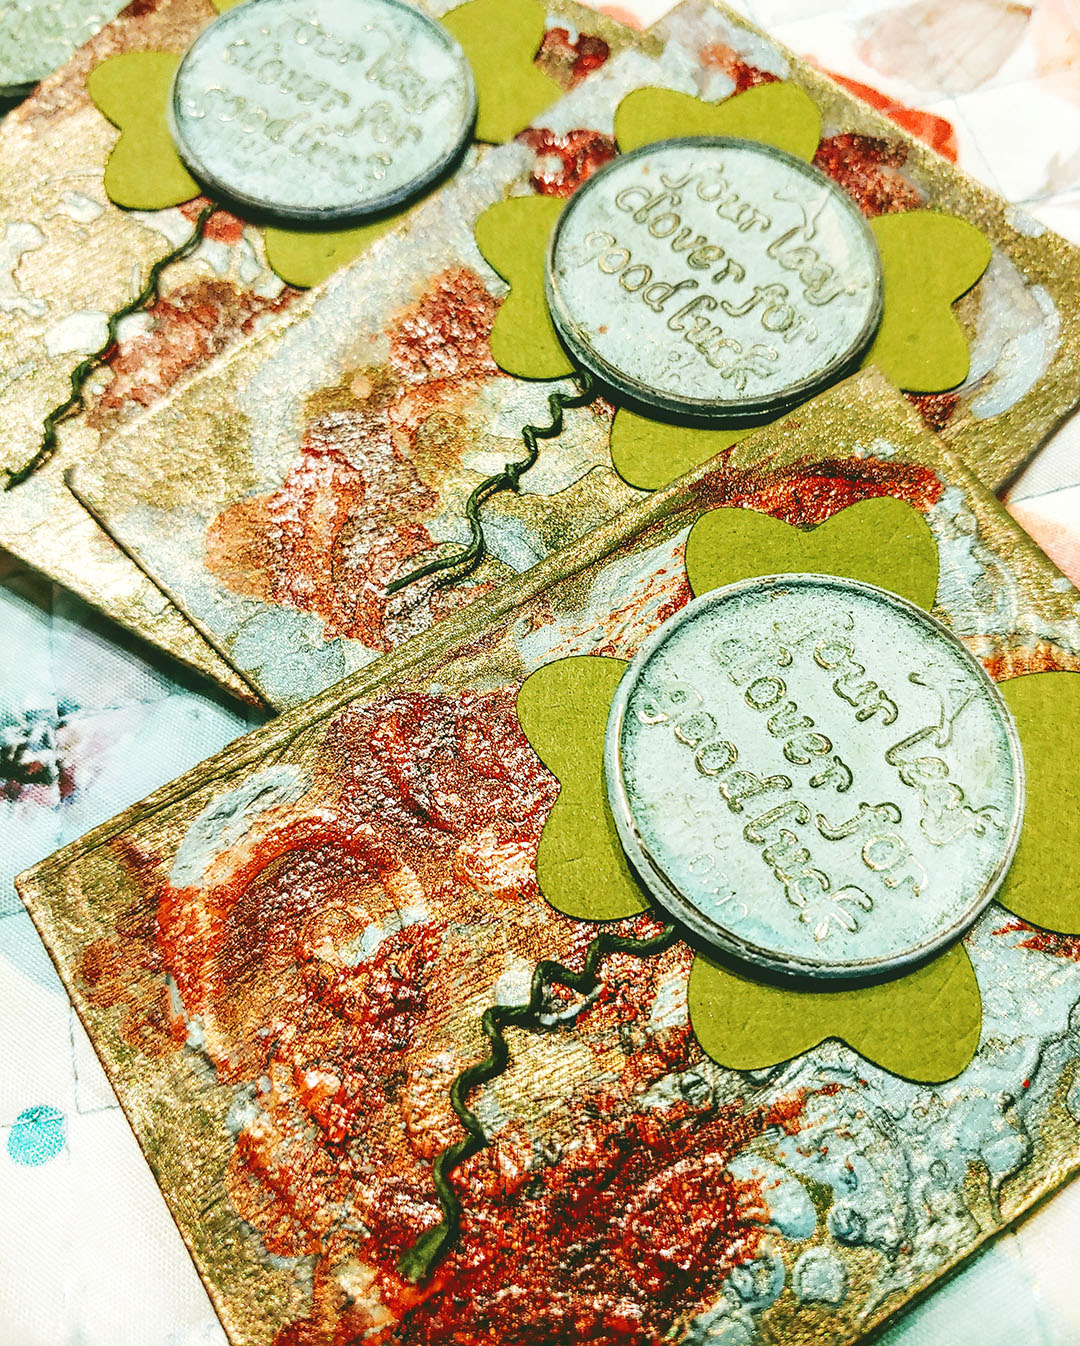
Terre used Memento Tuxedo Black, StazOn Metallic Copper, All-Purpose Ink in Mint Green and Fireworks Craft Sprays to create a set of Shamrock themed mixed media cards.

Follow Terre on Instagram  @stampnterre

Jessica Lin

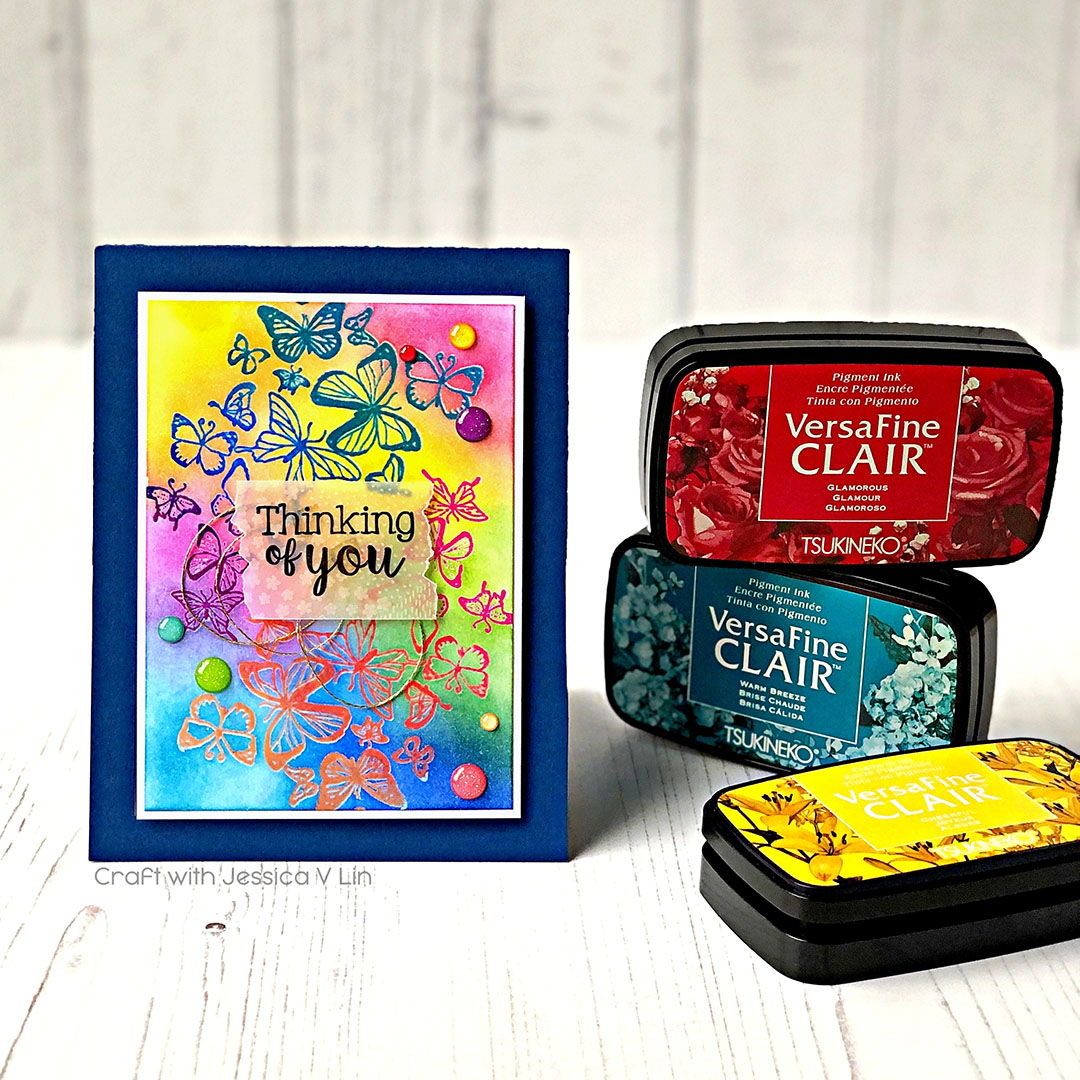
Jessica says, “Spring calls for rainbow colors!” Jessica uses VersaFine Clair inks to create a vibrant, Thinking of You card.

Follow Jessica on Instagram – @jessica.v.lin 

Alison Heikkila

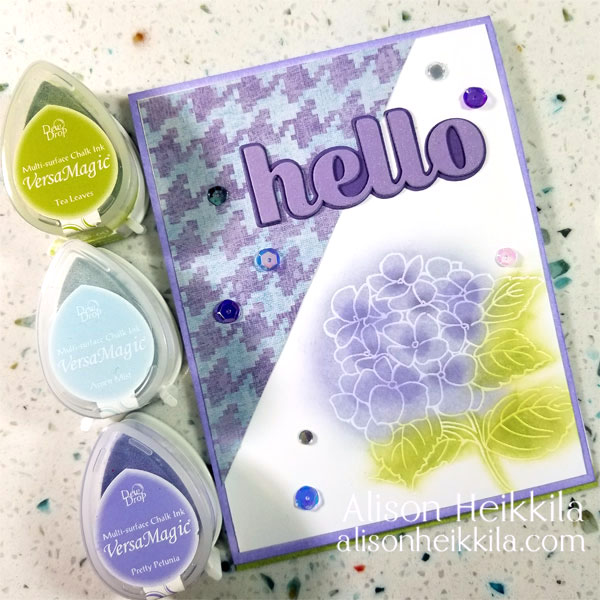
Alison writes: VersaMagic Inks are some of my absolute favorites because of the soft chalky finish they have, plus their blend-ability. I knew they would be perfect for this lovely hydrangea, and by using blending brushes, I colored it up very quickly. For shine, I added some sequins with On Point Glue, which is the number one liquid adhesive I reach for.

My blog address: alisonheikkila.com
My Instagram: @alisonheikkila

Art Journaling with Inks & Creative Medium

by Lori Warren

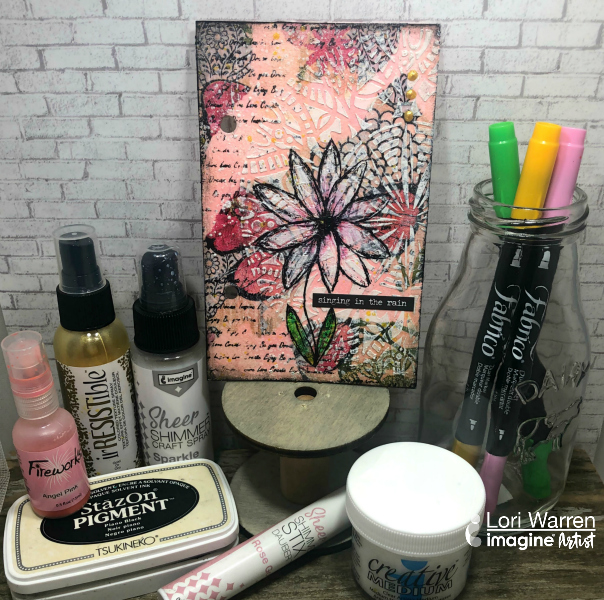
There is something so relaxing about spending time creating and experimenting in an art journal. Art Journaling is about creating something just for you and is a great way to try out new products and techniques.

Skill: Intermediate
Time: 30 minutes

Directions

Supplies

Imagine

Creative Medium – Clear
irRESISTible Pico Embellisher – Gold, Bamboo Leaves
StazOn Pigment – Snowflake, Piano Black
Fireworks! Shimmery Craft Spray – Angel Pink
Sheer Shimmer Stix – Rose Gold
IrRESISTible Texture Spray – Gold, Wedding Gown
Sheer SHIMMER Craft Spray – Gold
Fabrico Dual Markers – Lemon Yellow, Lipstick Pink, Spring Green
Neon Amplify! – White
On Point Glue

Other

• TCW Stencil – Spring Medallion
• Faber Castell PITT artist pens – Warm Grey, Cold Grey I, Cold Grey VI
• DecoArt DuraClear Varnish – Matte
• Tim Holtz Idea-ology – Small Talk stickers
• Tissue paper
• Decorative Napkin

Use StazOn Pigment in Snowflake to Create Christmas Gift Tags

by Elina Stromberg

Use StazOn Pigment in Snowflake to Create Christmas Gift Tags

Very soon it is the time of the year again when we start wrapping Christmas gifts for our loved ones. A handmade gift tag makes the present even more special; it delivers a heartfelt message that the receiver is important to you. These adorable Christmas penguins by Joy Clair are the perfect addition to your personalized message. Just start by punching a pile of tags from leftover cardstock pieces, and soon you will have a pile of gift tags ready to spread out the Christmas feeling to your friends and family!

Skill: Beginner/Intermediate
Time: 1 hour

Directions


Step 1

Punch or hand-cut gift tags from light blue cardstock.

Stamp a snowy hill shape on each tag using white StazOn Pigment ink.
Step 2

Cut a wave shape from fun foam. Attach to an acrylic block using double-sided tape. Stamp a snowy hill shape on each tag using white StazOn Pigment ink.

Stamp Christmas penguins on white paper with black ink
Step 3

Stamp Christmas penguins on white paper with black ink. Color with markers or color pencils. Cut around the edges. To make the fuzzy cutting quick and easy you can cut out the little details on the wings and feet; those parts will be re-stamped later on the tag background.


Step 4

Stamp the penguins on the tags using black VersaFine Clair.


Step 5

Glue the fuzzy cut images on the tags, aligning the fuzzy cut and stamped penguin images. Decorate with a white gel pen.

Supplies

Imagine

StāzOn Pigment – Snowflake
Memento – Tuxedo Black
VersaFine Clair – Nocturne
Craft Mat

Other

• Joy Clair Stamps – Christmas Penguin
• Fiskars Tag punch
• Cardstock in light blue
• Piece of fun foam
• Double-sided tape. Glue
• Acrylic markers
• White gel pen
• Acrylic block for stamping
• Scissors