Learn How To Make A 3D Cube Jewelry Element Using StazOn Pigment

by Kyriakos Pachadiroglou

Learn How To Make A 3D Cube Jewelry Element Using Stazon Pigment

“In geometry, a cube is a three-dimensional solid object”, according to Wikipedia, and that’s exactly what I was aiming for in creating a unique jewelry piece. The perfectly flat and square Sheet metal pieces were the best option to build a cube that would make a modern, out of the ordinary, piece of jewelry. The shiny surface of the Sheet metal was slightly moderated by pressing the metal pieces on the StazOn Pigment ink pad surface that gave a patterned result. Adding stamped designs using VersaMark and black Mboss embossing powder to the sides of the cube created a lovely contrast between the silver, white and black colors in the piece.

Skill: Intermediate
Time: 1.5 hours

Directions


Step 1

Press the Sheet Metal shapes on the StazOn Pigment Inkpad in Snowflake and remove carefully to avoid sliding on the surface. Let them dry (it really doesn’t take long).

Step 2

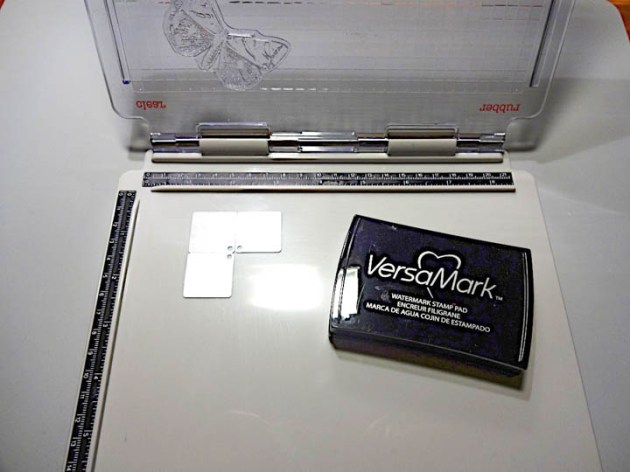
Align the Sheet Metal shapes on a stamping platform with the butterfly stamp. Make sure the corners with holes meet. Cover with the VersaMark Watermark inkpad and press.

Step 3

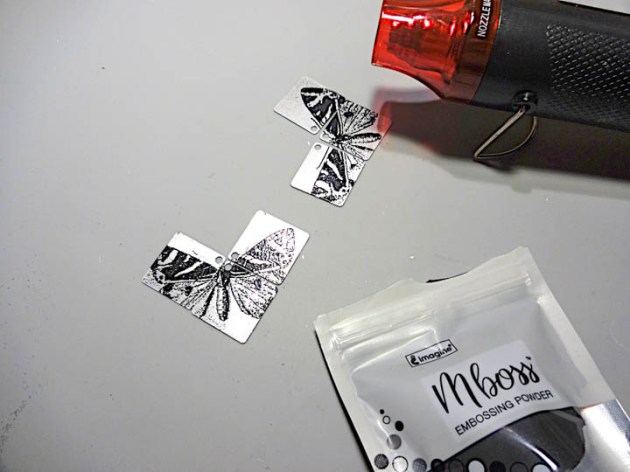
Cover with the Mboss Embossing Powder in Black and heat set. Let cool before touching.


Step 4

Align the metal pieces with the stamped side downwards and apply hot glue on the joint edges. Quickly fold to create an L shape.


Step 5

Continue adding metal pieces by gluing on the un-decorated side of them. There should be corners with 3 holes lined up together on opposing corners of the cube.

Step 6

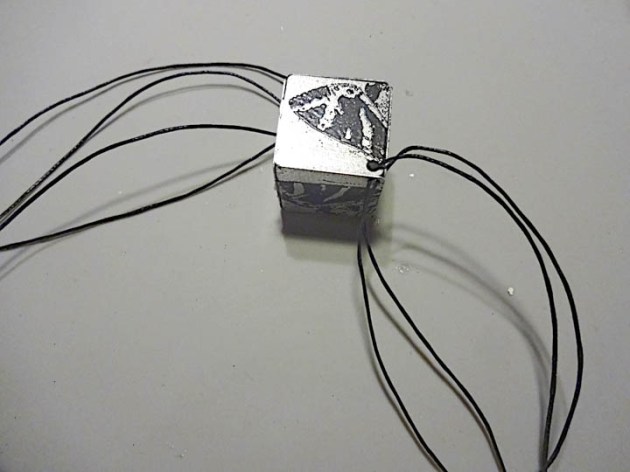
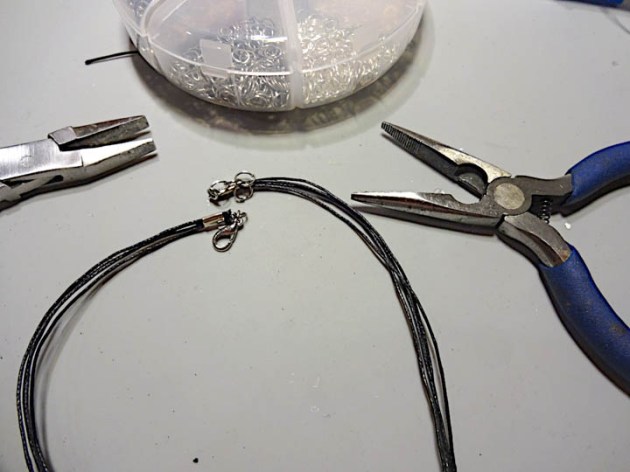
Cut 16 inches long pieces of the cord and pass them through the holes.


Step 7

Add beads on both sides.

Step 8

Set jewelry clasps and align length.

Supplies

Imagine
Other
  • Waxed cord
  • Jewelry beads
  • Jewelry peices – clasps, jump rings, caps
  • Jewelry Pliers
  • Heat tool
  • Hot glue gun and glue
  • Stamping platform (optional)
  • Kaiserkraft – Tigerlily stamps
Creating an irRESISTible Background with StazOn Pigment ink for Lavinia Stamps
by Melissa Andrew

Creating an irRESISTible Background with StazOn Pigment ink for Lavinia Stamps
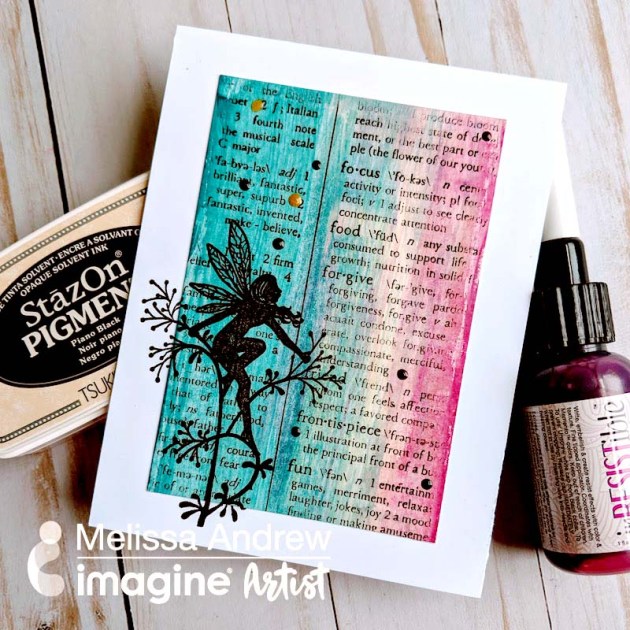
Today, I share a very simple and fun technique using the irRESISTible Pico Embellisher in a new way. Importantly, I show you how to use StazOn Pigment ink over the Pico since StazOn is perfect on slick surfaces. Finally, I use a beautiful fairy stamp as a silhouette to finish our card project.

Skill: Intermediate
Time: 20 minutes

Directions

Supplies

Imagine
Other
  • Lavinia stamp – Flower Fairy
  • White Card Stock
  • Misti Stamping Platform
  • Masking Tape
  • Canson – Watercolor Paper

Create a Sunflower Mixed Media Art Panel

by Lori Warren

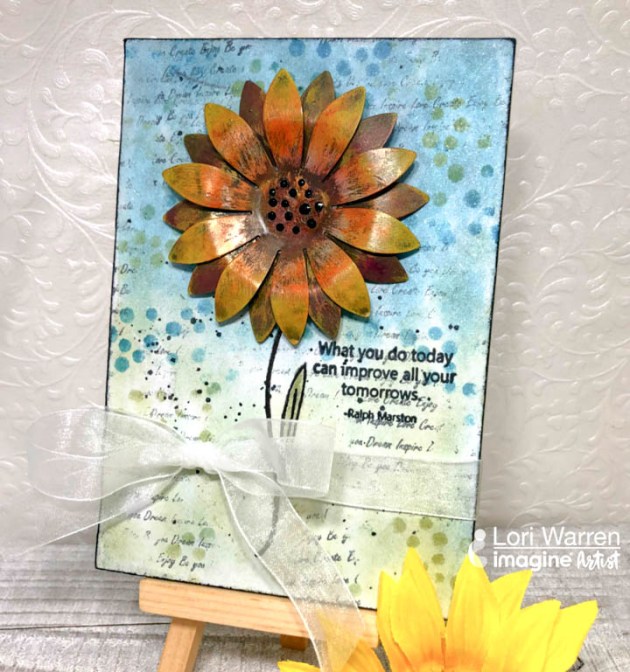
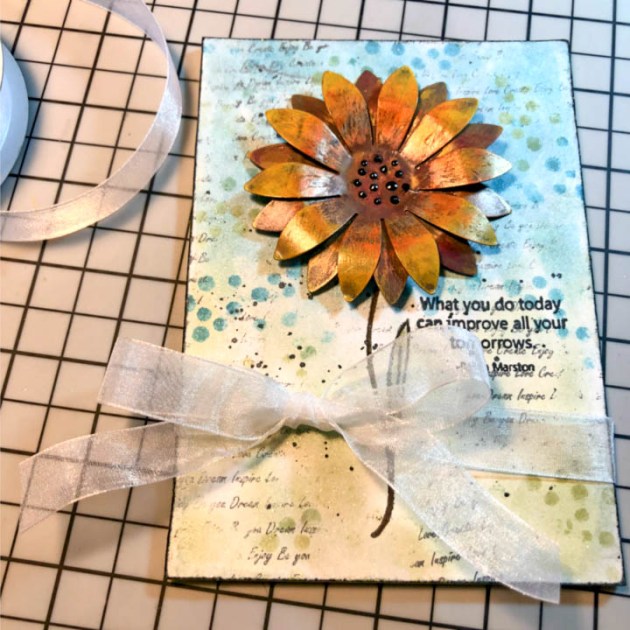
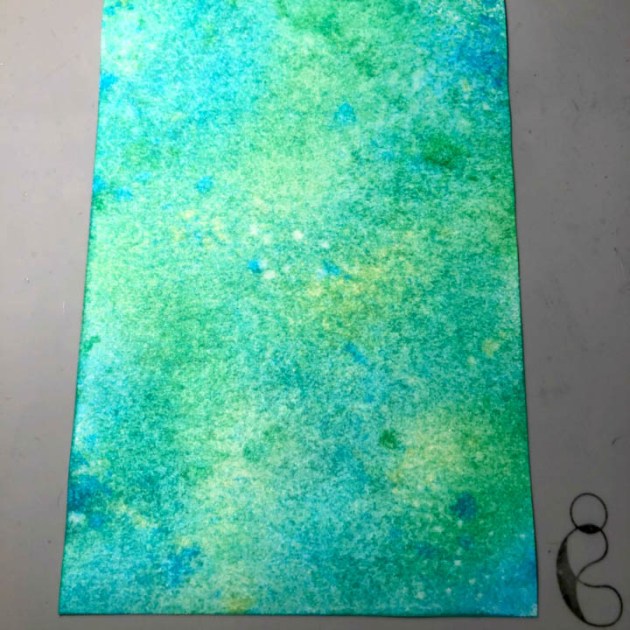
Create a 3D piece of Mixed Media Art with a metal flower and a variety of inks. To add a nice 3D effect to your project, just use metal!  Metal is a great way to add dimension and can even be colored to match with StazOn Pigment ink.  The results can really be spectacular!

Skill: Intermediate
Time: 30 minutes

Directions


Step 1

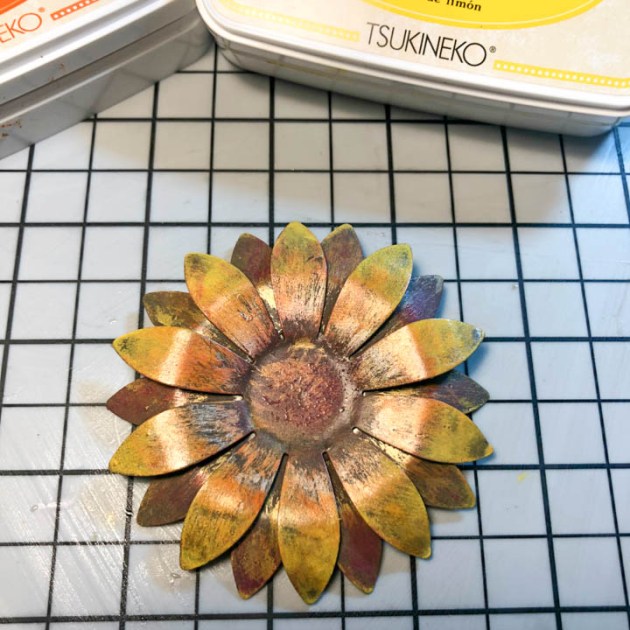
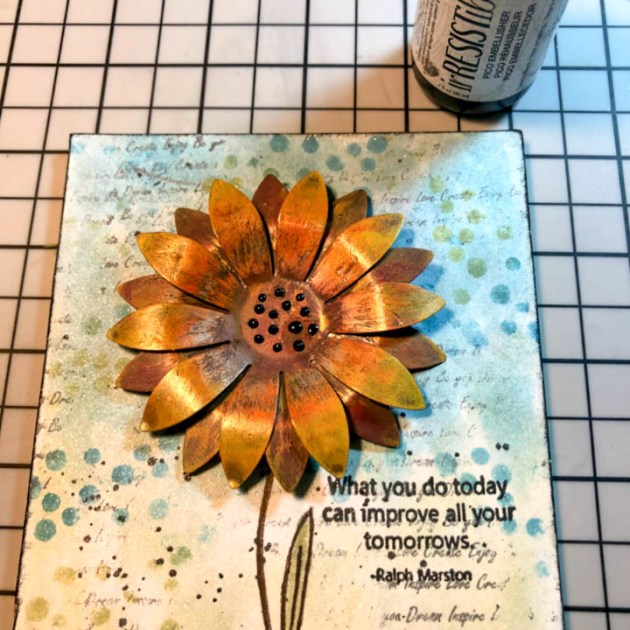
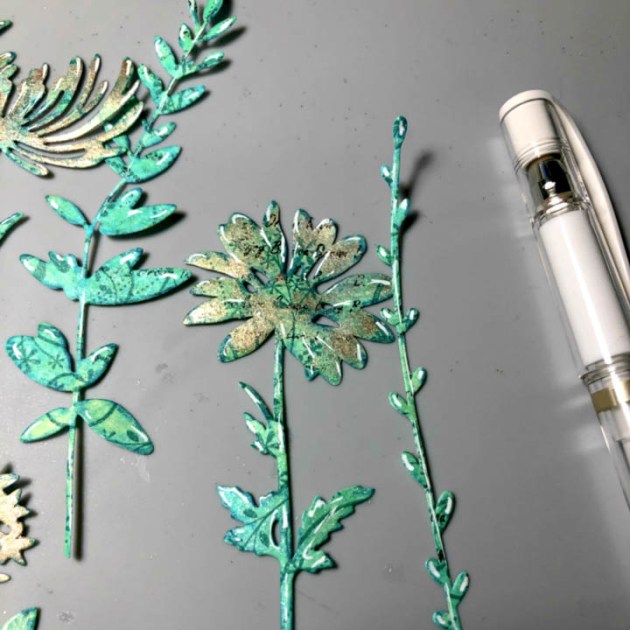
Add color to a metal flower with StazOn Pigment Inkpad.


Step 2

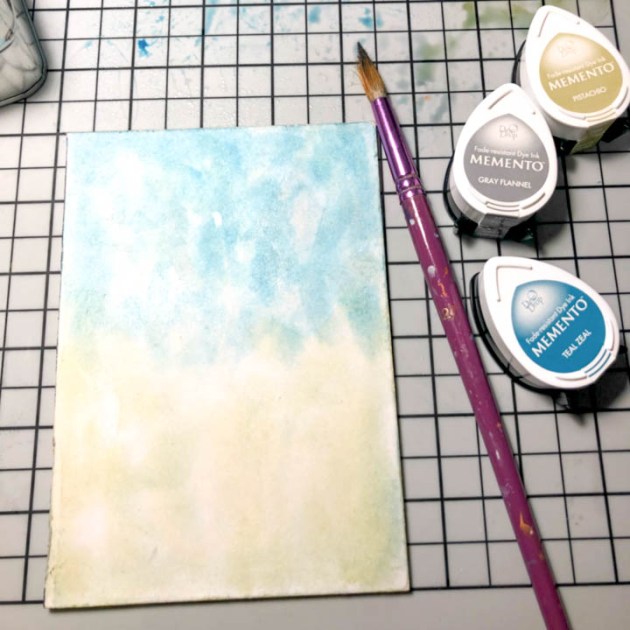
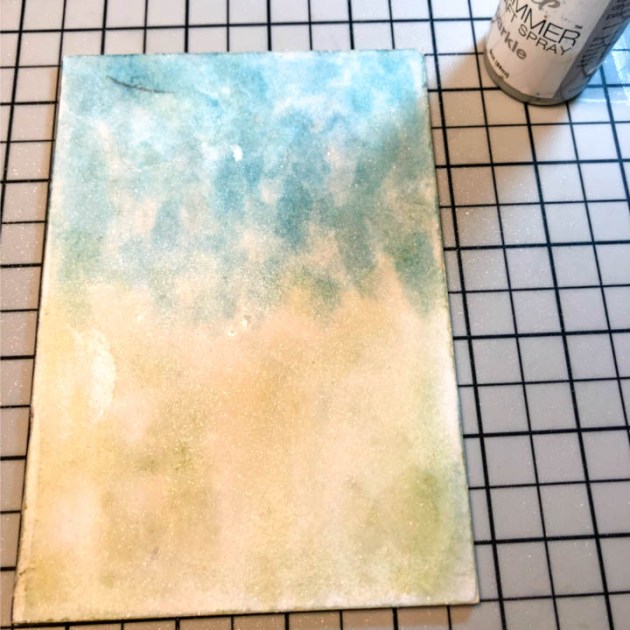
On an art panel, create a watercolor background with Memento DewDrops.


Step 3

Spray panel with Sheer Shimmer Spray in Sparkle.


Step 4

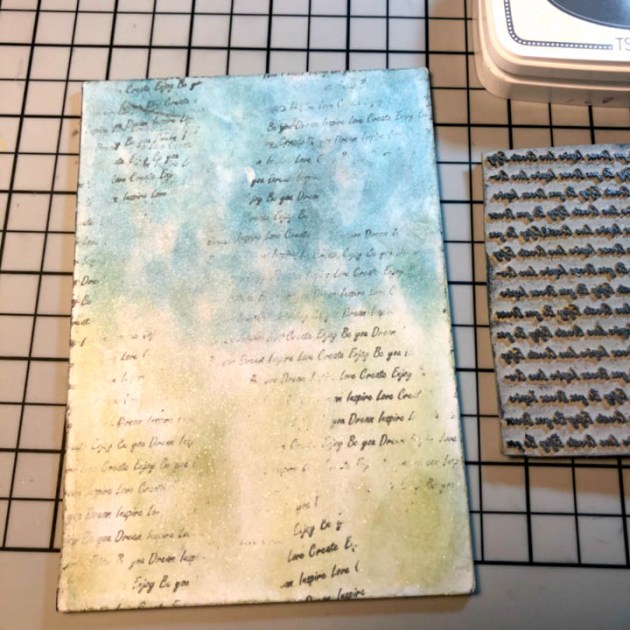
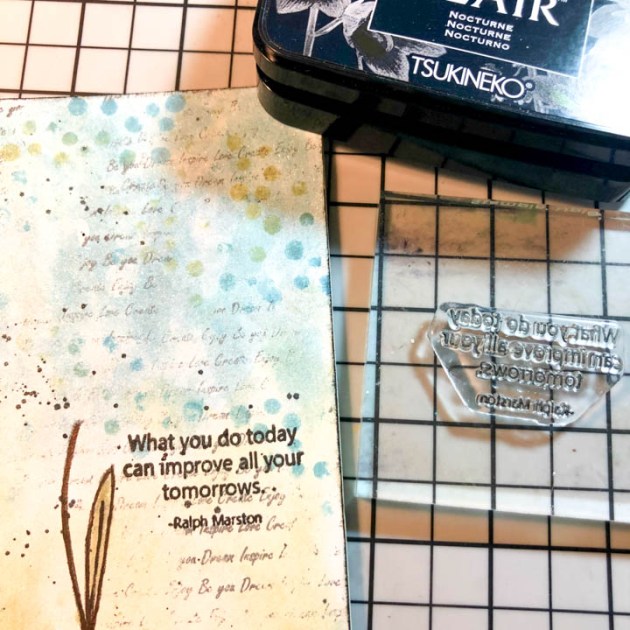
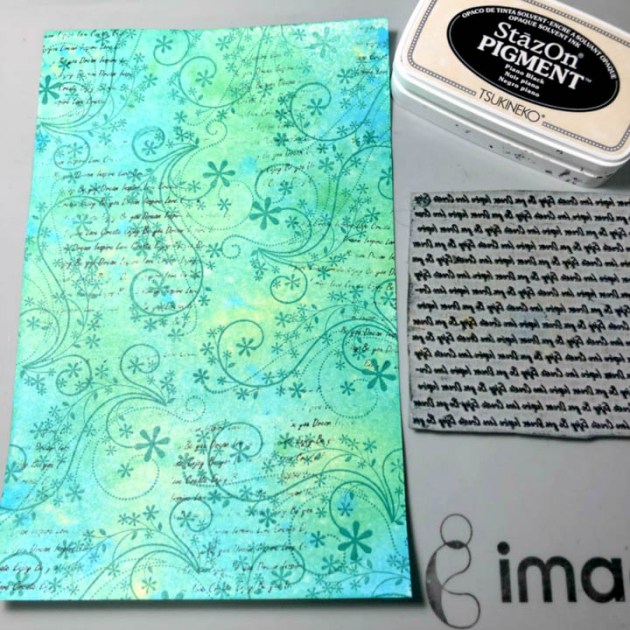
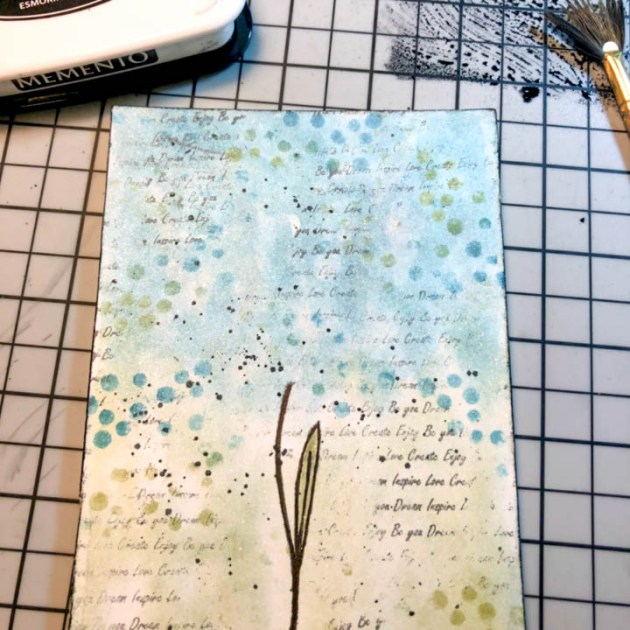
Stamp script stamp onto the panel with StazOn Pigment.


Step 5

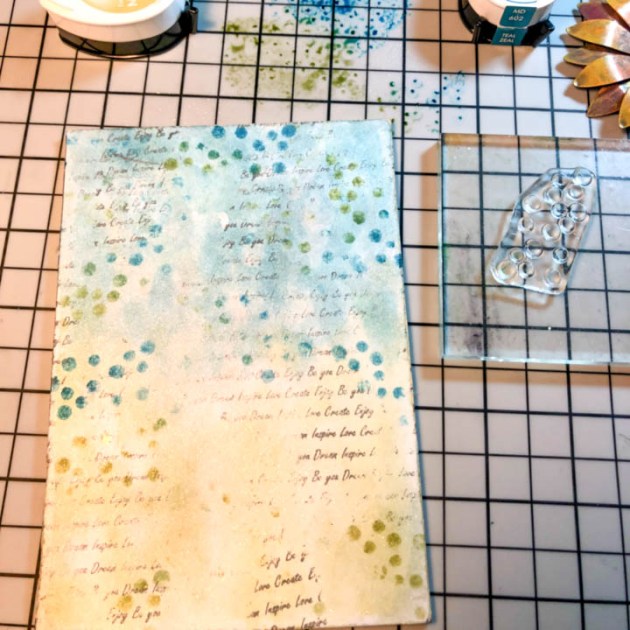
Apply Memento ink in Teal Zeal and Pistachio onto the Craft Mat, add water, then use to stamp dots onto the panel.


Step 6

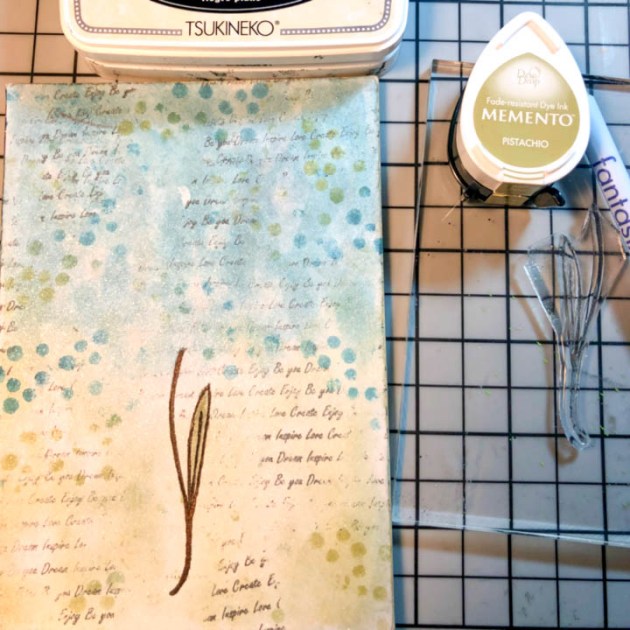
Stamp stem image with StazOn Pigment in Piano Black.


Step 7

Add water to a smear of Memento Ink in Tuxedo Black and splatter onto the background with a brush.


Step 8

Stamp saying with VersaFine CLAIR in Nocturne.


Step 9

Adhere metal flower onto the panel at top of the stem.


Step 10

Tie ribbon around the bottom portion of the panel.

Supplies

Imagine
Other
  • Art Minds Metal Embellishment
  • Lori’s Cards & Creations Stamps
  • Art Panel
  • Celebrate 360 Sheer Ribbon

Learn How to Color Metal for a Jewelry Making Project

by Kyriakos Pachadiroglou

Learn How to Color Metal for a Jewelry Making Project

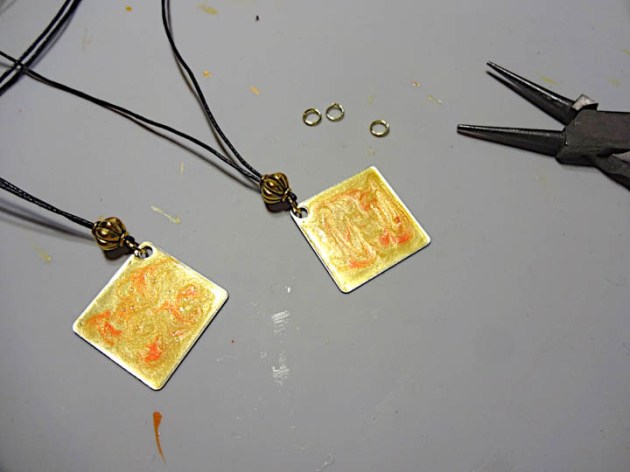
The sun turned into a square! Capture the colors of the sun on faux enamel jewelry piece with a marbled pattern. Decorate the Imagine’s Sheet Metal in the squares shapes with a mix of irRESISTible colors and create a marble design that is covered with clear Mboss embossing powder to protect and give the impression of enamel.

Skill: Beginner
Time: 1 hour

Directions


Step 1

Cover the square Sheet Metal shapes with the irRESISTible in Gold, mixing the gel with a bamboo skewer or toothpick.


Step 2

Add drops of the irRESISTible in Tangelo and mix in circular motions with a bamboo skewer. Let the paint dry well.

Step 3

Press the square shapes on the VersaMark inkpad, cover with Mboss embossing powder and heat set.


Step 4

Turn over to the other side of the Sheet Metal shapes, cover with StazOn Sunflower Yellow.


Step 5

Cover with GlazOn Vintage to secure the color. This is very important to use GlazOn in between uses because StazOn solvent qualities react with other layers of StazOn. In other words, you will erase or lift the color you just laid down.


Step 6

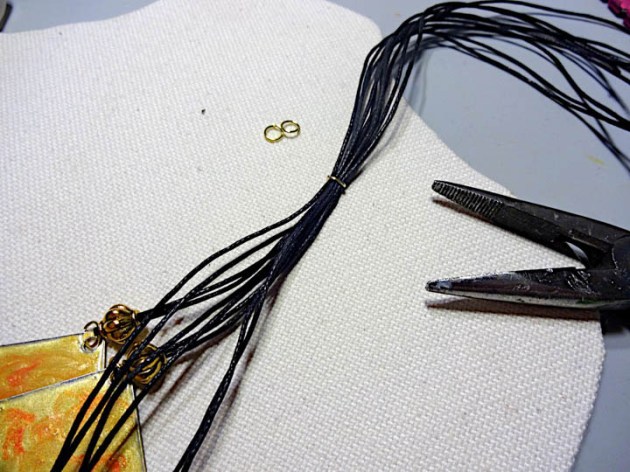
Cut 20-inch long cord pieces, pass it through a jump ring and inside the Sheet Metal shape hole. Add a gold colored bead.


Step 7

Continue with the rest of the pieces and secure all the cords together with a jump ring creating a stop.


Step 8

Cut 20-inch long cord pieces, pass them between the shapes and the previous stop jump ring. Braid the cords and secure all the edges with jewelry caps and clasps.

Supplies

Imagine
Other
  • Bamboo skewers
  • Heat tool
  • Black waxed cord
  • Jewelry clasps, jump rings, lobster locks

See How to Make a Handmade Creative Art Journal

by Lori Warren

See How to Make a Handmade Creative Art Journal

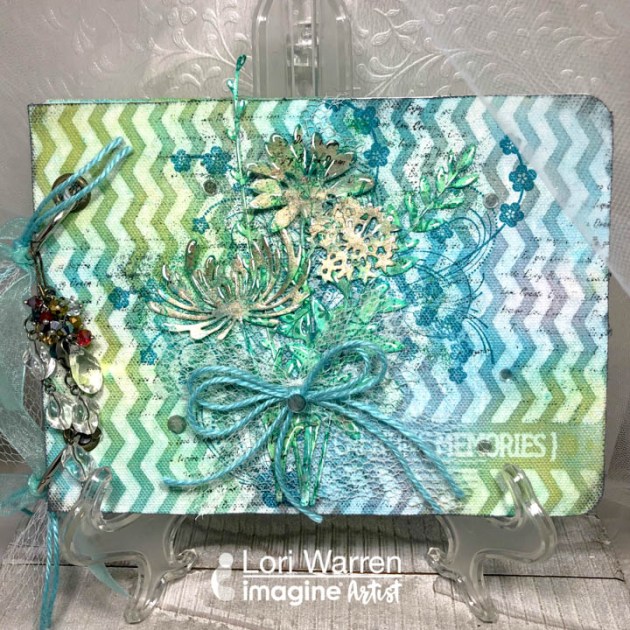
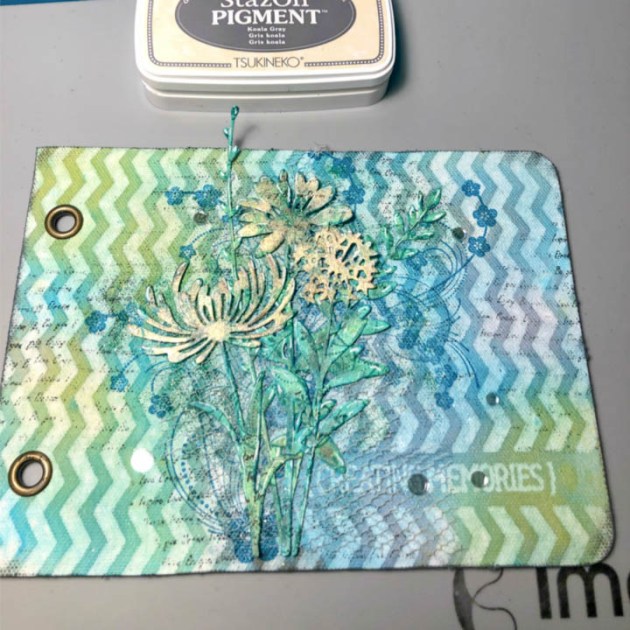
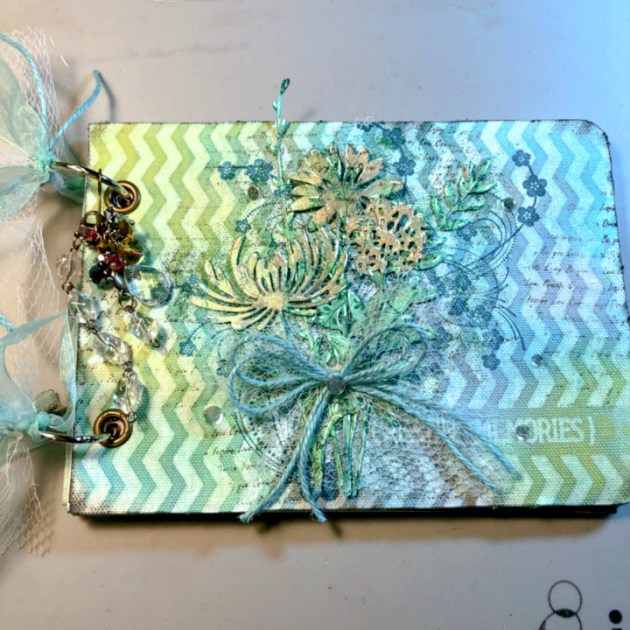
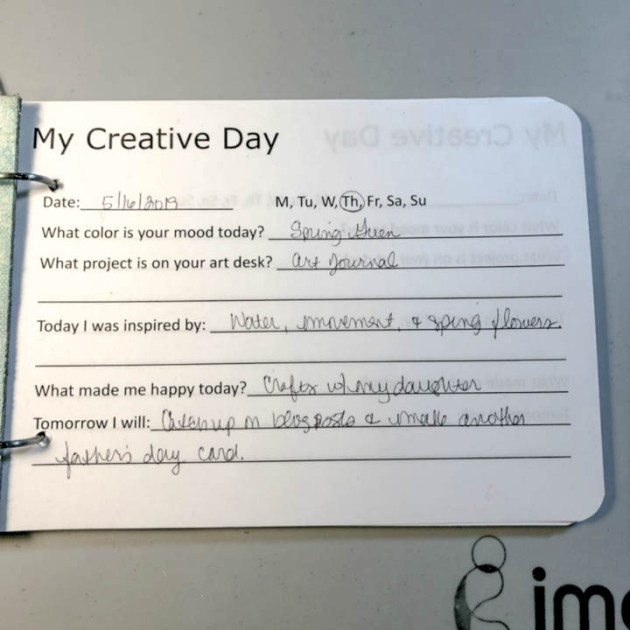
Interested is slowing down and being more mindful? A Daily Journal to document artsy ideas and creative thoughts might be just what is needed. This journal includes “My Creative Day” journal templates (with prompts for daily journaling), blank art pages (for art journaling, sketching and jotting down ideas) and a special hand decorated cover to house it all.

Skill: Advanced
Time: 1 hour


Directions


Step 1

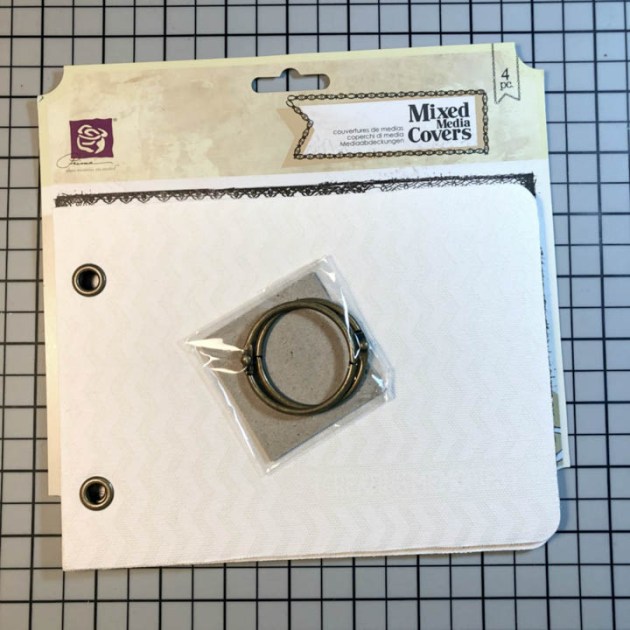
Select ready to make a cover or create a cover of your own (size 5 ½” x 7 ½”)


Step 2

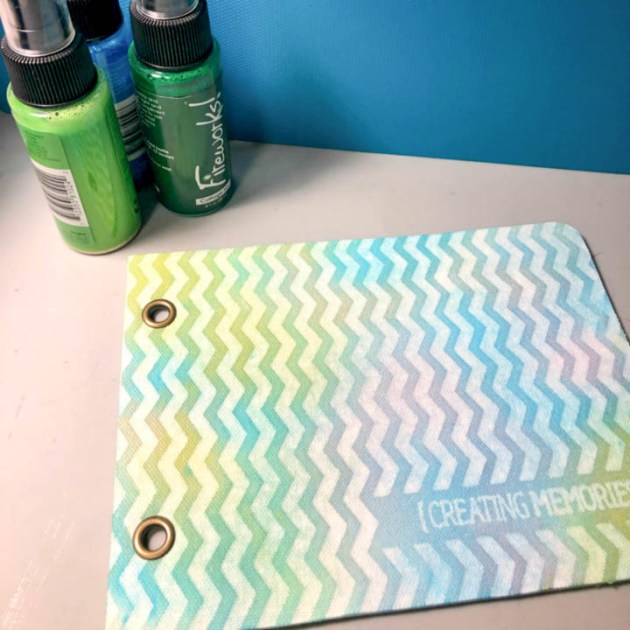
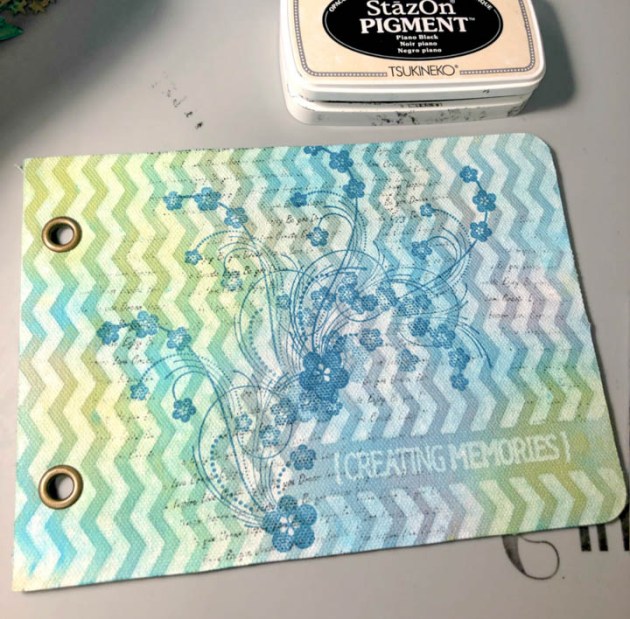
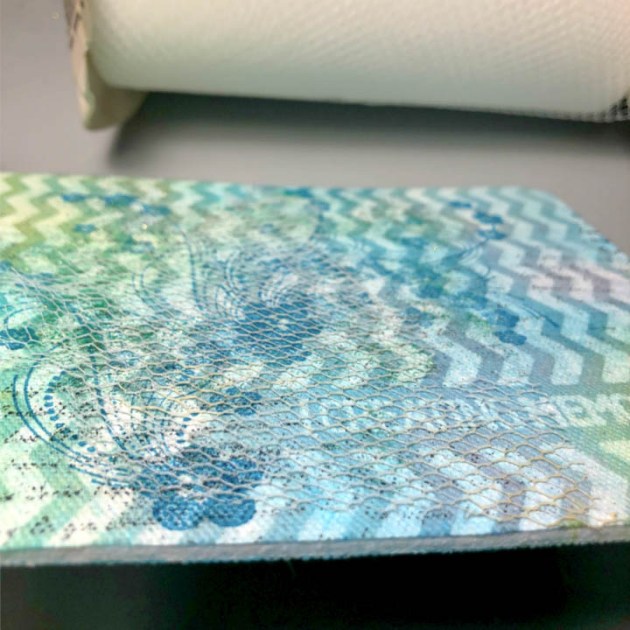
Apply a trio of Fireworks! Sprays to add color, allow to dry. As you can see the color of the waterbased inks brings out the chevron design that was preprinted.


Step 3

Use the same Fireworks! colors on a ½” sheet of white card stock, allow drying.


Step 4

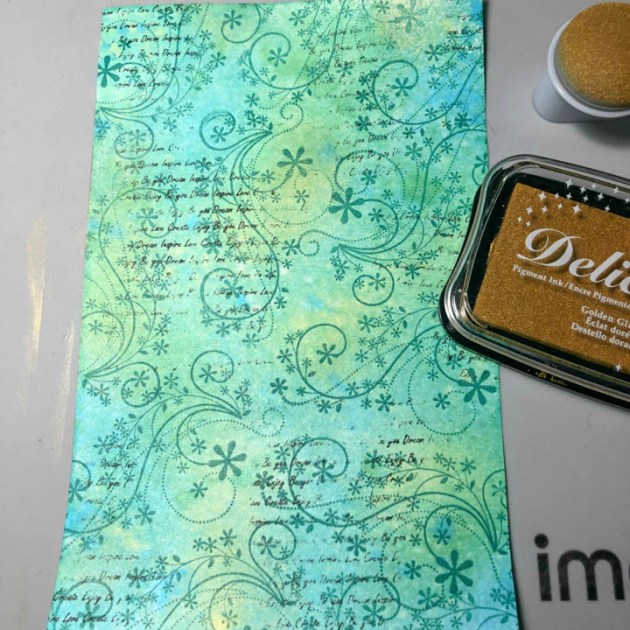
Stamp swirls and script randomly onto the card stock panel with StazOn Pigment ink.


Step 5

Add some shine to sections of the card stock panel with Delicata ink and a large Sponge Dauber.


Step 6

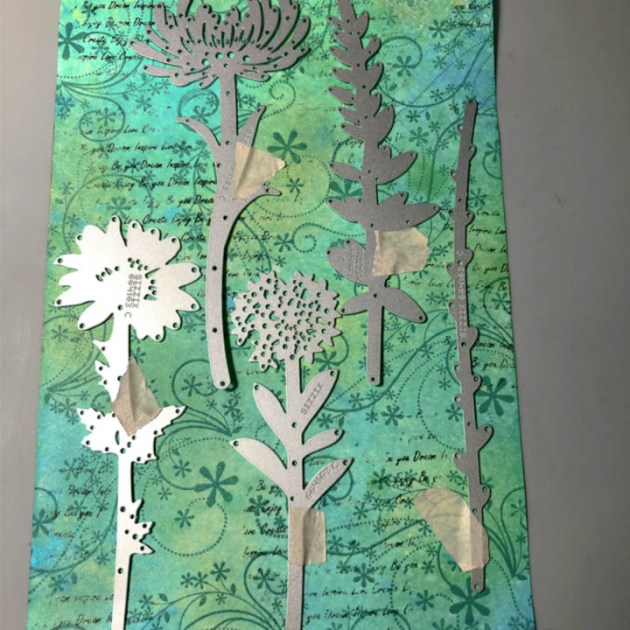
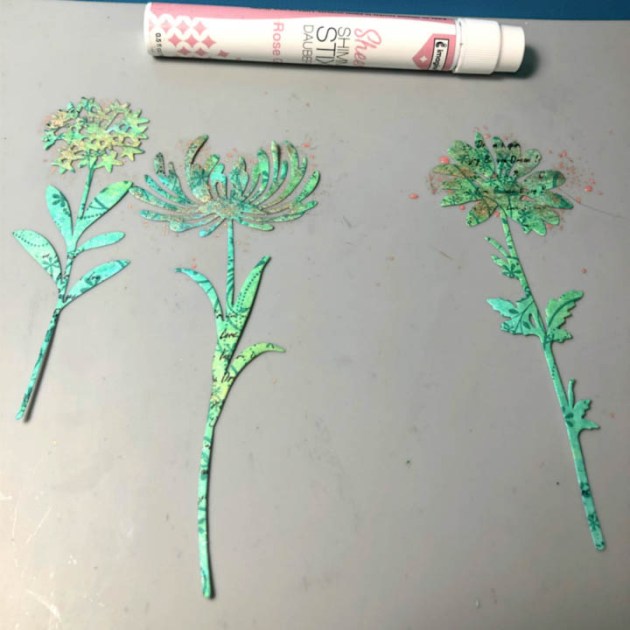
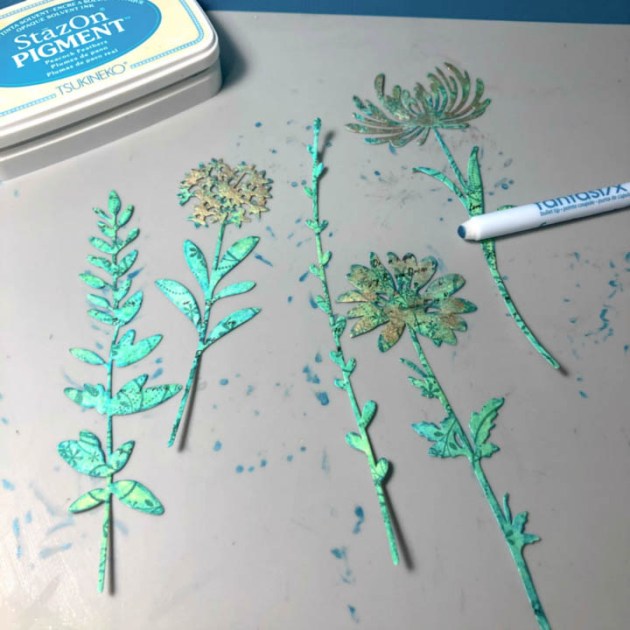
Use diecuts to cut out floral images from the card stock panel.


Step 7

Add additional color to the flower heads with Shimmer Stix in Rose Gold.


Step 8

Apply shading to the flower by using a Fantastix tool with StazOn Pigment ink.


Step 9

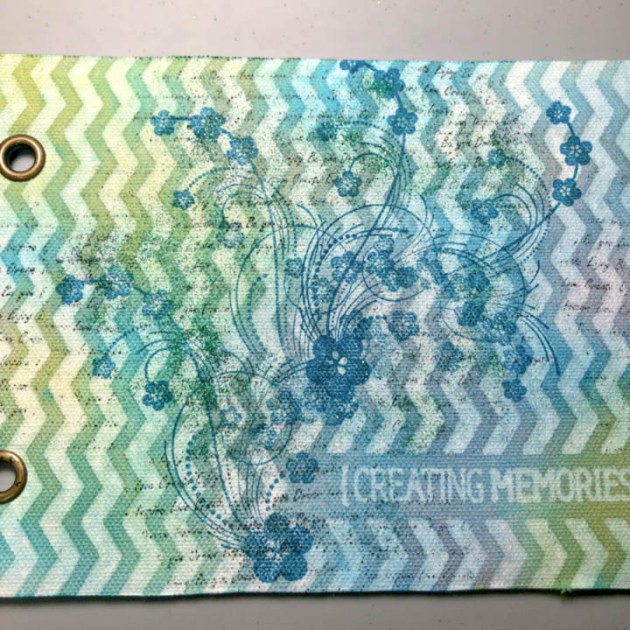
Stamp a floral pattern and script onto journal cover with StazOn Pigment ink.


Step 10

Directly apply VersaMark ink to cover, sprinkle with MBoss powder(s) and heat set for added texture.


Step 11

Adhere to a layer of tulle.


Step 12

Highlight floral cutouts with white ink.


Step 13

Assemble floral die cuts, adhere sequence, and apply StazOn ink directly to edges of cover for shading.


Step 14

Assemble Journal and embellish with fibers.


Step 15

Complete first daily journal entry.

Supplies

Imagine

StazOn Pigment Inkpad – Peacock Feathers, Shamrock Green, Piano Black, Koala Gray
• Fireworks! Shimmery Craft Spray – Cottage Ivy, New Sprout, Bahama Blue
Delicata Inkpad – Golden Glitz
Fantastix – Bullet Tip
Sheer Shimmer STIX Dauber Top – Rose Gold
VersaMark Watermark Stamp pad
Mboss Powder – Shimmering Night Sky, Lucky Stars
On Point Glue
Large Sponge Dauber

Other

• Prima – Mixed Media Covers
• Uniball Signo – White
• Inkadinkado Clear Stamps
• Lori’s Cards & Creations Stamps – Art Script
• Sizzix Thinlits – Wildflower Stems
• Hero Arts Sequence
• My Creative Day template
• Fibers
• Tulle

Create a Live, Laugh, Love Greeting Card

by Iris Rodriguez

Create A Live Laugh And Love Greeting Card

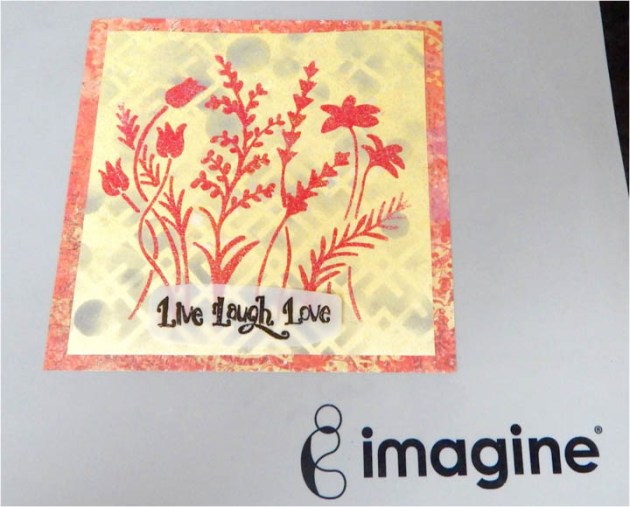
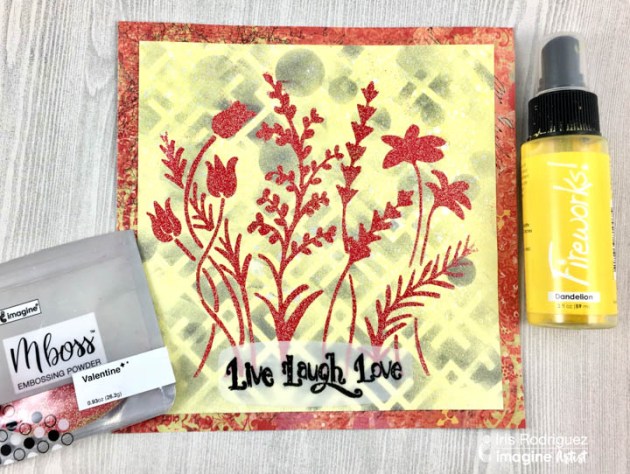
When I made this I was feeling a little down. So what do you do when the going gets tough? Make something bright and cheery, of course. Using Imagine’s new Mboss embossing powder, I made this bright “Live, Laugh, Love” card. I used the Valentine Mboss embossing powder; a beautiful glittery color combination red and gold. For the background, I used the Dandelion Fireworks Craft Spray which is the perfect bright shimmer spray ink.

Skill: Beginner
Time 30 minutes

Directions


Step 1

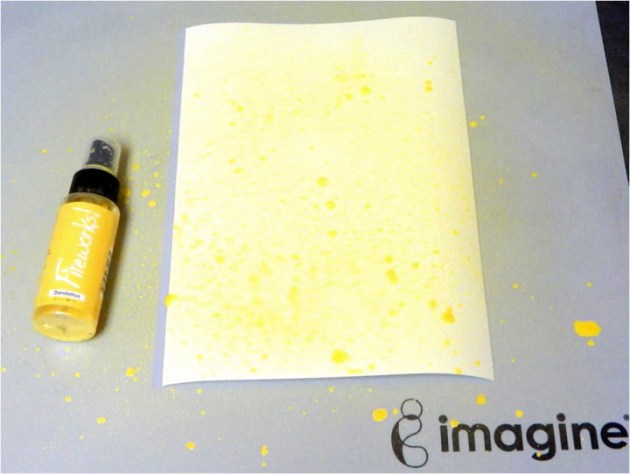
Lightly spray the paper with water, while the paper is wet, spray on the Dandelion Fireworks Craft Spray. Dry paper.


Step 2

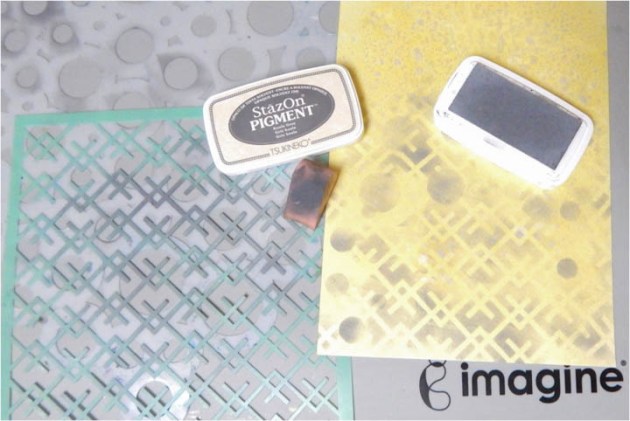
Stencil two different type patterns, to give it variety, with the Koala Gray StazOn Pigment ink.


Step 3

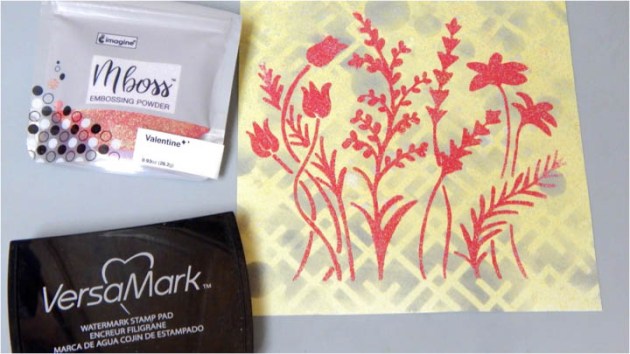
Apply VersaMark ink through the stencil using an Inkblusher. Emboss the Valentine Mboss embossing powder.


Step 4

Add the sentiment “Live, Laugh, Love” and assemble the card.

Supplies

Imagine
Other
  • Mixed Media Paper
  • Heidi Swapp-Geometric Stencil
  • The Crafters Workshop-Circles Stencil 12×12; Wildflowers stencil 6×6
  • Sentiment Stamp