Quick and Easy Thank You Card

By Martha Lucia Gomez

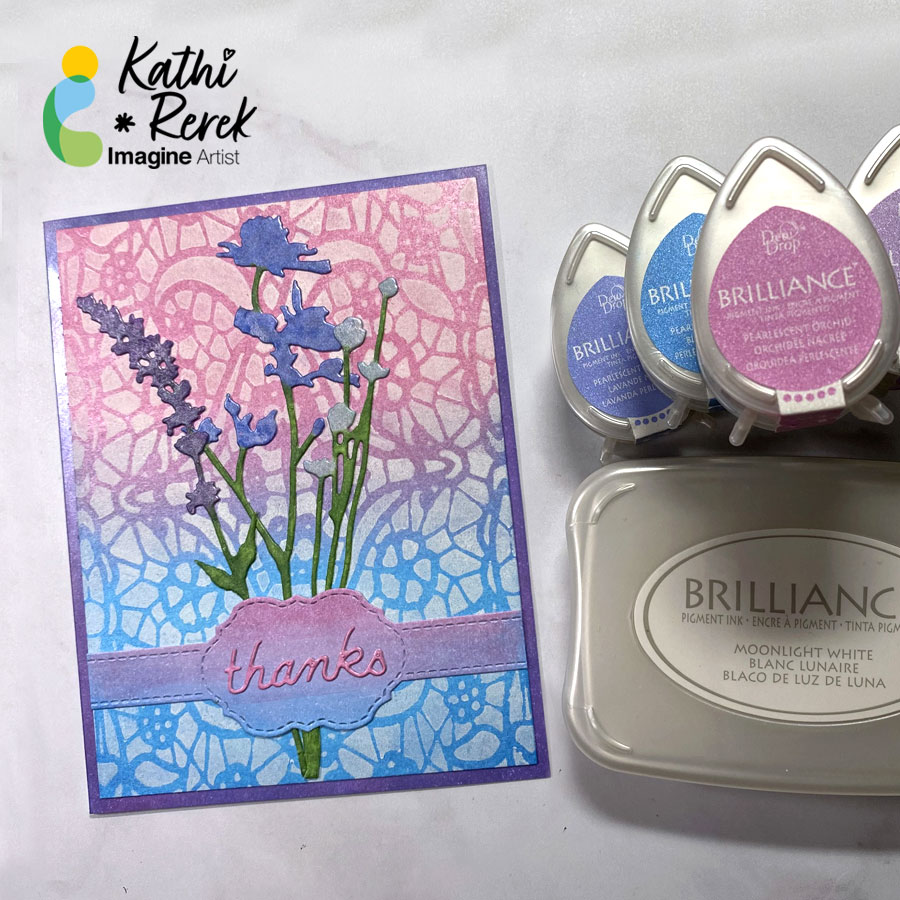
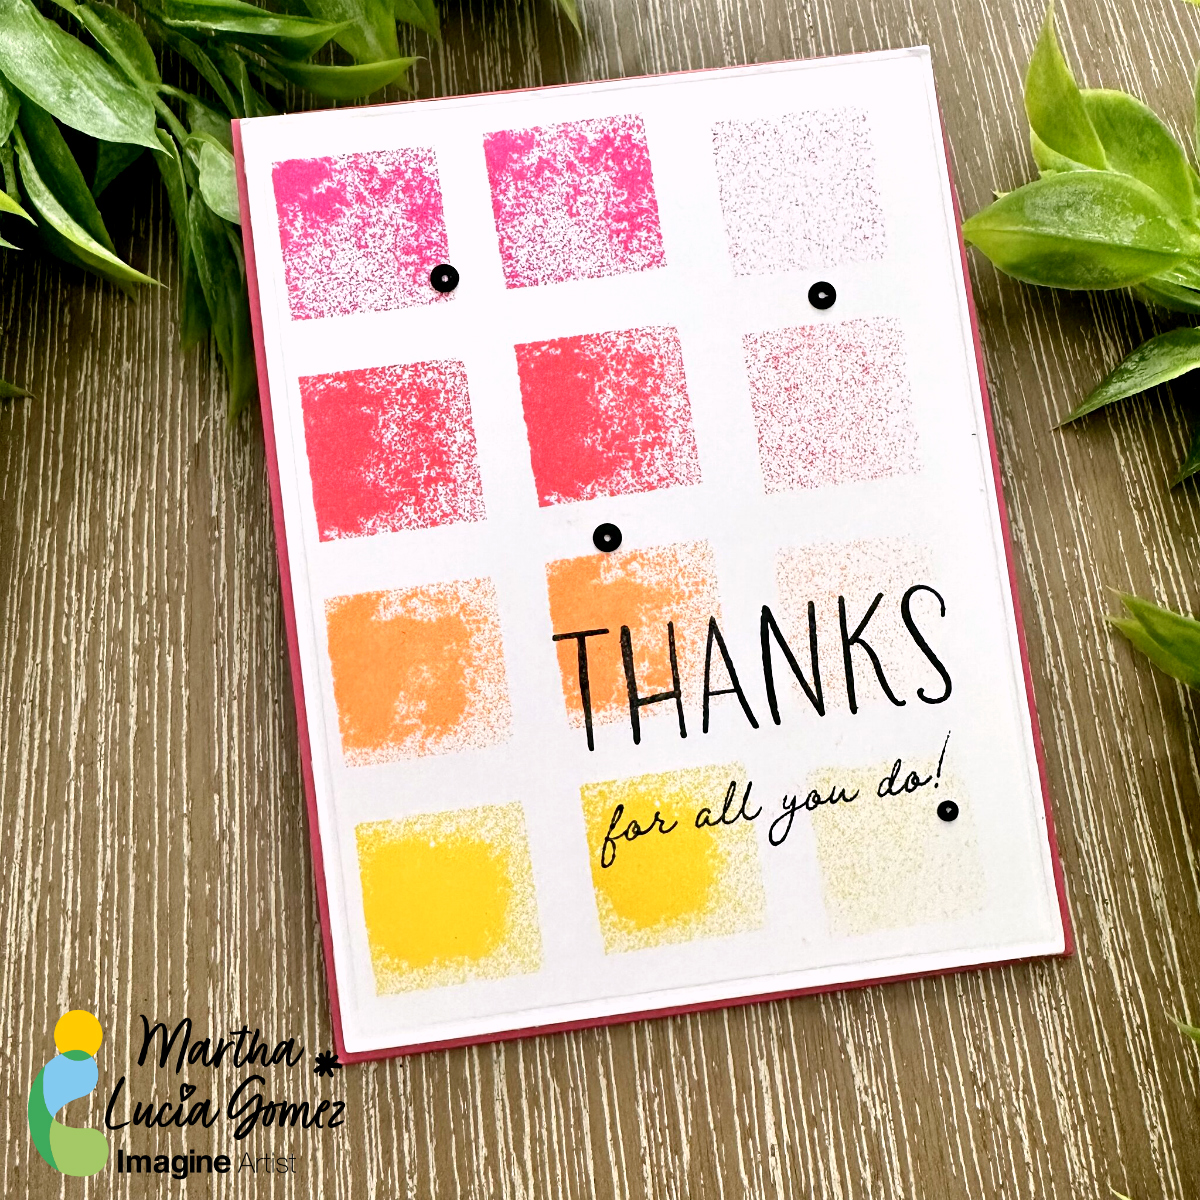
Hello crafty friends! Today, I have the easiest and simple tutorial to make a unique thank you card or any type of cards. Let me share the project with you.  

Skill: Beginning
Time: 60 minutes

Directions:

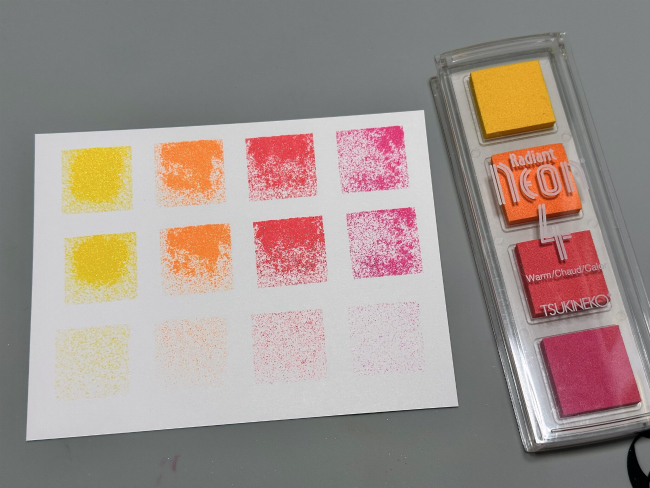
To make my model, I decided to use Radian Neon 4 Warm for two reasons. The first one is because I love the colors of this set of inks and the second, because Radian Neon brings the opportunity to create textures.
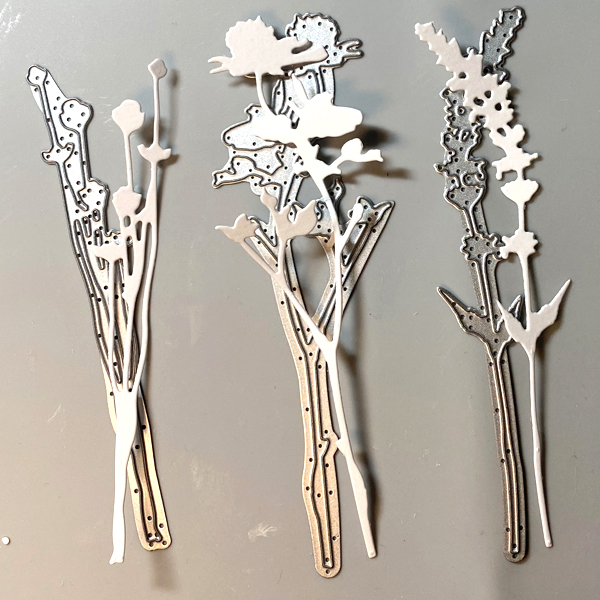
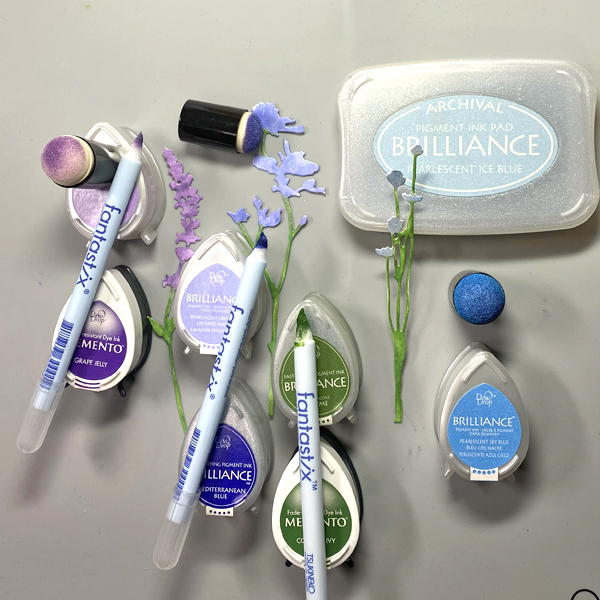
Step 1:

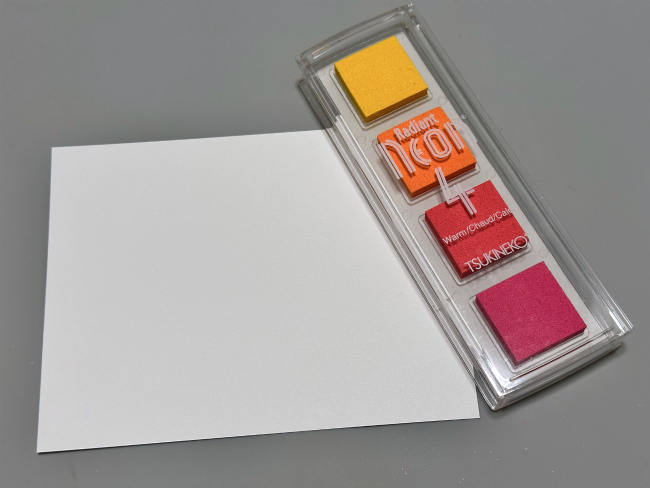
Select the colors of inks that you want to use in small sizes pads. For this idea, you can use any of our 4 Inkpads or small presentations like the Dew Drop of other inks, like Brilliance, VersaMagic, Delicata or Memento, just to mention some.  
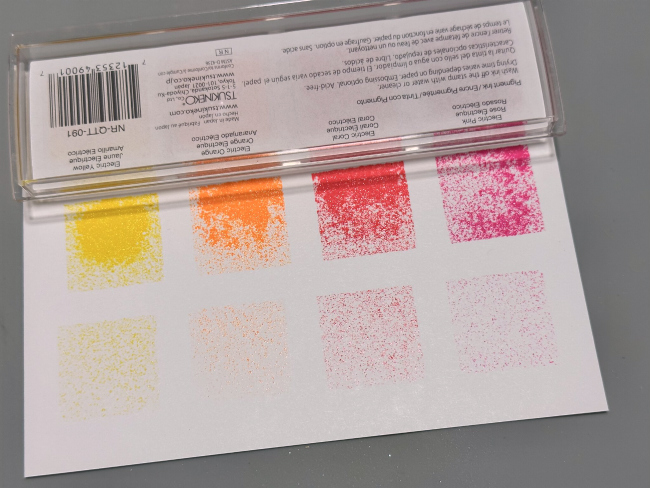
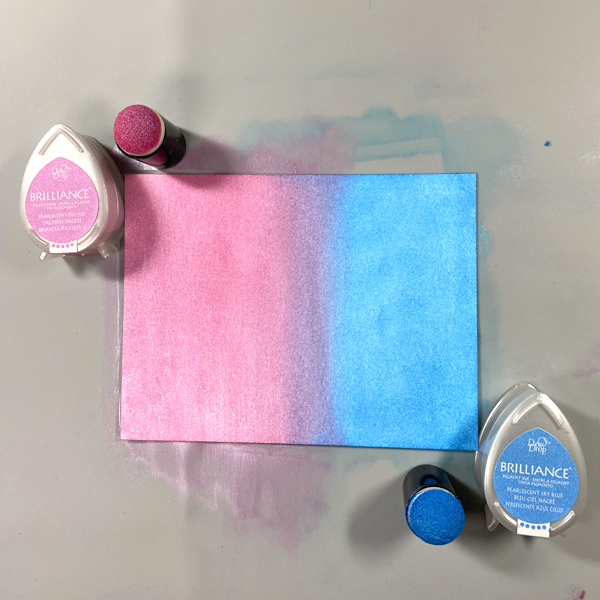
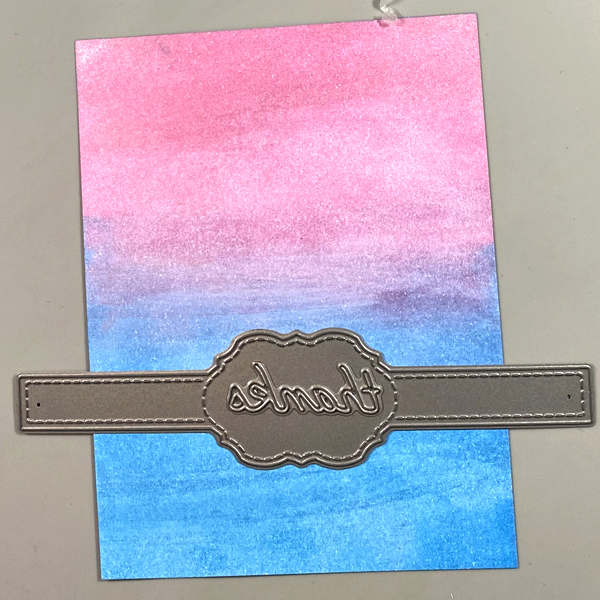
Step 2:

Place the entire ink pad over the cardstock in the direction that you want the colors. I press mine three times over the card under different pression to obtain different textures in each color.
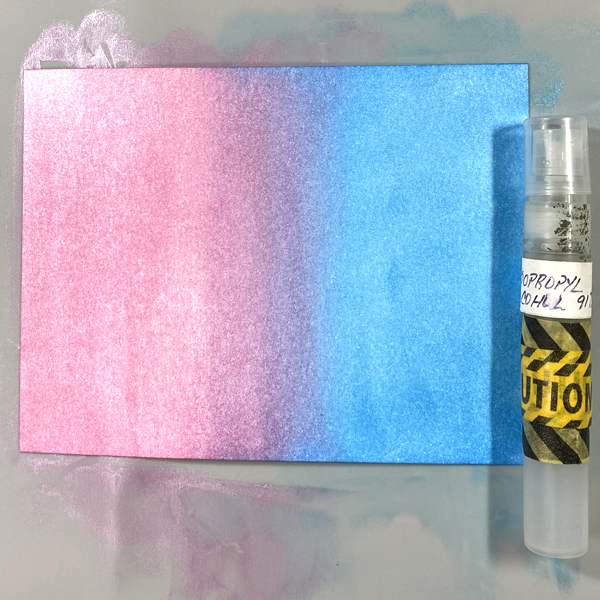
Step 3:

Let the ink dry naturally or speed the process with a heat tool. If you want, you can cover the stamped blocks of ink with clear embossing powder and emboss them with the heat tool, to obtain a better texture.

Step 4:

Stamp a sentiment over the color blocks using VersaFine Clair Nocturne to add a major contrast over your card.
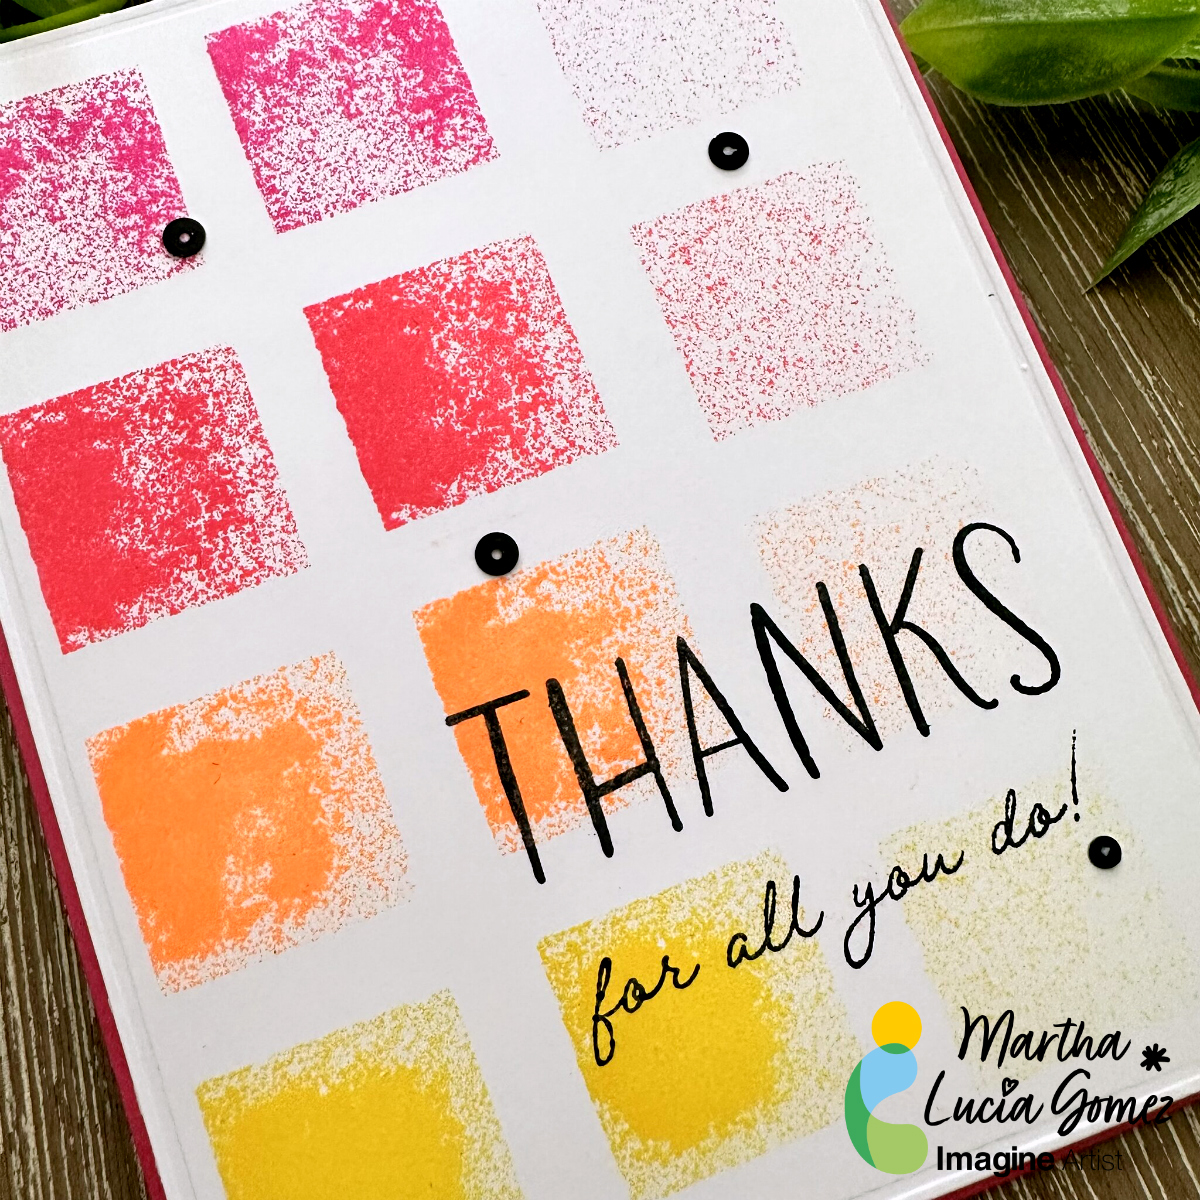
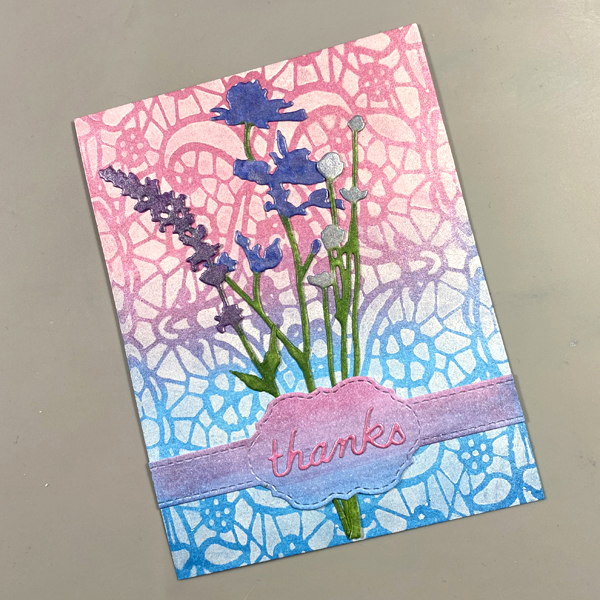
Step 5:

Heat embosses the sentiment with clear embossing powder and paste the decorated layer over your card base.   

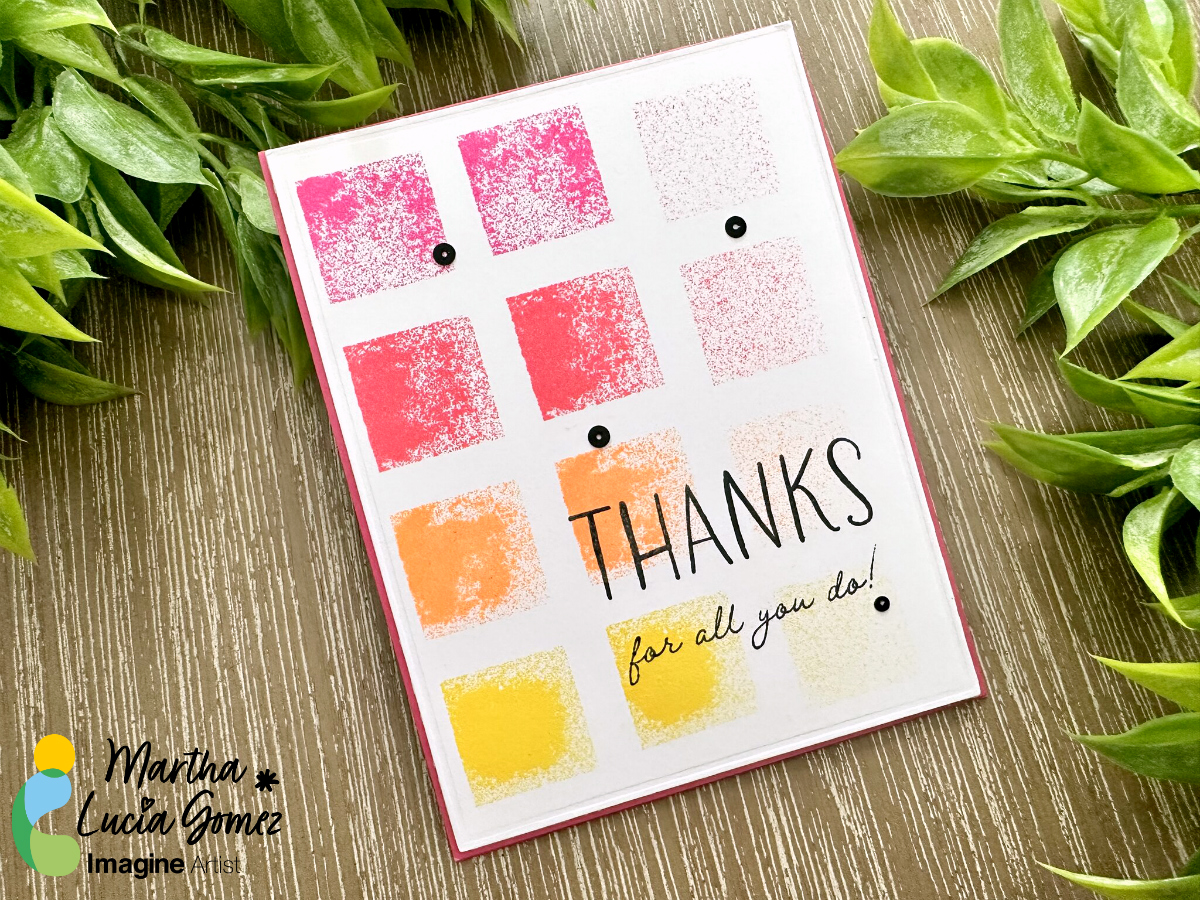
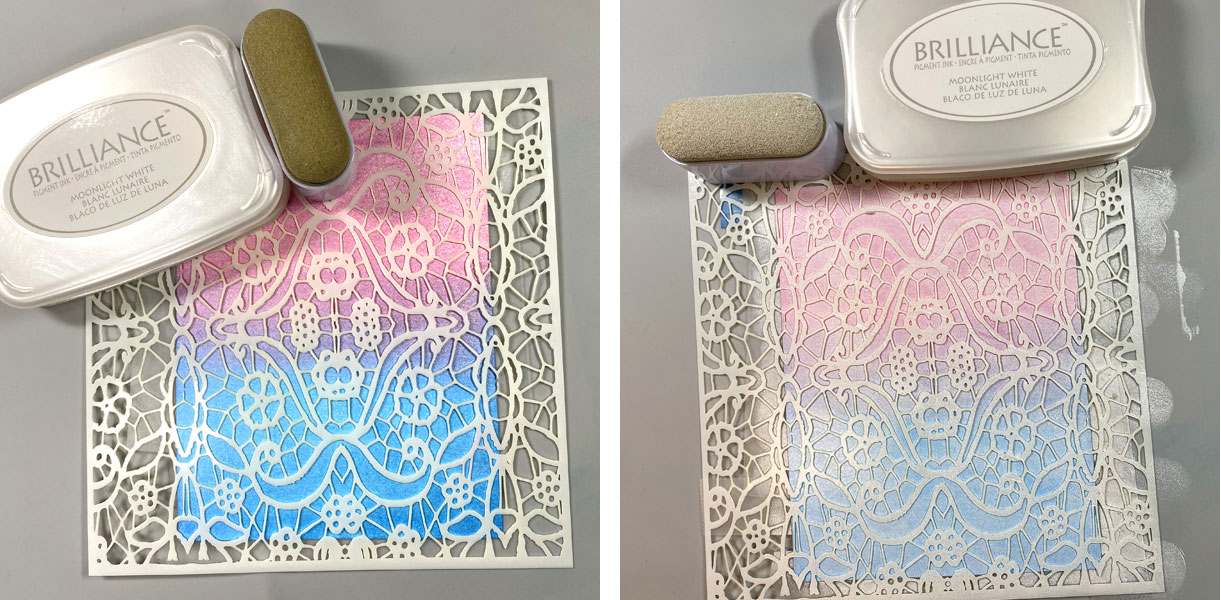
As you can see this is a really simple way to use your ink pads as stamps. Depending on the pression and intensity that you apply over the ink pad or 4Ink Pad, you will obtain different looks.

Thanks for stopping by and remember, you don’t need to create complicated projects. Just use the best inks and let your creativity shine!

Art Supplies:

Imagine:

Other:

  • Stamping Tool
  • White and colored cardstock.
  • Crafty Foam Tape

Let’s Make a Thank You Card

By

By Kathi Rerek

– Greetings! It’s Kathi here. In today’s tutorial, I am going to show you how to create a shimmery Thank You card using multiple Brilliance Ink colors.

Skill: Beginner to Intermediate

Time: 1.5 hours

Directions:

Step 1: 

Cut a piece of Mixed Media paper to 4” x 5.25”. Using a Sponge Dauber, apply Sky Blue Pearlescent Brilliance Ink to half of the panel. Use another Sponge Dauber to apply Orchid Pearlescent Brilliance ink to the other side. Blend the two colors of ink in the center. 

Repeat this step with a second piece of paper. Set this piece aside to be used later.

Step 2:

Spray Isopropyl Alcohol onto ink blended paper panel and let sit for a minute. The alcohol will lighten, blend, and add white speckles to the paper. Heat set.

Step 3:

Use Removable Scotch Tape to tape the background panel to the back of the Mosaic Stencil, then use an Ink Sweeper to apply Moonlight White Brilliance ink over the stencil onto panel.

Step 4:

Remove the tape and the stencil. Heat set.

Step 5: 

Use three flower dies from the Wildflowers 1 Thinlits Die Set to cut Mixed Media Paper.

Step 6: 

Use Sponge Daubers to apply Pearlescent Purple, Pearlescent Ice Blue, and Pearlescent Lavender to the flowers. Use Fantastix Brush applicators to detail the flowers with Mediterranean Blue Brilliance, Pearlescent Sky Blue Brilliance, Grape Jelly Memento inks. Color the flower stems and leaves with Pearlescent Thyme Brilliance and Cottage Ivy Memento inks.

Step 7:

Use the Belly Band and “thanks” dies to cut the extra panel of paper created in Step 1.

Step 8:

Adhere the flower die-cuts to the stenciled panel. Adhere the Belly Band die-cut over the flower stems. Adhere the “thanks” die-cut to the center ornament of the Belly Band.

Step 9:

Cut a piece of white cardstock in half. Score and fold to form an A2 card. Put a piece of scrap paper inside the card, then use a Sponge Dauber to apply Purple Brilliance ink around the edges of the front of the card. Heat set.

Step 10:
Use Tear It! Tape to adhere the image panel to the card.

Art Supplies:

Imagine:

• Brilliance:

– Pearlescent Sky Blue

– Pearlescent Orchid

– Moonlight White

– Pearlescent Purple

– Pearlescent Ice Blue

– Pearlescent Thyme

• Fantastix Brush Tip

• Memento Ink

– Grape Jelly

– Cottage Ivy

• Sponge Dauber

• Ink Sweeper

• Tear It! Tape

Other:

• Mixed Media Paper by Strathmore

• Solar White Classic Crest Cardstock by Neenah

• Mosaic #54 Stencil by AALL and Create

• Wildflowers 1 Thinlits Flower Dies by Tim Holtz for Sizzix

• Belly Band Die by Frantic Stamper

• “Thanks” die: Source Unknown

• Removable Scotch Tape by 3M

• 91% Isopropyl Alchohol

• Heat Tool

• Big Shot by Sizzix

3 Techniques using the VersaMark Ink Pad with Mboss Embossing Powder

by Jessica Lin

3 Techniques using the VersaMark Ink Pad with Mboss Embossing Powder

Hi everyone! Today’s video highlights the VersaMark ink pad, which I’m sure most of you have heard of. (If not, come join the party!) It’s the sticky, clear ink that makes heat embossing super fun and easy. But did you know that you could also stamp with the VersaMark ink pad, and even use the “direct-to-paper” technique? Click on the video and learn how you can stretch the use of your VersaMark ink pads by using it 3 different ways. Two of the techniques are paired with Imagine’s new Mboss Embossing Powder. These two products are a match made in heaven!

Skill: Intermediate
Time: 1 hour

Directions

Supplies

Imagine
Other

• Cardstock
• Card base
• Die cut machine
• Stamping tool or platform
• Scissors
• Heat Tool
• Adhesive sheet
• Bone folder

Learn to Make DIY Wedding Thank You Notes with Embossing

by Melissa Andrew

Learn to Make DIY Wedding Thank You Notes with Flower stamp and Gold Embossing

In today’s simple DIY, I show you how to create simple, elegant wedding Thank You notes. It’s always important to thank your guests and making your own beautiful thank you notes adds an extra special touch. You don’t need a lot of expensive products, and this tutorial takes no time! You can also customize these notes based on your own taste and style.

Skill: Beginner
Time: 20 minutes

Directions

Supplies

Imagine

Embossing Powder – Gold
VersaMark Inkpad
VersaMarker 
Tear It! Tape
Imagine Craft Mat
Large Dauber
InkBlusher 

Other

• SugarPea Designs Stamp Set
• White Card Stock
• Paper Trimmer
• Heat Tool
• Acrylic block or stamping platform

Learn to Make a Set of Matching Thank You Cards

by Kassy Tousignant

Learn to Make a Set of Matching Thank You Cards

Coral is Imagine’s Color of the month for February 2019. I couldn’t resist using this gorgeous Radiant Neon ink in Neon Coral!! It is really stunning. I wanted a bold contrasting color to pair with it so I chose the VersaFine Clair in Fantasia. They are a match made in heaven! I absolutely love the way the colors play off of each other. They are both strong, bold colors on their own and yet they work fabulously together!

I made both of these Thank You cards at the same time and they were completed quickly. Sometimes it’s nice to have a simple, yet beautiful thank you card ready to give at a moments notice.

Skill: Intermediate
Time: 30 minutes

Directions

Supplies

Imagine
Other
  • Vellum
  • Cardstock – Silver glitter, white
  • Concord & 9th – flower/background stamp
  • Acrylic Block
  • Heat tool

Create A Snowflake Theme Card To Say Thank You

by Jowilna Nolte

Create A Snowflake Theme Card To Say Thank You

Create a beautifully layered snowflake element for a “So Grateful” greeting card using a variety of Tsukineko products that compliment each other in the Frosted Blue color scheme. This card theme makes a perfect thank you card to send to friends and family for Christmas gift-giving.

Skill: Beginner
Time: 30 minutes

Directions

Stamp a background image onto white cardstock using VersaFine Clair in Paradise
Step 1

Stamp a background image onto white cardstock using VersaFine Clair in Paradise. Sprinkle with clear embossing powder and heat set until fully melted and shiny.

Add a few drops of StazOn Studio Glaze Cloudy Sky onto the embossed background
Step 2

Add a few drops of StazOn Studio Glaze Cloudy Sky onto the embossed background and smooth it out using your finger. The glaze just makes the white not as white and adds a nice finishing touch to it.

Ink the edges of the embossed disk using VersaMagic Night Sky
Step 3

Ink the edges of the embossed disk using VersaMagic Night Sky. Use a finger dauber to blend the edges should you have to. I used the ink pad directly.

Use a small paintbrush and All-Purpose Ink in Sky Mist
Step 4

Adhere the embossed disk onto a folded card. Use a small paintbrush and All-Purpose Ink in Sky Mist to add some splatters to the background.


Step 5

Stamp a large snowflake image onto white cardstock using VersaFine Clair in Twilight. Cut out the snowflake and add a diamanté to the center.


Step 6

Adhere the snowflake to the circle, add stamped sentiment in VersaFine Clair along the outside edge of the circle. Finish off your card with diamanté.

Supplies

Imagine

Other

  • Cardstock
  • Cardbase
  • Patterned paper
  • Heat Gun
  • Stamps – gratitude sentiment (your choice), snowflake image, floral images
  • Paintbrush
  • Diamante