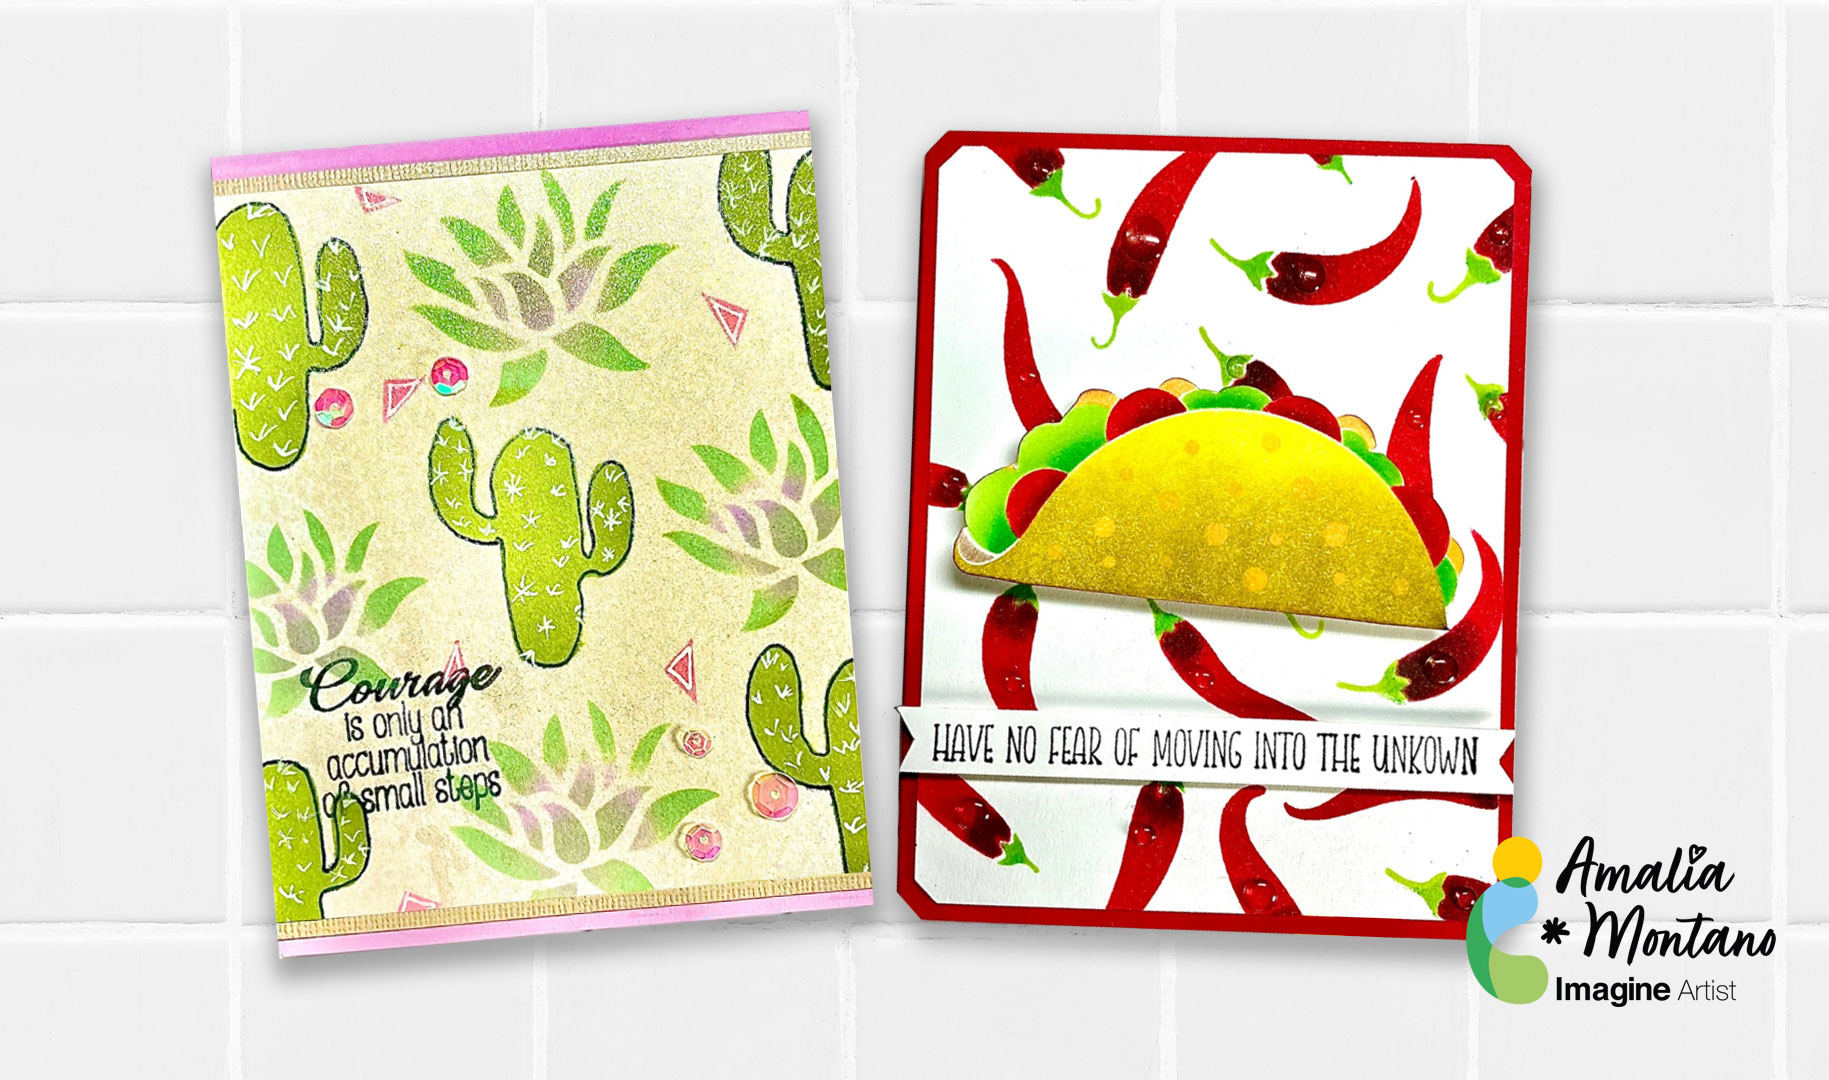
I’ve had these stencils for some time, and the vibrant colors and rich textures of Tsukineko inks were perfect for these designs. I love Tsukineko inks for their versatility, stunning colors, and ease of use. They also come in various themed color sets. For this project, I used both VersaFine colors and Dew Drop VersaMagic ink pads.
Hi everyone! It’s graduation season. Do you have a gift card, a ticket, or even a polaroid photo you would like to send to someone who is graduating? Today I’m sharing my favorite way to send a gift card. It’s super easy and versatile; if you are interested, keep reading!
Skill: Advanced Time: 1 hour
Directions:
Step 1: Stamp the images with any waterproof ink. Many Tsukineko ink pads are waterproof when the ink dries; I am using VersaFine Nocturne today. Also, can we talk about how adorable these images are?! They are from It’s a Science stamp set and they’re totally perfect for any science majors. I thought they would look so cute for a graduation card.
Step 2: Watercolor with dew drop ink pads. I love to watercolor with my dew drop ink pads. You can choose from the VersaMagic (pigment ink), Brilliance (pigment ink) or Memento (dye ink) lines and they all work great! I smooshed some ink onto my craft mat and colored away!
Step 3: Fussy cut the images with scissors. If the stamp set has a coordinating die set, you could use that too!
Step 4: Stamp images with VersaMark ink pad to create details for the background panel.
Step 5: I actually decided to create a light up card by adding a LED light to the microscope image. If you are interested in seeing a video tutorial, you could follow my YouTube channel: Craft with Jessica V. Lin or search for “Interactive Gift Card Holder that Lights Up”. I’ll edit the video and post it soon.
Step 6: This is what the LED light looks like when the circuit is finished. It’s really not that complicated, and the result is so worth it!
Step 7: Finally, for the gift card holder, simply score an A2 card base at 4.5’’, 5.5’’ and 6.5’’. Adhere the bottom edge with Tear-It! Tape (make sure you don’t adhere the entire flap closed). Then, create a gift card opening by die-cutting along the edge of the middle flap. If you don’t have a die that works, you could also cut the opening with scissors.
And the gift card holder card is completed! I love this design since it’s super easy and you could easily swap the gift card with tickets (like the Disneyland ticket shown in step 7) or even a polaroid photo if you decided to keep it as a card instead. I hope you give it a try, thanks so much for stopping by!
Use your paper crafting projects to make home decor, such as this wall hanging. It’s quick, easy, and fun to do. Best of all, these projects make great gives that are hand-crafted with love.
Skill Level: Intermediate Time: 1 hour
Instructions
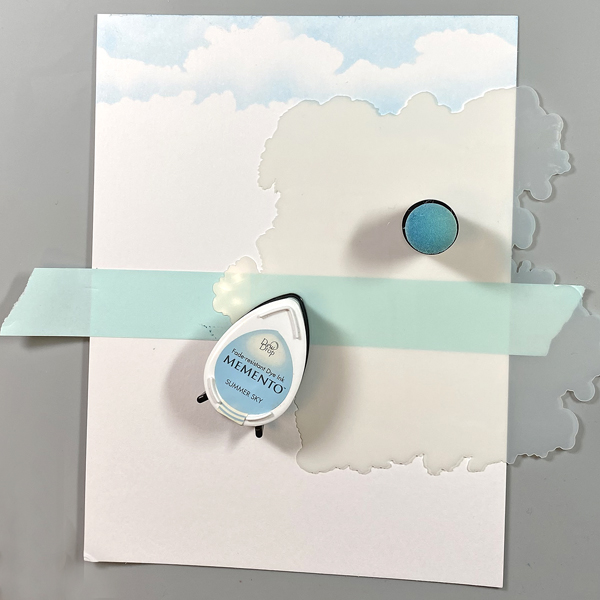
Step 1: Place a piece of low-tack tape horizontally across a piece of Mixed Media paper. Place the Cloud Edger stencil slightly below the top of the paper. Use a Sponge Dauber to apply Summer Sky Memento Ink over the top of the stencil. Move the stencil downwards and rotate it, then apply Summer Sky Memento ink over the top. Repeat until the cloudy sky is complete.
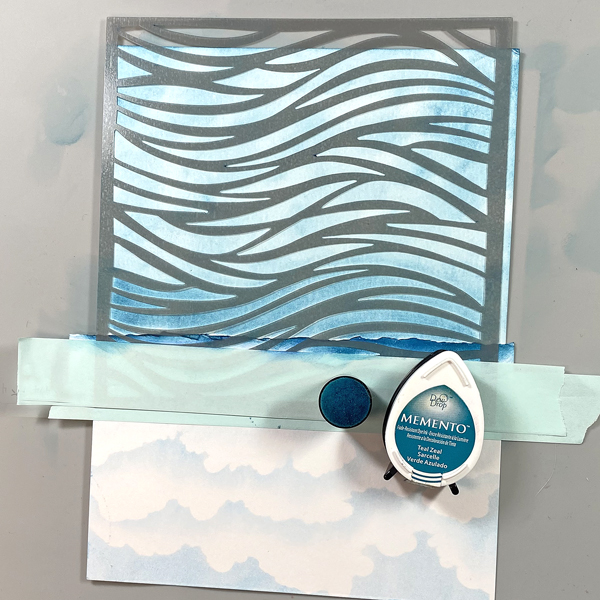
Step 2: Tear a piece of scrap cardstock and place the torn edge horizontally under the cloudy sky, secured with low-tack tape. Flip the panel 180°. Use a Sponge Dauber to apply a light layer of Teal Zeal Memento Ink to cover the bottom portion of the panel.
Step 3: Place the Water Ripples stencil over the sponged teal area and secure with low-tack tape. Use the Sponge Dauber to apply Teal Zeal Memento Inks over the stencil onto the image panel. Trim the panel to 5.25” x 7.75”.
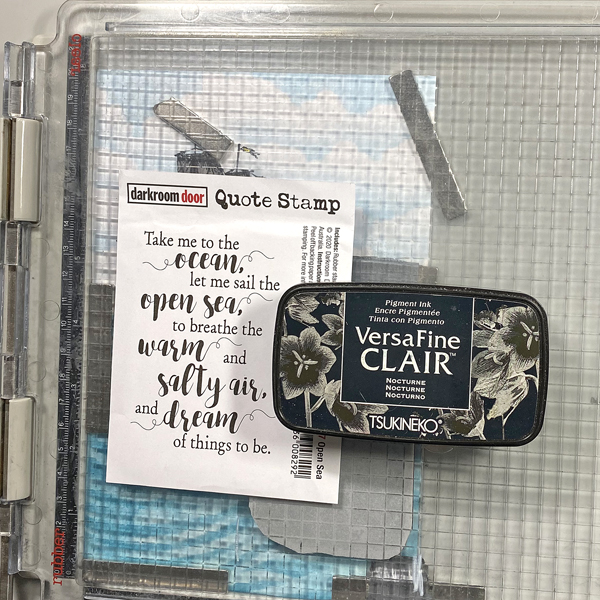
Step 4: Secure the image panel to the base of a stamping platform. Position the Caravelle stamp facedown on the top left of the image panel so that the bit of ocean at the bottom of the stamp is even with the top of the sponged sea. Ink the stamp with Nocturne VersaFine Clair Ink and stamp. Re-ink and stamp again if necessary to attain a good impression. Remove the stamp from the platform.
Step 5: Position the Open Sea Quote Stamp facedown on the lower right part of the image panel. Ink the stamp with Nocturne VersaFine Clair Ink and stamp. Re-ink and stamp again if necessary. Remove the stamp and the image panel from the platform. Heat set the image panel.
Step 6: Use pens to color the Caravelle. Sorry that there are no photos.
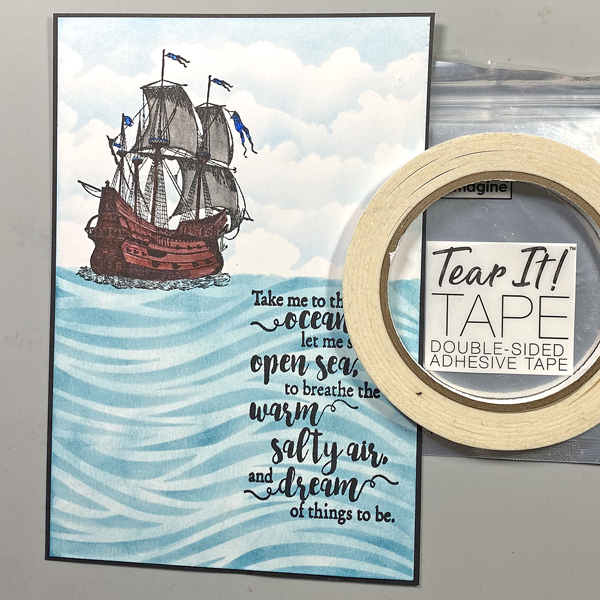
Step 7: Use Tear-It! Tape to adhere the image panel to a piece of 5.5” x 8” black chipboard or heavy weight cardstock.
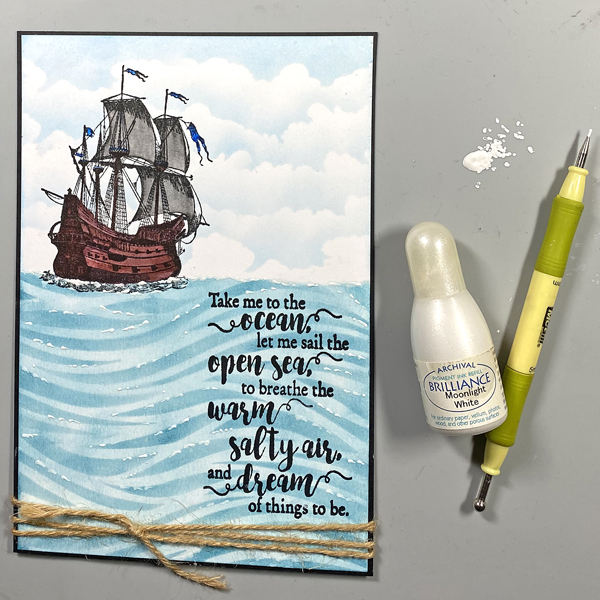
Step 8: Wrap twine twice around the base of the piece and tie a knot.
Step 9: I decided that the sea looked kind of “blah”. I squeezed a few drops of Moonlight White Re-inker onto my craft mat and used a stylus to apply the re-inker to the sea to look like white caps.
I love to color! I am an avid Copic marker fan and adore using watercolor on stamped images. Sometimes I like taking a more liberal rather than literal approach to coloring images. If you do not like to color this is the video and project for you! Find some simple lined floral images and use sponge daubers to daub, rub, smear or pounce color on. Versacolor inks are blendable and provide jut the right dry time to create a smooth finish to your design. I used heat embossing with white MBoss powder on white cardstock so the outline would stand out but not overpower. This created a soft feminine hue to the image. This would also look great in black ink. Give it a try!
Hello! My latest project for Imagine is a Mother’s Day theme. Now, perhaps this project may be a style all moms like, but it’s definitely one that my mom loves. I wanted to show how beautiful VersaMagic inks are, and how convenient it is to have them in their Dew Drops shape. They’re beautiful and chalky, and create really nice effects.
*Some affiliate links are used in this post. That means that if you shop through these links, I may receive a small compensation, at no cost to you.
Skill Level: Intermediate Time to Complete: 20-30 minutes
I can’t wait to officially give this card to my mom. I know she’s going to love everything about it. If you haven’t played with VersaMagic Inks yet, I hope you’ll give them a try. Thanks for stopping by. Have an inspiring day!
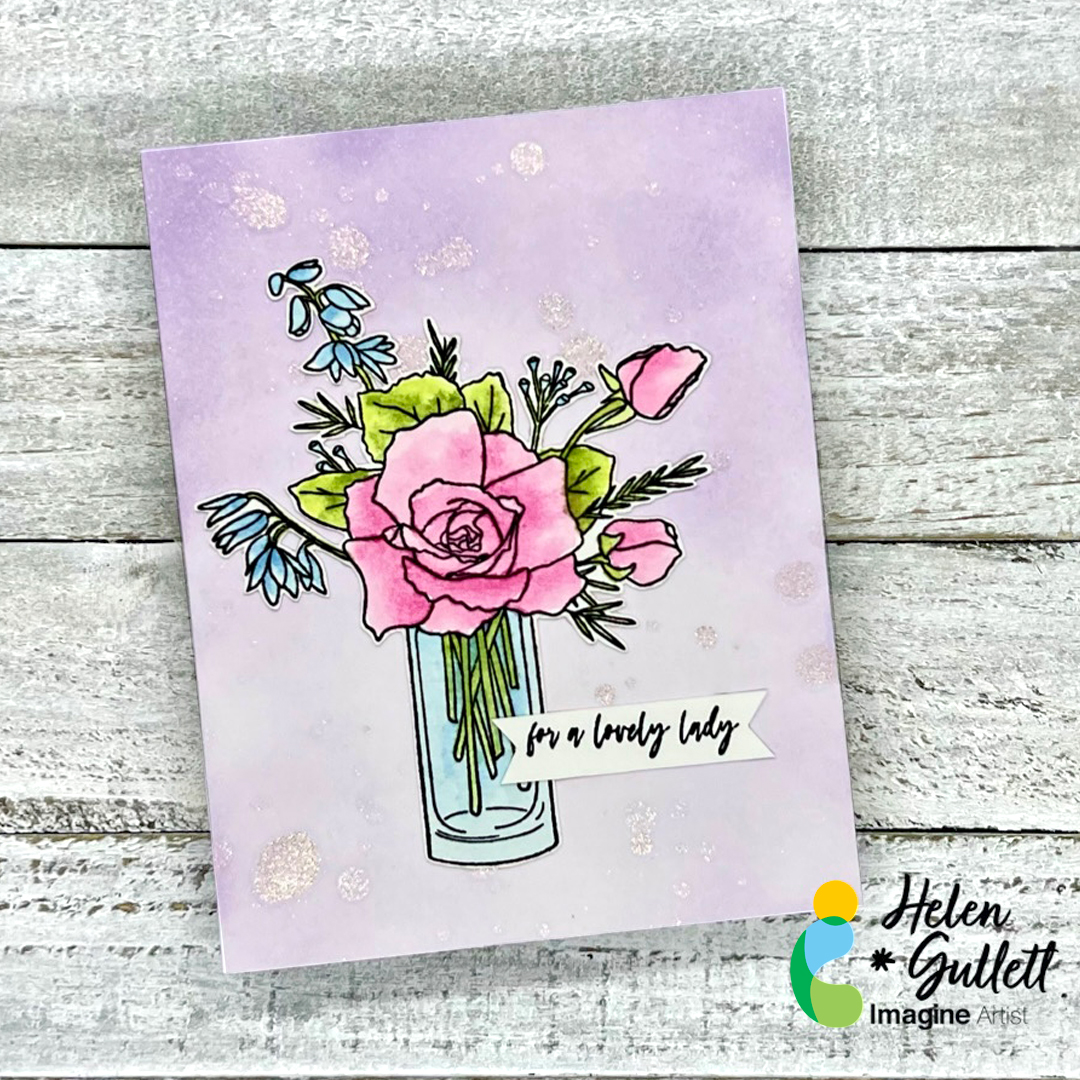
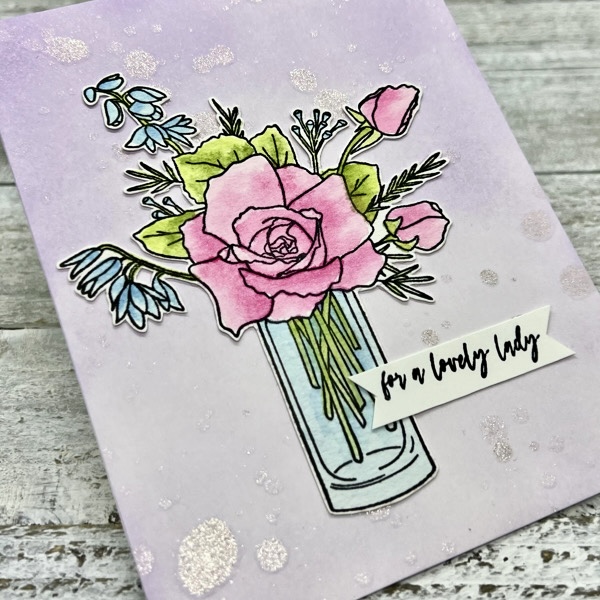
Hello crafty friends! Mother’s Day is coming up soon. Sending out a handmade card is a way to show your love to a lovely mother figure in your life. Today, I would like to share with you how to make this Mother’s Day CAS card using Imagine Crafts products and stamps.
Skill: Beginner Time: 15-20 minutes
Direction:
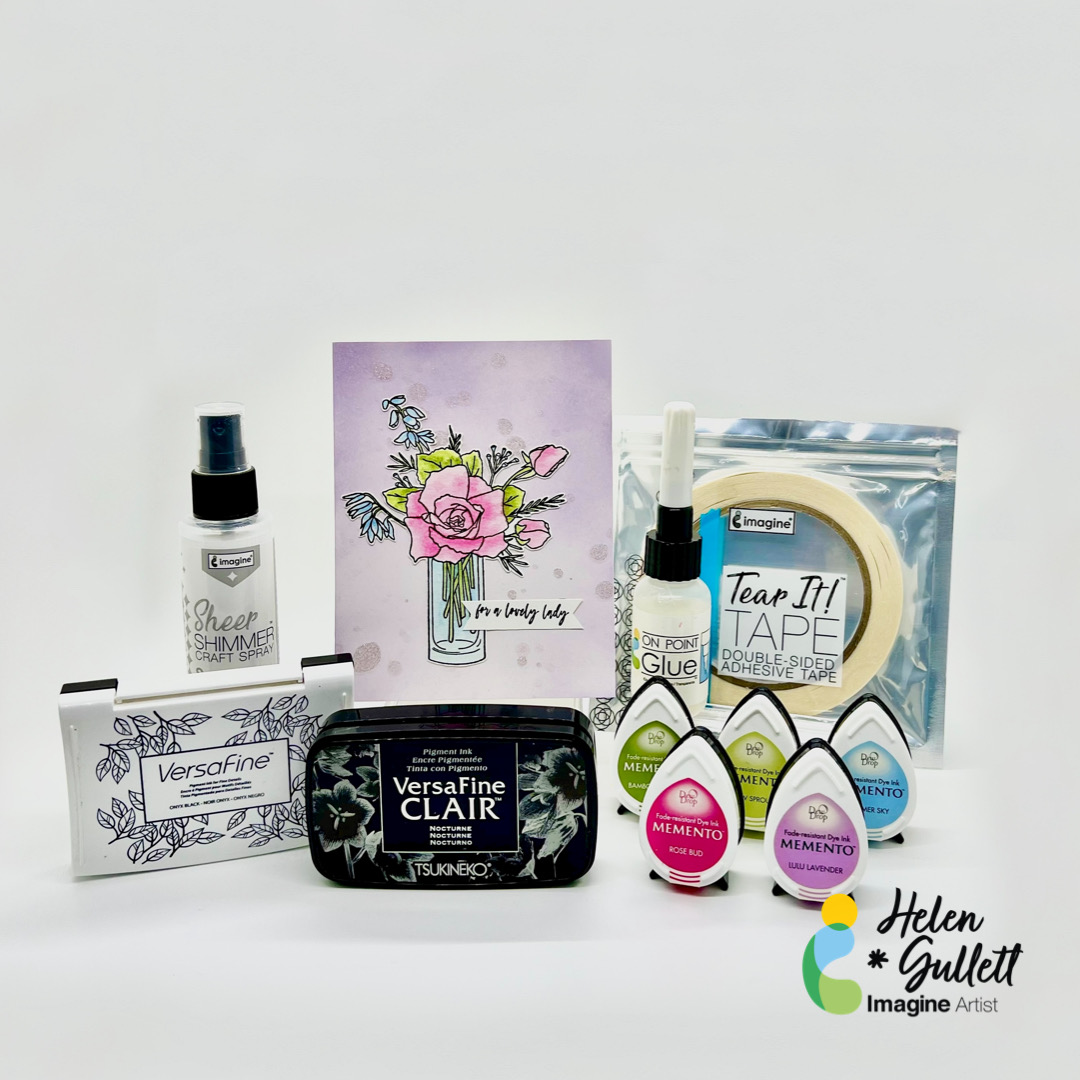
Step 1 Cut a piece of watercolor paper into 6 inch x 5 inch size. This size fits on my stamping tool. Then, stamp the image on the watercolor paper with Versafine Onyx Black ink pad.
Step 2 Dab some of the Memento DewDrop Inks (Rose Bud, Bamboo Leaves, New Sprout, and Summer Sky) on the craft mat.
Add a couple drops of water from the waterbrush on the ink to turn it into watercolor paint. Pick up the ink with the waterbrush and paint the flower and vase.
Dry the painted image with a craft heat gun.
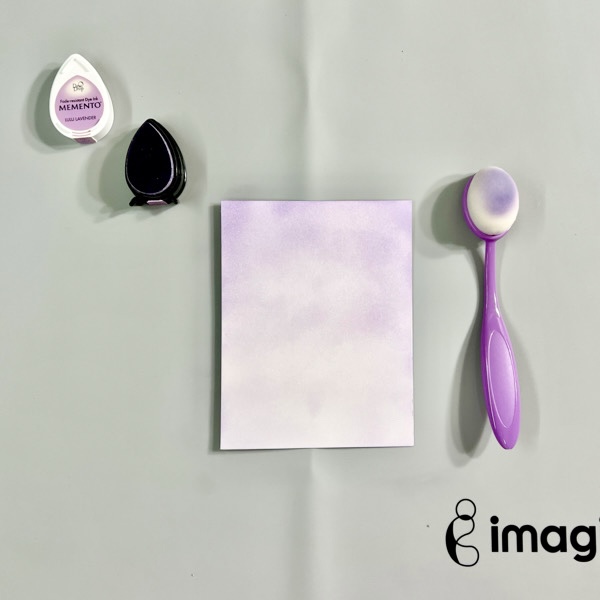
Step 3 On a piece of white cardstock, add some of the Lulu Lavender ink using the blending brush. Build up the color from darker to lighter to create the gradient look on the background.
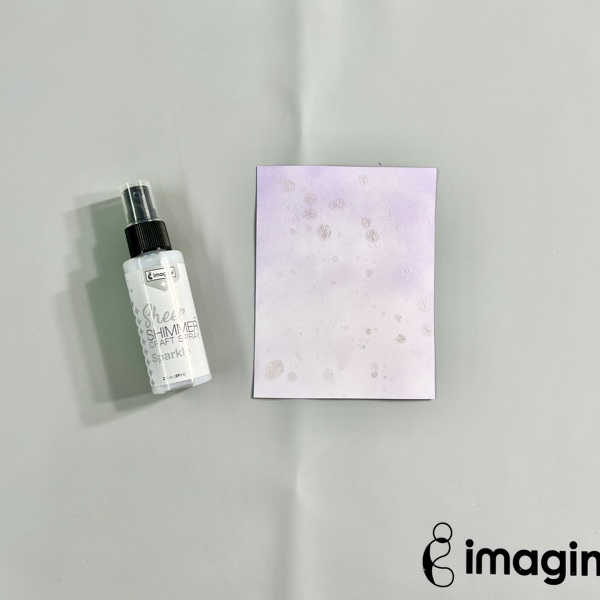
Step 4 Once done with adding color on the cardstock, lightly spray some of the Sparkle Sheer Shimmer Craft Spray. And then use a small flat brush, add some extra splatter on it for more texture.
Using a craft heat gun, dry the background panel.
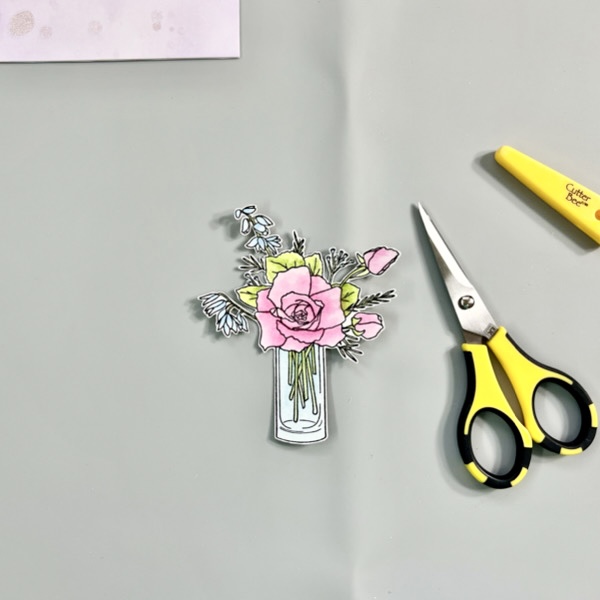
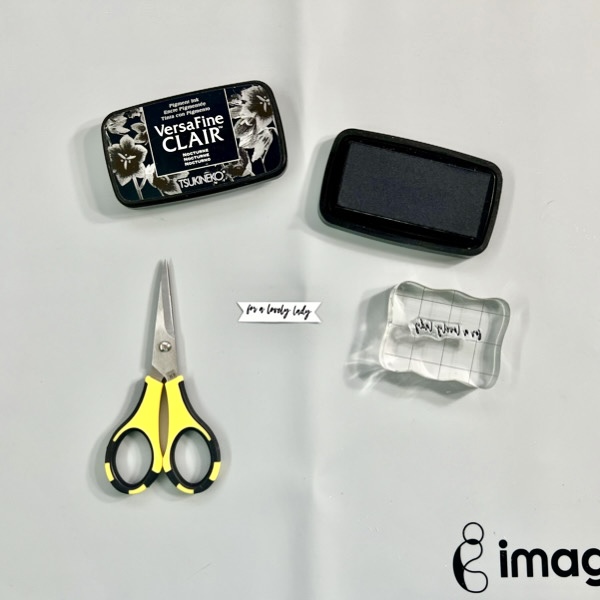
Step 5 Fussy cut the flower with micro-tip scissors. Optional: you can use a die if you use a stamp set that has a matching die set.
Step 6 Stamp the sentiment on a white cardstock using the VersaFine Clair Nocturne, dry the ink with a craft heat gun, and then cut it into a sentiment banner with scissors or paper cutter.
Step 7 Add the background panel on an A2 card base using the Tear It! Tape. Add the flower and sentiment to the card using the On Point Glue.
That’s my project for today. Hopefully, you’ll like this project and give it a try. Thanks so much for stopping by our blog today. Have a wonderful day!









 Imagine Blog