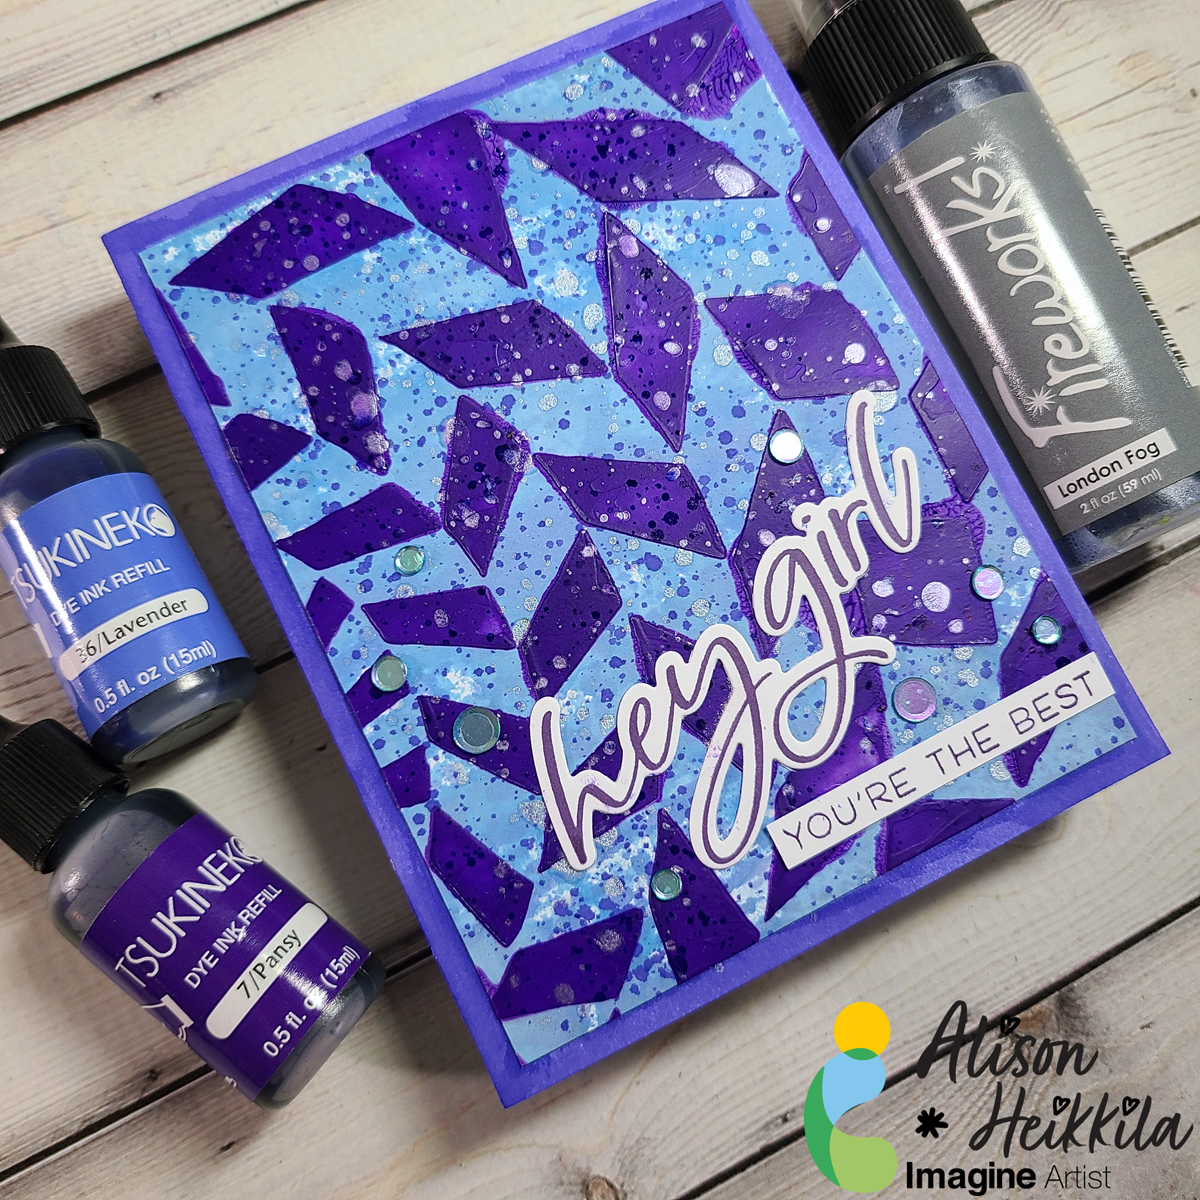
Hello! I’m Alison Heikkila. Today, I’m going to show you some fun ways to use Imagine/Tsukineko’s dye-based reinkers. They can be used for so much more than just reinking your dry pads. My card is pretty graphic and bold, but by changing the colors and the stencil used, you can get a completely different look.
*Some affiliate links are used in this post. That means that if you shop through these links, I may receive a small compensation, at no cost to you. For more information, please see my Affiliates page, where I also have some coupon codes.
Skill Level: Intermediate Time to Complete: 20-30 minutes, plus drying time
When it comes to coloring with alcohol markers, the ink you use to stamp your images becomes very important. Choosing the right ink will ensure that the image lines stay sharp without bleeding into each other. My personal choice is the Memento Tuxedo Black ink pad. A light beige color like Desert Sand could be a great choice as well for no-line coloring.
Skill: Intermediate Time: 1 hour
Step 1: Stamp some floral and leaves images with Memento Tuxedo Black ink. I love the Happiness Abounds set from Stampin’ Up; the roses are so elegant and the perfect sizes to create a floral wreath. Then color the images with your choice of alcohol markers. I used Stampin Blends in Pale Papaya, Soft Seafoam, and Old Olive.
Step 2: Die cut the colored images with Blossoming Happiness dies and arrange them in a circle. Then adhere them to the card base. I used Tear-It Tape to adhere the leaves in the background, and used Stampin’ Dimensionals to create layers and depth for the flowers.
Step 3: For the sentiment, I chose a simple circle to tie in this elegant design. The fonts for these stamps are just so pretty! I always grab VersaFine Clair Nocturne to stamp my sentiments; the lines are so crisp and dark, and they’ll never look splotchy! Don’t use them with alcohol markers though, the pigment ink will react with alcohol inks.
Coloring takes time, but it’s such a relaxing experience… I hope you enjoyed this project as much as I do.
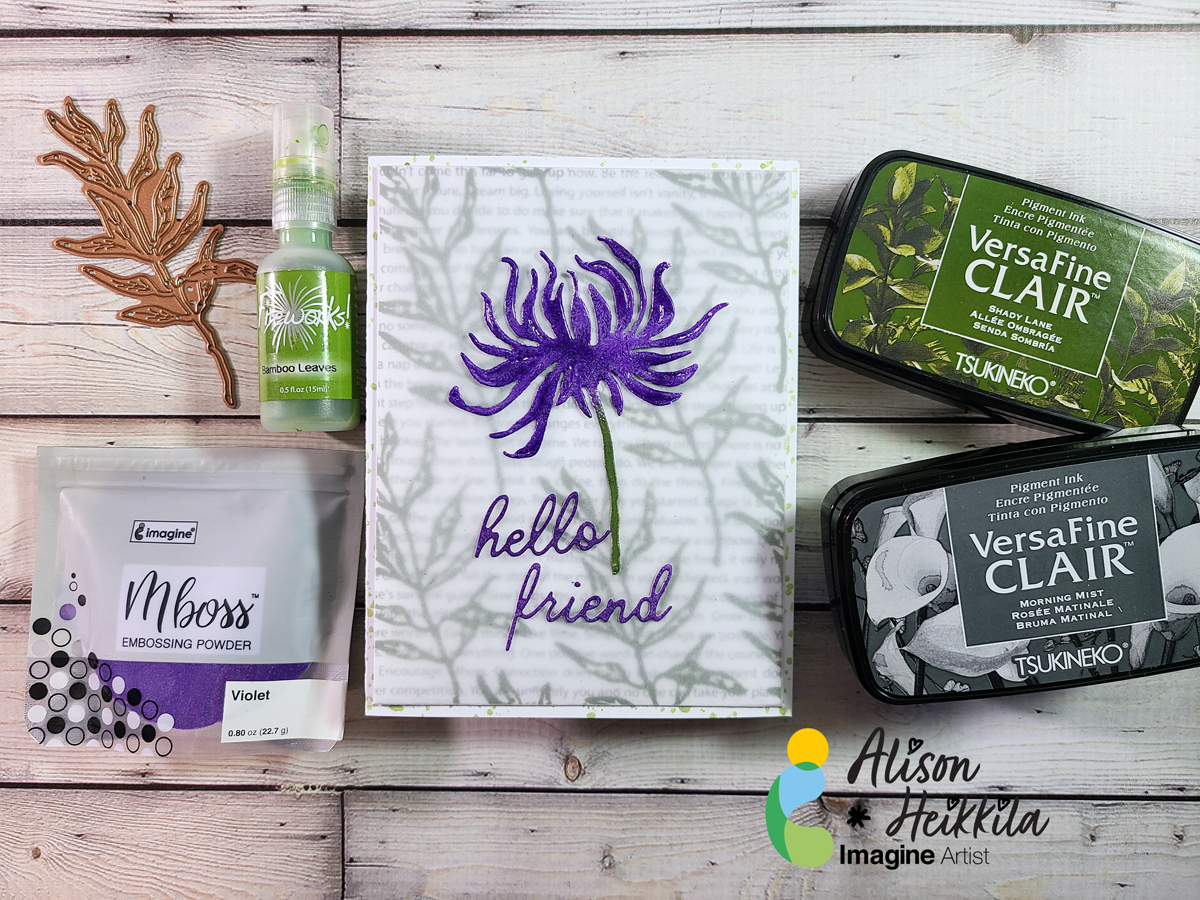
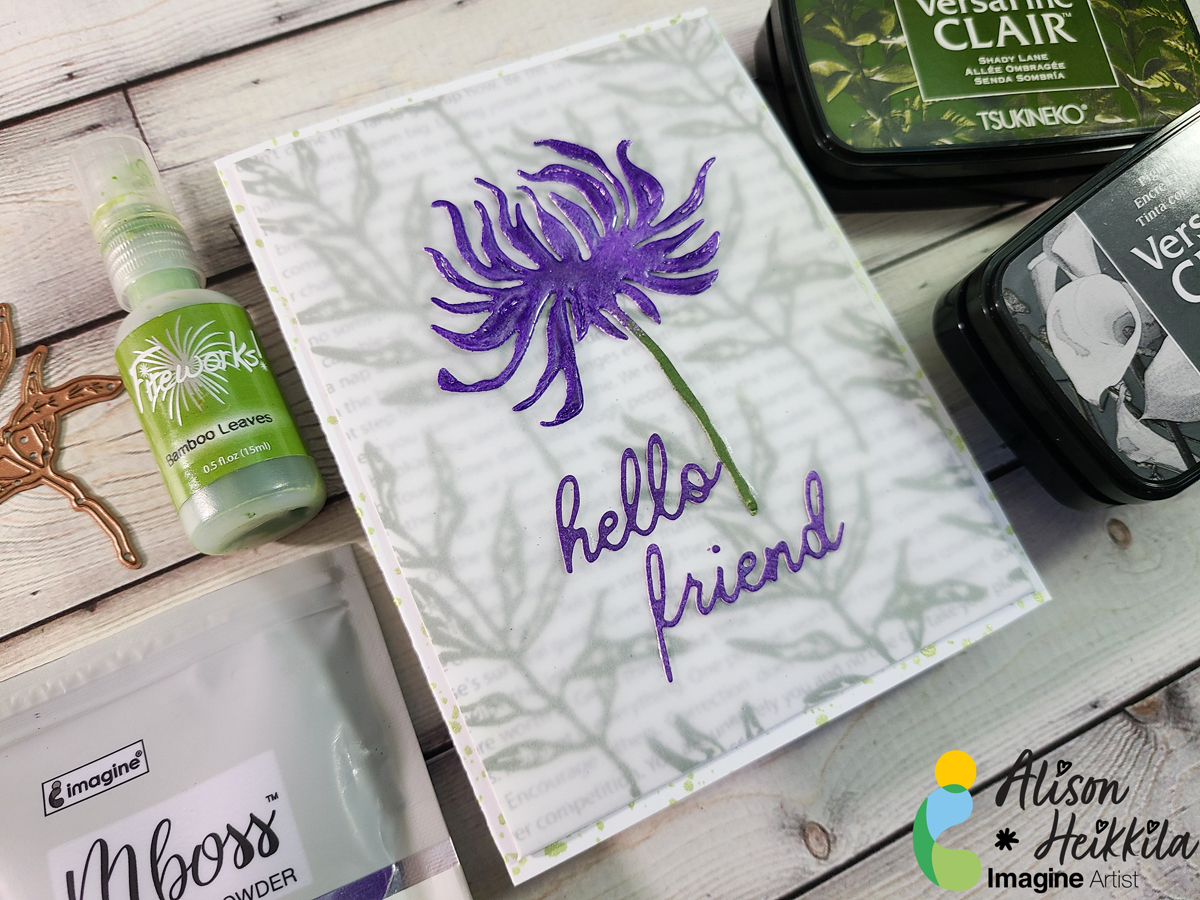
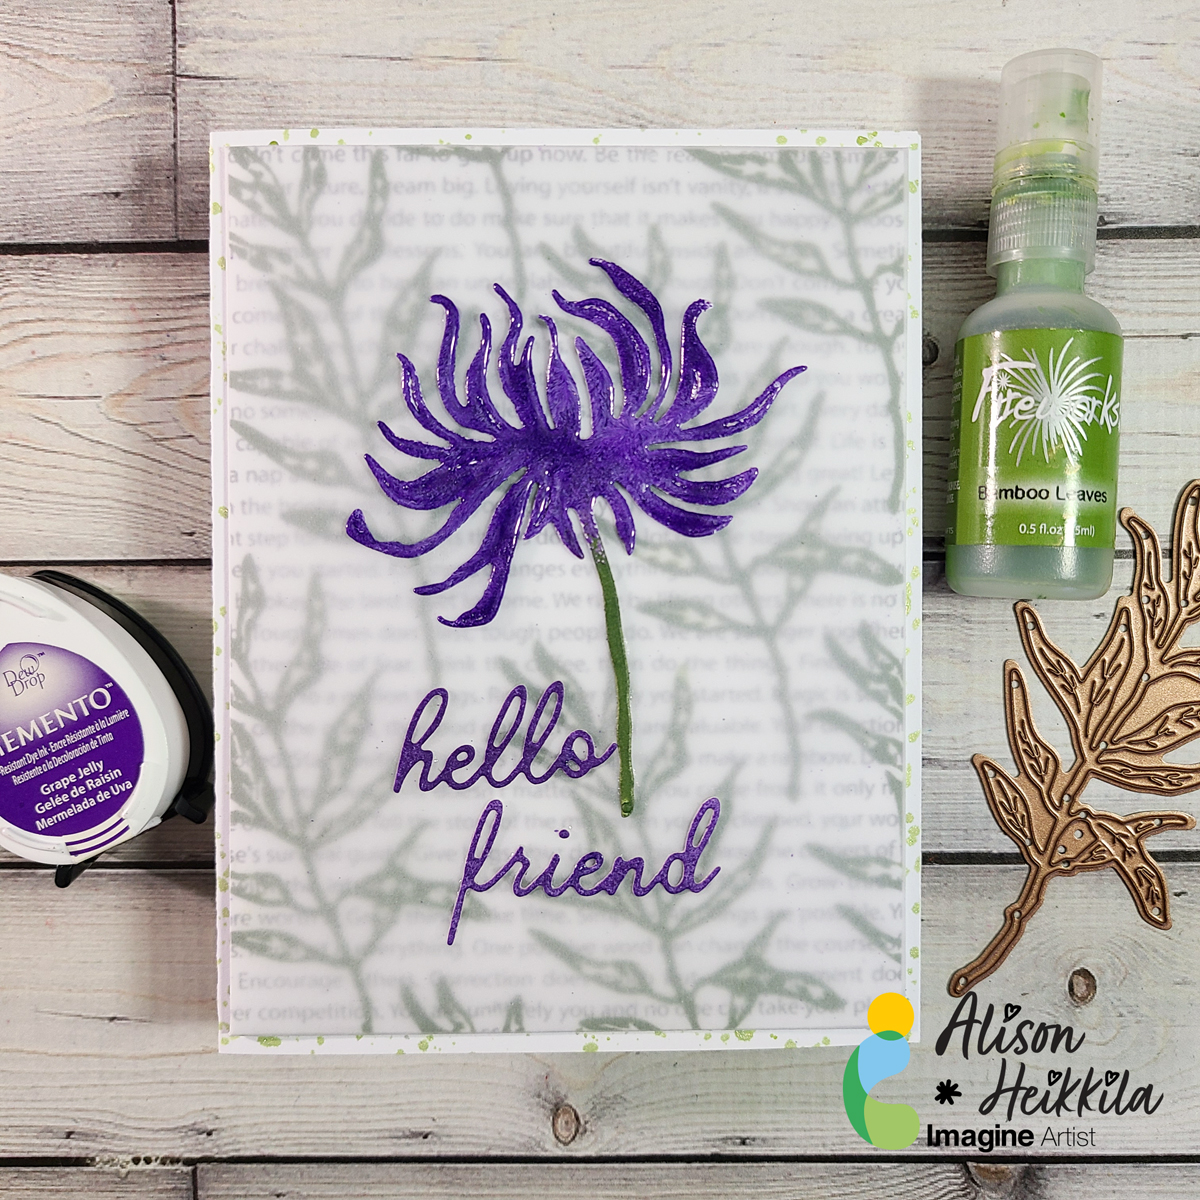
Hello! This is Alison Heikkila. My second video for Imagine this month once again focus on dies and how to use them creatively with inks. We’re making a pretty floral encouragement card, and I hope it gives you some ideas on how to use your dies and inks together.
*Some affiliate links are used in this post. That means that if you shop through these links, I may receive a small compensation, at no cost to you.
Skill Level: Intermediate Time to Complete: 20-30 minutes
I hope this inspires you to make stamps out of your dies. And don’t forget to try double-dipping into embossing powder! The effect is so pretty. Thanks so much for stopping by. Have an inspiring day!
Hello crafty friends! Today, I want to share with you how to make these Spring themed bookmarks, using Imagine Crafts products and simple crafting tools. These bookmarks are a great gift for book lovers, or donating to your local library, or even just for you to use personally. You can make a batch of them in a short time!
Skill: Beginner Time: 15-30 minutes
Directions:
Step 1 I find that Canson Watercolor Paper 140lb is the best to make bookmarks. They are not only thick and sturdy, but also you can use any craft techniques with this paper – either simply stamping, or watercoloring, or even mixed media.
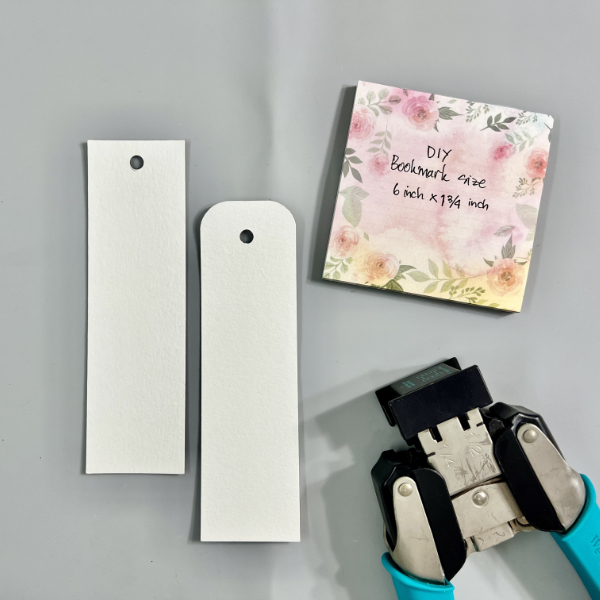
Cut a piece of watercolor paper into 6 inch x 1 ¾ inch size. One piece of this 9 x 12 watercolor paper, you can get 10 bookmarks.
You can leave it as a rectangle or you can round the corner with the corner rounder punch. Next, use a ¼ inch hole punch to punch a hole at the center top of the bookmark for ribbon or teasel.
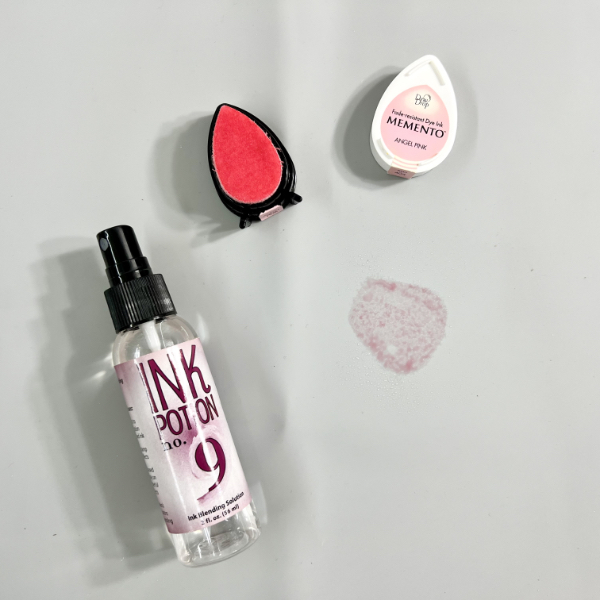
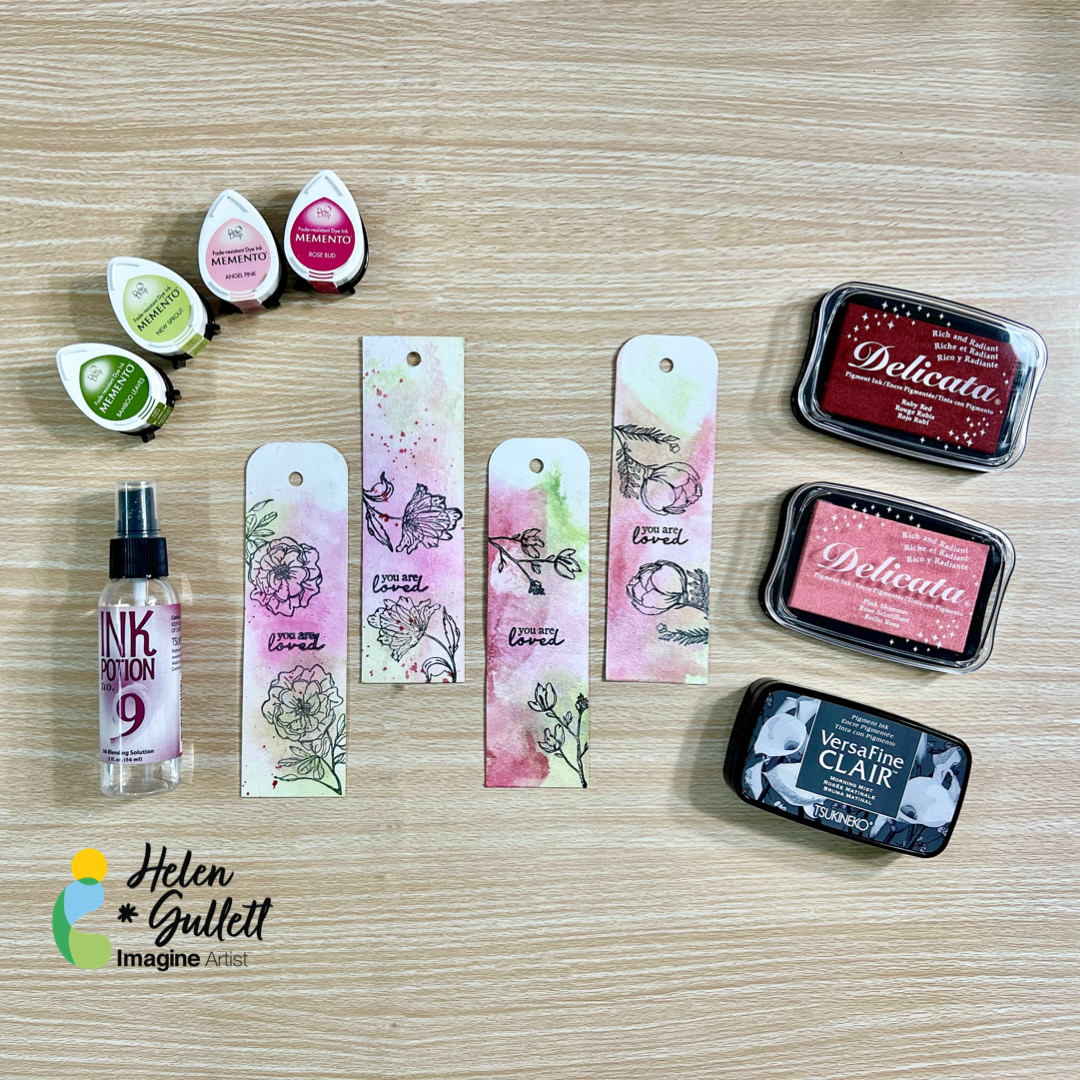
Step 2 Next step is to create the watercolor wash background using Memento DewDrop ink and Ink Potion No. 9 Spray on each of the bookmarks.
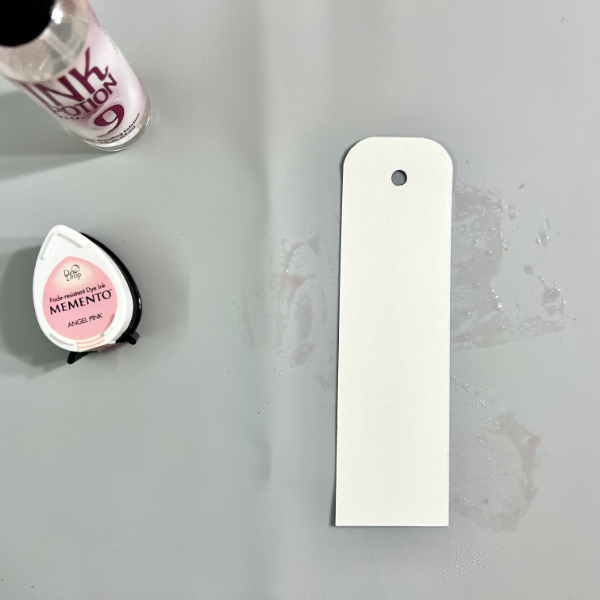
Dab the Memento ink on the craft mat and then spray with some of the Ink Potion No. 9.
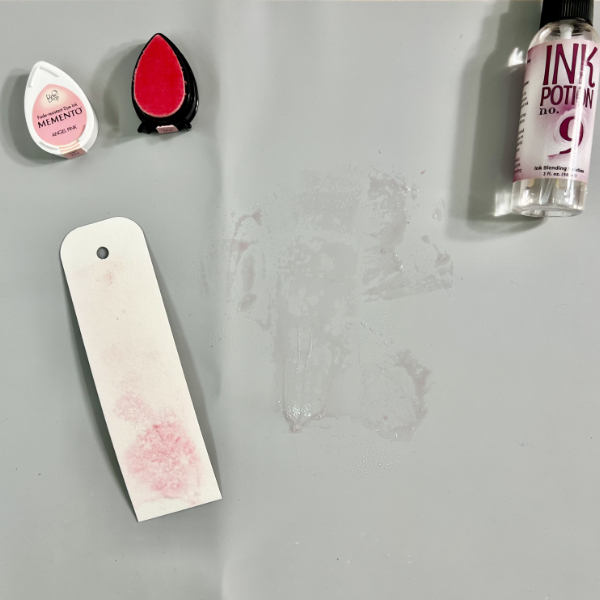
Step 3 Smoosh a bookmark into the ink. Gently press to get the ink transferred to the bookmark.
Step 4 You can repeat this step as many times as you want to get the first color wash you like to get. You can spray the ink more to get lighter color, or spray the ink less to get more darker color.
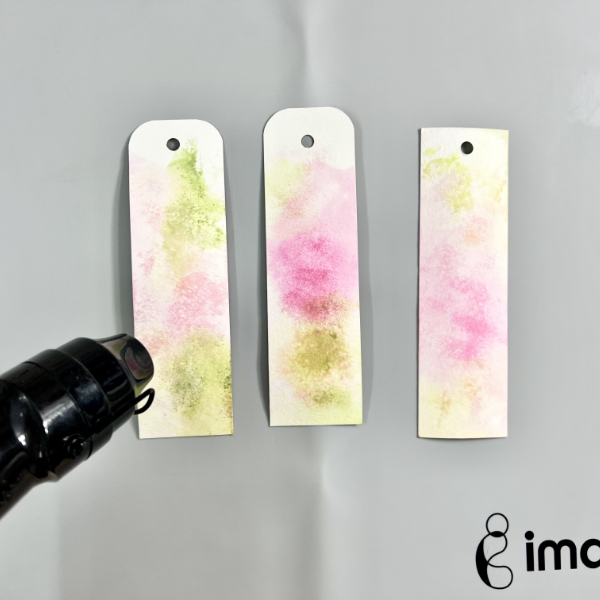
And then repeat the step 2 and step 3 with different colors that you want to use on your bookmark background. For mine, I used the Memento Dew Drop Inks Angel Pink, Rose Bud, New Sprout, and Bamboo Leaves colors.
Step 5 When done with adding watercolor washes on the bookmarks, use the craft heat gun to dry them.
Option step, you can repeat step 2, step 3, and step 4, if you want to add more color to them.
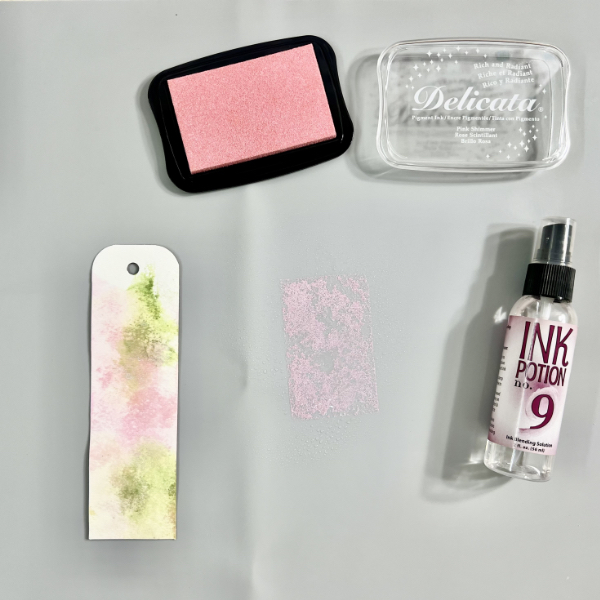
Step 6 Dab some of the Delicata ink on the craft mat, spray it with the Ink Potion No. 9, and then smoosh the bookmark into the ink. Gently press it to get the ink transferred well.
You will get a shimmer look on the bookmark with this step.
Dry all the ink on the bookmark with a craft heat gun.
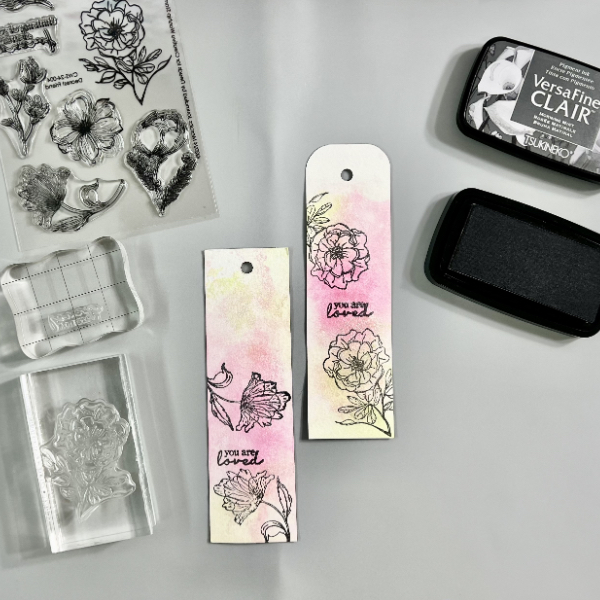
Step 7 When the bookmark background is completely dry, stamp the image and sentiment on them with VersaFine Clair ink using acrylic blocks (or stamping tool of your choice).
Use a craft heat gun to dry the stamped images and sentiments.
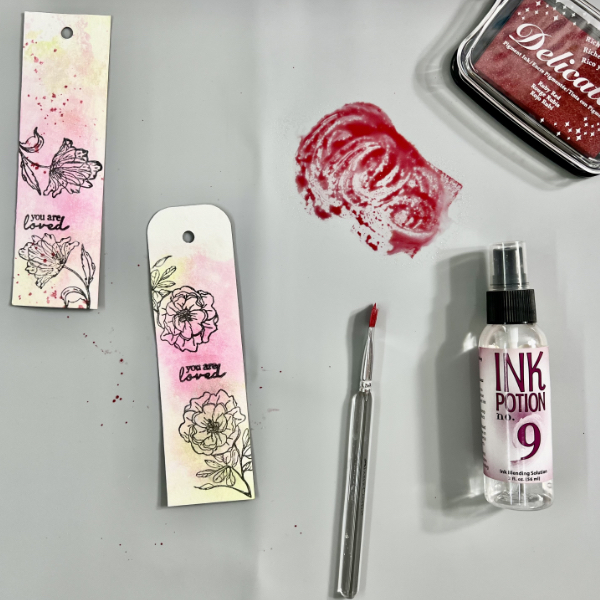
Step 8 This is optional. You can leave the bookmarks as they are, or you can add some more ink splatters to them.
To add more splatters to the bookmark, dab some of the Delicata Ruby Red ink on the craft mat, spray it with Ink Potion No. 9, and use a flat brush (or fan brush) to add the splatters.
Use a craft heat gun to dry the bookmarks.
Add some ribbon or teasel to the bookmarks.
Hope that you like this project and give it a try. Thanks so much for stopping by our blog today. Have a wonderful day!
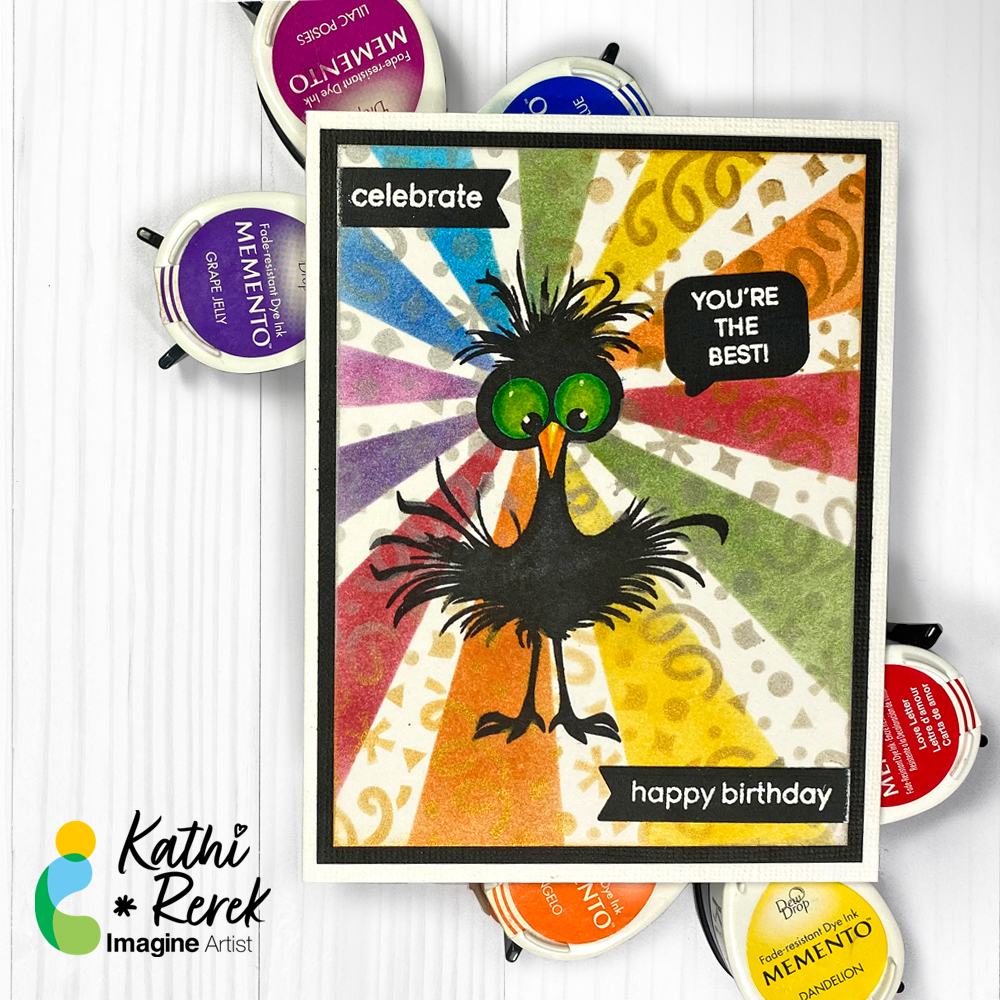
Let’s make a cheerfully bright and fun birthday card with a stamp, two stencils, and lots of ink!
Skill Level: Intermediate Time: 1.5 hour
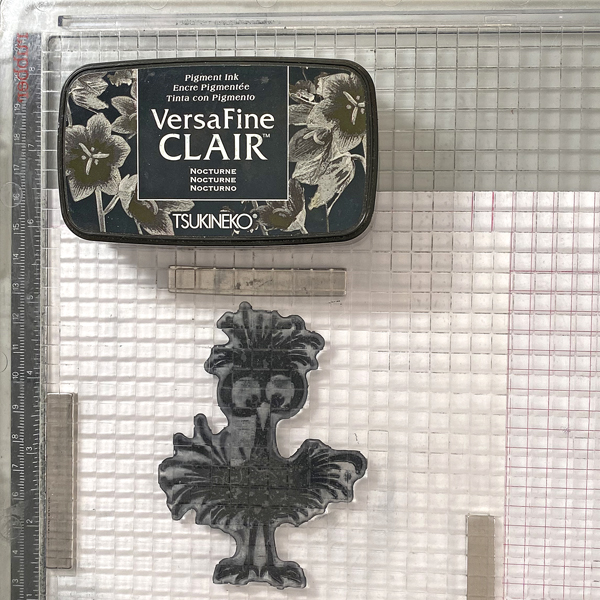
Step 1: Use magnets to secure a piece of white Bristol paper to the base of a stamping platform.
Use Nocturne VersaFine Clair ink to stamp the bird stamp from the “I’m Fine” image twice — once onto the image panel and once onto repositionable sticker paper. Heat set the stamped image panel.
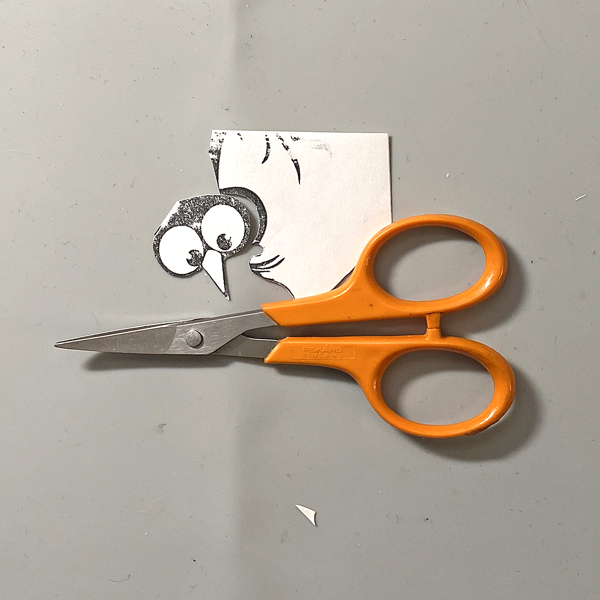
Step 2: Fussy-cut the sticker paper version and place it onto the image panel as a mask.
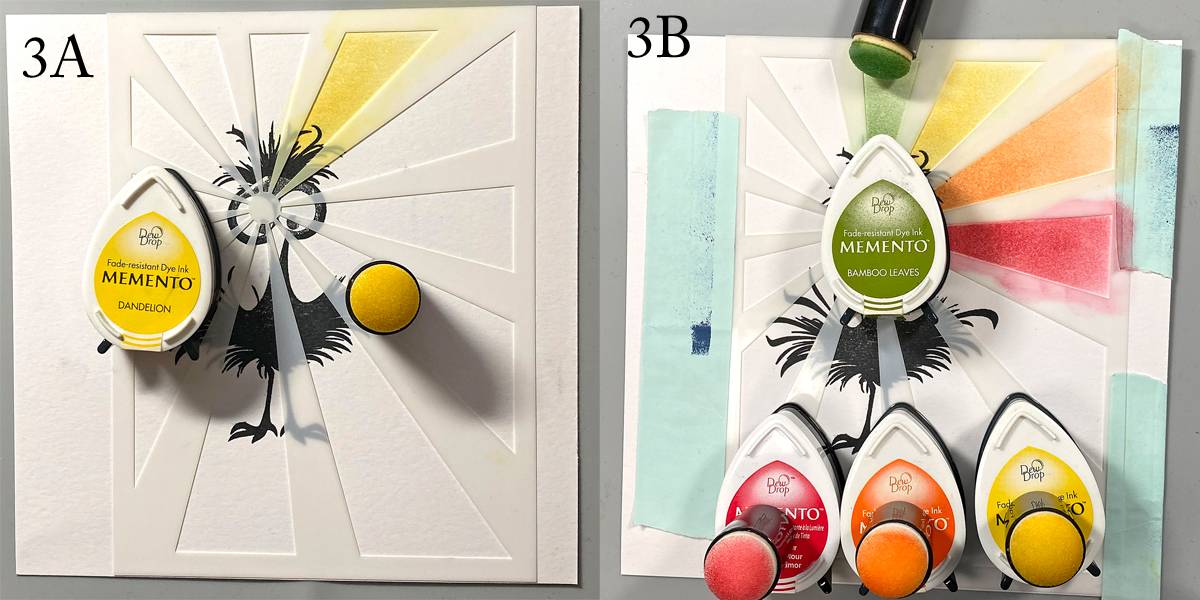
Step 3: Use low-tack tape to secure the Sunshine Small Stencil onto the stencil so that the “sun” is over the bird’s face. Use a Sponge Dauber to apply Love Letters Memento ink over the mask and masked image onto the image panel (3A).
Use a separate Sponge Dauber for each color to apply Tangelo, Dandelion, Bamboo Leaves, Bahama Blue, Danube Blue, Lilac Posies, and Grape Jelly Memento inks in rainbow order (ROYGBIV) counter-clockwise over the stencil onto the image panel (3B). Not all stenciling is shown. Remove stencil.
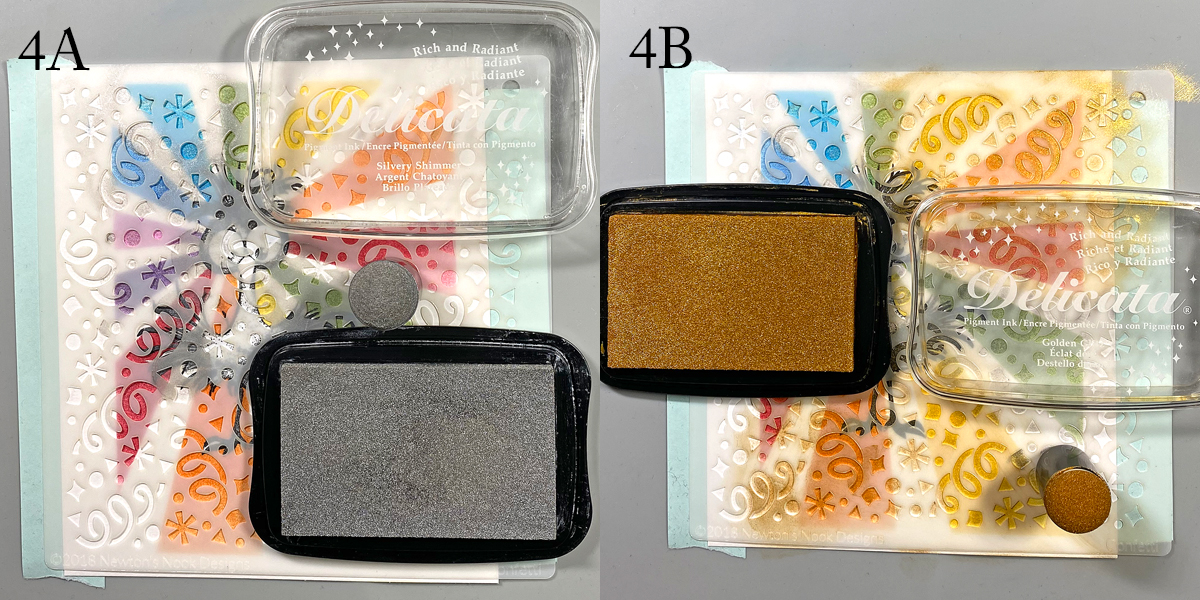
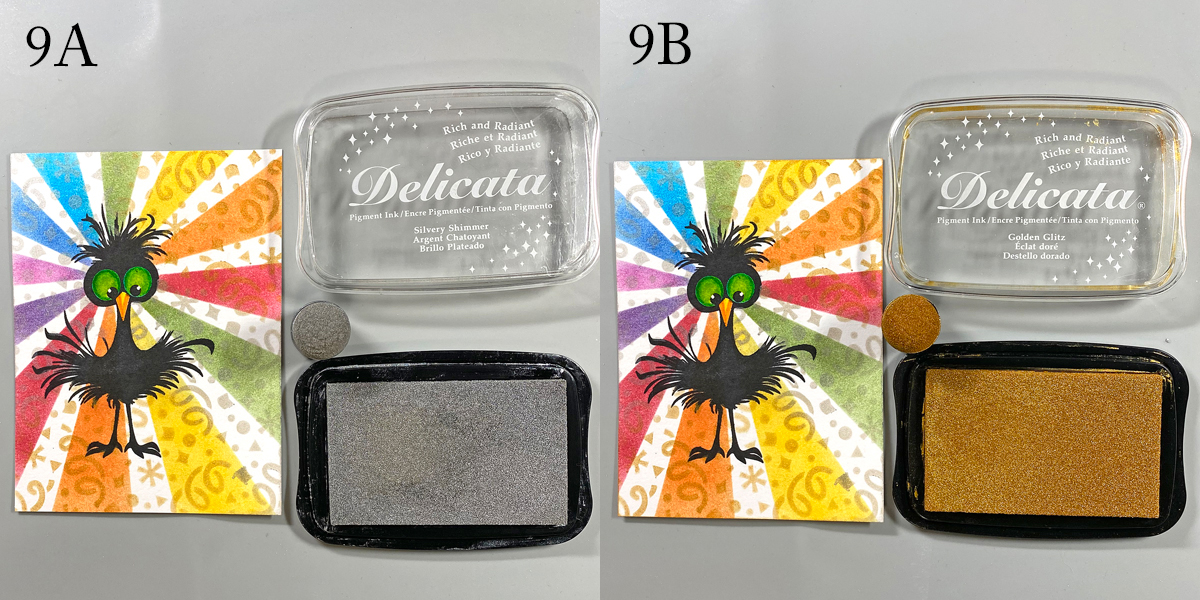
Step 4: Use low-tack tape to secure the Confetti Stencil over the image panel. Use a Sponge Dauber to apply Silvery Shimmer Delicata ink over the stencil and masked image onto the top left and bottom right of the image panel (3A).
Use a separate Sponge Dauber to apply Golden Glitz Delicata ink over the stencil and masked image onto the top right and bottom left of the image panel (3B).
Remove the stencil and heat set the image panel. Set aside.
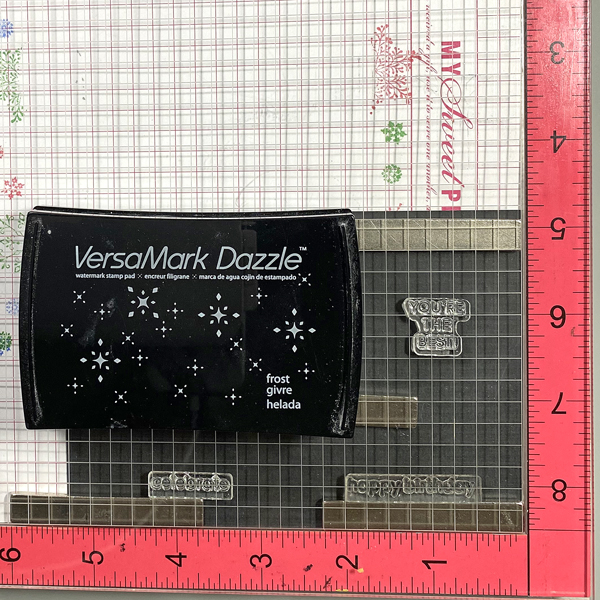
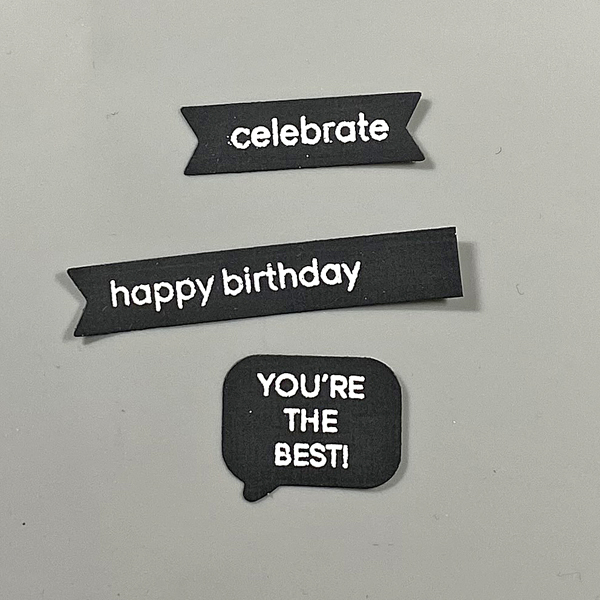
Step 5: Secure a piece of black cardstock to the base of a stamping platform. Place the “You’re the best” sentiment from the Whatcha Saying? Clear Stamp Set, the “Happy Birthday”, “Celebrate”, and “Happy Birthday” sentiments from the Classic Sentiments Clear Stamp Sets facedown on the black cardstock.
Press the platform’s lid onto the back of the stamps, lift the platform, ink the stamps with the VersaMark Dazzle ink, and stamp. Remove the black panel from the stamping platform.
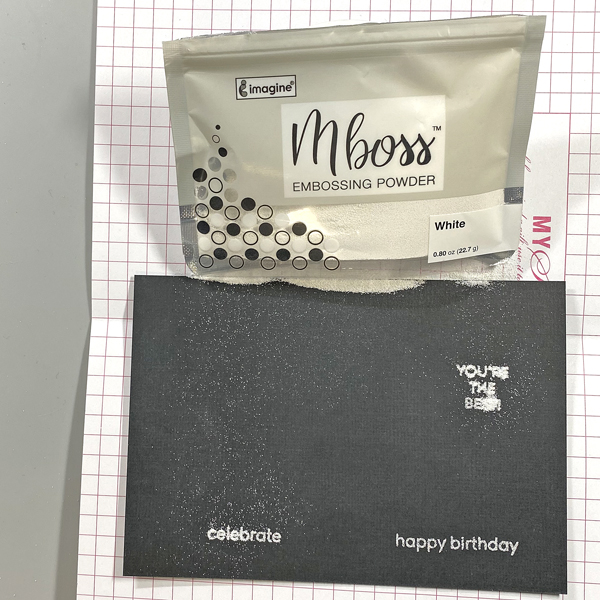
Step 6: Sprinkle White MBoss Powder onto the stamped sentiments, slide the the excess powder back into the bag, and heat set the sentiment.
Step 7: Use cutting dies to die-cut the sentiments. Trim the left side of the “celebrate” flag and the right side of the “happy birthday” flag. Use Silvery Shimmer Delicata ink to edge the trimmed sides. Heat set the ink. Put the sentiment die-cuts aside.
Step 8: Use watercolor markers to color the bird’s eyes and beak. Use a white gel pen to add highlights to the eyes and beak. (No photo, sorry!)
Step 9: Trim the image panel to 3.75” x 5”. Use a Sponge Dauber to edge the top left and bottom right with Silvery Shimmer Delicata ink (9A).
Use a separate Sponge Dauber to edge the top right and bottom left with Golden Glitz Delicata ink (9B).
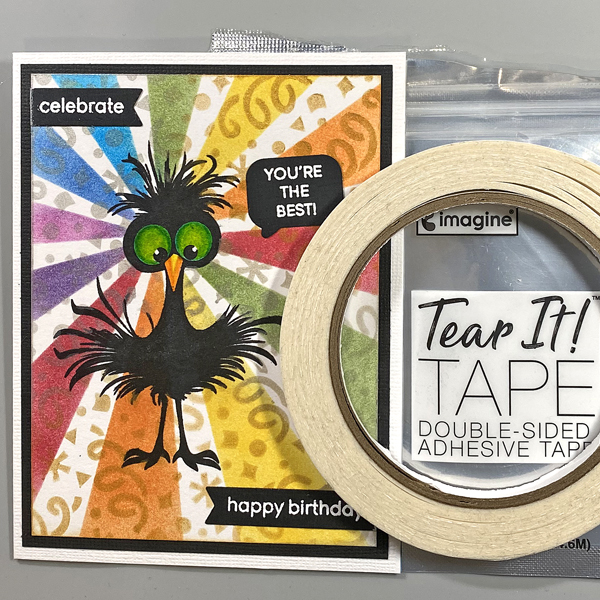
Step 10: Use Tear It! Tape to adhere the image panel to a black panel cut to 4” x 5.25” and to adhere the matted image panel to a white A2 card.
Use Use Tear It! Tape to adhere the sentiments to finish the card.








 Imagine Blog