by Kyriakos Pachadiroglou

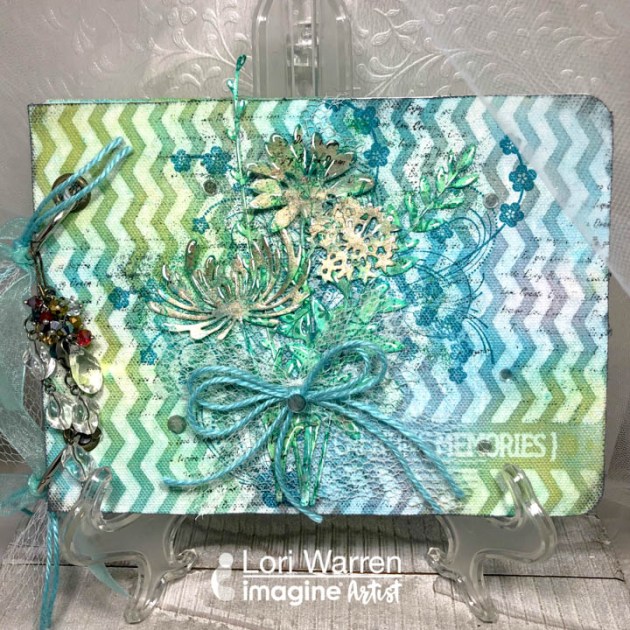
The sun turned into a square! Capture the colors of the sun on faux enamel jewelry piece with a marbled pattern. Decorate the Imagine’s Sheet Metal in the squares shapes with a mix of irRESISTible colors and create a marble design that is covered with clear Mboss embossing powder to protect and give the impression of enamel.
Skill: Beginner
Time: 1 hour
Directions

Step 1
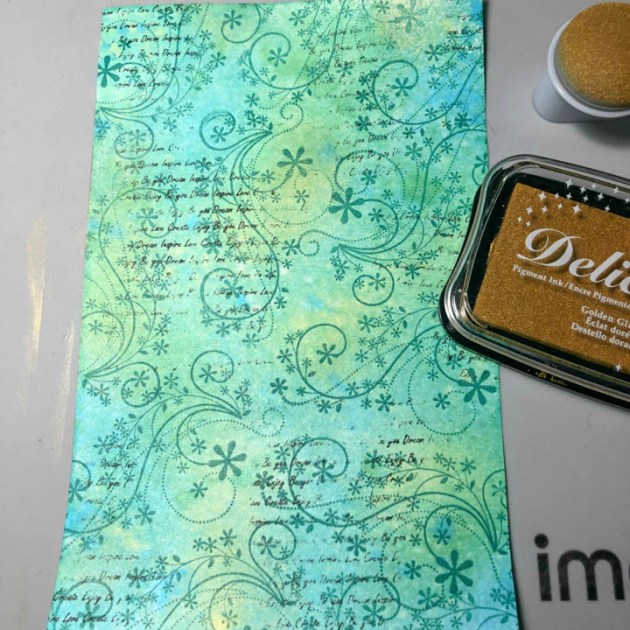
Cover the square Sheet Metal shapes with the irRESISTible in Gold, mixing the gel with a bamboo skewer or toothpick.

Step 2
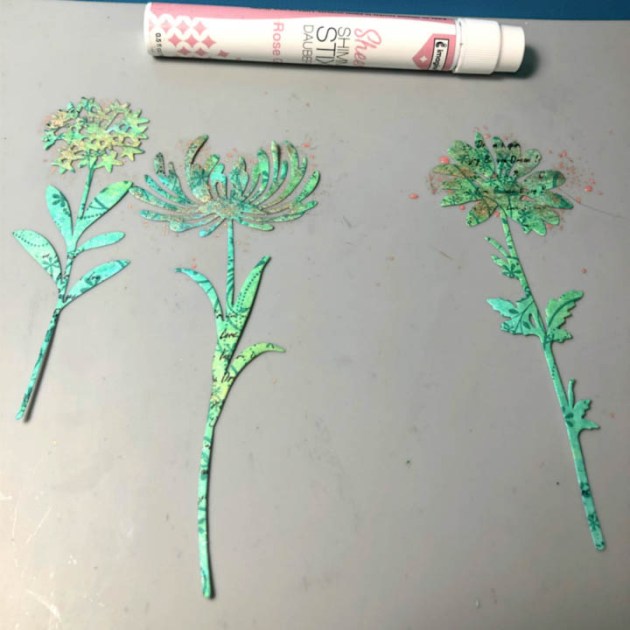
Add drops of the irRESISTible in Tangelo and mix in circular motions with a bamboo skewer. Let the paint dry well.

Step 3
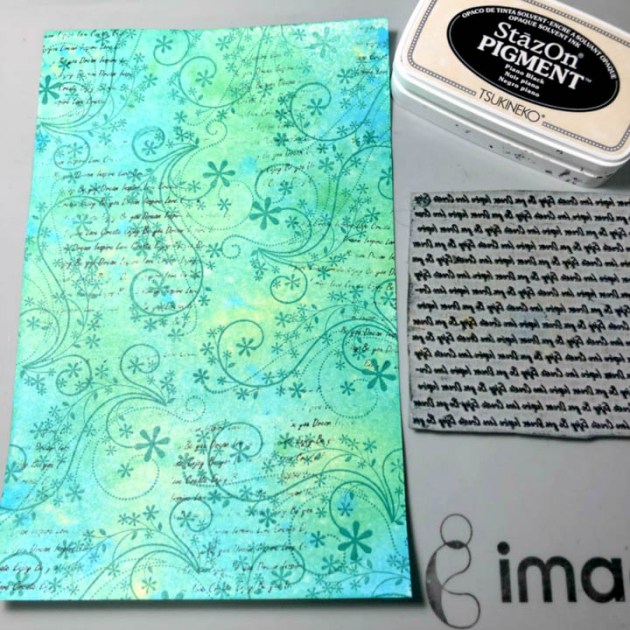
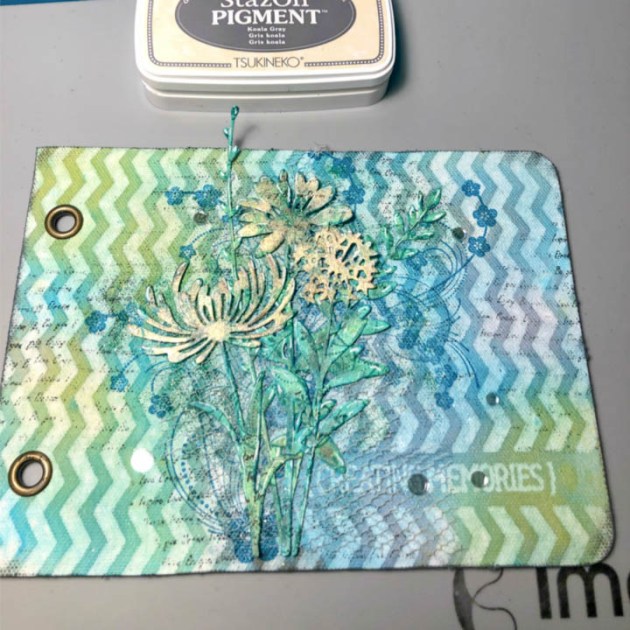
Press the square shapes on the VersaMark inkpad, cover with Mboss embossing powder and heat set.

Step 4
Turn over to the other side of the Sheet Metal shapes, cover with StazOn Sunflower Yellow.

Step 5
Cover with GlazOn Vintage to secure the color. This is very important to use GlazOn in between uses because StazOn solvent qualities react with other layers of StazOn. In other words, you will erase or lift the color you just laid down.

Step 6
Cut 20-inch long cord pieces, pass it through a jump ring and inside the Sheet Metal shape hole. Add a gold colored bead.

Step 7
Continue with the rest of the pieces and secure all the cords together with a jump ring creating a stop.

Step 8
Cut 20-inch long cord pieces, pass them between the shapes and the previous stop jump ring. Braid the cords and secure all the edges with jewelry caps and clasps.

Supplies
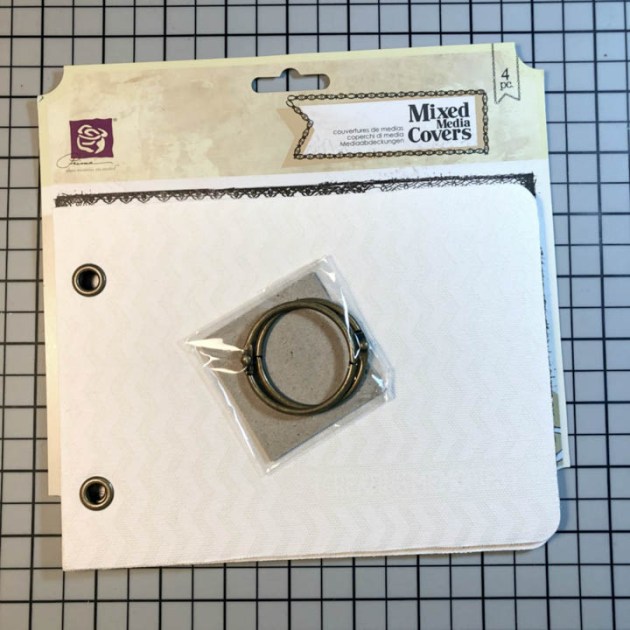
Imagine
- SHEET Metal – Diamonds
- irRESISTible Pico Embellisher – Gold, Tangelo
- Mboss Embossing Powder – Clear
- VersaMark – Watermark inkpad
- StazOn Inkpad – Sunflower yellow
- GlazOn – Vintage
- Sponge daubers
Other
- Bamboo skewers
- Heat tool
- Black waxed cord
- Jewelry clasps, jump rings, lobster locks