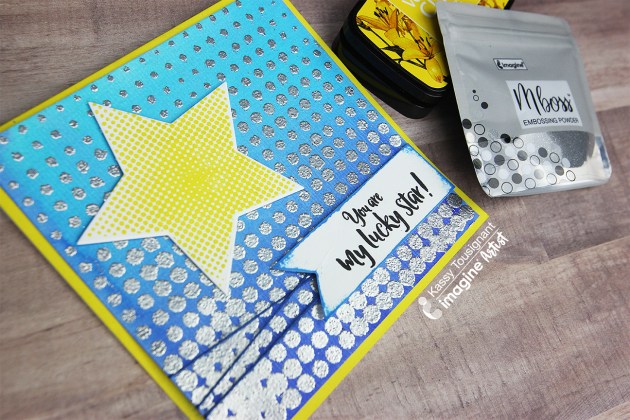
You Are My Lucky Star Hologram Embossed Greeting Card

by Kassy Tousignant

You Are My Lucky Star Hologram Embossed Greeting Card

Imagine has released a new, innovative design in embossing powder packaging! It is in a resealable bag! It is so easy to use and clean up after. The gusseted bottom allows it to stand independently on your surface and won’t tip over easily. The fact that you can pinch the bag while you are pouring the powder onto your project allows for greater accuracy too. I used the Hologram MBoss powder on this star card and it really makes the focal point pop!

Skill: Intermediate
Time: 30 minutes

Directions

Supplies

Imagine

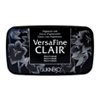
VersaFine Clair in Nocturne

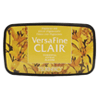
VersaFine Clair in Paradise

VersaFine Clair in Cheerful

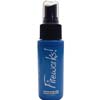
Fireworks Shimmery Craft Spray in Bahama Blue

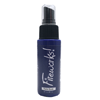
Fireworks Shimmery Craft Spray in Paris Dusk

VersaMark

Tear It Tape

Mboss Embossing Powder
Hologram

Jumbo Dauber

Other
  • Cardstock – White
  • Altenew – Stamp and die
  • Embossing buddy
  • Foam adhesive
  • Blue string
  • Watercolor paper

Sparkle And Shine With This Jellyfish Theme Birthday Card

by Jowilna Nolte

Sparkle And Shine With This Jellyfish Theme Birthday Card

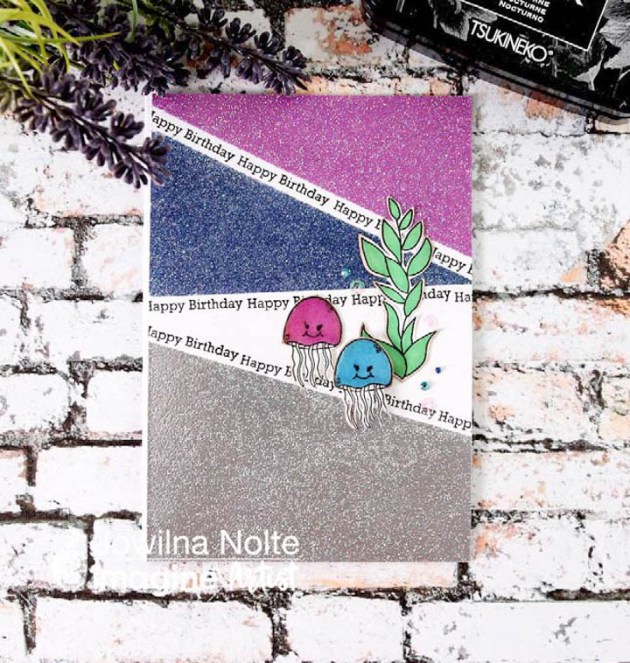
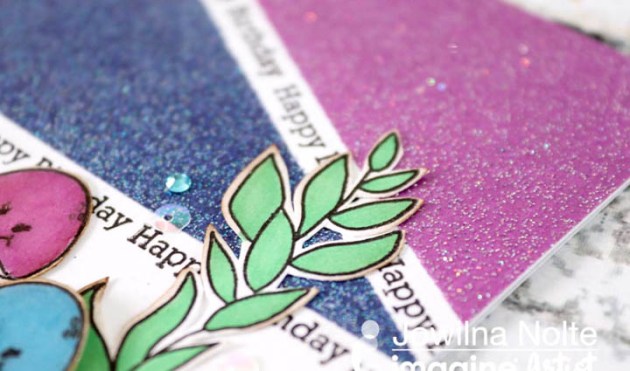
Thinking back when I did my first heat embossing, it was pure magic. That feeling of amazement and wonder hasn’t left but has been ignited once again with the amazing Mboss from Imagine. The new embossing colors are simply amazing and really are over the top beautiful! You have to get some for your stash to experience true magic! Take a look at how I used mine for a fun color-blocked effect.

Skill: Intermediate
Time: 30 minutes

Directions


Step 1

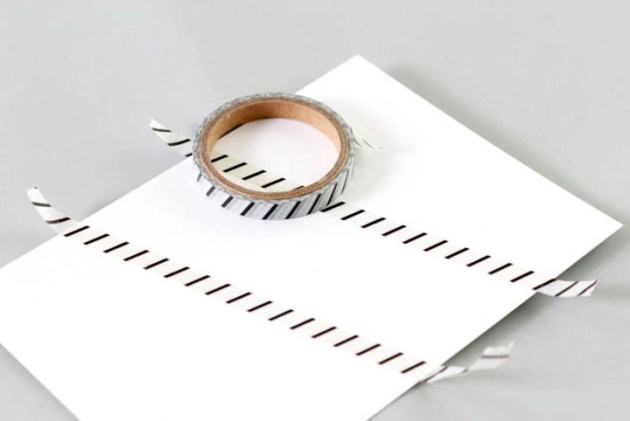
Tape off areas using washi tape on a white cardstock panel.


Step 2

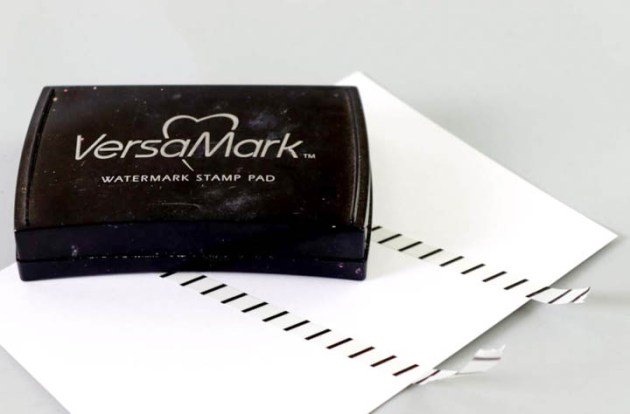
Use your VersaMark inkpad and ink the taped off sections only by tapping the ink pad onto the cardstock.


Step 3

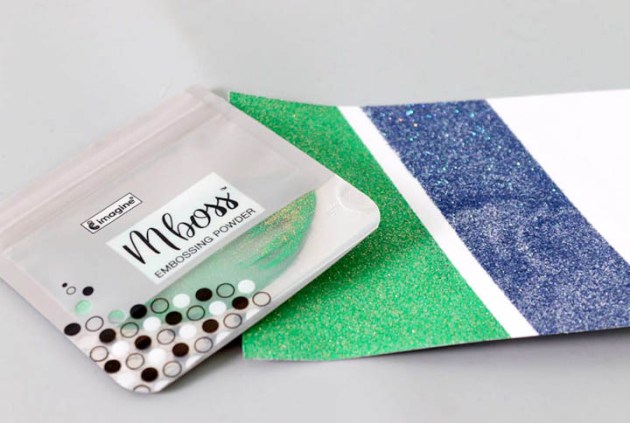
Use the Mboss packet and sprinkle the powder over the inked areas. Peel off the washi tape and then heat set the Embossing Powder using a heat gun.


Step 4

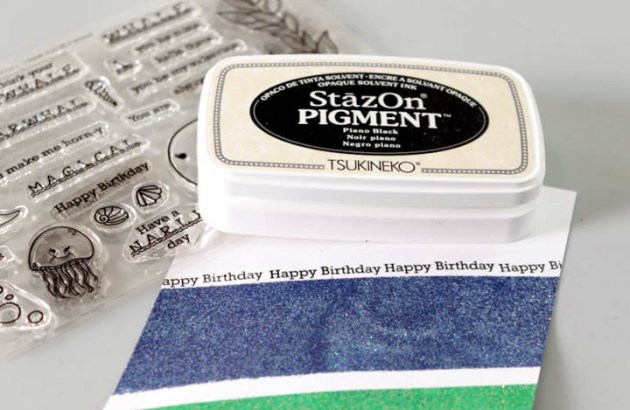
Use StazOn Pigment Piano Black and stamp Happy Birthday sentiment onto a blank area of the embossed panel.


Step 5

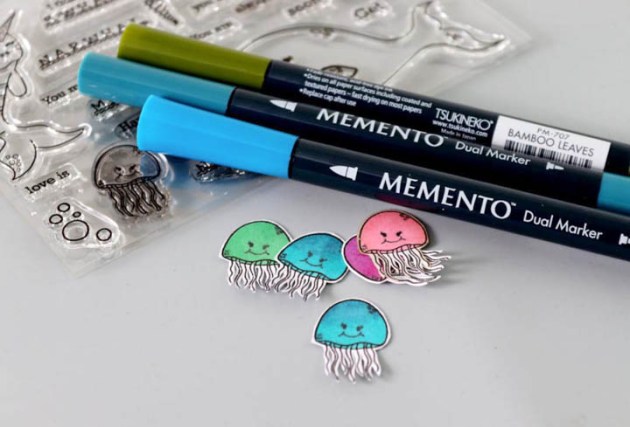
Stamp elements onto white cardstock and cut out. Add a little color using Memento Markers.


Step 6

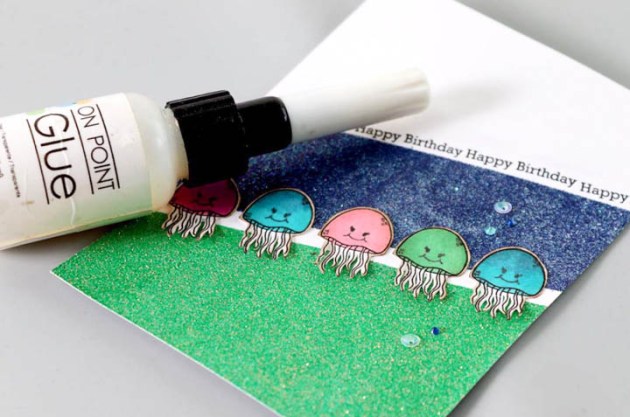
Adhere the stamped elements onto the embossed panel with On Point Glue. Add diamanté and finishing touches.

Supplies

Imagine

Other

  • White cardstock
  • Washi tape
  • Joy Clair stamps
  • Diamanté and/or sequins

Create A Beautiful Hologram Flower Outline With Mboss

by Melissa Andrew

Create A Beautiful Hologram Flower Outline With Mboss

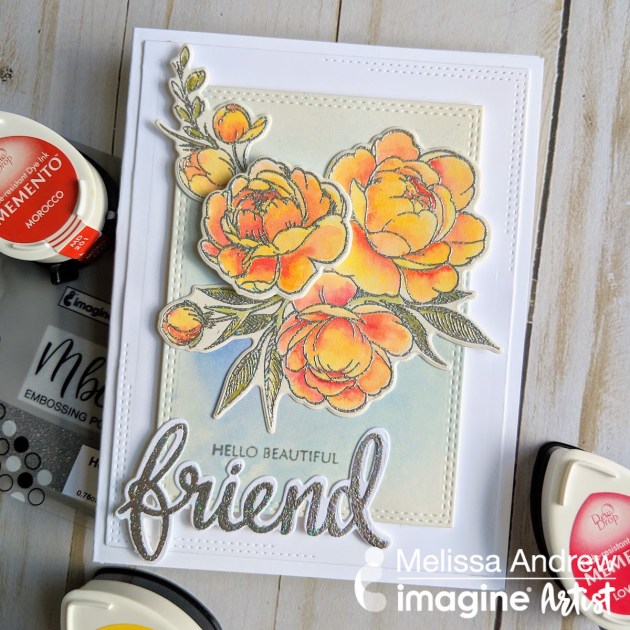
Today I am sharing the fabulous new Hologram Mboss embossing powder from Imagine. This fabulous embossing powder is fine for detailed stamping but also sparkles with colors of the rainbow. In this video, I show you how to stamp, emboss and fill in with a watercolor technique. The Memento inks are perfect for creating the peachy blended look.

Skill: Intermediate
Time: 1 hour

Directions

Supplies

Imagine
Other
  • LDRS Creative – If Friends Were Flowers stamp set
  • Whimsy Stamps – Card Builders Window die set
  • Antistatic tool
  • Paper Trimmer
  • White Card
  • Bristol Smooth cardstock
  • MISTI Stamping Platform
  • Gemini Jr. Die Cut machine
  • 6 round paintbrush
  • Spray bottle

See How to Make a Unicorn Holographic Card with Watercoloring + Embossing Powder

by Arjita Sepaha Singh

See How to Make a Unicorn Holographic Card with Watercoloring + Embossing Powder

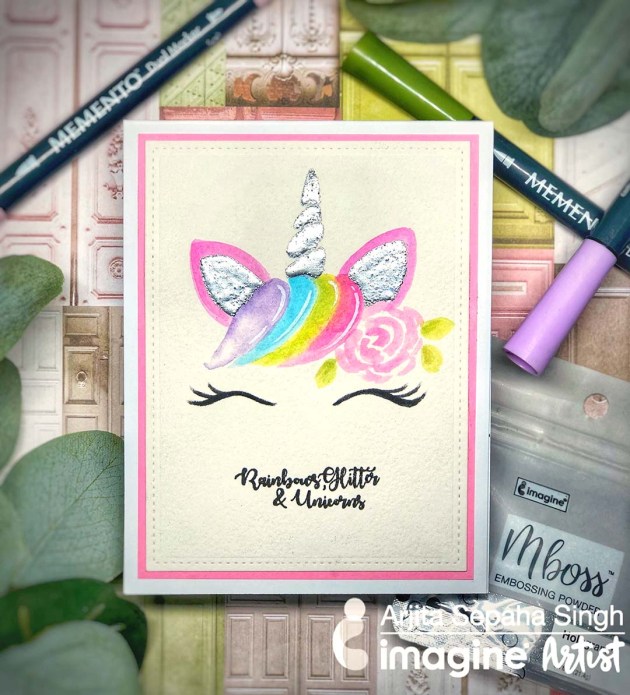
For Today’s card, I used a few Memento Dual-tip Markers and the gorgeous Mboss Embossing powder by Imagine. I did a very light freehand sketch of a unicorn on some watercolor paper and colored the hair, ears, and flower using the Memento Markers. I used a brush and some Ink Portion No 9 to blend the dyes and to get a watercolored look.

Once the paper was completely dry I painted the horn and ears with a fine brush and VersaMark ink. I poured the Hologram Mboss and melted it with the heat gun. I finished the card by adding a sentiment “Rainbow, Glitter & Unicorns” in black. The card is super simple to create and the sparkle you get is amazing. This is a cute card for baby shower invites or a birthday card, even for a kid.

Skill: Advanced
Time: 1 hour

Directions

Supplies

Imagine
Other
  • Watercolor paper – Arches Cold Press
  • Heat tool
  • MISTI stamping platform
  • Cardstock – white, pink
  • White gel pen

3 Techniques using the VersaMark Ink Pad with Mboss Embossing Powder

by Jessica Lin

3 Techniques using the VersaMark Ink Pad with Mboss Embossing Powder

Hi everyone! Today’s video highlights the VersaMark ink pad, which I’m sure most of you have heard of. (If not, come join the party!) It’s the sticky, clear ink that makes heat embossing super fun and easy. But did you know that you could also stamp with the VersaMark ink pad, and even use the “direct-to-paper” technique? Click on the video and learn how you can stretch the use of your VersaMark ink pads by using it 3 different ways. Two of the techniques are paired with Imagine’s new Mboss Embossing Powder. These two products are a match made in heaven!

Skill: Intermediate
Time: 1 hour

Directions

Supplies

Imagine
Other

• Cardstock
• Card base
• Die cut machine
• Stamping tool or platform
• Scissors
• Heat Tool
• Adhesive sheet
• Bone folder

Create A “Not All Who Wander Are Lost” Greeting Card

by Iris Rodriguez

Create A Not All Who Wander Are Lost Greeting Card

I made a travel theme card with a porthole using the Vertigo film. This is a plastics film containing a 3D, hologram-like imprint. The porthole window view has a fantasy feel. It’s like looking into the abyss as you go onto your great adventure. Vertigo can be tinted with Imagine’s inks and cut with scissors or other cutting tools. Check out how this grungy, travel-themed card is made.

Skill: Beginner
Time: 1 hour

Directions

Step 1

Cut out or use a die cut tool to cut a circle containing an open center from the chipboard.

Step 2

Cut out four or more different size pieces of chipboard. This will be the steampunk looking wall. Rip the edges with your hands for added grungy-ness.


Step 3

Add a few Walnut Crystals to water and mix. Paint the chipboard with a brush. Dry the paper.


Step 4

Smoosh the Golden Glitz Delicata ink onto the craft mat. Spray with water and mix.


Step 5

Smoosh the card pieces onto the watered ink. Dry the paper. Ink the edges with VersaFine Vintage Sepia ink. Ink the porthole with Delicata Celestial Copper ink.


Step 6

Now we will create the porthole. It’s made using the Breeze Vertigo. This is a firm plastic film that has a cool effect imprint. Looks like a hologram.


Step 7

Tint the Vertigo with Cottage Ivy and Pear Tart Memento inks.


Step 8

Add tiny drops of the On Point Glue to the Vertigo circle and adhere the chipboard circle.


Step 9

Add tiny drops of the On Point Glue to the chipboard circle and adhere the metal studs.


Step 10

Ink an area onto one of the chipboard pieces with the White Shimmery Delicata ink and stamp the sentiment over it with the Piano Black StazOn Pigment ink. I did this so one can better see the sentiment. You may choose to stamp the sentiment over the chipboard piece as is.


Step 11

Adhere the map paper onto the card base first, then adhere the chipboard pieces. Next, adhere the porthole and finally add the rest of the studs onto the chipboard pieces.

Supplies

Imagine
Other
  • Map scrapbooking paper or map stamp
  • Cardbase
  • Chipboard
  • Metal studs
  • Sentiment Stamp