by Arjita Sepaha Singh
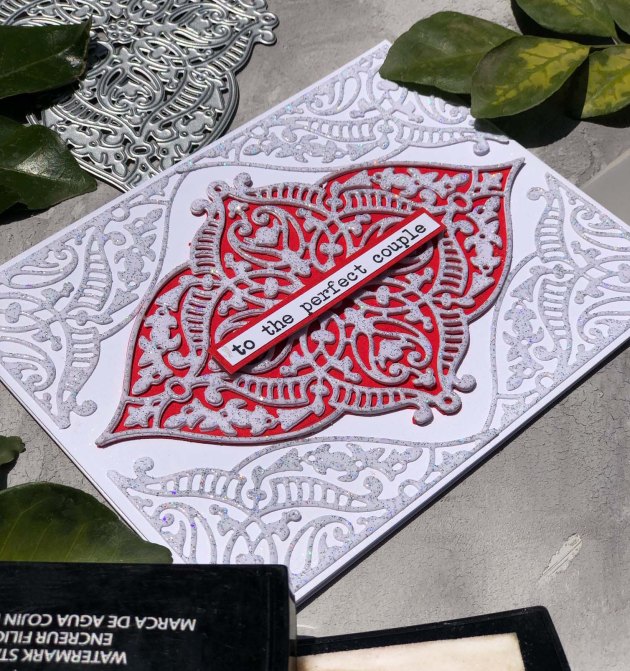
For today’s card, I used a very intricate die that has a bit of a mandala look and the gorgeous Mboss embossing powder in Sparkle. This “To the Perfect Couple” Wedding card is super simple to create and the sparkle you get is amazing. I stacked 3 die cuts on top of each other to create a chipboard effect and added a red paper to make it look brighter and festive. I finished it with a sentiment. This design is perfect for wedding invites & envelopes.
Skill: Intermediate to Advanced
Time: 45 minutes
Directions
Supplies
Imagine
- VersaFine Inkpad – Onyx Black
- On Point Glue
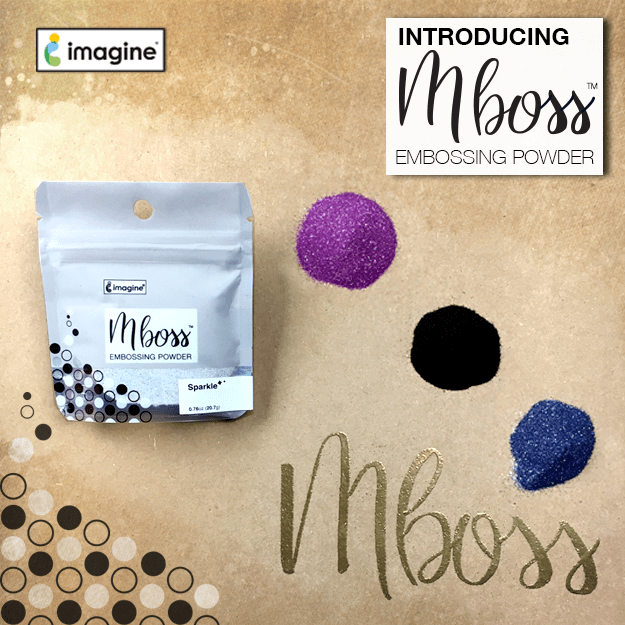
- Mboss Embossing Powder – Sparkle
- VersaMark Inkpad
Other
- Cardstock – White, Red
- Heat gun
- Acrylic block
- Intricate metal diecut
- Diecut Machine
- Sentiment Stamp
- Paintbrush