By Helen Gullett
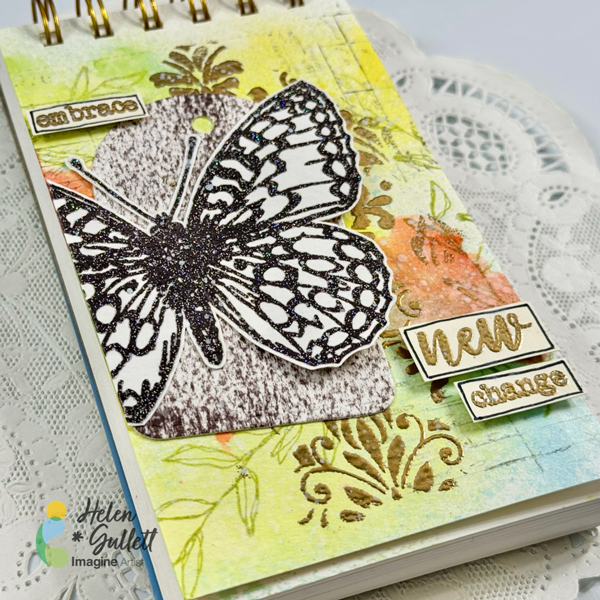
– Hello crafty friends! The new season always brings something new that can surprise us. And new change brings hope, it can be beautiful. Let us embrace it with expectation. Today, we are going to make an art journal together.
Let’s get crafting!
Skill: Intermediate
Time: 30-45 Minutes
Direction:

Step 1
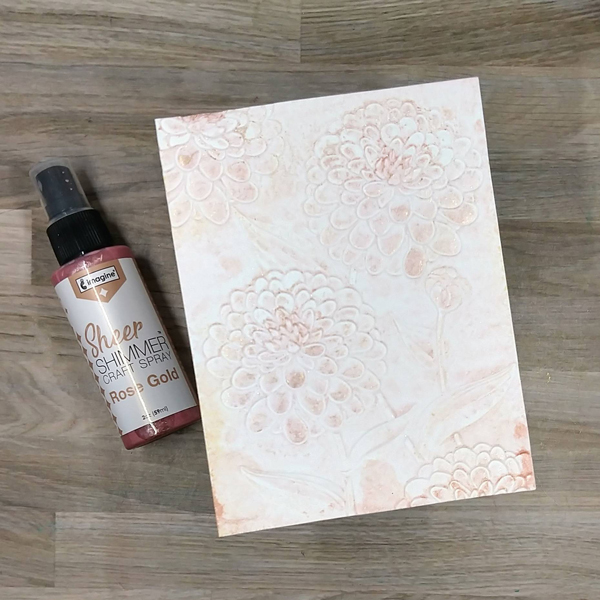
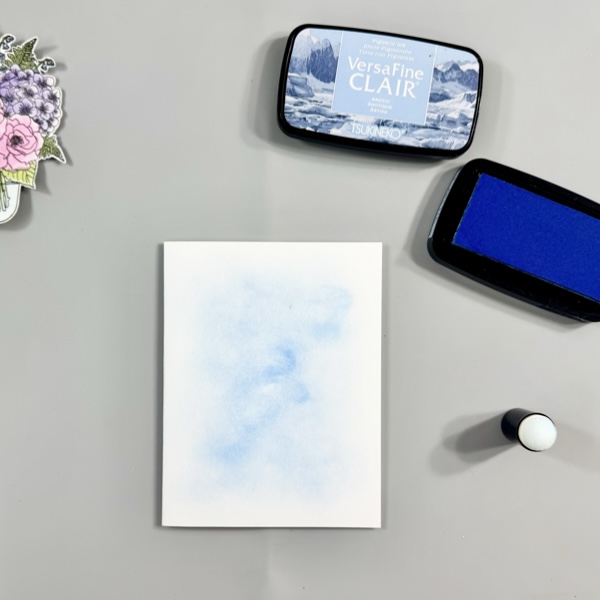
First step we are going to build the base watercolor background.
Spray randomly each color of the FireWorks! Shimmery Craft Spray.
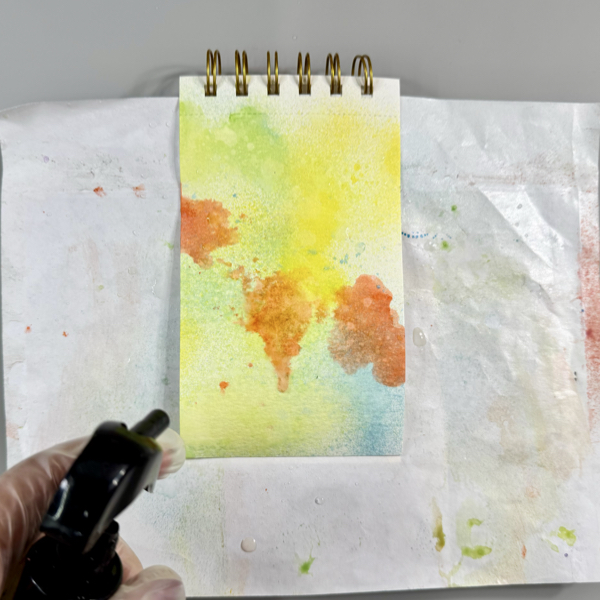
Step 2
While the spray pains are still kinda wet, spray lightly some water using a sprayer bottle.
Let it sit for a few seconds and then dab off some of the water with a clean dry paper tower. This will create more texture to the background.
Dry the page with a craft heat gun. Make sure the surface is completely dry.
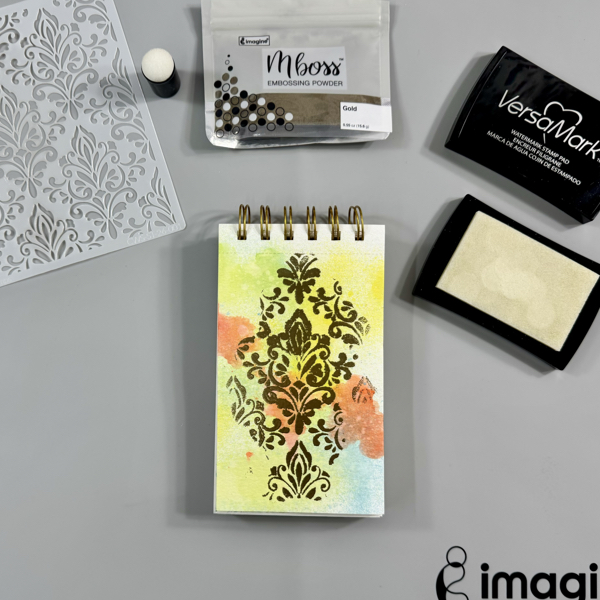
Step 3
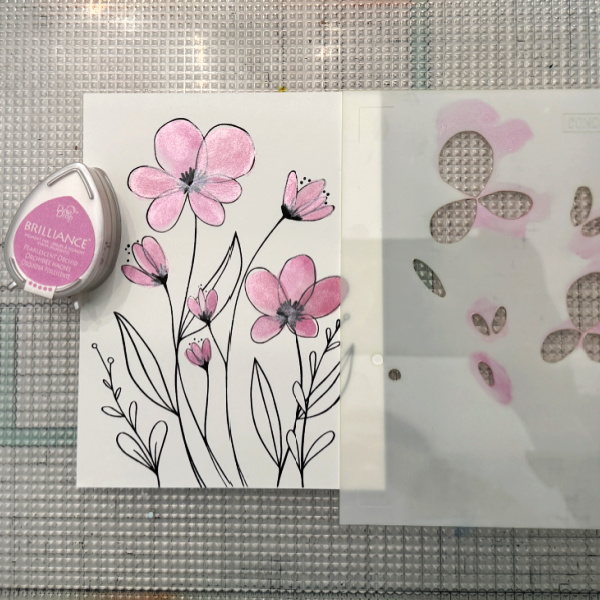
Cover the page with some anti-static powder and brush it off the page.
Add the stencil on the page and secure it with a washi tape or low-tack tape.
Add the VersaMark Original ink to the page with finger sponge dauber and remove the stencil off the page.
Add some of the Gold Mboss Embossing Powder and heat set it with a craft heat gun.
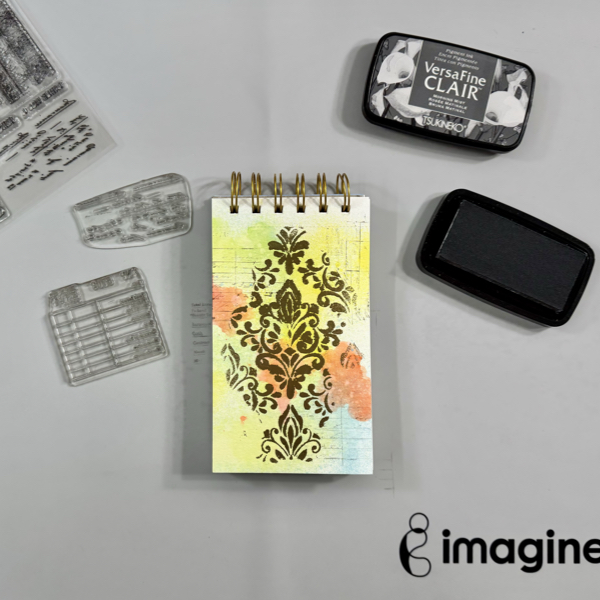
Step 4
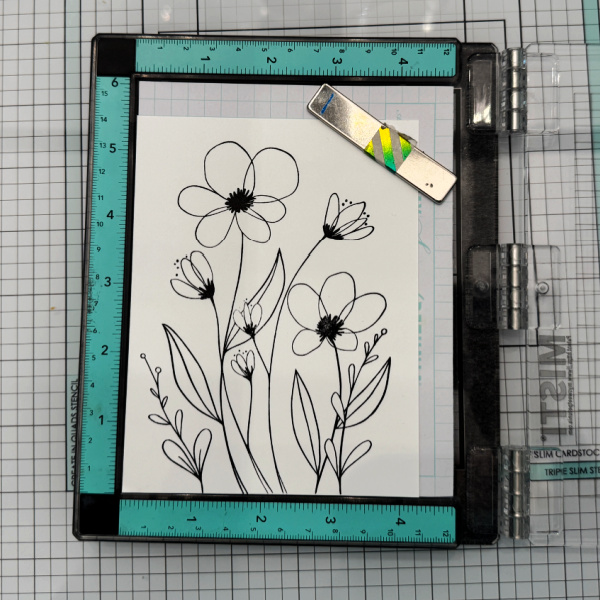
Randomly on the page, stamp the ledger pattern stamp with VersaFine Clair Morning Mist ink using second generation stamping technique.
And then using the stamping technique and ink, stamp the script pattern stamp on the page.
Dry the stamped images with a craft heat gun.
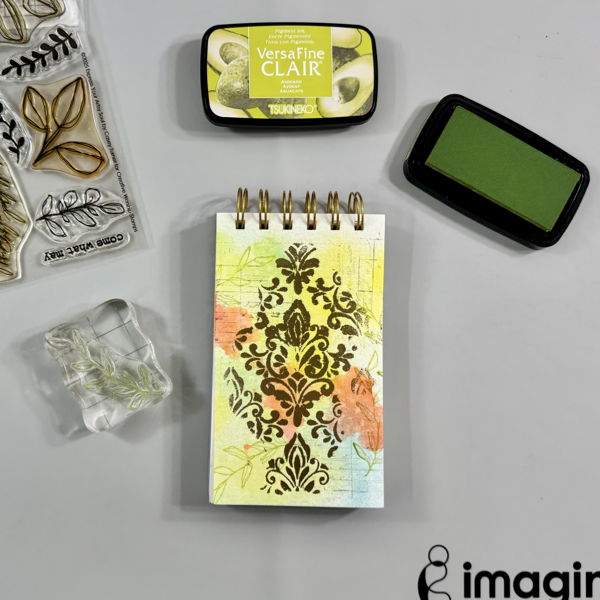
Step 5
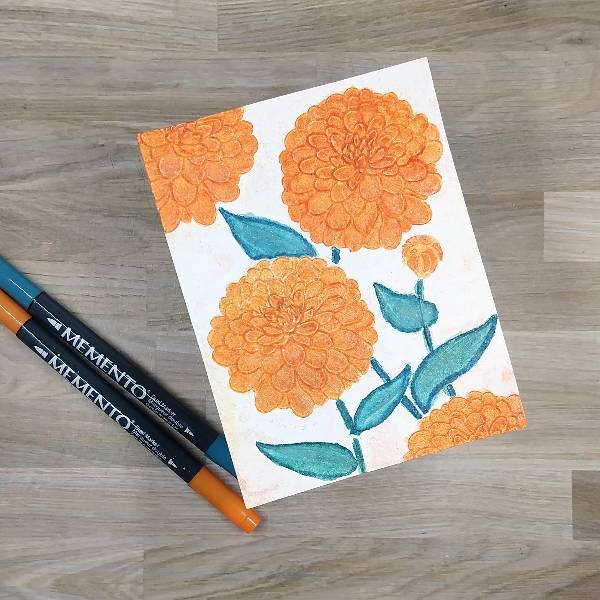
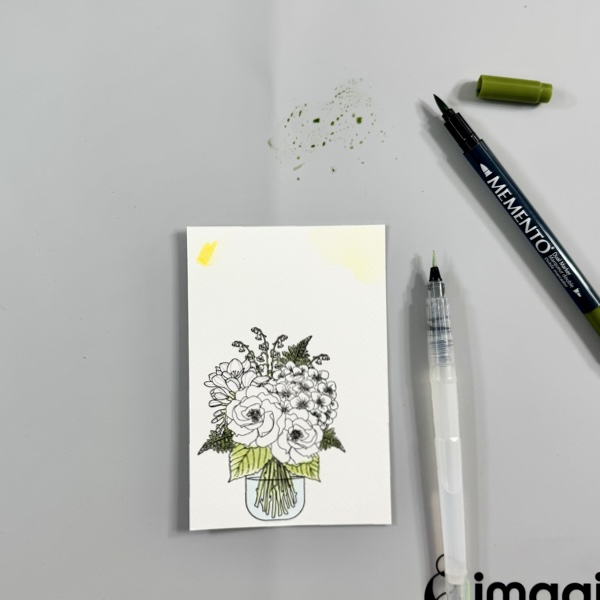
Stamp the leaves branch on the page with VersaFine Clair Avocado ink.
Dry the stamped images with a craft heat gun.
Step 6
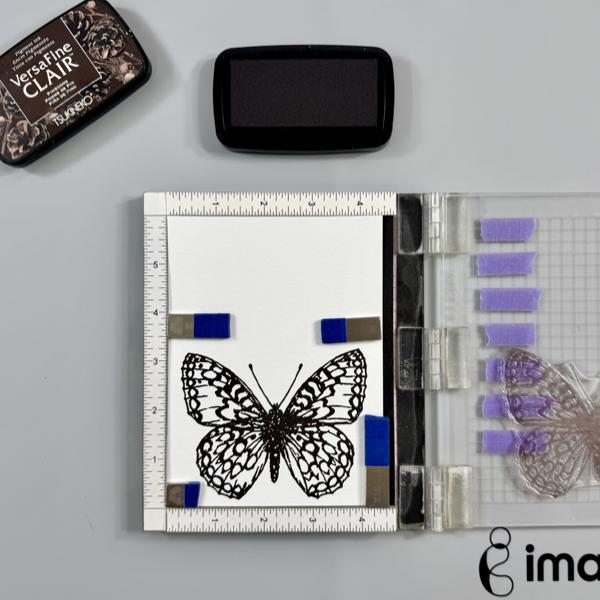
Put a piece of white cardstock on the stamping tool and stamp the butterfly stamp with VersaFine Clair Pinecone ink.
Do not remove the stamp and paper.
Clean the ink off the stamp with Staz-On All-Purpose Stamp Cleaner.
Step 7
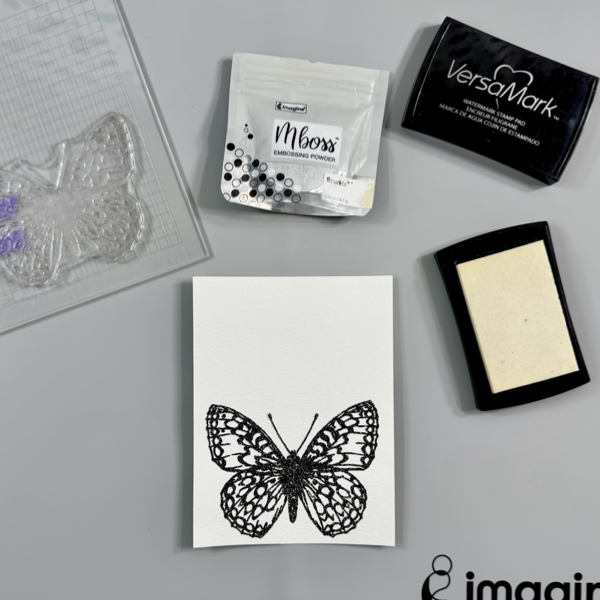
Stamp the same butterfly stamp with VersaMark Original ink.
Add some of the Sparkle Mboss Embossing Powder to the stamped image and heat set it with a craft heat gun.
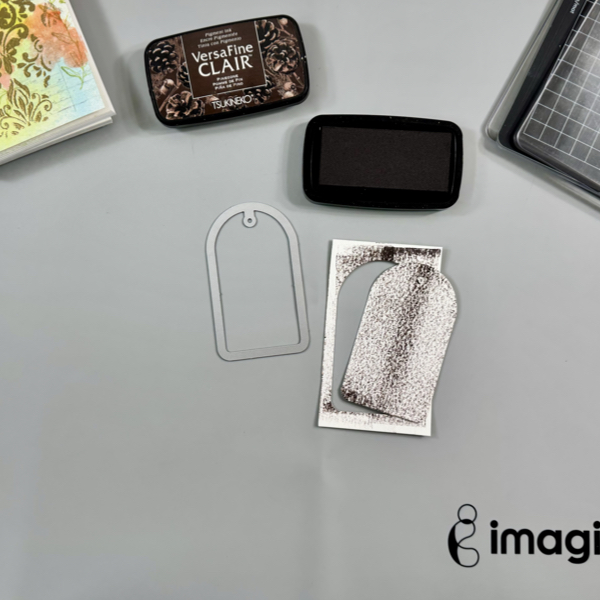
Step 8
On a piece of white cardstock, gently swipe the VersaFine Clair Pinecone across the cardstock.
Dry the ink with a craft heat gun.
Cut it with one of the Stitched Tag dies.
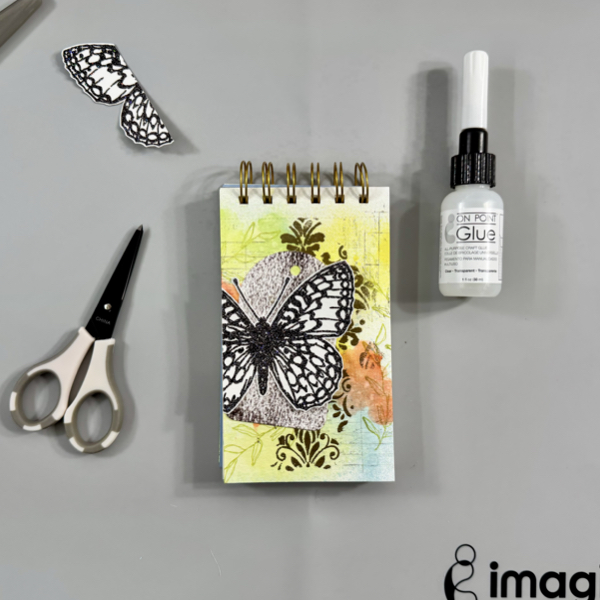
Step 9
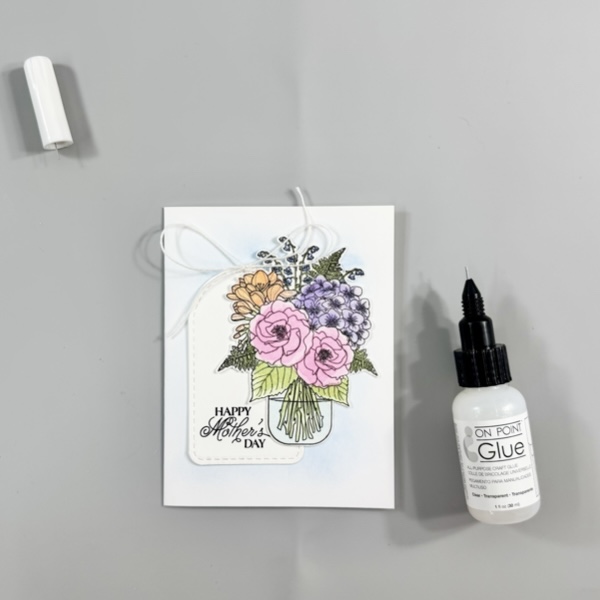
Add the tag to the page with On Point Glue.
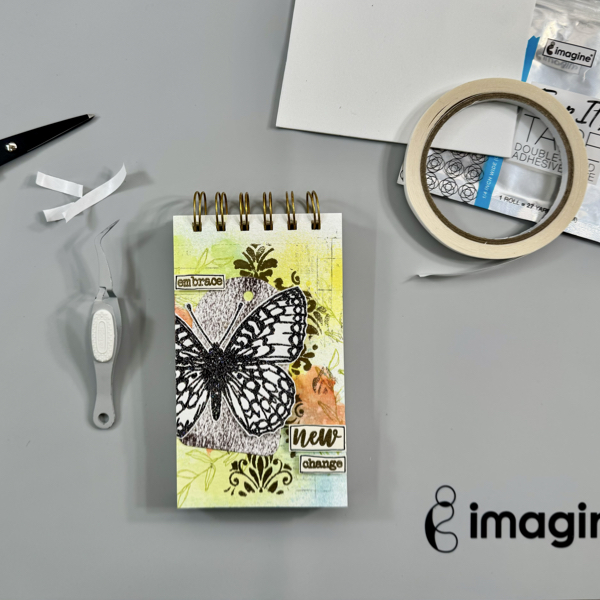
Put the butterfly slightly off the page, and then glue the center of the butterfly with some of the On Point Glue. Leave the wings loose.
Cut the extra wing off the page with micro-tips scissors.

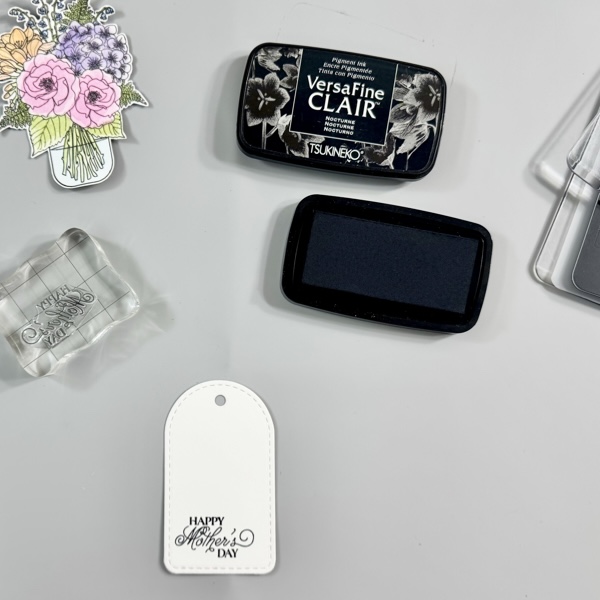
Step 10
Stamp the words on a piece of ivory cardstock with VersaMark Original ink.
Add some of the Gold Mboss Ebossing Powder and then heat set it with a craft heat gun.
Cut them with micro-tip scissors.
Draw lines around the word with Memento Marker Rich Cocoa.
Step 11
Add some of the Tear It! Double Sided Tape to 3D fun foam to create your own 3D foam tape.
Add some of the foam tape to each word and add them to the page.
Add some of the foam tape under the wings also to give them a 3D effect.
Step 12
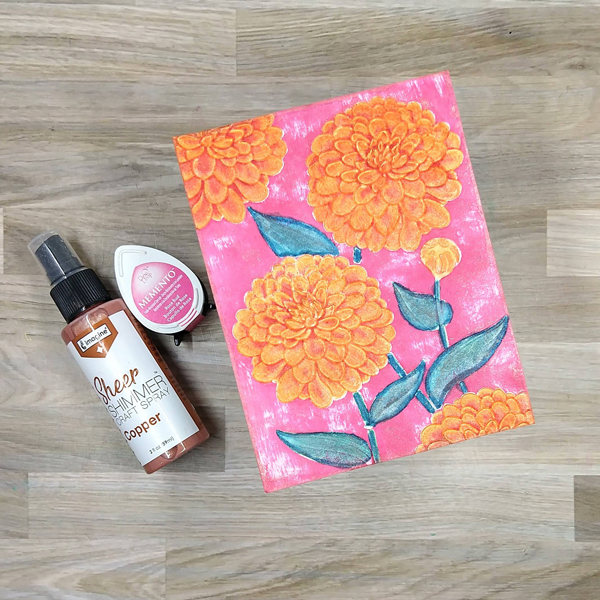
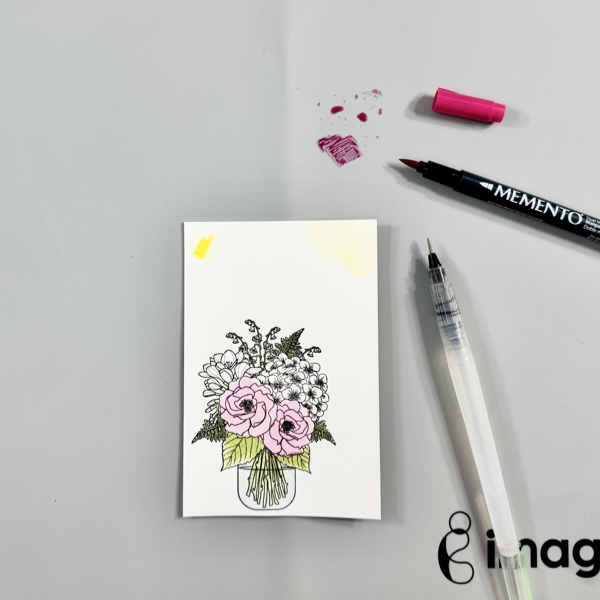
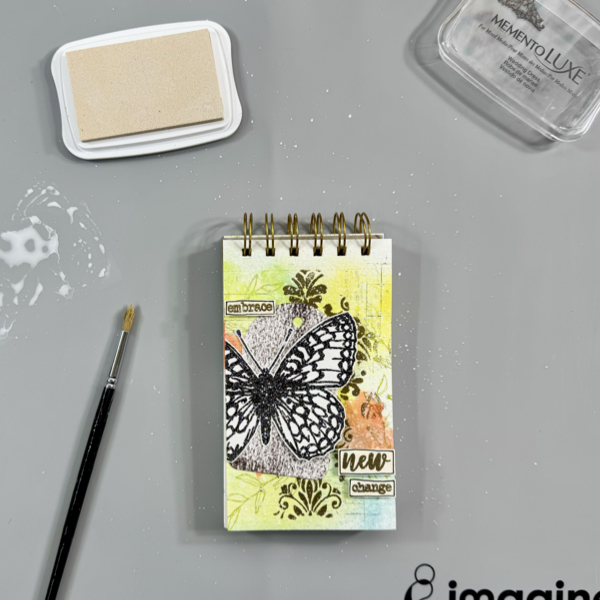
Dab some of the Memento Luxe Wedding Dress ink on the craft mat and spray it with some water.
Pick up the ink with a small round brush, and add some splatters to the page.
Dry the whole page one more time with a craft heat gun.

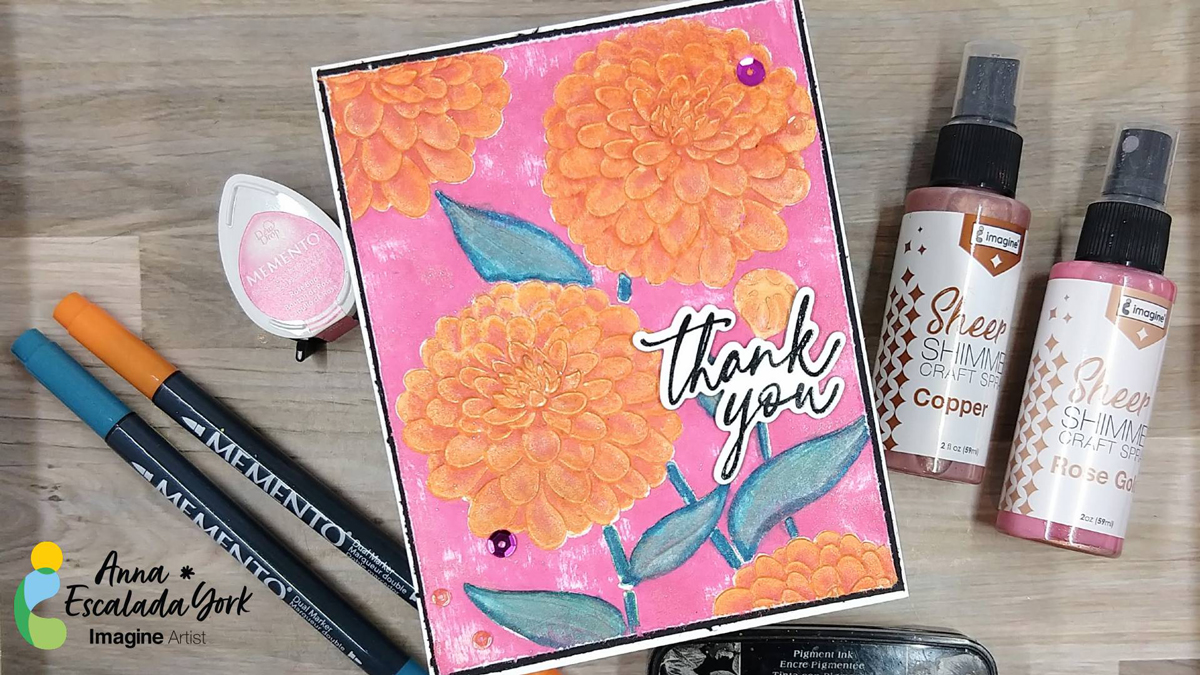
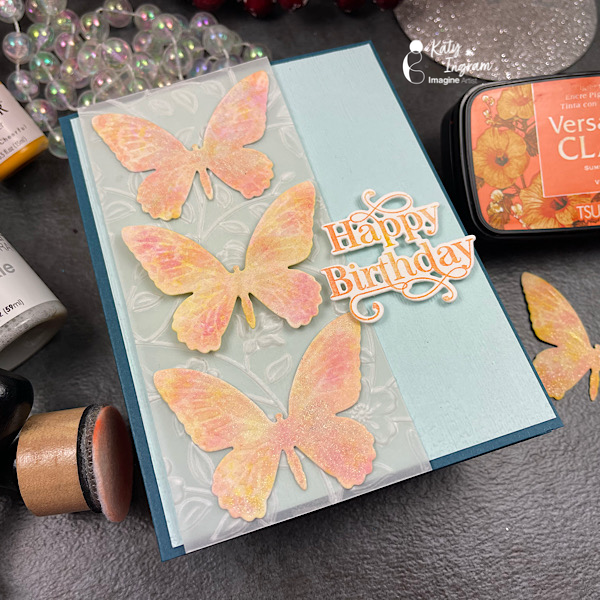
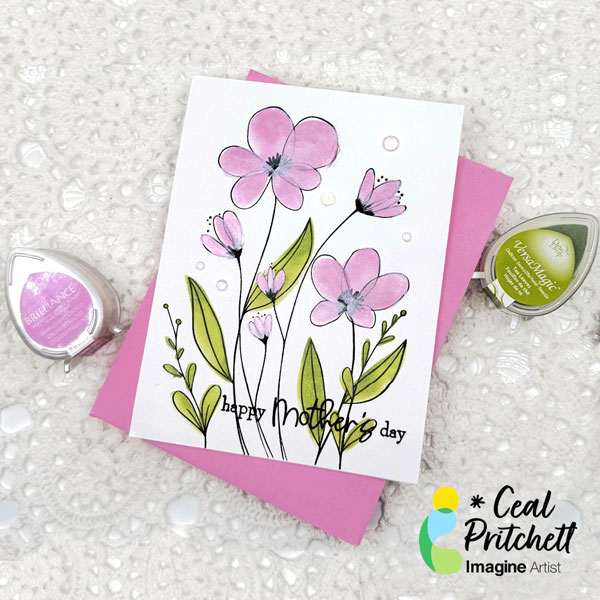
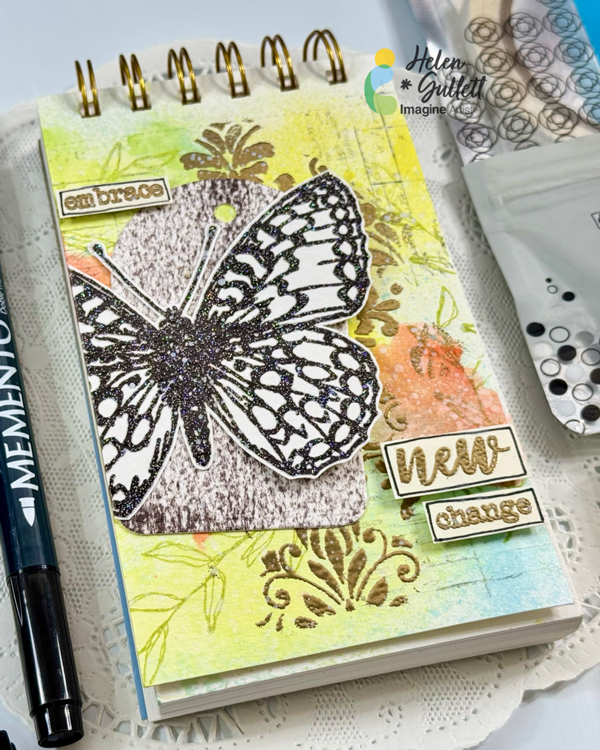
This mini mixed media art journal page is done. It has a combination of the shimmery background, sparkly butterfly, and shiny gold metallic embossed texture and sentiment.
I hope you like the page and give this tutorial a try. Thanks so much for stopping by our blog today.
Have a wonderful day!
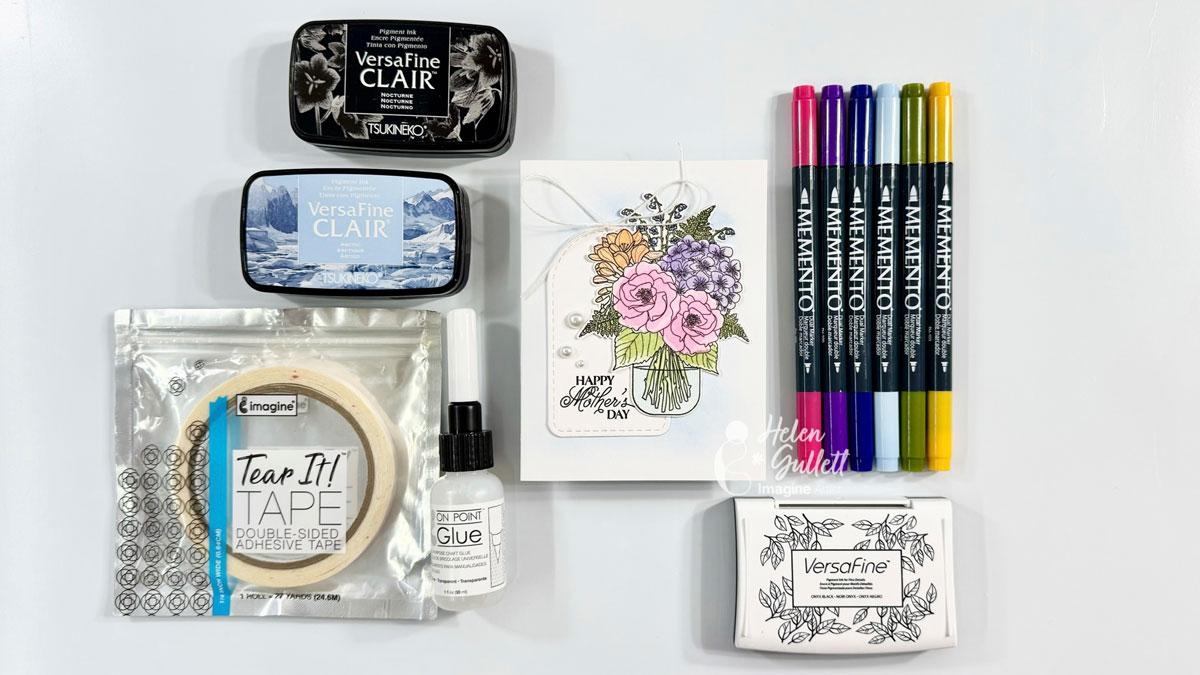
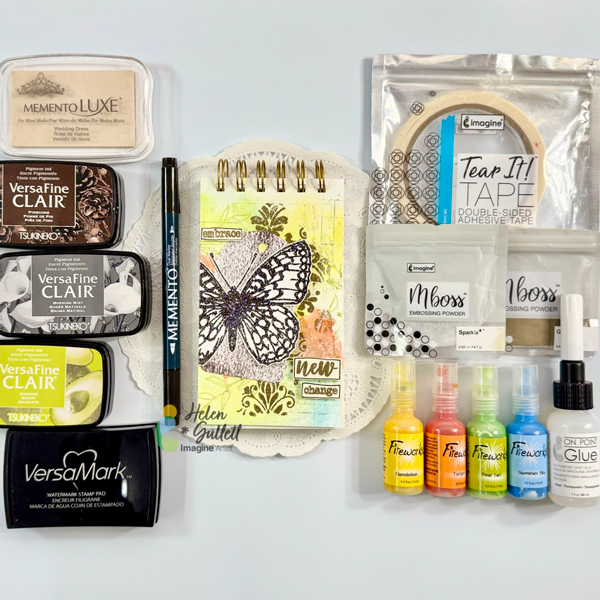
Craft Supplies
Imagine Crafts:
- Memento Luxe (Wedding Dress)
- Memento Marker (Rich Cocoa)
- VersaFine Clair (Morning Mist, Avocado, Pinecone)
- VersaMark (Original)
- Mboss Embossing Powder (Gold, Sparkle)-retired
- FireWorks! Shimmery Craft Spray (Dandelion, Tangelo, Pear Tart, Summer Sky)
- On Point Glue
- Tear It! Double-Sided Tape
- Sponge Daubers
- Imagine Craft Mat
- Staz-On All Purpose Stamp Cleaner
Others:
- Butterfly Bliss Stamp Set (Creative Worship Stamps)
- Made New Stamp Set (Creative Worship Stamps)
- Peaceful Botanicals Stamp Set (Creative Worship Stamps)
- Vintage Snippets Stamp Set (Creative Worship Stamps)
- Damask Pattern Stencil (Creative Worship Stamps)
- Stitched Tags Die Set (Creative Worship Stamps)
- Spiral Bound Watercolor Mixed Media Sketchbook (Creative Worship Stamps)
- White cardstock
- Ivory cardstock
- Anti-static powder
- Washi-tape or low-tack tape
- 3D fun foam
- Round brush
- Stamping blocks
- Stamping tool
- Micro-tip scissors
- Diecutting machine