Hello! It’s time for my latest tutorial for Imagine, and I decided to make another scrapbook page. This time, I went way back and pulled out some wedding photos. I never did finish our wedding album, so this was a great opportunity to get one more page completed.
Skill Level: Intermediate to Advanced
Time to Complete: 1-2 Hours (I’m a slow scrapbooker)
Directions:
Step 1:
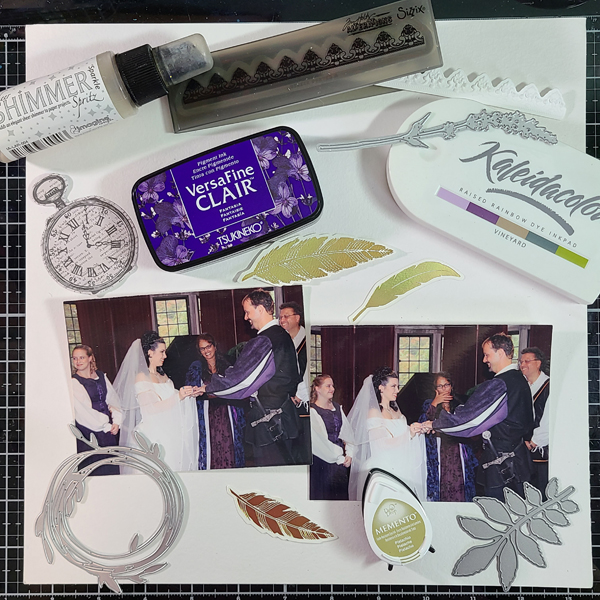
Gather your supplies. This may seem obvious, but it helps quite a bit to grab a bunch of things that you may wind up using on your page. Inks, ephemera, dies, stencils, etc. are all things that you could use. I grabbed a bunch of items for the photo above, but I didn’t use all of them, and some things i used aren’t shown here. I don’t often have a plan when I am scrapbooking, but I like to grab things to help get me started.
Step 2:
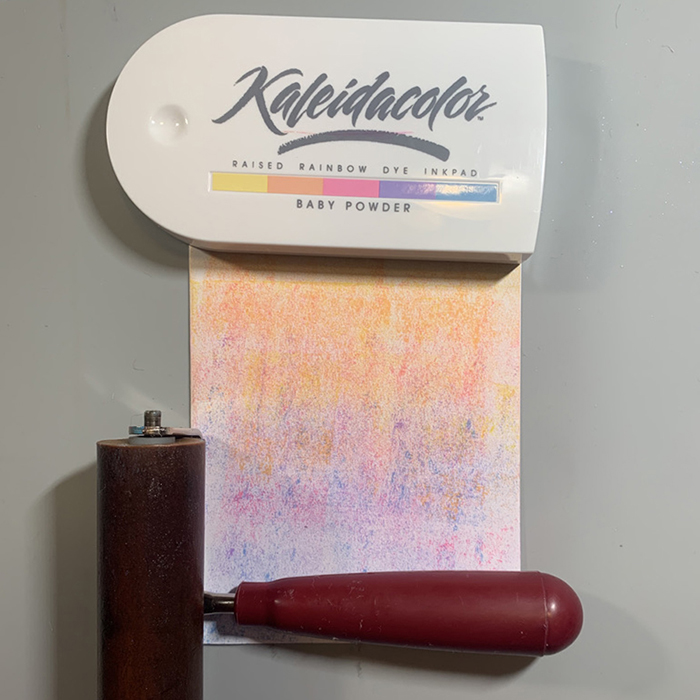
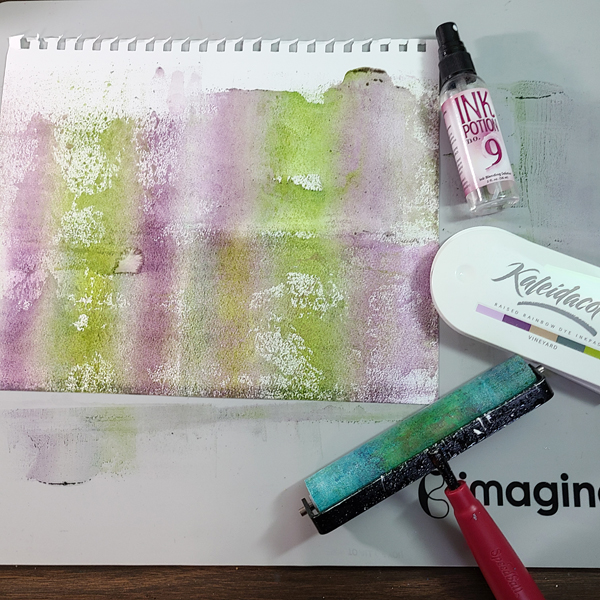
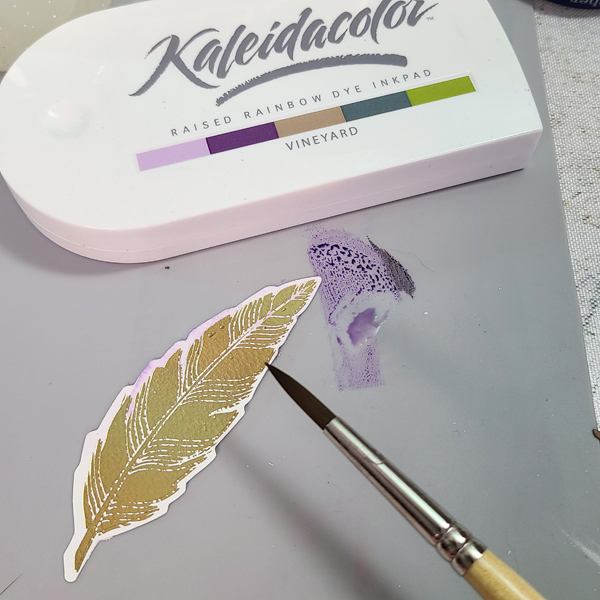
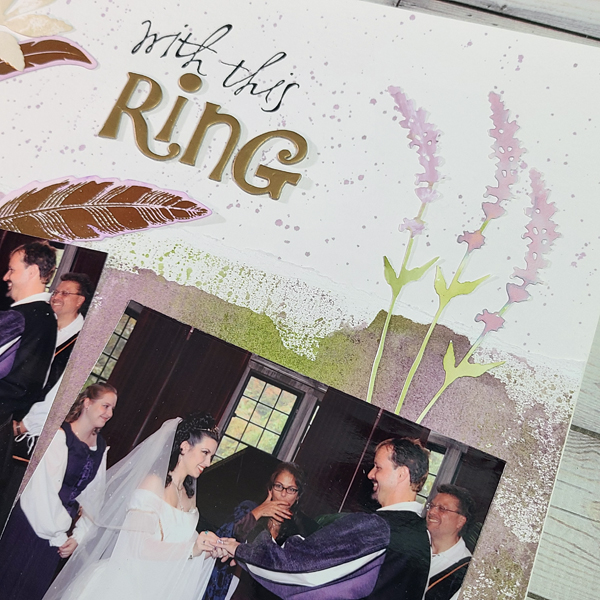
Based on the colors in the photo, I wanted to use the Vineyard Kaleidacolor Ink Pad. I took a piece of Mixed Media Paper and rolled the ink on to it using my brayer and Ink Potion No. 9. The Ink Potion No. 9 helps the color to move and transfer better. It took a number of passes to get the paper covered, but I love how it looks painted and uneven. This piece will go behind the photos to “ground” them. Let dry.
Step 3:
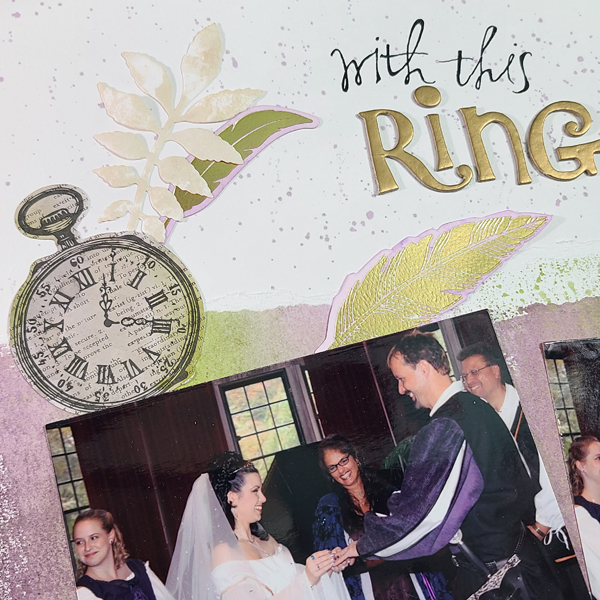
Paint or enhance your ephemera. I found some feathers that have foil on them in my stash, and the negative space was white. So I applied some of the Kaleidacolor Ink to my Craft Mat and painted it on with a brush and water. The look is subtle, but it helped it to coordinate with the rest of my page better. I also added some color to the stopwatch.
Step 4:
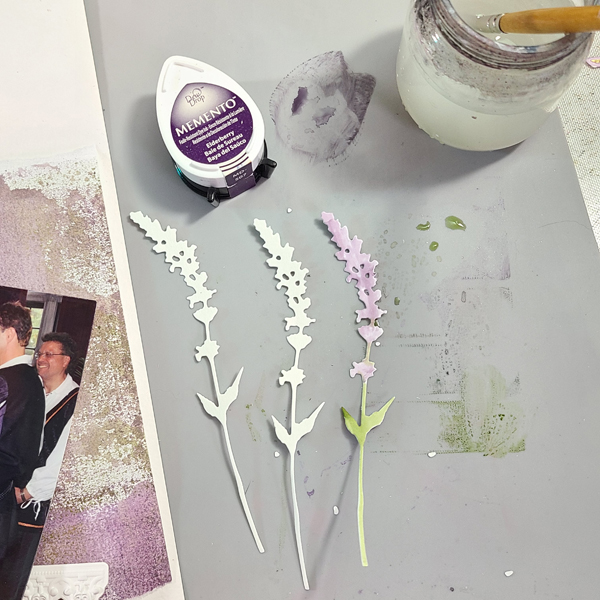
Add die cuts. I die cut a few lavender stems from white cardstock. I used Elderberry Memento ink and the greens from the Vineyard Ink to paint them. These pieces are delicate, so don’t oversaturate them. I also die cut some foliage from white cardstock and lightly spritzed them with Desert Sand Fireworks! Spray. Using white die cuts allows you to completely customize them.
Step 5:
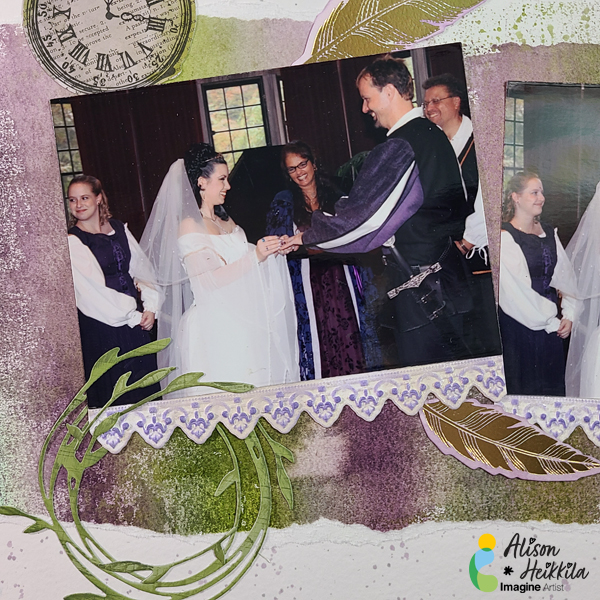
Add die cuts with colored cardstock. I die cut the wreath out of green cardstock. It needed to be enhanced a bit, so I lightly applied Pistachio and Olive Grove. It’s subtle, but adds a lot of interest.
Step 6:
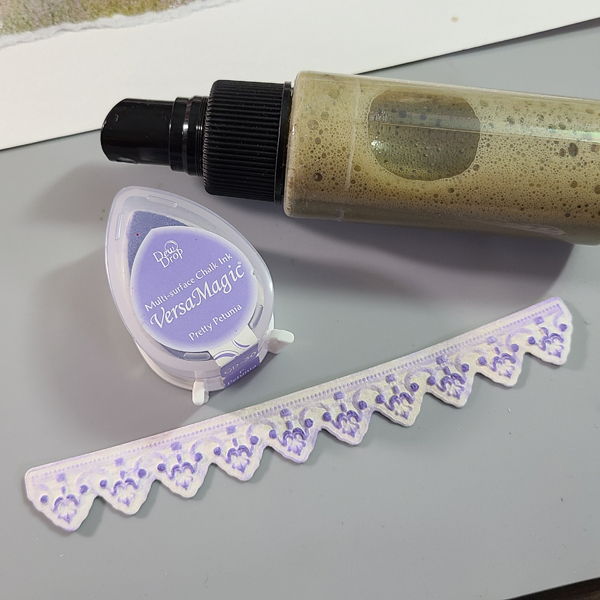
Enhance textured die cuts. I used an Impresslits border under both of my photos. I cut it out of white cardstock, and used Pretty Petunia VersaMagic Ink to enhance the design. I just rubbed the ink pad across the piece. I also sprayed it unevenly with Desert Sand fireworks! Spray for shine and to dull down the white a bit.
Step 7:
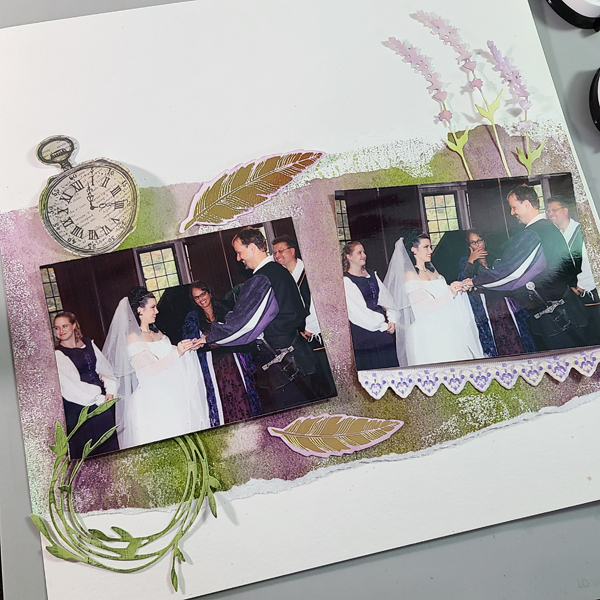
Begin to place your elements. Play with torn edges, overlapping items, and creating a sense of movement. Move things around to make sure you have good, even placement, and feel free to add or remove pieces as necessary.
Step 8:
Add some splatter. I used some more Elderberry ink that I squished on to my Craft Mat to apply splatter to the entire white background. It’s just a bit more color, but it adds a lot to the finished page.
Step 9:
Add your title. I found some ridiculously old rub-ons and letters to help me create the perfect title.
Step 10:
Start gluing down your elements. It helps to take a photo of your layout before you start gluing, so that you can place your pieces back exactly where you had them. On Point Glue is perfect for the teeny die cuts I used.
Step 11
Finishing touches. Do you need an additional sprig of foliage? Do you need a touch more ink somewhere? This is the point where the page is just about finished, and you just need to add a tiny detail here and there.
Finished!
We’ve got a very pretty wedding page that works beautifully with the photos and feel of our wedding. Don’t forget…even if your embellishments and/or color scheme are completely different from mine, you can still use these techniques when creating your own layout. Playing with your inks to help enhance items you have in your stash can really tie everything together. Play with your papers and dies to see how you can alter them with inks and sprays to get exactly the look you want. Thanks so much for stopping by. Have an inspiring day!
Art Supplies:
Imagine:
Kaleidacolor Inks in Vineyard
Memento Inks in Olive Grove, Pistachio, and Elderberry
Ink Potion No. 9
On Point Glue
Desert Sand Fireworks! Spray
VersaMagic Ink in Pretty Petunia
Other:
Canson Mixed Media XL Paper
Brayer
Princeton Snap Brush: Size 4
Sizzix/Tim Holtz: Wildflowers Dies
Sizzix/Tim Holtz: Impresslits Embossing folder- Mini Provincial
Sizzix/Tim Holtz: Funky Wreath
Rub-Ons
Ephemera
Die Cut Letters
Additional Adhesive (for bigger items)