By Martha Lucia Gomez
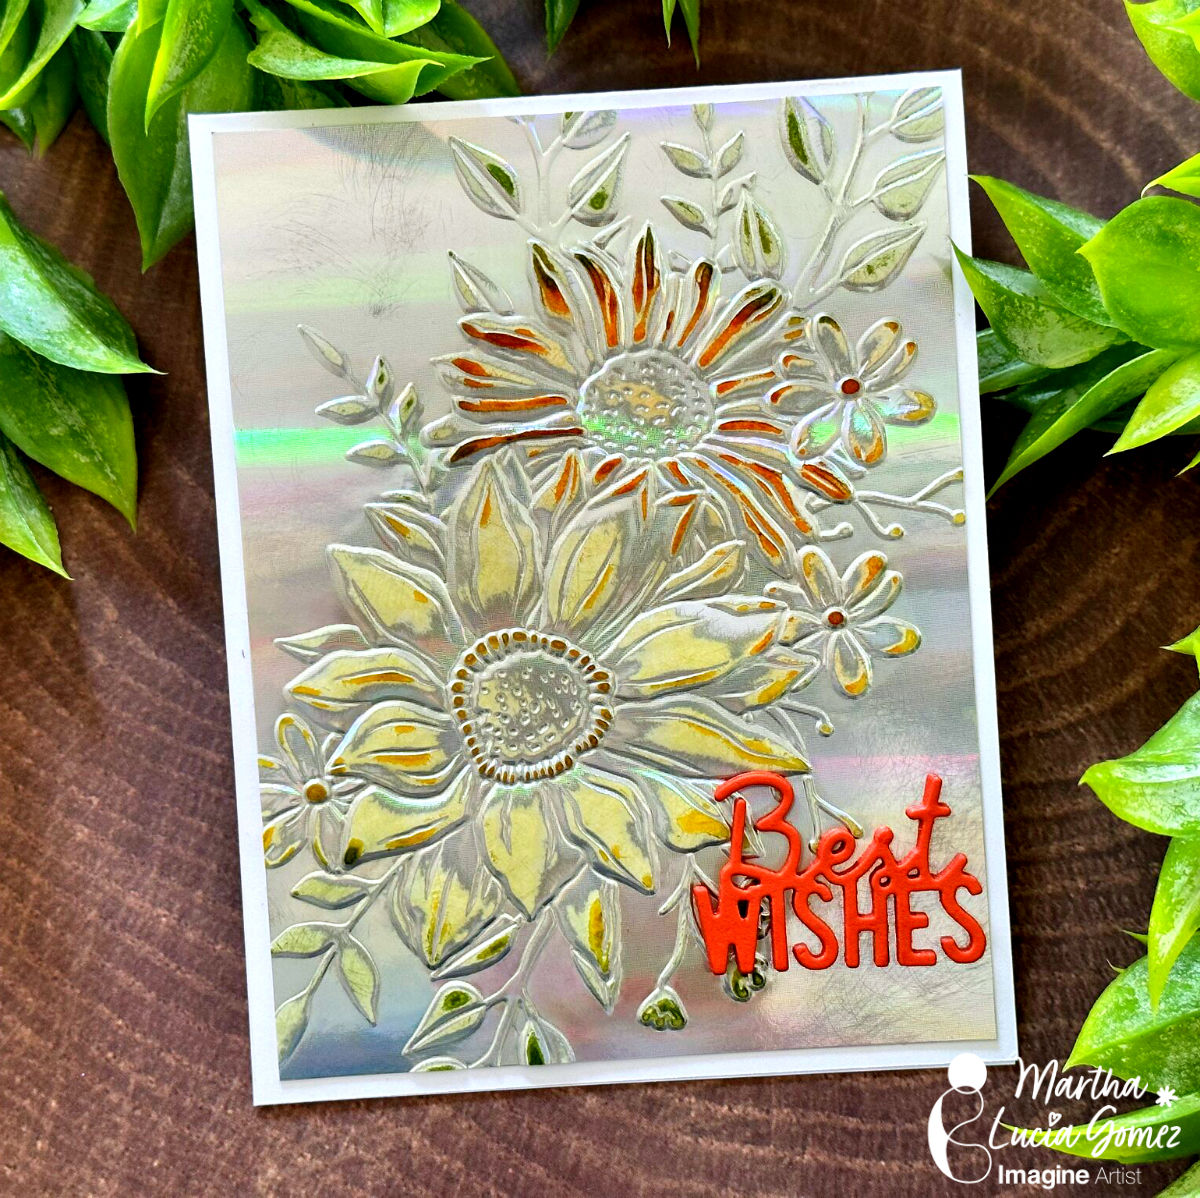
Hello crafty friends! Today, I have a fun tutorial to make a unique congratulations wedding card.
Let me share the project with you.
Skill Level: Beginning
Time: 60 minutes
Directions:
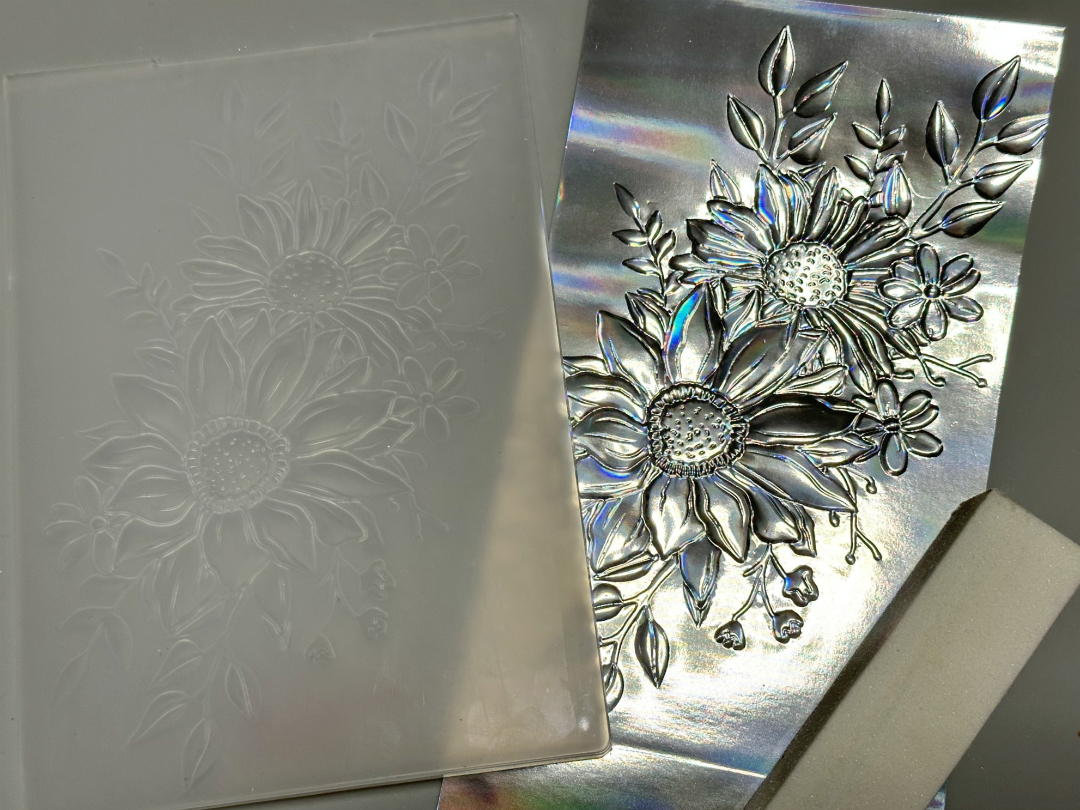
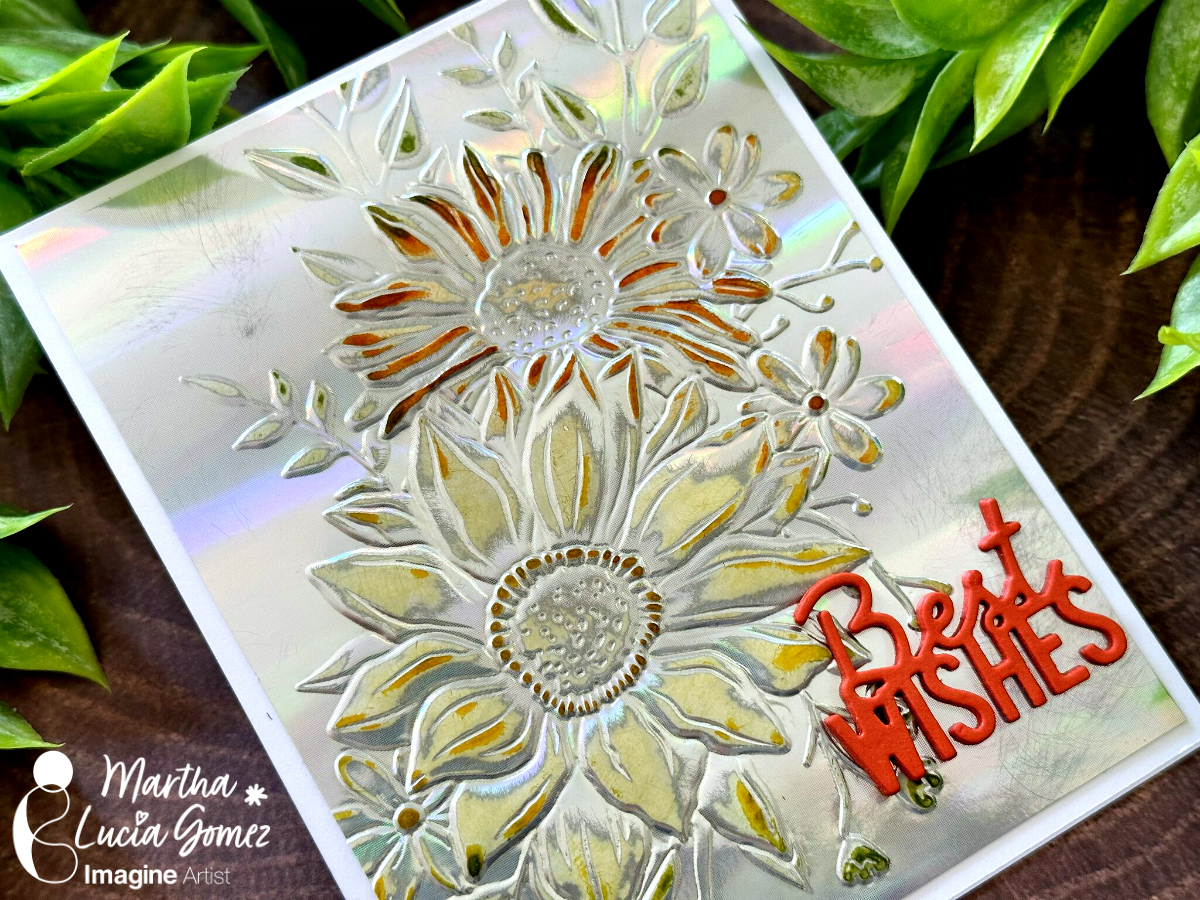
To make this card is important that you use one side metallic cardstock with an embossing folder. This cardstock can be glossy or matte.
Step 1:
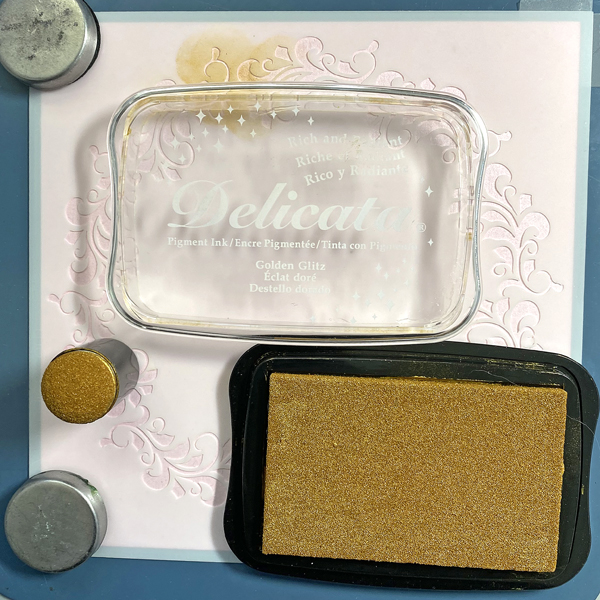
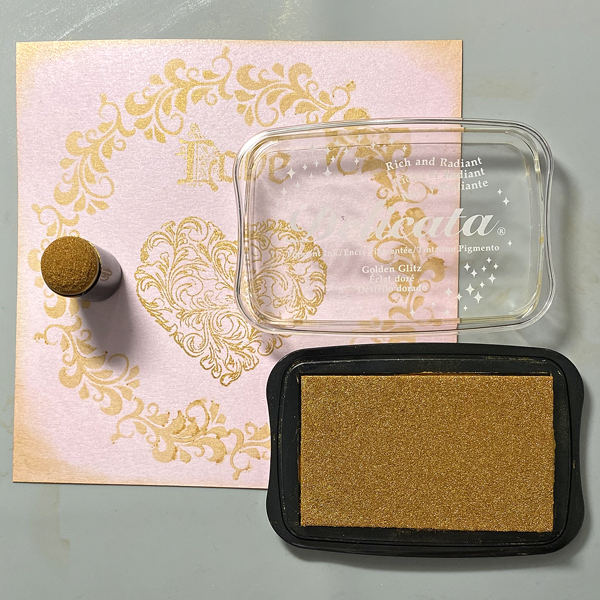
Take a piece of one side glossy silver cardstock and dry emboss it with the embossing folder of your preference.
Step 2:
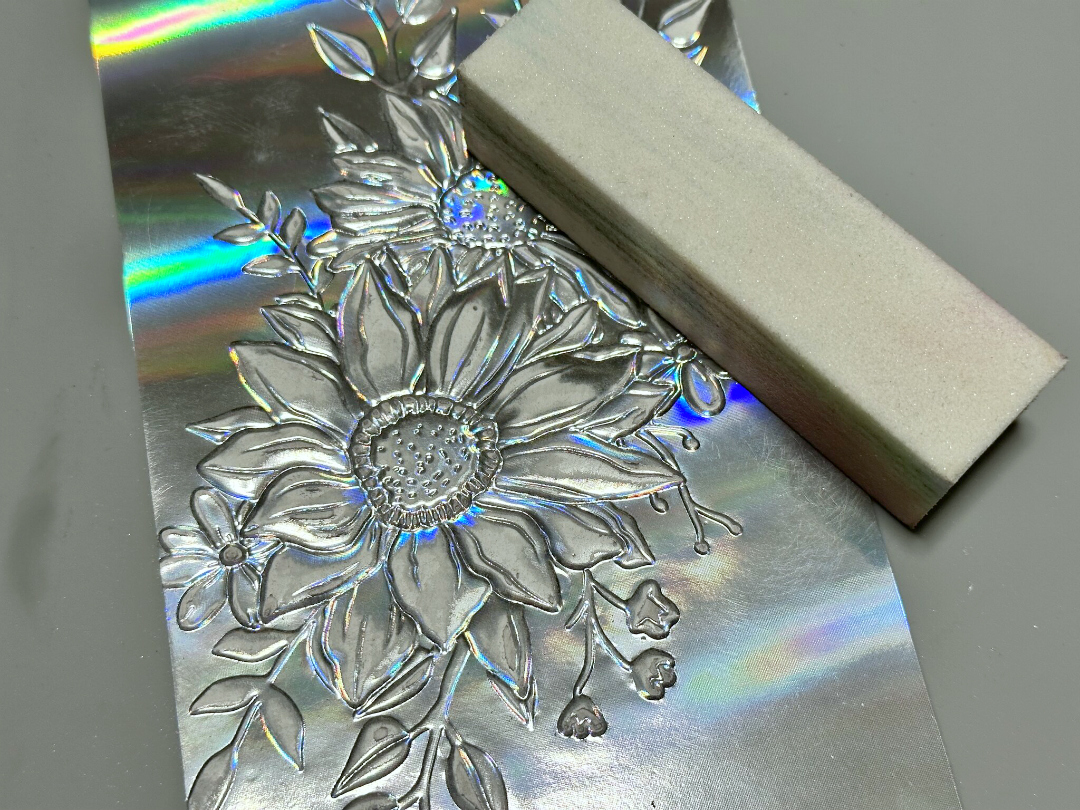
Remove the metallic color over the embossing with a sanding block. Make it soft so that it doesn’t break the cardstock. Clean with a dry cloth.

Step 3:
Select the colors of ink that you want to give to the embossing design. In my sample, I am using Memento Ink in colors Dandelion, Tangelo and Bamboo Leaves. Then, apply the colors directly over the sanded areas or use a sponge dauber.
When you are satisfied with the colors, pass a dry cloth over the embossed area to remove the excess ink. Resize the layer and paste it over the card base.
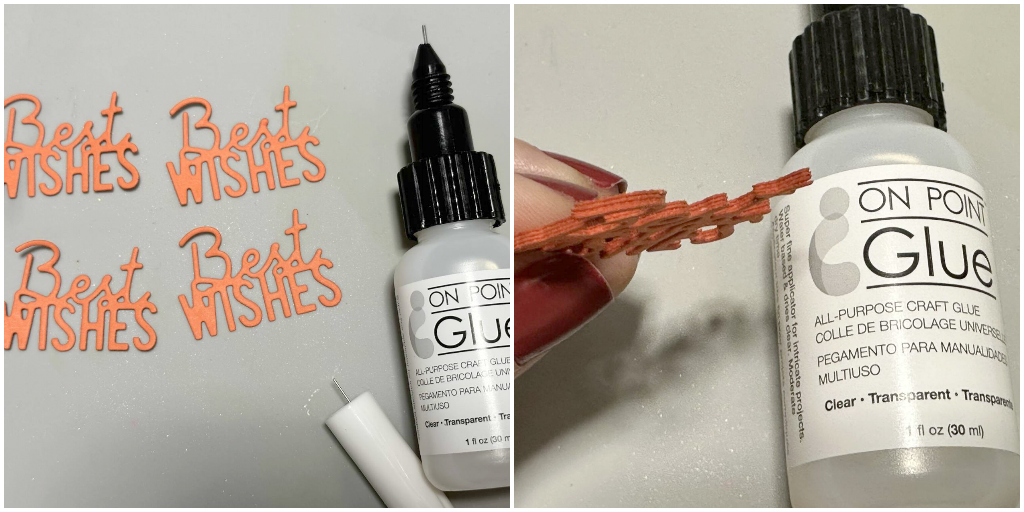
Step 4:
To finalize the card, you can use a die cut sentiment with more dimensions. In my sample, I die cut four times the Best Wishes sentiment using the same color of cardstock and then I paste all of them with OnPoint Glue.
Step 5:
Adhere the sentiment over the card base using the same adhesive.
Thanks for stopping by and remember, you don’t need to create complicated projects. Just use the best inks and let your creativity shine!
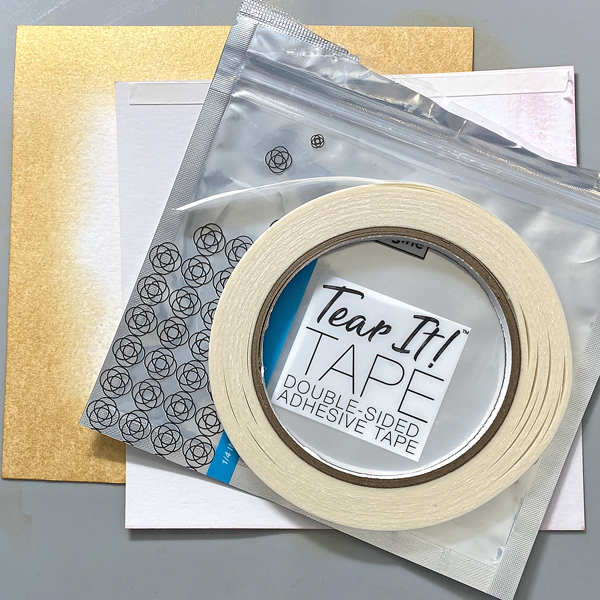
Art Supplies:
Imagine:
Other:
- One Side Silver Metallic Cardstock.
- Embossing Folder and embossing Machine
- Die Cut Sentiment.