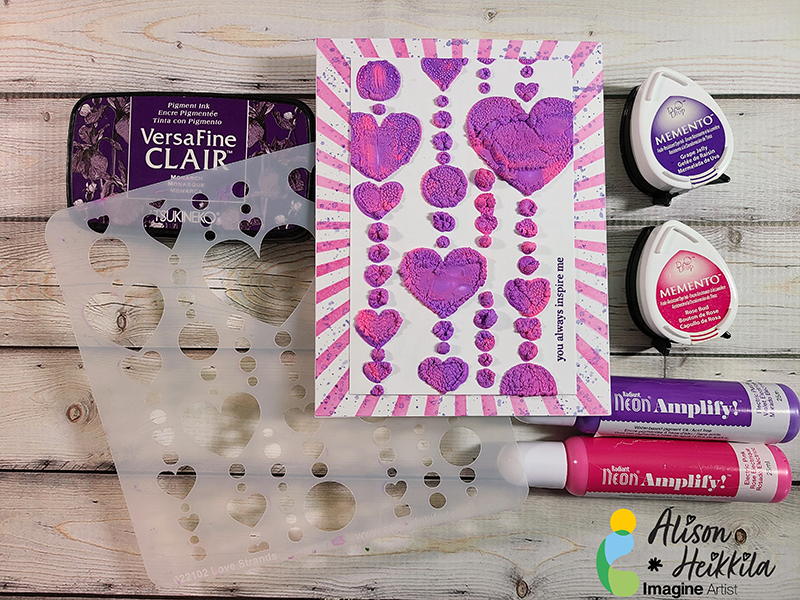
By Alison Heikkila –
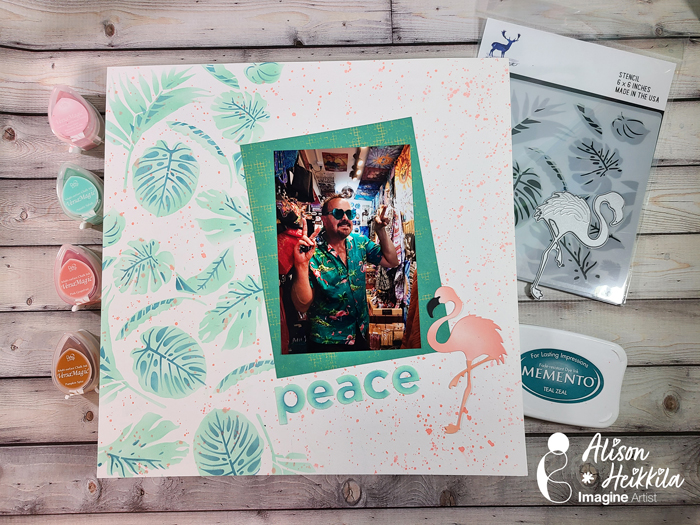
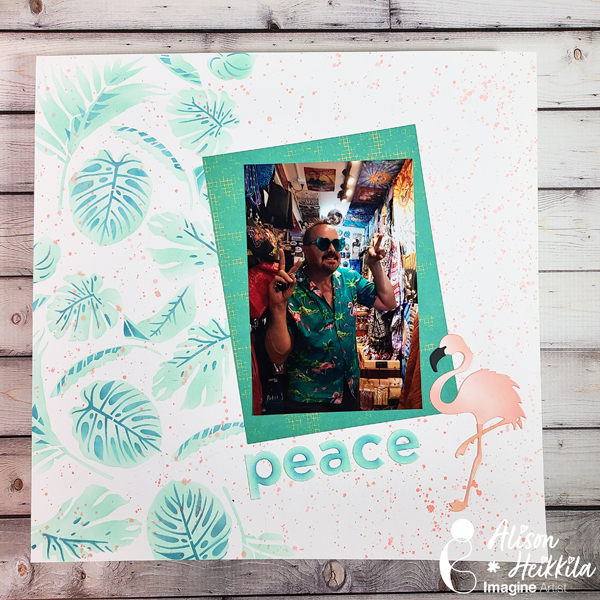
Hello! I love scrapbooking, but truthfully it’s been ages since I’ve made any layouts. I came across this fantastic picture of my husband when we were in Woodstock, NY a couple of years ago, and the inspiration hit. Let me show you how beautifully VersaMagic Ink blends with stencils and die cuts to make a fun page.
Skill Level: Beginner to Intermediate
Time: 45 minutes- 1 hour
Directions:
Step 1:
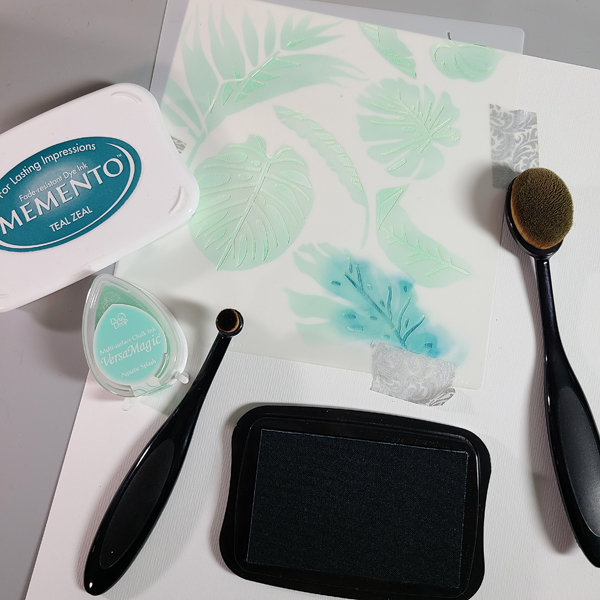
On white 12×12 cardstock, tape down the first layering stencil. I masked off some areas with washi tape, because I didn’t want the foliage to come to a harsh end where the stencil is cut. I only used leaves that were complete or went off the edge of my page.
Step 2:
Ink the leaves with a blending brush and Aquatic Splash VersaMagic Ink.
Step 3:
Add the top layering stencil and mask off any leaves that you don’t need.
Step 4:
Ink Teal Zeal Memento Ink with a blending brush.
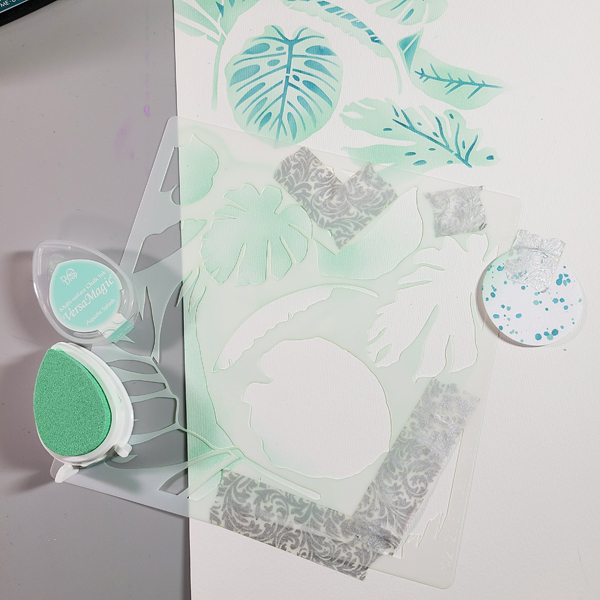
Step 5:
Repeat the steps above to create a wide column of the foliage going down the left side of the page. Hint: I used that circle die to give the one leaf a rounded edge, instead of looking like it’s cut off by the edge of the stencil
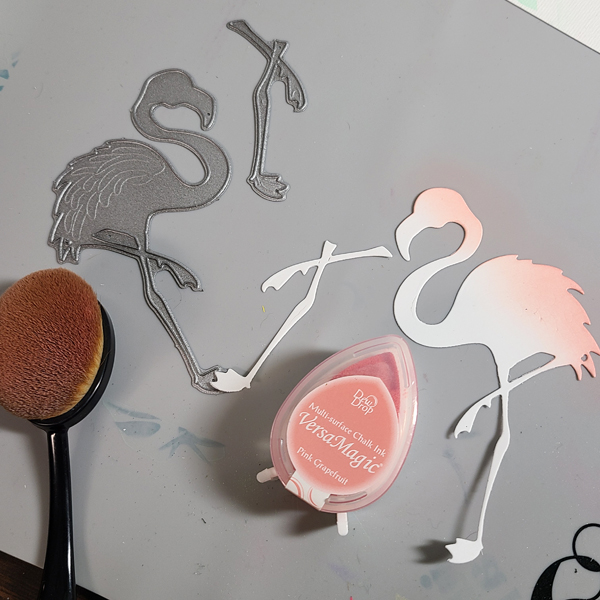
Step 6:
Die cut the flamingo out of white cardstock. Ink blend the body with Pink Grapefruit and a touch of Pixie Dust VersaMagic Inks. Keep the inking soft….don’t overdo the color.
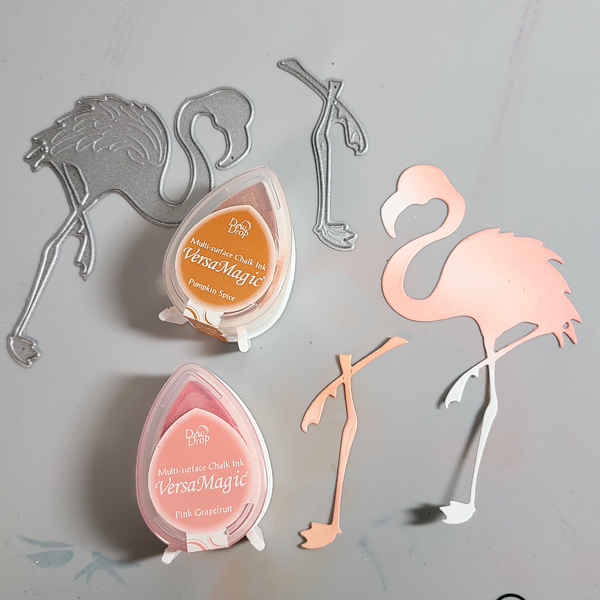
Step 7:
Die cut the legs out of white cardstock. Ink blend with Pink Grapefruit and Pumpkin Spice VersaMagic Inks. The Pumpkin Spice dulls the Pink Grapefruit just enough to make the legs look like the color of actual flamingo legs.
Step 8:
Die cut the front area of the beak with black cardstock.
Step 9:
Glue the flamingo pieces together with On Point Glue.

Step 10:
On your craft mat, swipe the Bouquet Kaleidacolor ink. You’ll be using the peachy tone in the middle.
Step 11
Wet a brush with water and pick up the peach color from your craft mat. Splatter the color all over the background of your scrapbook page.
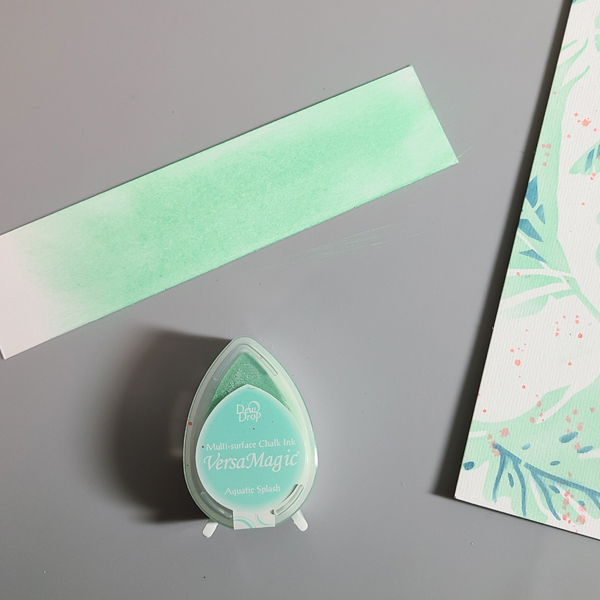
Step 12:
Swipe Aquatic Splash on a piece of white cardstock. Die cut your title from that piece.
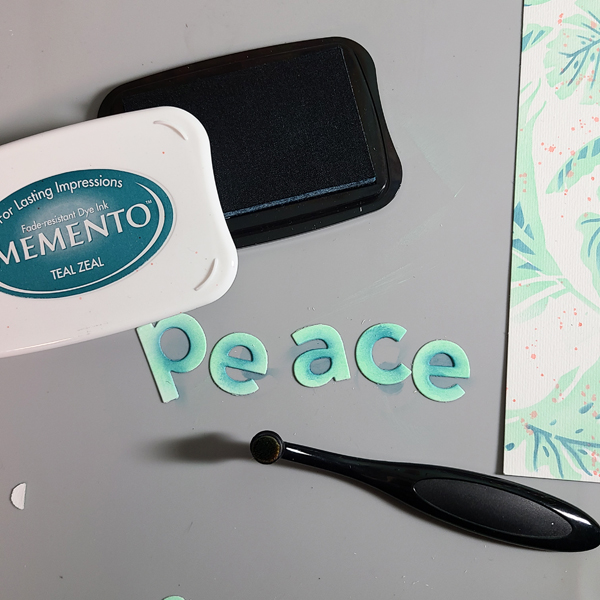
Step 13:
Using a small blending brush, apply Teal Zeal to the centers of the letters. Again, don’t go too heavy with the color.
Step 14:
Cut out a piece of coordinating patterned paper for a mat around your photo.
Step 15:
Adhere all layers with On Point Glue.
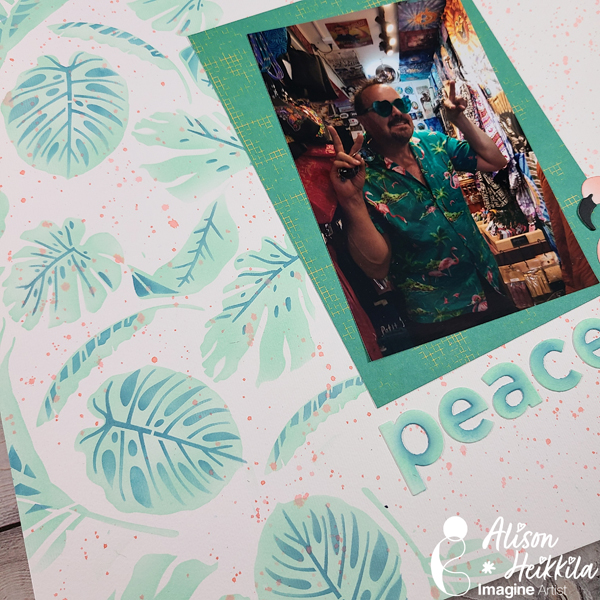
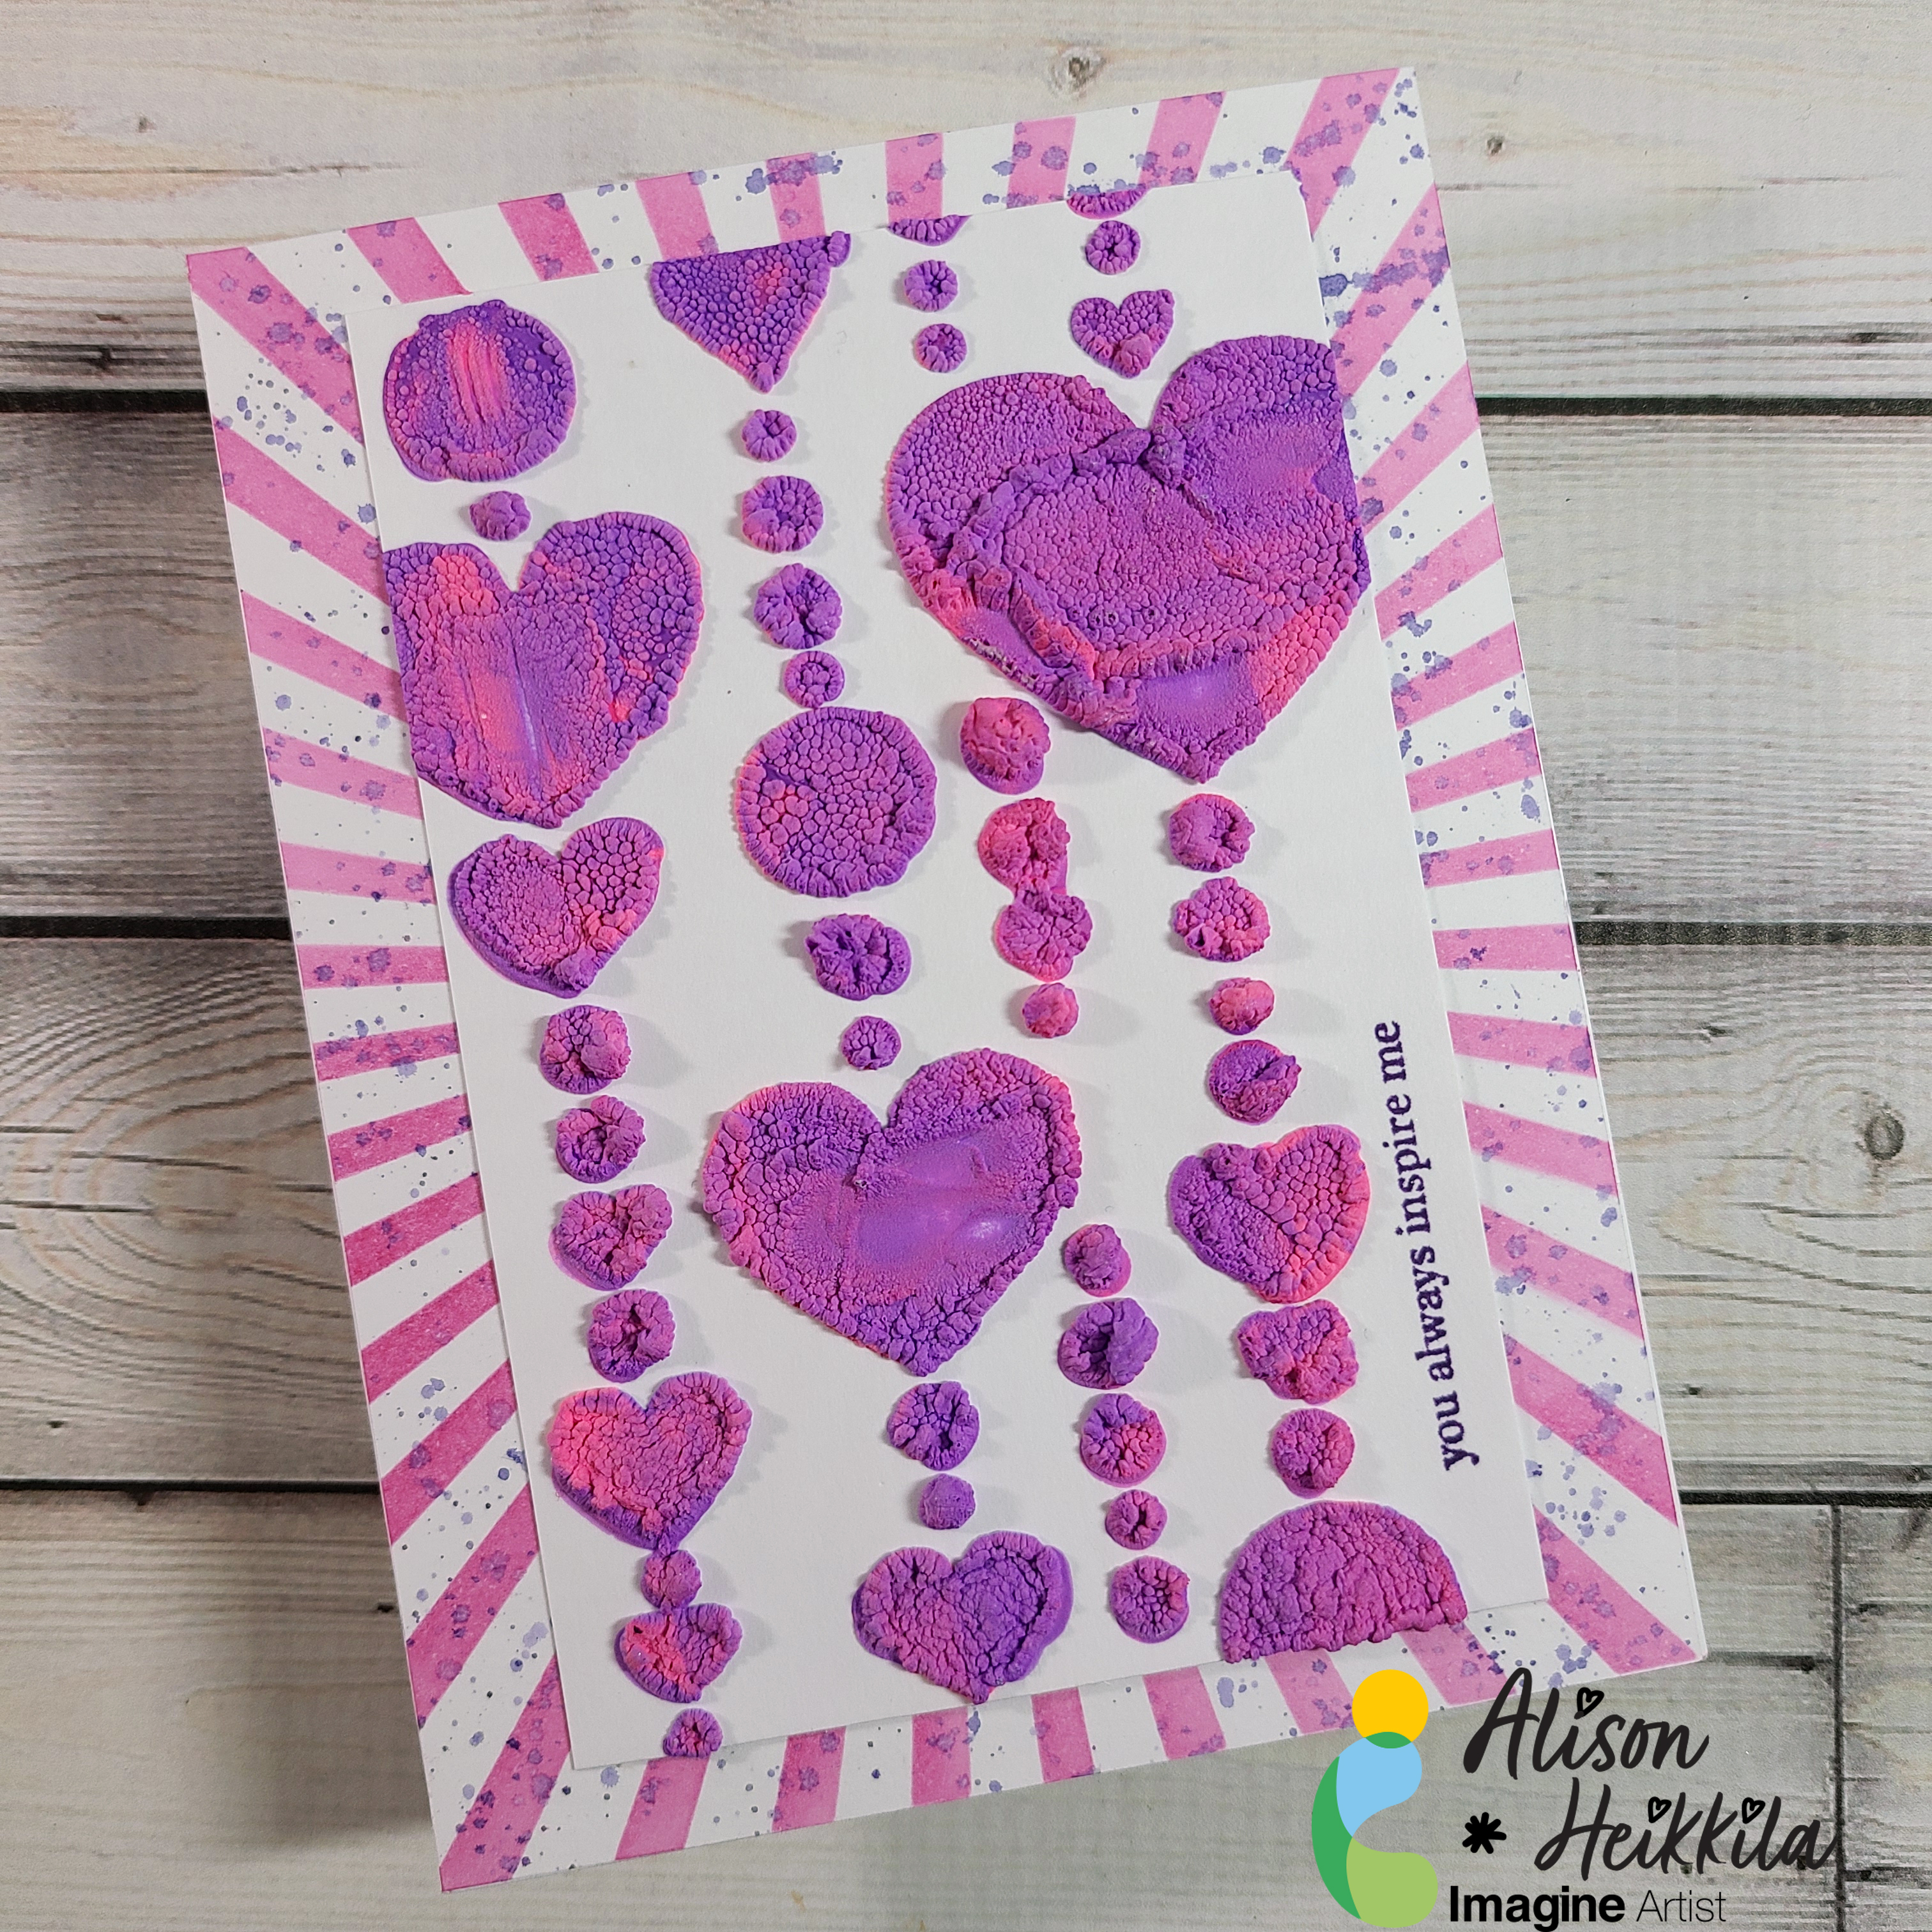
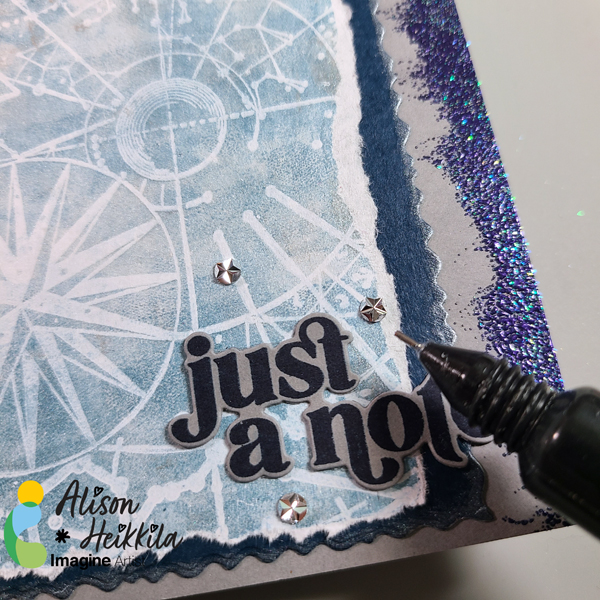
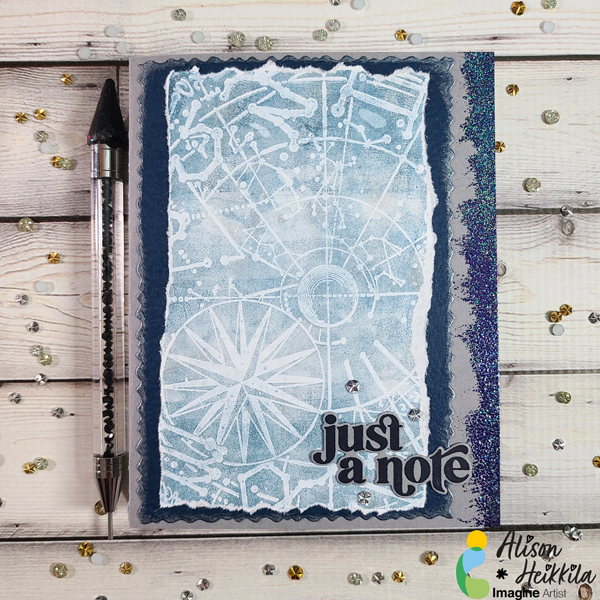
A close-up of the inking.
Art Supplies:
Imagine:
VersaMagic in Pixie Dust
VersaMagic in Aquatic Splash
VersaMagic in Pink Grapefruit
VersaMagic in Pumpkin Spice
Memento in Teal Zeal
Kaleidacolor in Bouquet
On Point Glue
Craft Mat
Other:
Erin Lee Creative: Monstera Layering Set
Erin Lee Creative: Flamingo Builder Die Set
Princeton Snap! Brush Size 10
Alphabet Die Set (the one I used is discontinued)
Blending Brushes
Patterned Paper
12×12 White Cardstock