By Jowilna Nolte
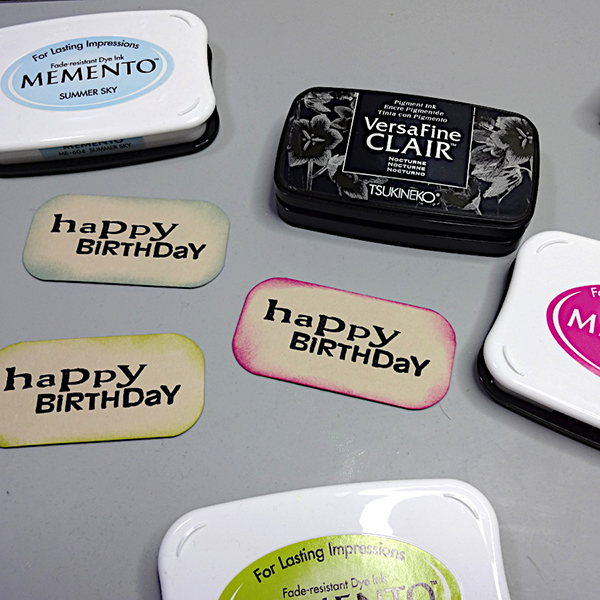
– I dream in color literally. This was the case the other night when I dreamt about some alcohol ink that wasn’t alcohol ink. And so experimenting started. I used my VersaFine Clair ink pads on Yupo paper. Now technically this will never dry but here is the trick how to create that gorgeous look.
Skill Level: Beginner/Intermediate
Time: 30 minutes
Directions:

Step 1
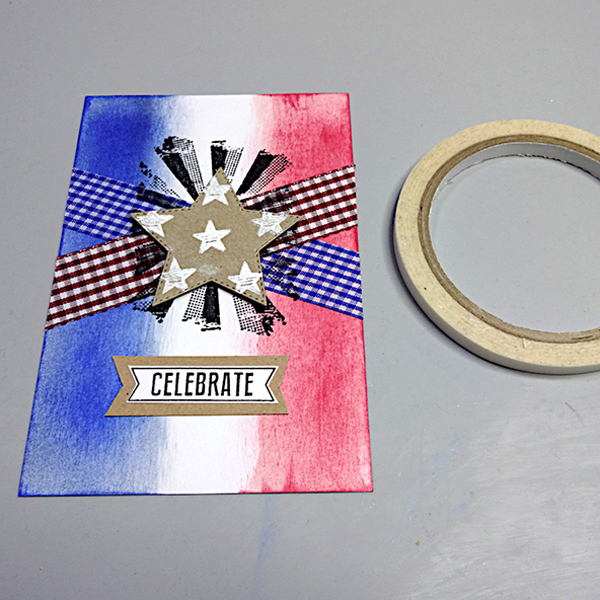
gorgeous colorful card perfect for advancing to the next grade.

Step 2
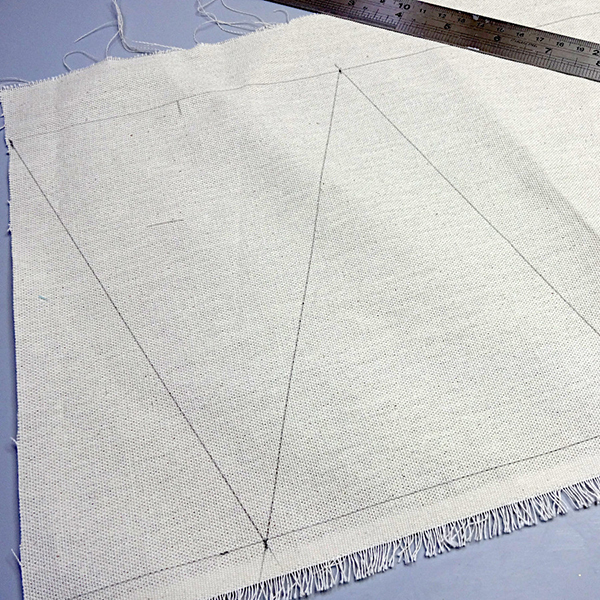
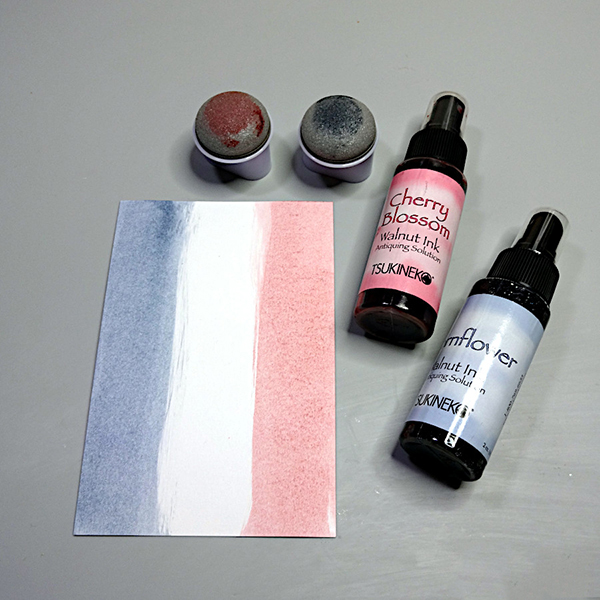
I used 200gsm Yupo paper in white. Swipe the first color of ink across the paper once or twice depending on how wide you would like your strip.

Step 3
Now continue with the second and third color of ink.

Step 4
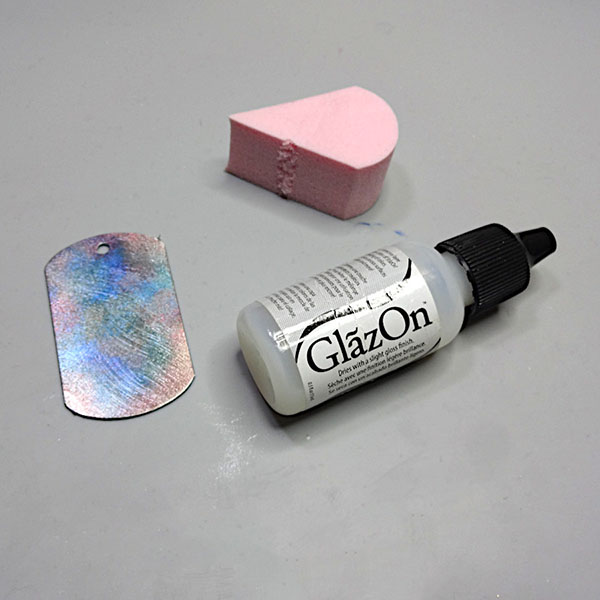
While the ink is still nice and wet use your blending solution and add quite a bit of it onto the ink. Let it sit for a while and then swirl the paper around to mix the colors a bit.
TIP: I also added some into a misting bottle and sprayed the inks to create small little drops of texture on it.

Step 5
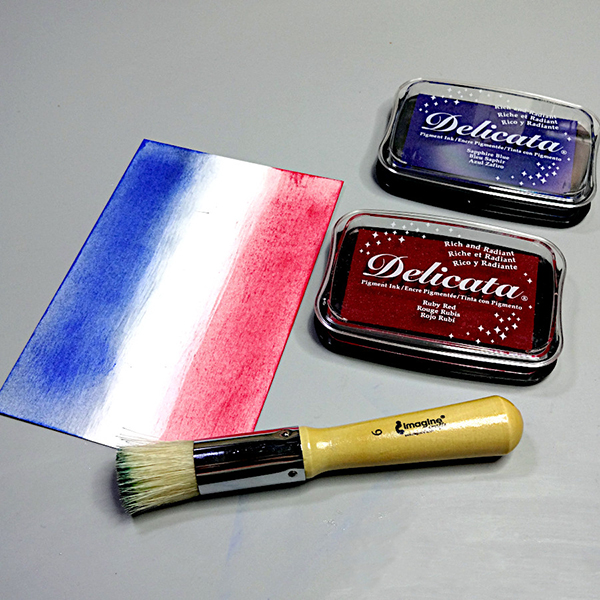
Leave to dry. I left mine to dry for a while and still had some thicker areas where the ink pooled that stayed tacky, so I simply used a clear sealant and sprayed that over the paper and left it again. It dried nicely and now all I have to do is use this gorgeous Faux alcohol ink piece of a project.
Trim your panel to fit onto the front of a folded card and adhere the panel using Tear It! Tape.
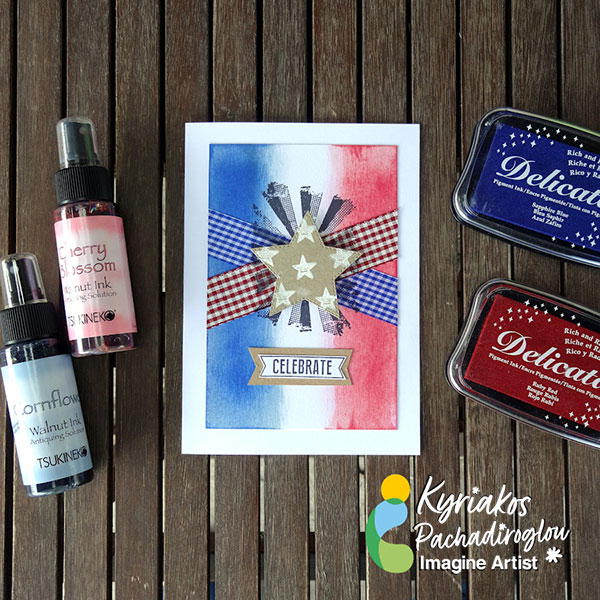
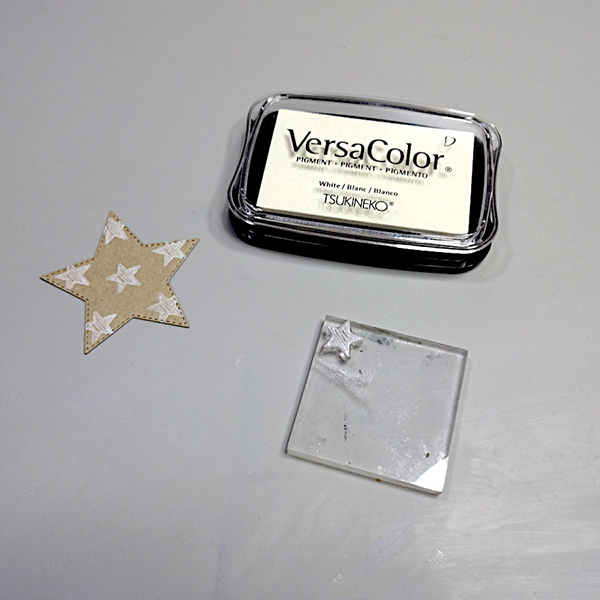
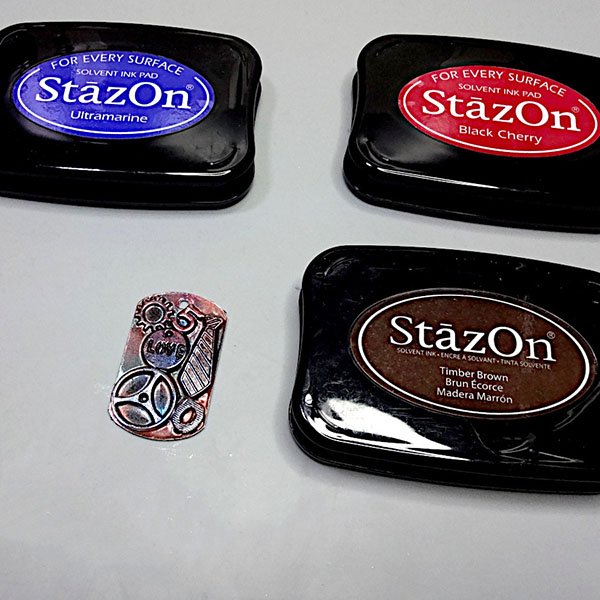
Add a vinyl decal and stamped sentiment, then finish off your card with a few scattered diamante. And in a few minutes you created this gorgeous colorful card perfect for advancing to the next grade.
Art Supplies
Imagine
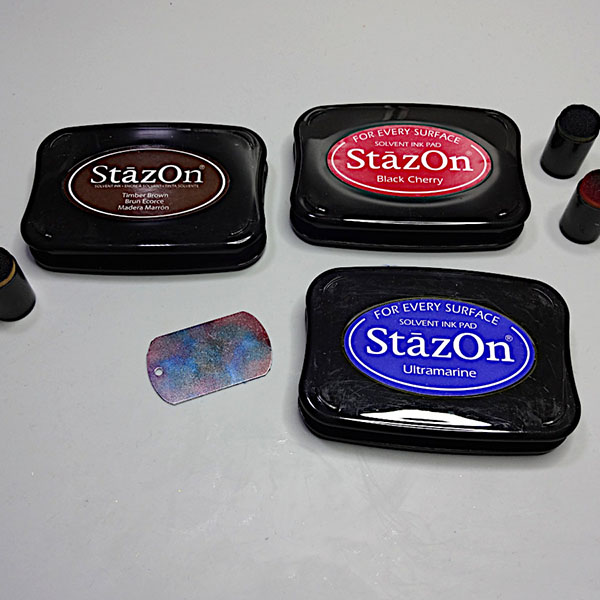
VersaFine Clair Paradise
VersaFine Clair Charming Pink
VersaFine Clair Summertime
VersaFine Clair Nocturne
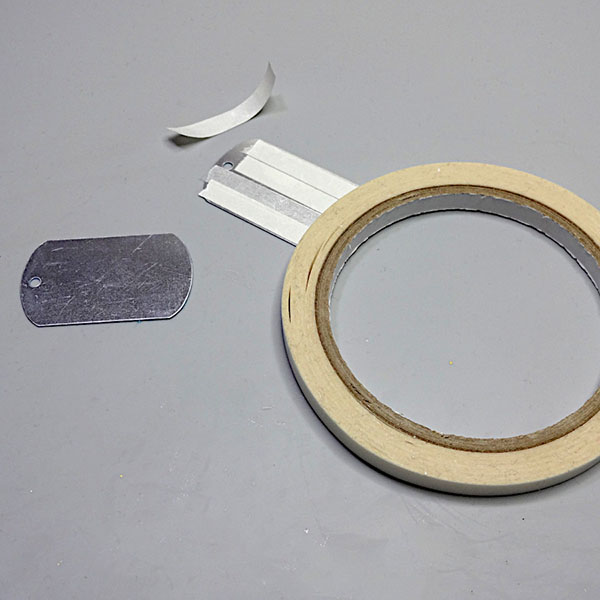
Tear It! Tape
On Point Glue
Other
Yupo paper
Alcohol blending solution
Die-cut: Cricut
Gold vinyl: Cricut
Die-cut machine: Cricut Maker
Embellishments
Stamps: Joy Clair