How to Make a Mother’s Day Card

2021_April2_JN_Mothersdaycard_1

By Jowilna Nolte 

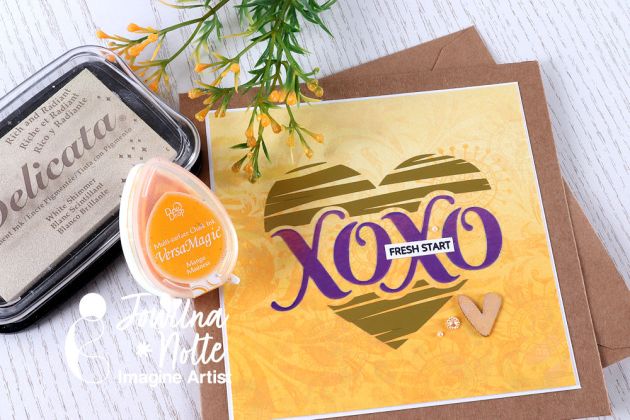
I am not one for a traditional Mother’s Day Card – although the message inside may be one of gratitude, on the outside it can reflect something personal as well.

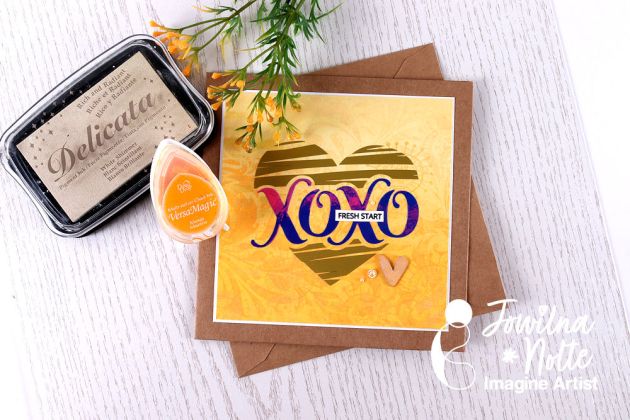
Instead of doing the usual thing I combined some fun stamping and inking with a vinyl heart and a little stamped sentiment that will mean the world to my mom.

“FRESH START” is my prayer for her this Mother’s Day – the beginning of so much more than just being a mother.

Skill Level: Beginner

Time: 30 minutes

Directions:
2021_April2_JN_MOthersdaycard_step1

Step 1
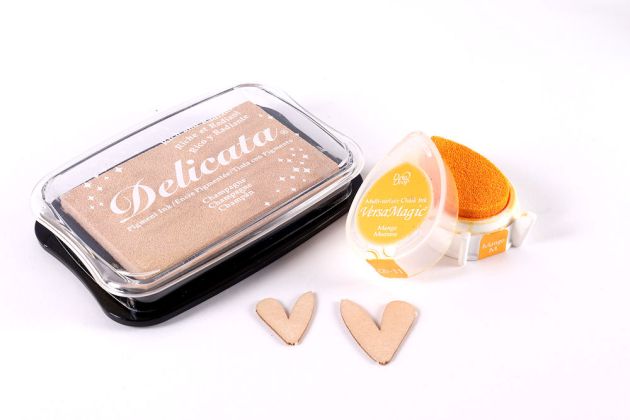
Combine VersaMagic Mango Madness with  Delicata Champagne to ink some chipboard hearts.
2021_April2_JN_Mothersdaycard_step2

Step 2
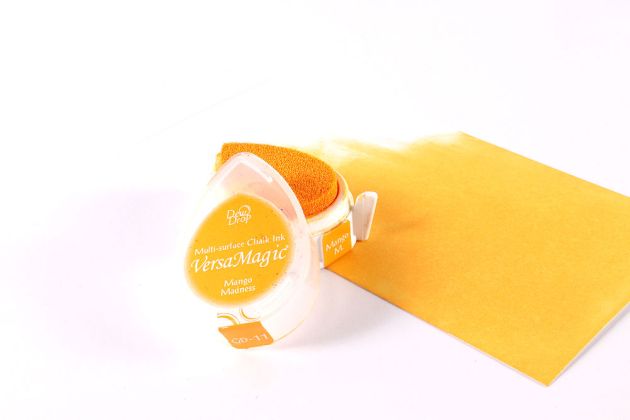
On a white smooth cardstock background, use the VersaMagic and ink the background. Combine the “direct to paper” method carefully blending the ink and then use a sponge dauber for achieve an ombre effect towards the top.
2021_April2_JN_Mothersdaycard_step3

Step 3

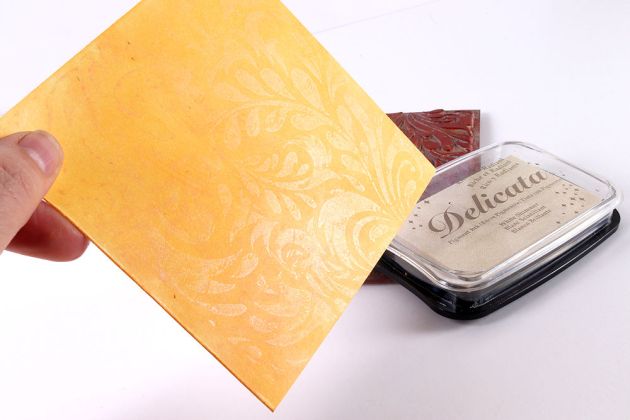
Stamp onto the background several times overlapping different stamp designs and VersaMagic ink. Then finishing off the top layer using Delicate White Shimmer to stamp the last layer. Look at that gorgeous shimmer.
2021_April2_JN_Mothersdaycard_step4

Step 4

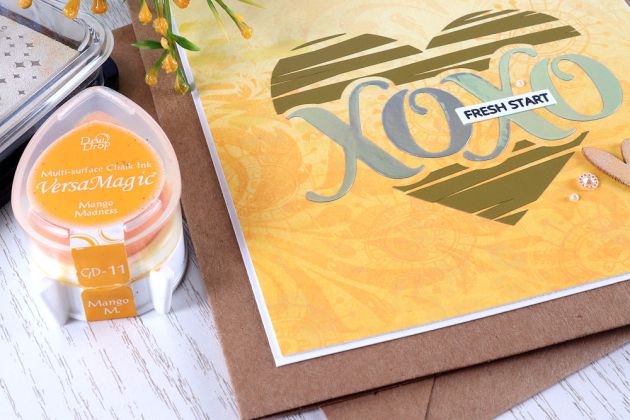
Apply a layered vinyl heart, stamped sentiment and chipboard heart, as well as some embellishments.
Matt onto white cardstock layer and then onto a kraft card.
2021_April2_JN_Mothersdaycard_2

And just like that I created a heartfelt and meaningful Mother’s Day Card with lots of sparkle and shimmer – wishing my mom a bright future ahead.

Art Supplies

Imagine

• VersaMagic Mango Madness
• Delicata Whte Shimmer
• Delicata Champagne
• On Point Glue
• Tear It! Tape

Other

• Smooth White Cardstock
• Stamps: Hero Arts, Carabelle, Altenew
• Vinyl: Cricut
• Embellishments
How To Make a Fun Inky Mothers Day Card

PicsArt_03-23-01.23.16

By LeeAnn McKinney

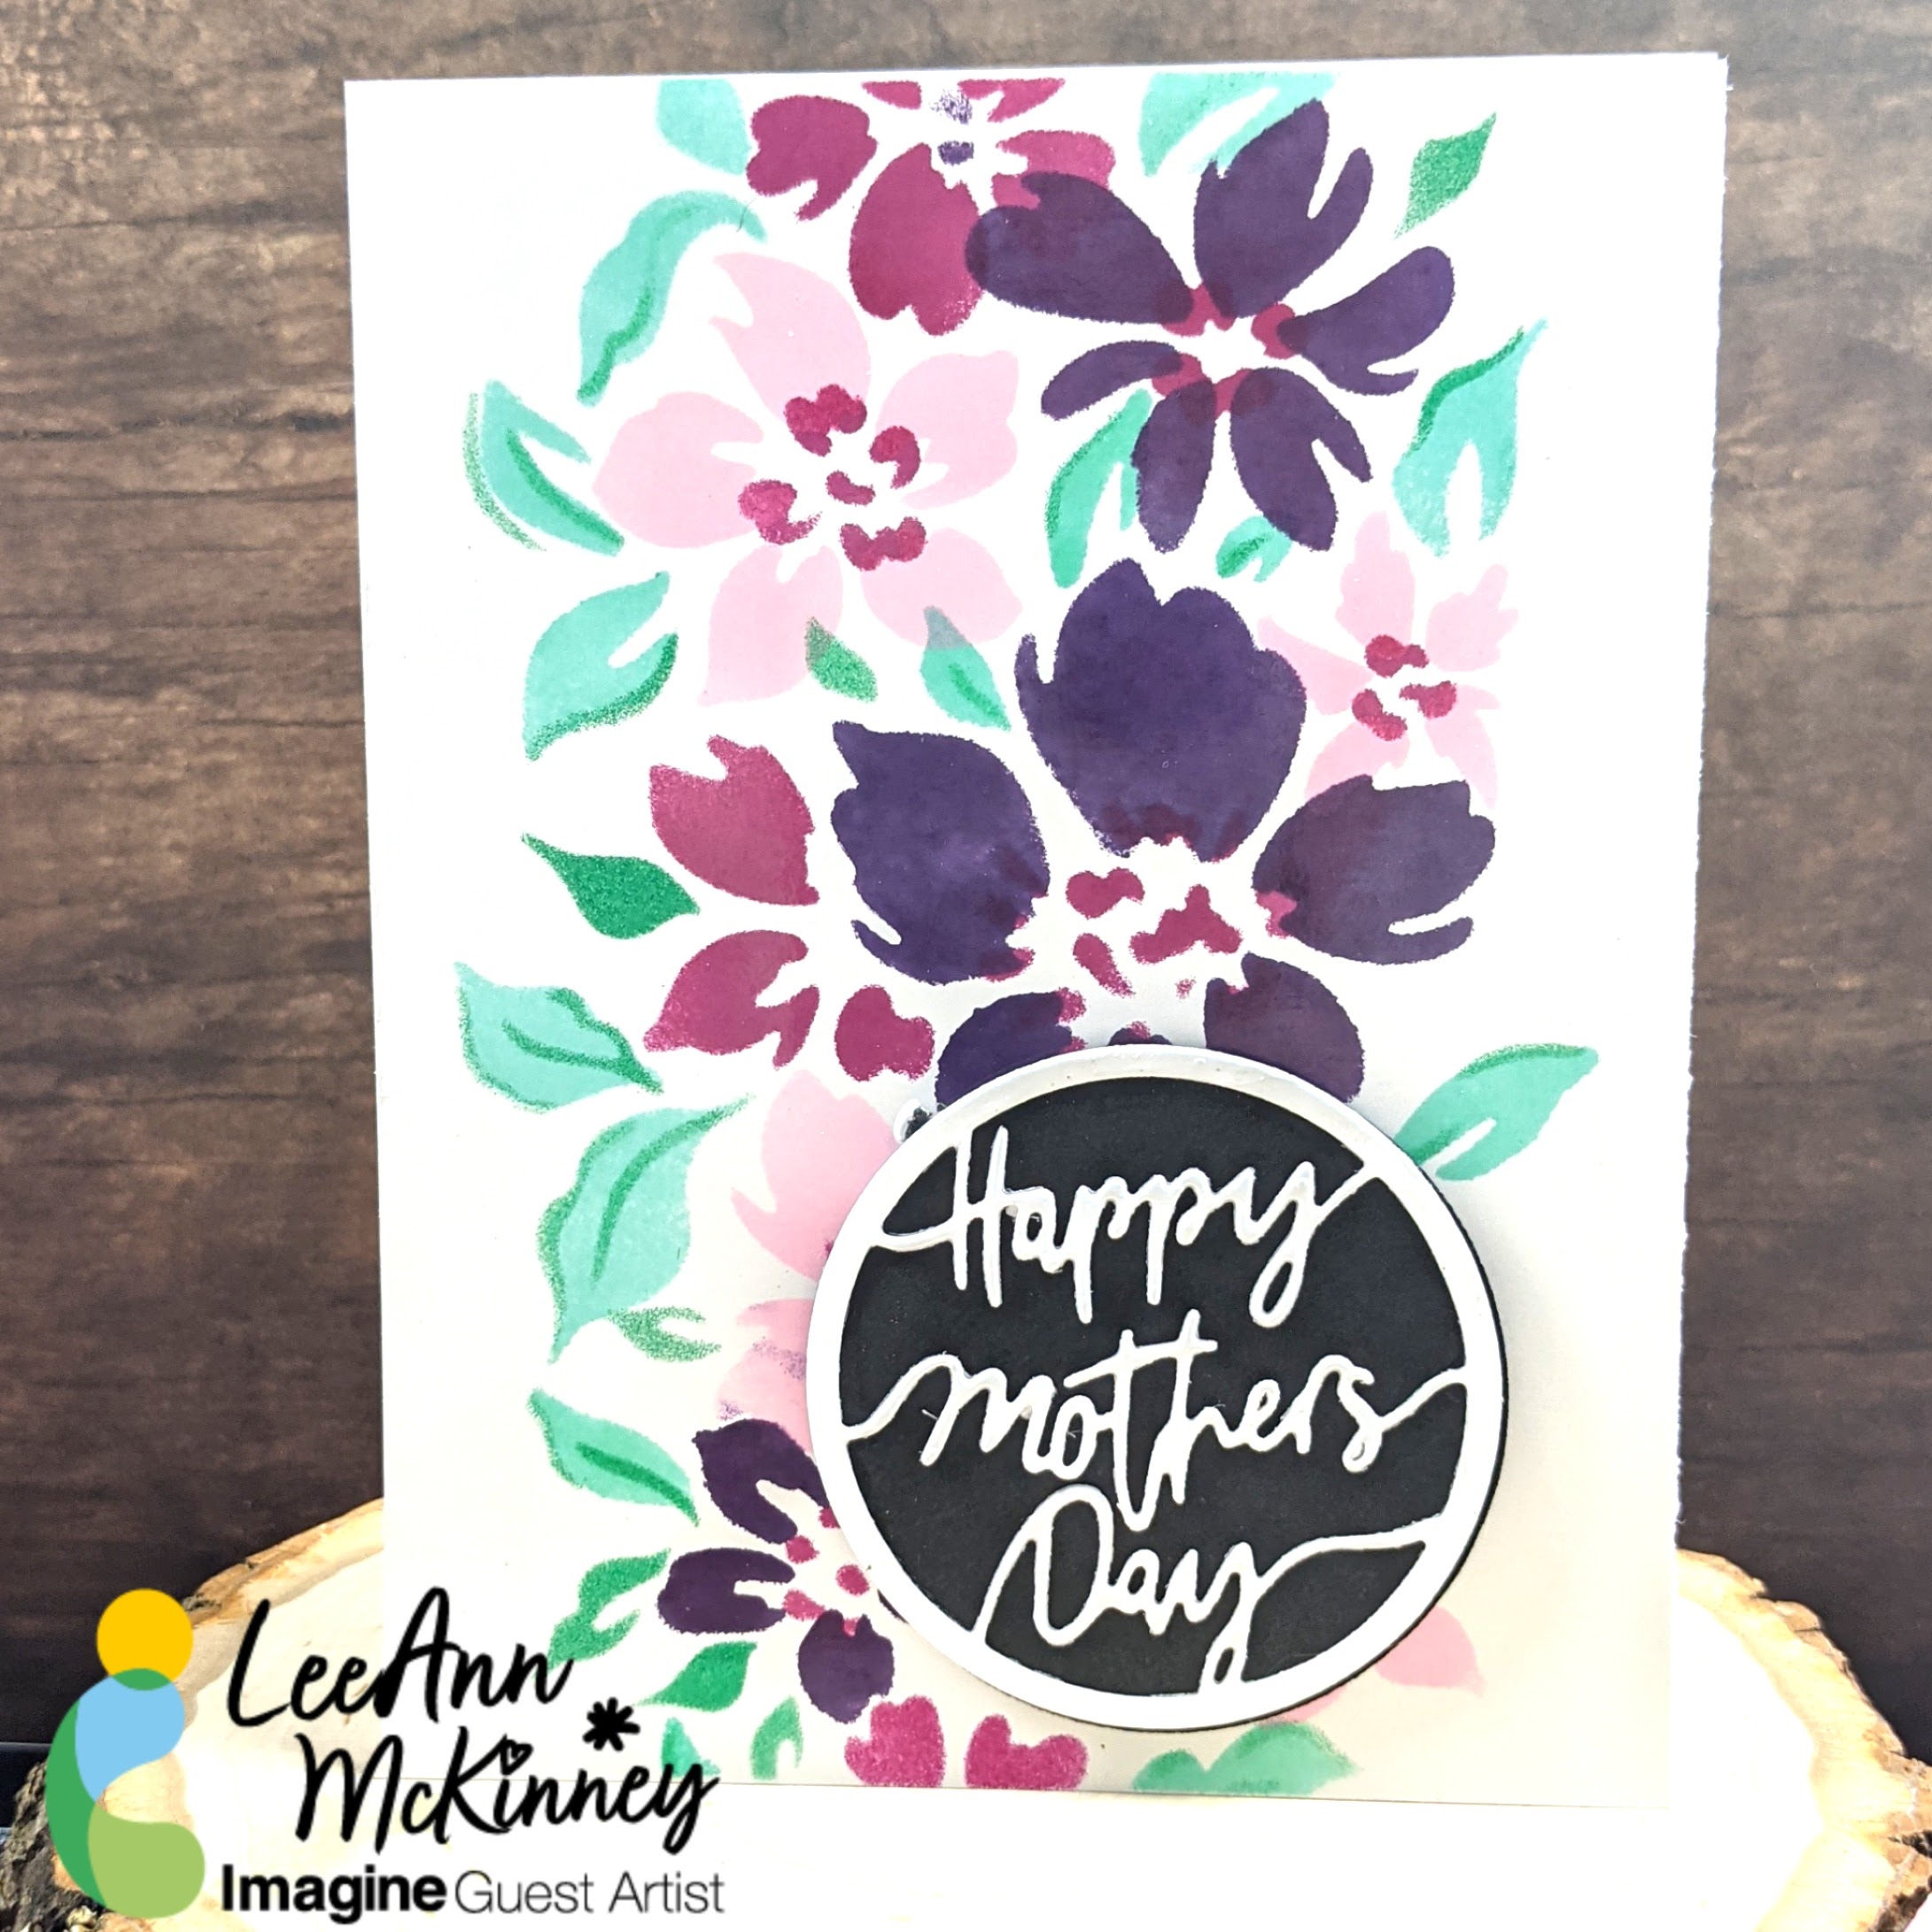
Hi there friends and fellow crafters. LeeAnn here with a fun Mother’s Day Card made using Several StazOn Inks and a Layering Stencil set. This is a really fun technique and anyone can do.


Art Supplies

Imagine:

• Imagine Craft Mat 

• Imagine Jumbo Dauber

• Imagine Crafts StazOn Bordeaux 

• Imagine Crafts StazOn Plum

• StazOn Stamp Cleaner

• Accent Opaque 120lb Cardstock 

• StazOn Caribbean Green Ink 

• StazOn Cherry Blossom Ink

• StazOn Pigment Shamrock Green Ink


Other Products Used:

• PinkFresh Studios Seamless Floral

• Mother’s Day Sentiment Circle Dies- Scrappy Tails 

• Kromecote Paper Marco’s Paper – https://www.marcopaper.com/products.php?product=Kromekote-Cover-%28Glossy-Cardstock%29Cord, ribbon

Make Two Mother’s Day Cards Using StazOn On Trend Ink Colors and Pearl Vellum

By Katy Ingram

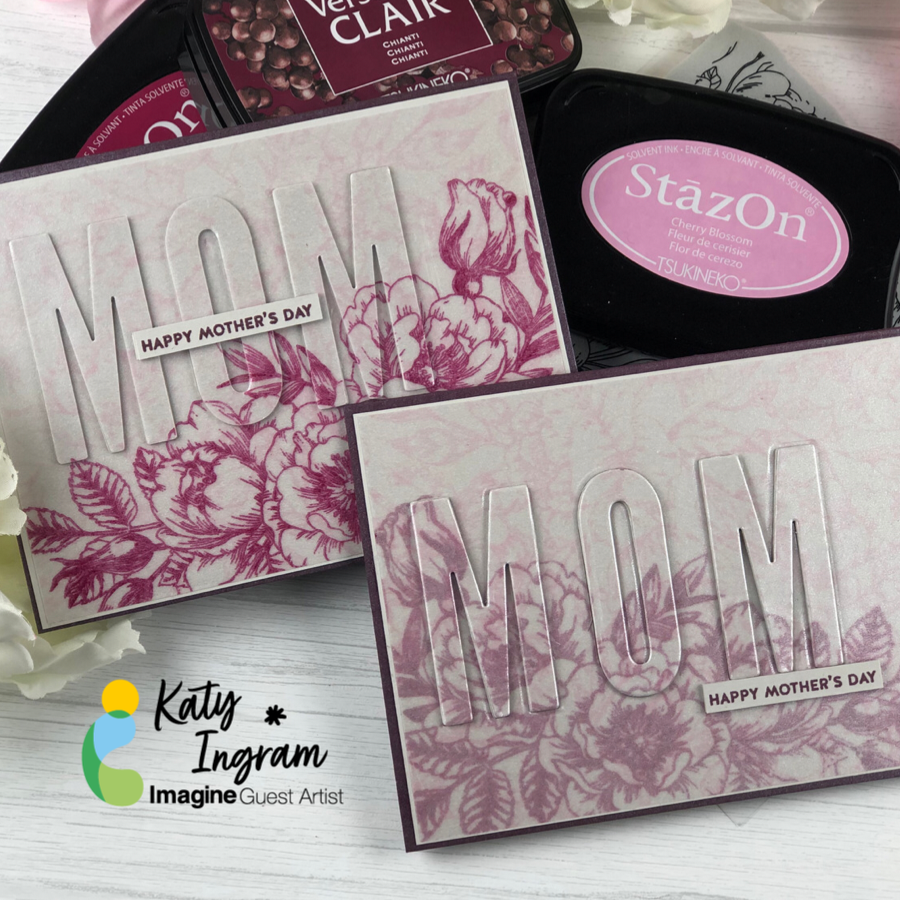
Hello my friends! Katy here and today I am going to show you how to create two cards with the same stamps and ink that give you a bold look and subtle look. Check out my video below to see how these cards came together. I hope you enjoy.

Skill level: Beginner, Intermediate, Advanced

Time: About 1 hour

Art Supplies:

Imagine

• VersaFine Clair – Chianti

• StazOn Ink Pad – Cherry Blossom

• StazOn ink Pad – Bordeaux

• On Point Glue

Other

• Kat Scrappiness – Condensed Uppercase Die Set

• Cut Cardstock – Stardream Metallic Ruby

• Cut Cardstock – Curious Translucent Pearl

• Simon Says Stamp – Fog Cardstock

• Spray Adhesive

• Simon Says Stamp – Beautiful Flowers Stamp Set

• Simon Says Stamp – Incredible Women Stamp Set

• Simon Says Stamp – Pretty Peony Bouquet Background Stamp

Let’s Make a St. Patrick’s Day Card Using M’Boss

By LeeAnn McKinney


Hi there inky friends. LeeAnn here and today I am bringing you a fun card I made using VersaMark Clear Sticky Ink and Emerald Green M’boss. I absolutely love heat embossing, it is one of my 3 favorite techniques for my projects and I am so happy to share it with you.


Art Supplies

Imagine

• Imagine Craft Mat

• Delicata Golden Glitz

• Memento Dandelion Dye Ink

• Imagine Tear It Tape

• VersaMark 

• Emerald Green M’boss

Other

• Prickly Pear Shamrock Background Stamp – https://www.prickleypear.com/shamrock-background/

• Prickly Pear Luck of the Irish – https://www.prickleypear.com/luck-o-the-irish-red-rubber-stamp/

How to Create Some Fresh and Funky Cards for Valentine’s Day

By Jowilna Nolte 

Hi everyone, on today’s blog, I am sharing some fun cards I created using StazOn Studio Glaze.
I love this stuff for the fun effects you can achieve as well as the vibrant and amazing colors in the range.

Skill Level: Beginner

Time: 20 minutes

Directions:

Step 1
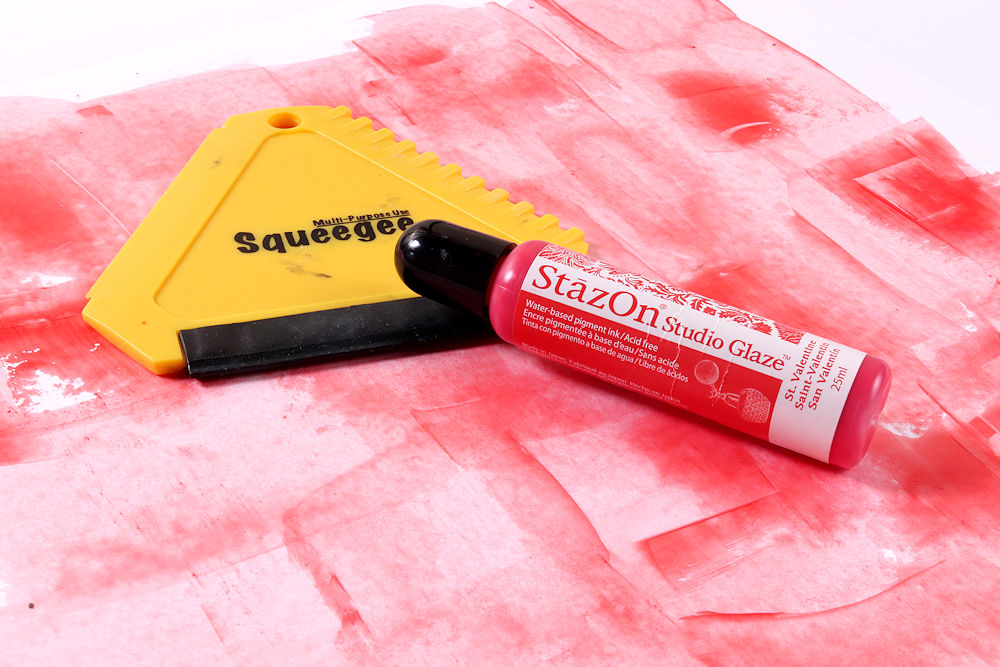
Squeeze some glaze onto your squeegee and swipe your first color over a sheet of smooth white cardstock.
You can leave this to dry for a few minutes.


Step 2
Apply a second color to your squeegee and swipe it over the first color. I use the rubber side on my squeegee but also sometimes use one of the other edges.
Both edges work perfectly, and you can always create some effects using the textured sides.


Step 3

I also used a second color combination and created another sheet for a fresh spring look.


Step 4

Once your background is dry, use a heart or flower die-cut and die-cut some shapes using your die-cutting machine.


Step 5

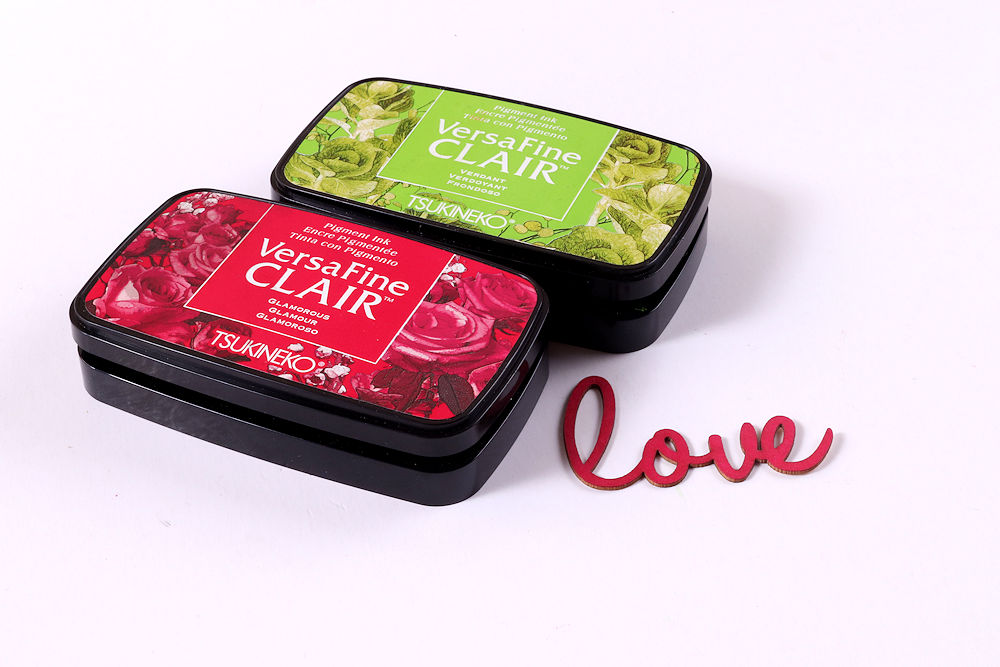
Use your VersaFine Clair ink and color some chipboard words by directly inking the words.
Once dry, you can adhere them to your card.


Step 6

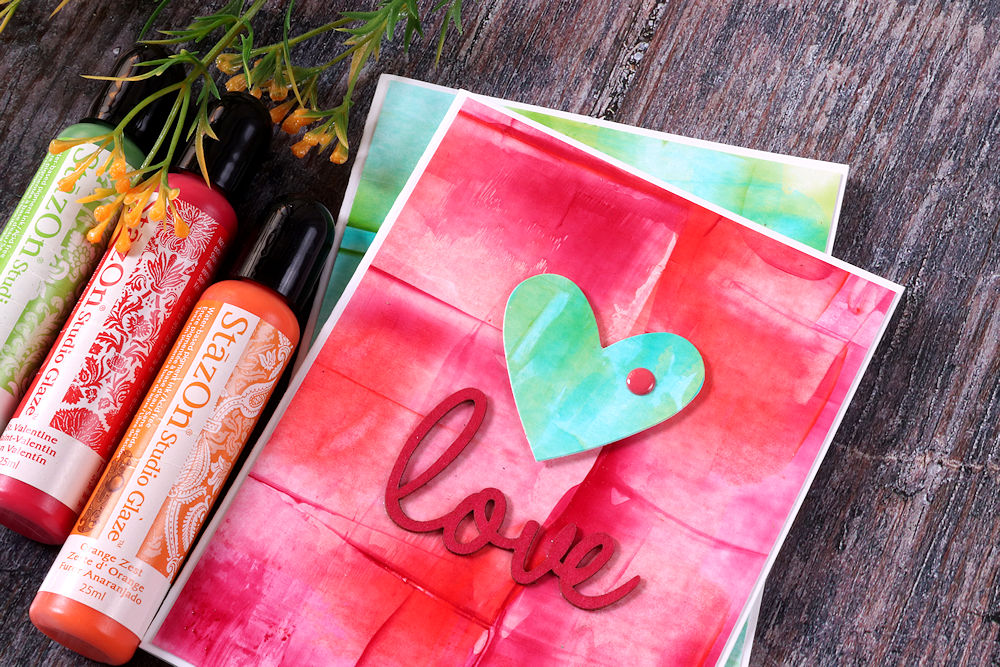
Assemble your card by adhering the hearts to your background using foam tape.
Adhere the “love” word using On Point Glue and finish off your card with an enamel dot.


And in a few easy steps, you have a gorgeous set of cards using some fun backgrounds and hearts.

For me the shine, texture, and patterns achieved are what makes these cards so special, and I just love using these glazes.

Until next time – keep on creating!

Art Supplies

Imagine

• StazOn Studio Glaze Orange Zest
• StazOn Studio Glaze St. Valentine
• StazOn Studio Glaze  Emerald City
• Multi-Purpose Squeegee Blue
• On Point Glue
• VersaFine Clair Glamorous
• VersaFine Clair Verdant 


Other 

• White Cardstock
• Heart Die-Cut: Tim Holtz
• DIY Cuts Machine: Kaisercraft
• Chipboard Word: Kiriche Laser
• Enamel Dots
• Foam Tape
• Smooth White Cardstock

Learn How to Make a Cupid Valentine’s Card with Brilliance Shimmery Inks

By Jessica Lin

Hi everyone, it’s Jessica here. Did you know that you could watercolor with your shimmery ink pads? I tried watercolor with some Brilliance Dew Drop ink pads today and I was so amazed at the result! The shimmer and sparkle definitely add that extra detail to a simple card. Let me know if you have tried this before!

Skill Level: Intermediate

Time: 35 Minutes


Art Supplies

Imagine

• VersaMagic Ink Pad- Thatched Straw, Wheat

• Brilliance Ink Pad –  Rocket Red, Rocket Red Gold, Pearlescent Chocolate, Galaxy Gold, Moonlight White

• VersaFine Clair – Nocturne


Other Products

• Water brush

• Tim Holtz Watercolor Cardstock

• Stampin’ Up Flight of Fancy stamp set

• Stampin’ Up Well Said bundle

• Spellbinders Die Set – Shoot

• Red cardstock