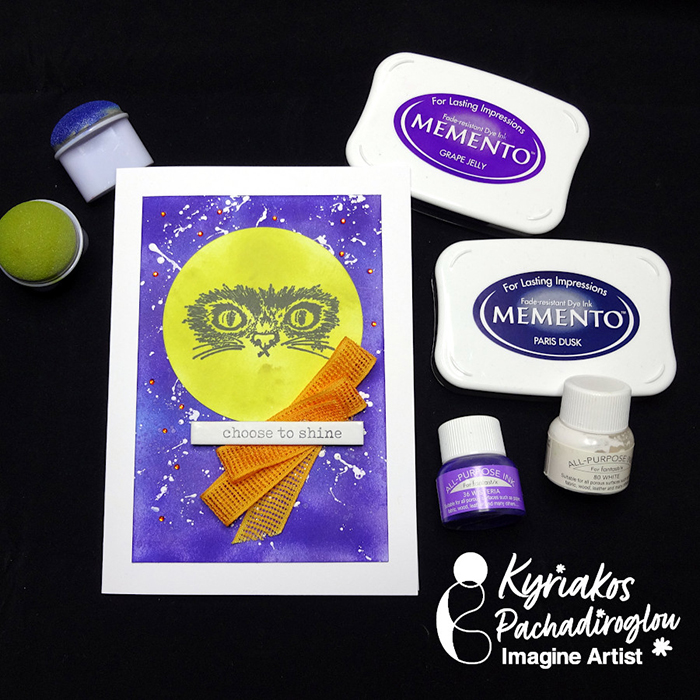
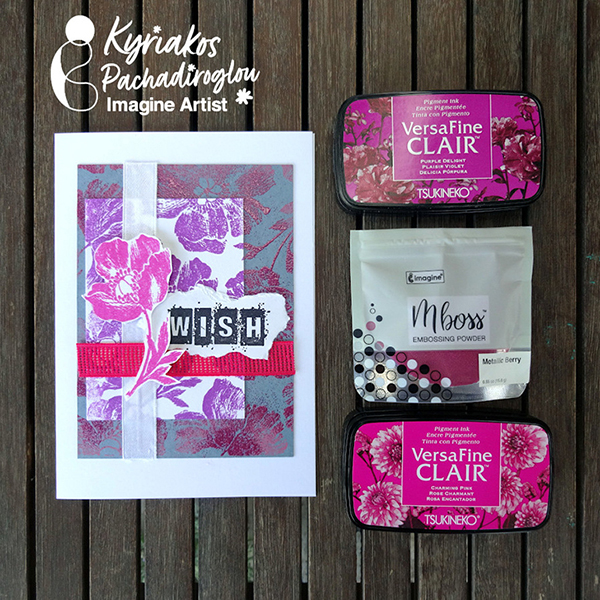
By Kyriakos Pachadiroglou –
Use a small leaf to stamp on a card with MEMENTO ink and color real leaves with StazOn ink to decorate it. Seal the leaves with Creative MEDIUM to protect and easily use them as embellishments.
Skill: Beginner
Time: 1 Hour
Directions:

Step 1
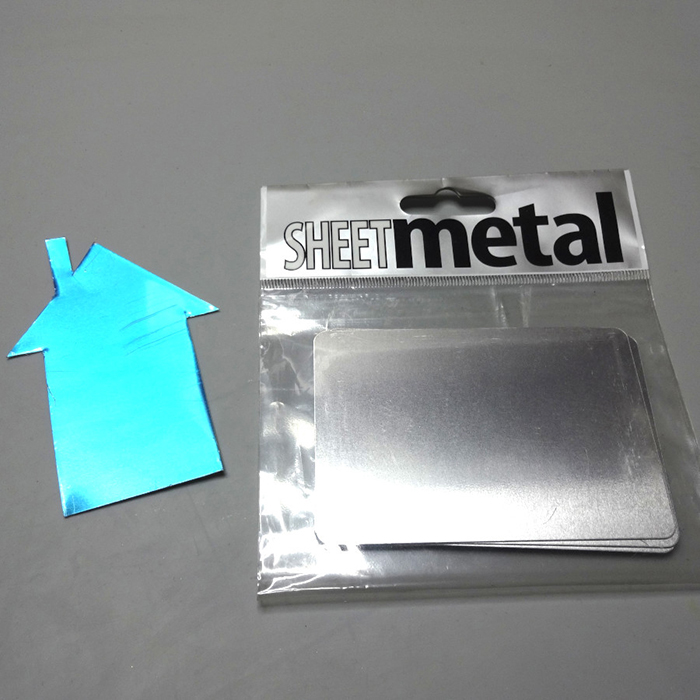
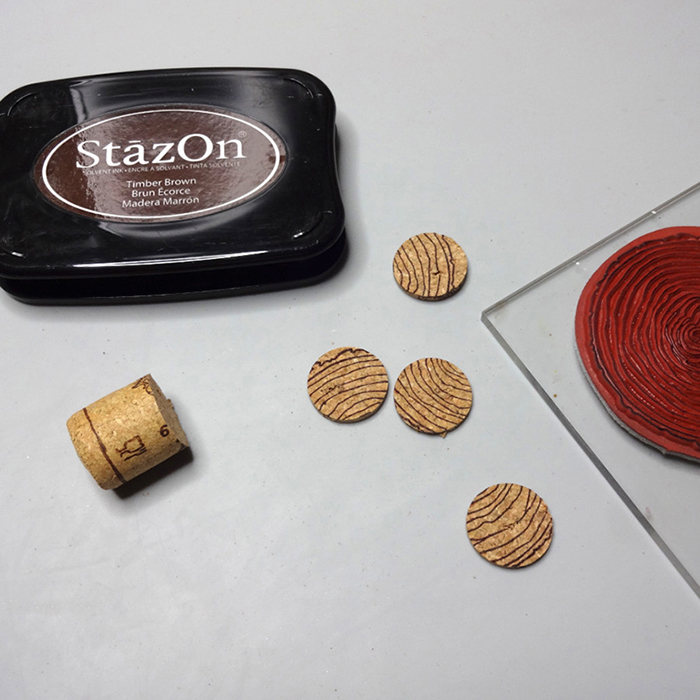
Place Tack’ N Peel on a stamping block and set a leaf. Cut around the leaf using a sharp blade and remove the Tack’ N Peel.

Step 2
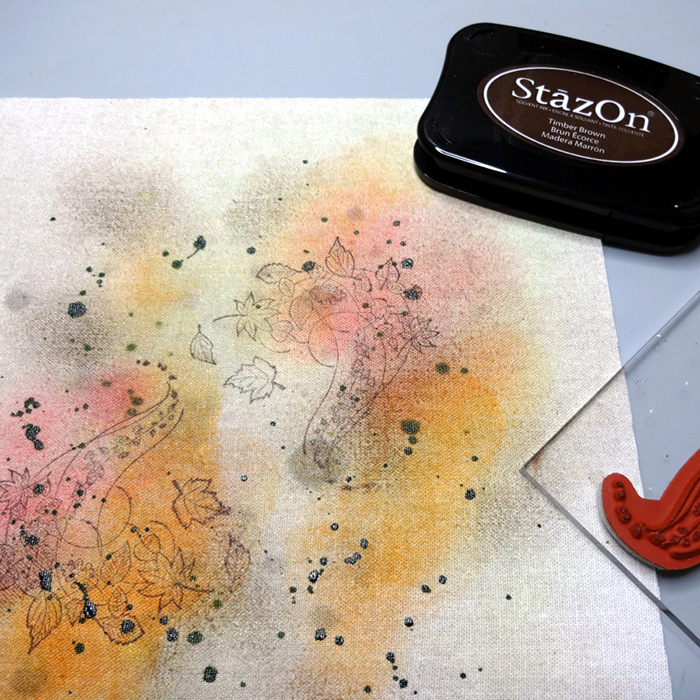
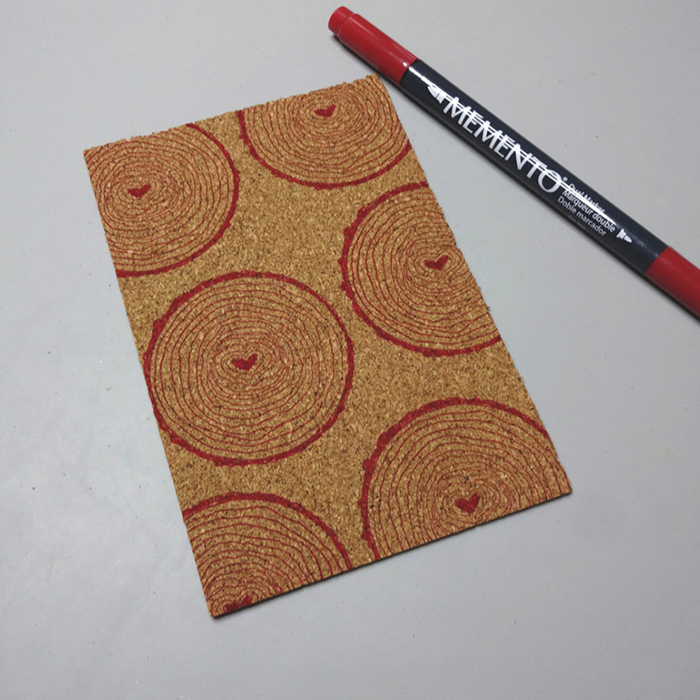
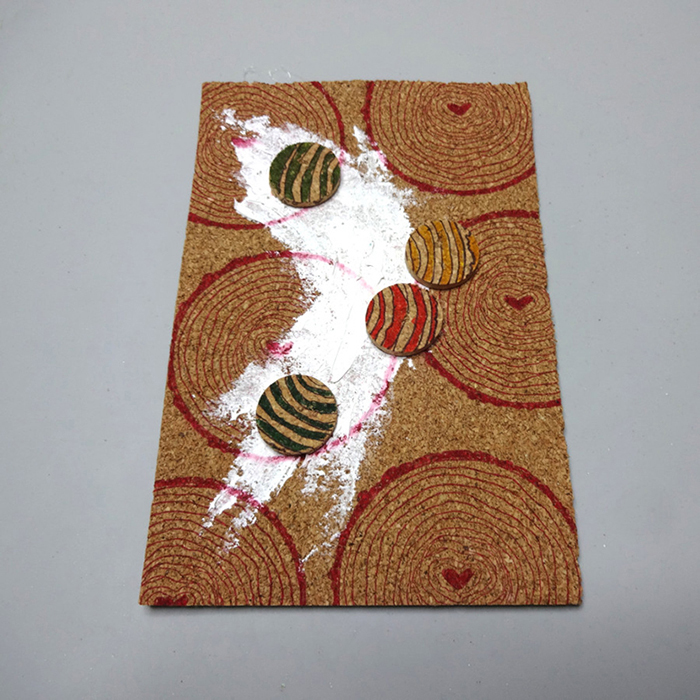
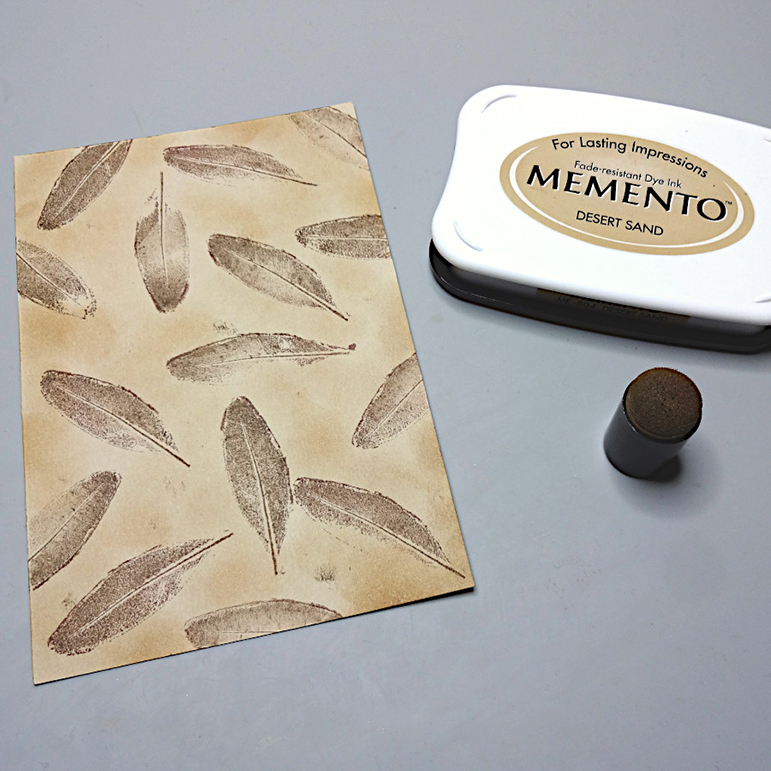
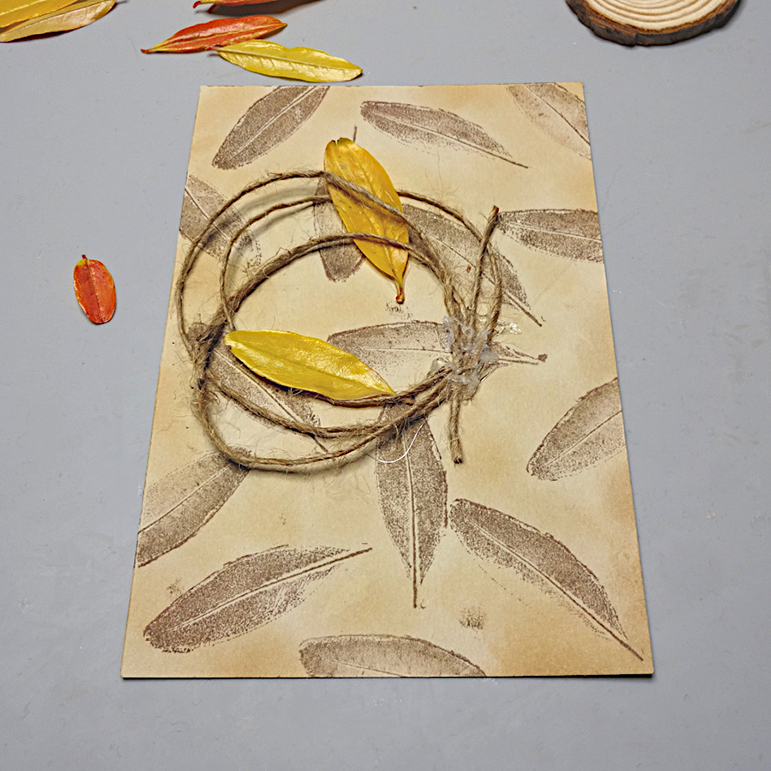
Stamp with MEMENTO Rich cocoa on a 4x6in piece of card stock.
Step 3
Distress with MEMENTO Desert sand.
Step 4
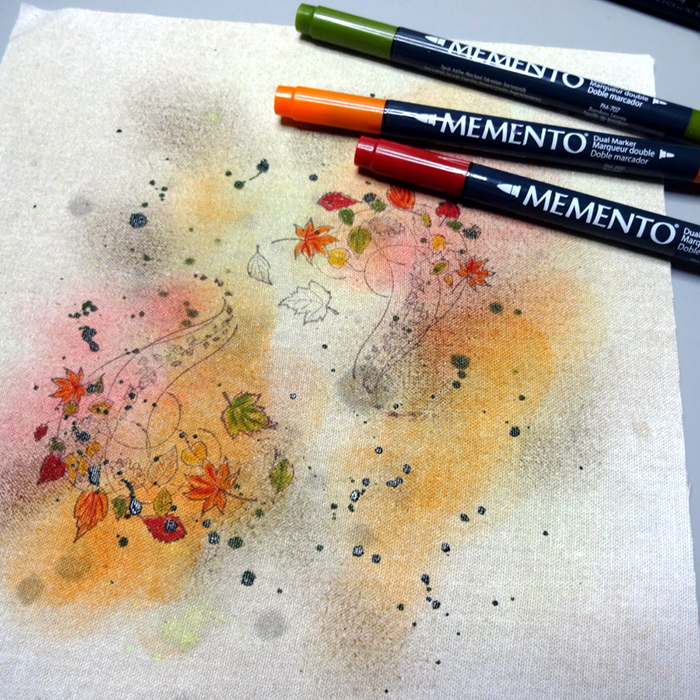
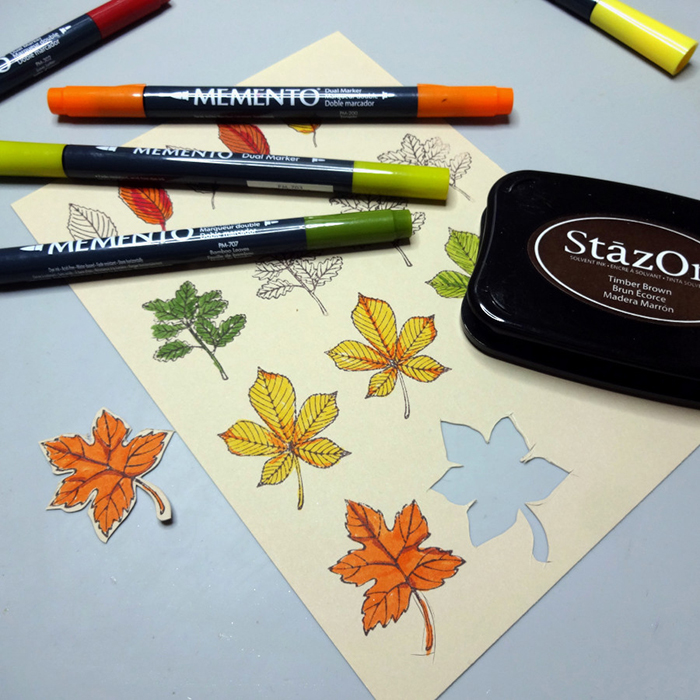
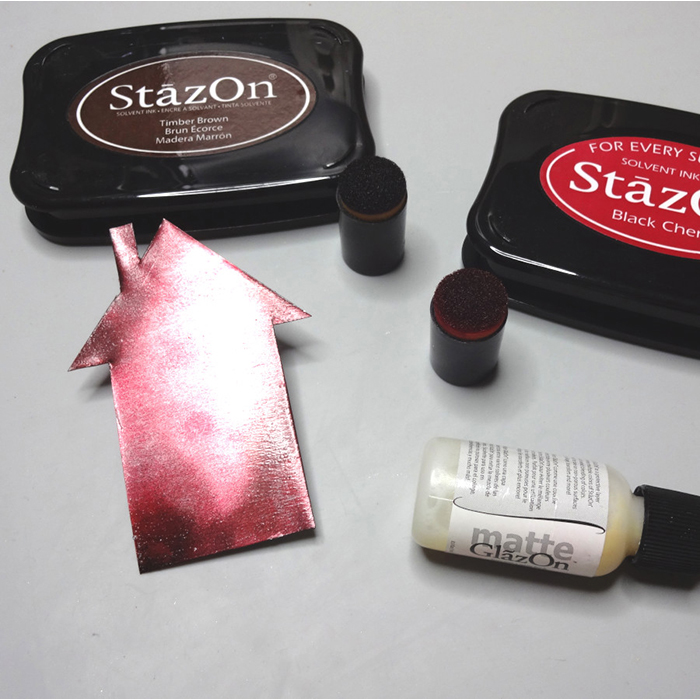
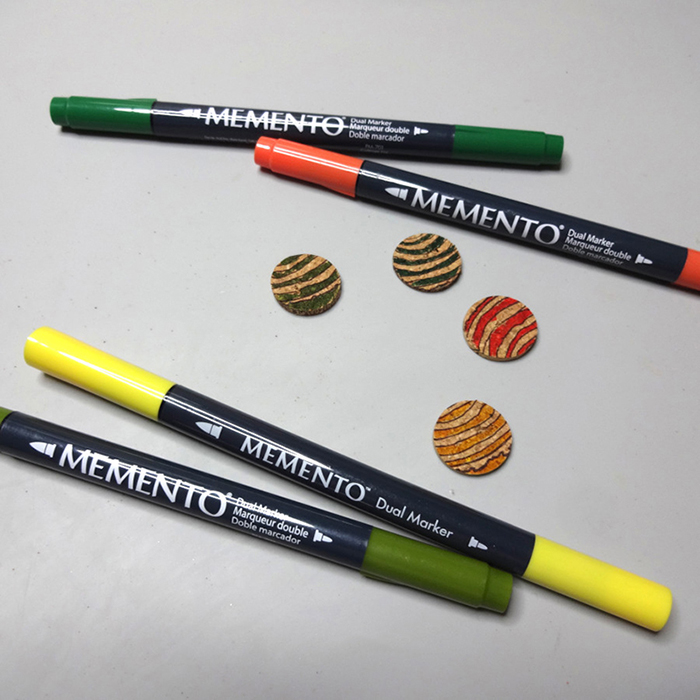
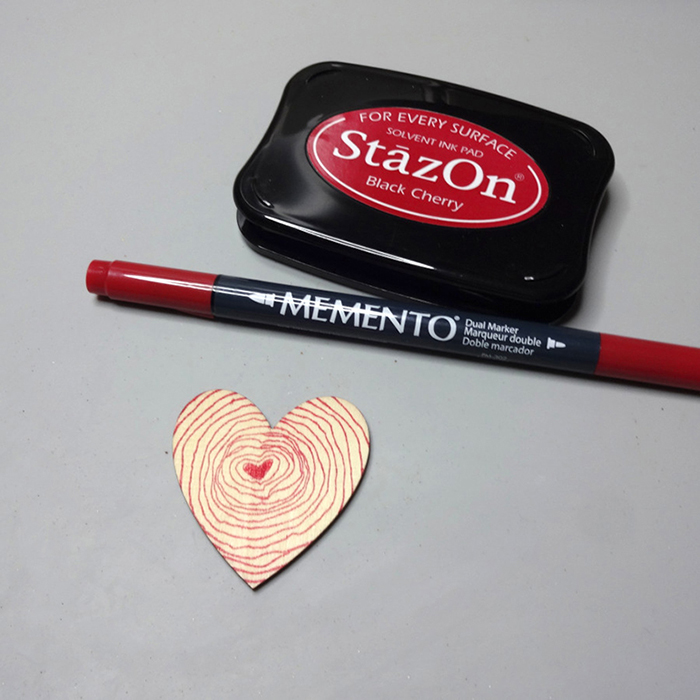
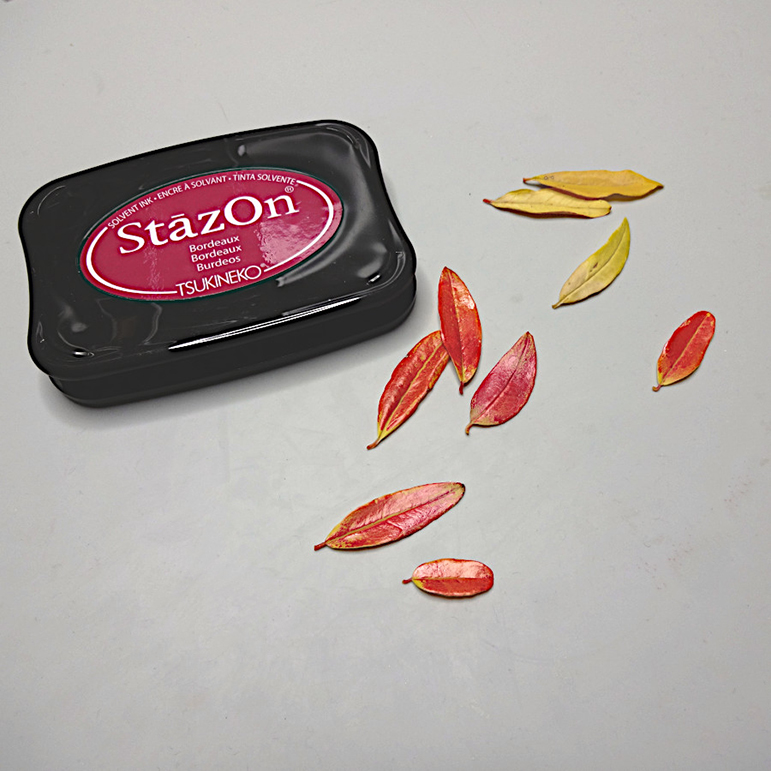
Color leaves with StaZon Black cherry ink pad.

Step 5
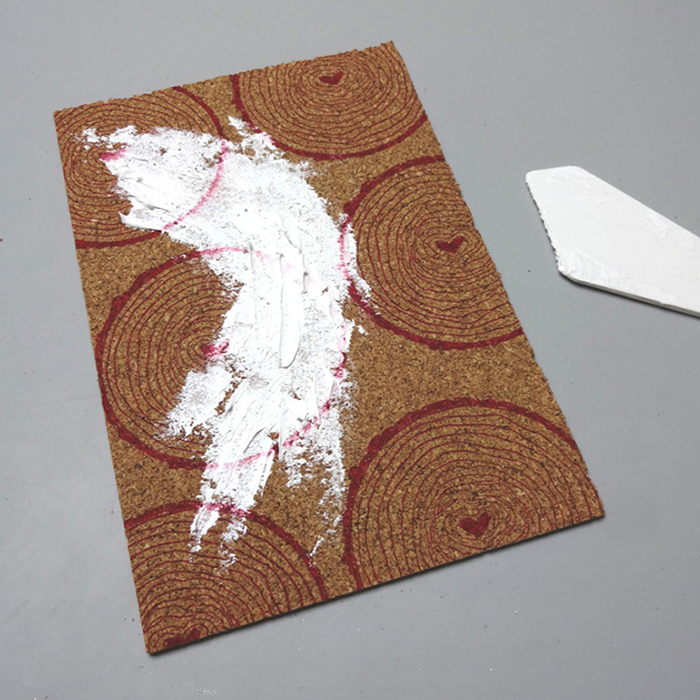
Cover all the leaves with Creative MEDIUM using an Ink blusher.

Step 6
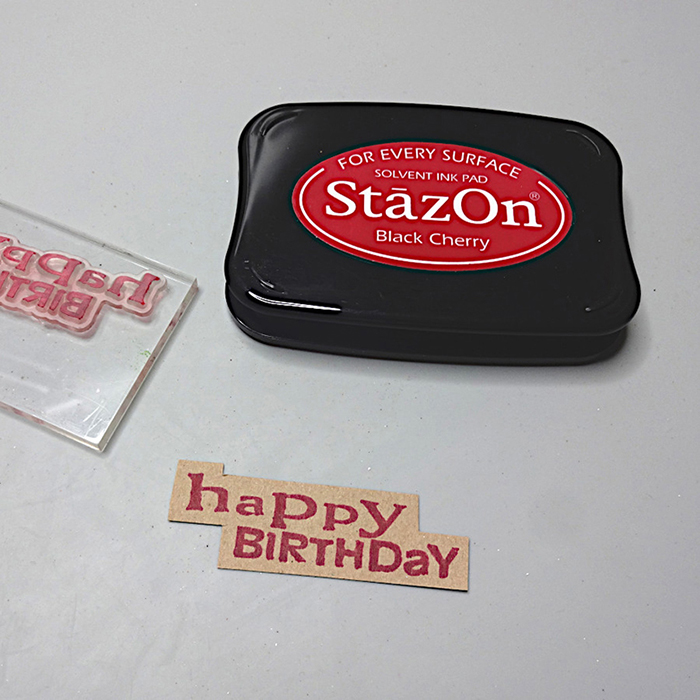
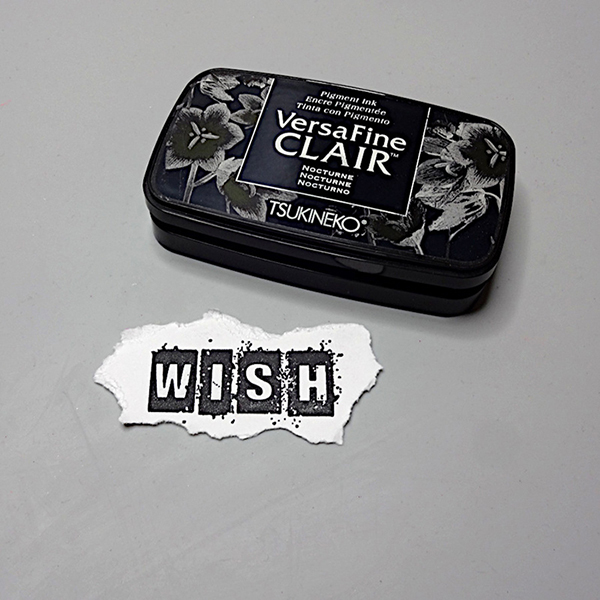
Stamp a thank you sentiment with StazOn Black cherry and cut around.
Step 7
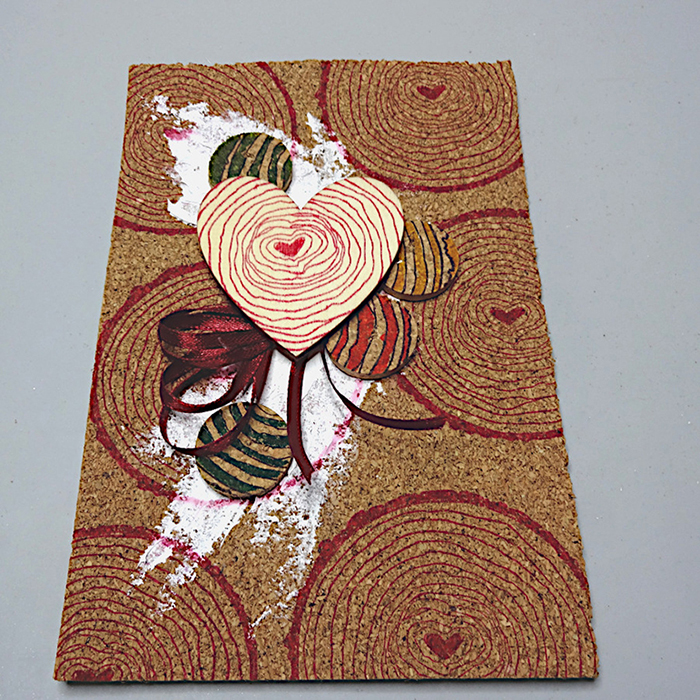
Wrap some jute cord and glue on the card. Continue adding leaves.

Step 8
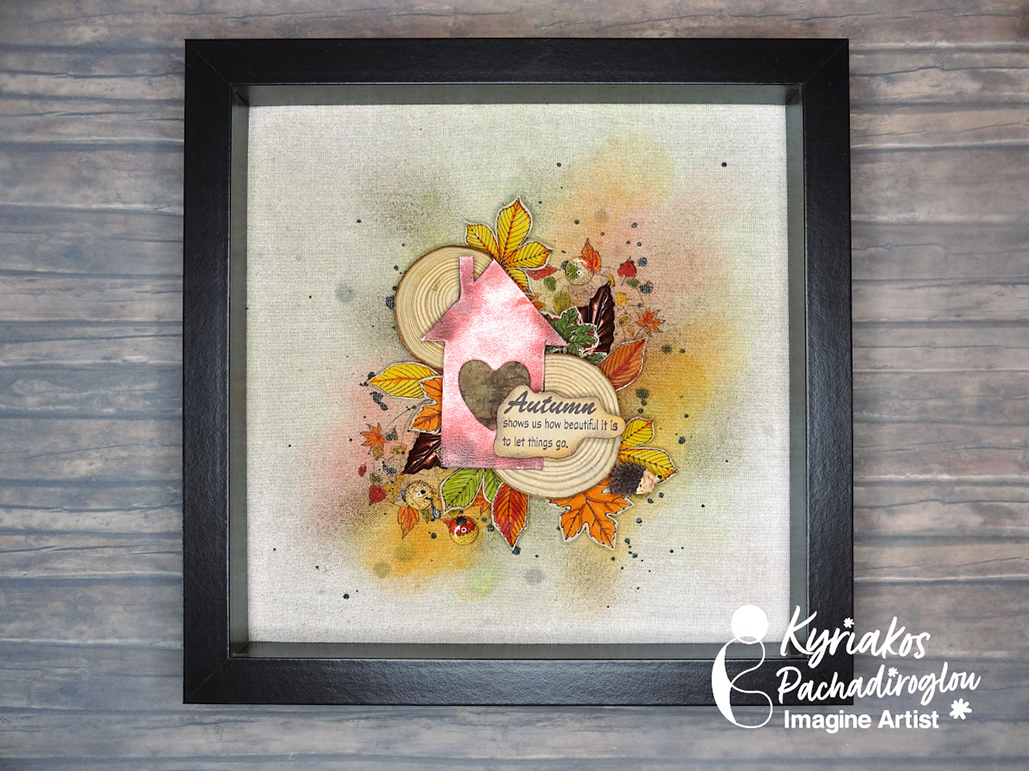
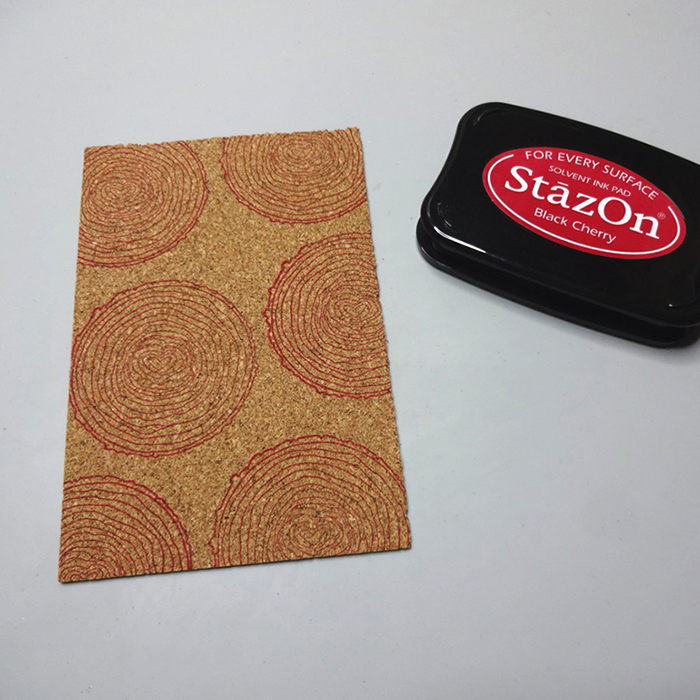
Place the wood slice and the thank you sentiment. Attach on a card base using Tear It! Tape.
Art Supplies:
Imagine
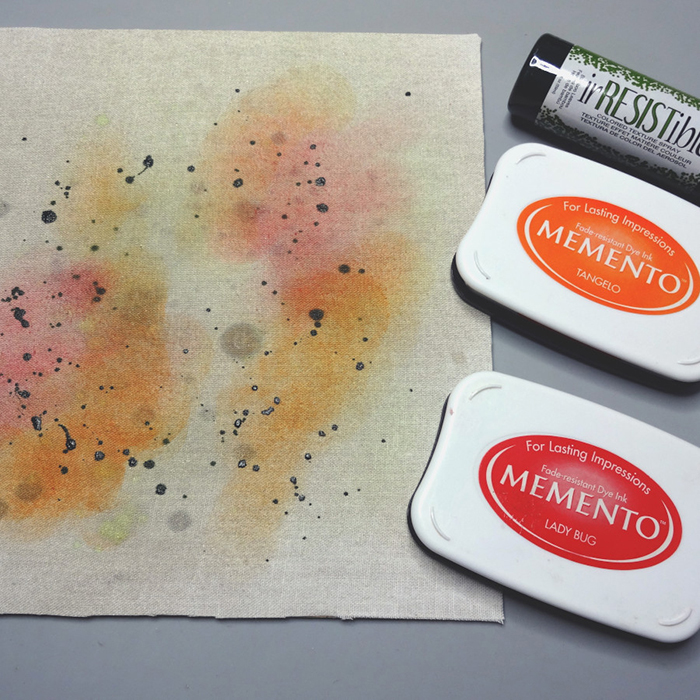
• MEMENTO – Rich Cocoa, Desert Sand
Other
• Small leaves
• Natural color heavy card stock
• Precious remembrance school stamp set
• Jute cord
• Small wood slice
• Hot glue