By Anna Escalada York
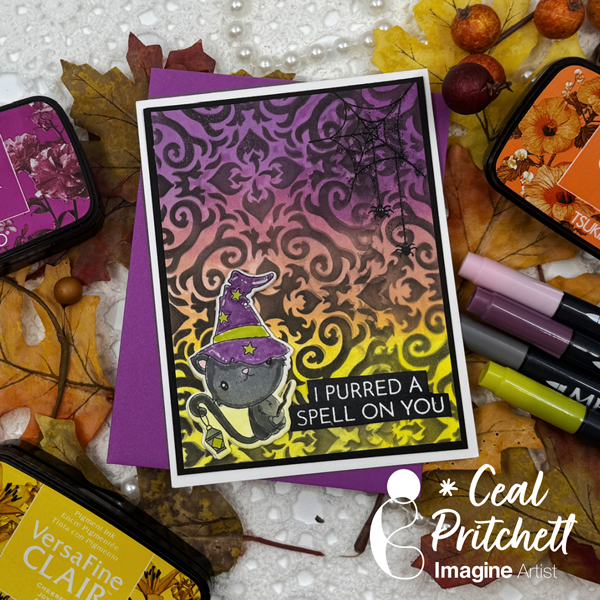
I’ve been really enjoying Halloween cards lately and it was so fun to use a bunch of sprays to make this one.
Skill: Intermediate
Time: 1.5 hours
Directions:

Step 1:
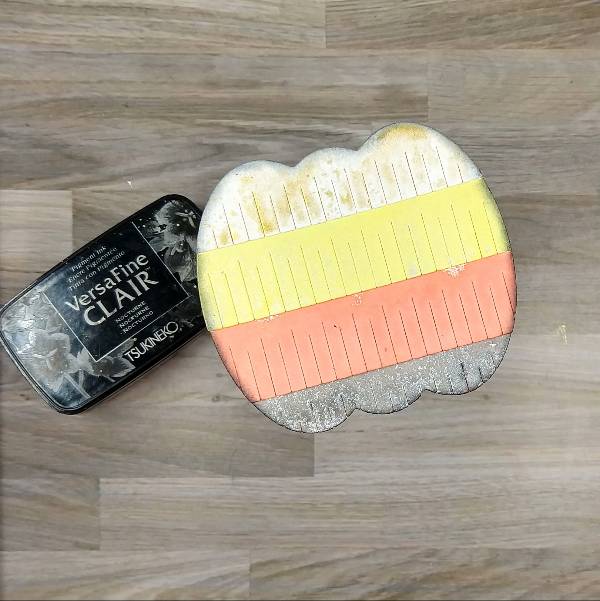
Die cut all of the pieces for the die cut pumpkin out of watercolor paper and then spray the two bottom pieces with Rich Cocoa Fireworks! Craft Spray (bottom-most layer) and Tangelo! Craft Spray (second-largest layer) and let dry.

Step 2:
Spray the other three die cut pieces: Dandelion Fireworks! Craft Spray on the middle die cut, Gold Sheer Shimmer Craft Spray on the upper part of the pumpkin’s body, and Bamboo Leaves Fireworks! Craft Spray for the pumpkin stem. Allow all the layers to dry.
Step 3:
Glue the layers of the pumpkin together and then ink blend the edges of the pumpkin with Nocturne VersaFine Clair ink and a sponge dauber.
Step 4:
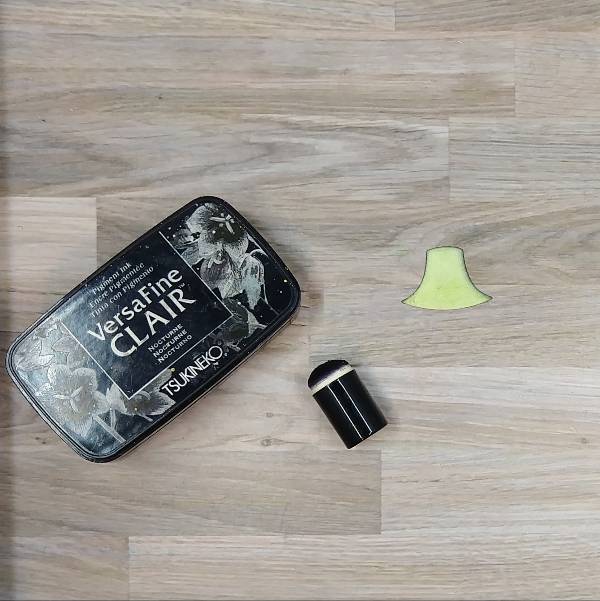
Ink blend the pumpkin stem die cut with Nocturne VersaFine Clair ink and a sponge dauber.

Step 5:
Spray the whole pumpkin die cut with more Gold Sheer Shimmer Craft Spray and set aside to dry.

Step 6:
Spray the Dandelion and Tangelo Fireworks! Craft Spray onto a piece of acetate packaging and use it to watercolor smoosh a panel of watercolor paper. After the spray dries, die cut it with an A2-sized die cut.
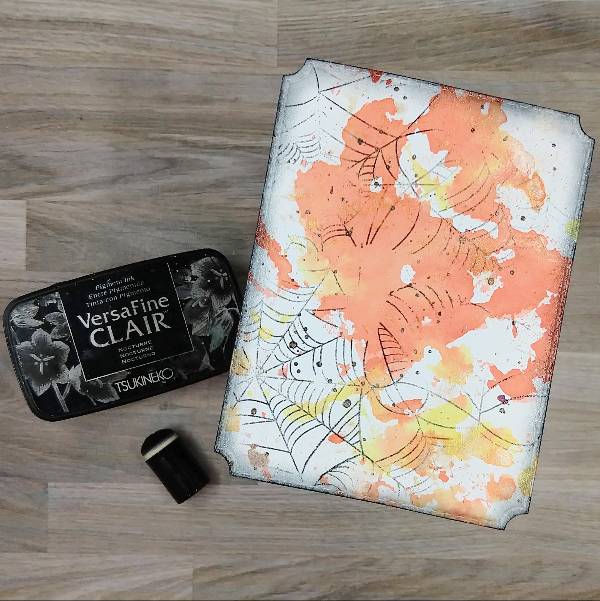
Step 7:
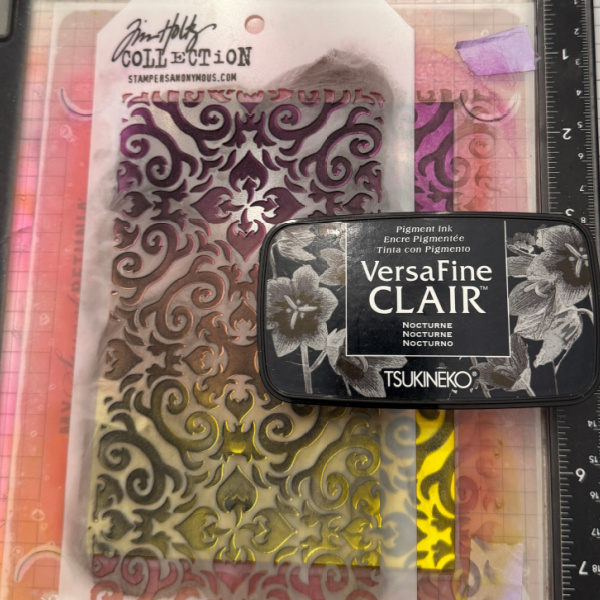
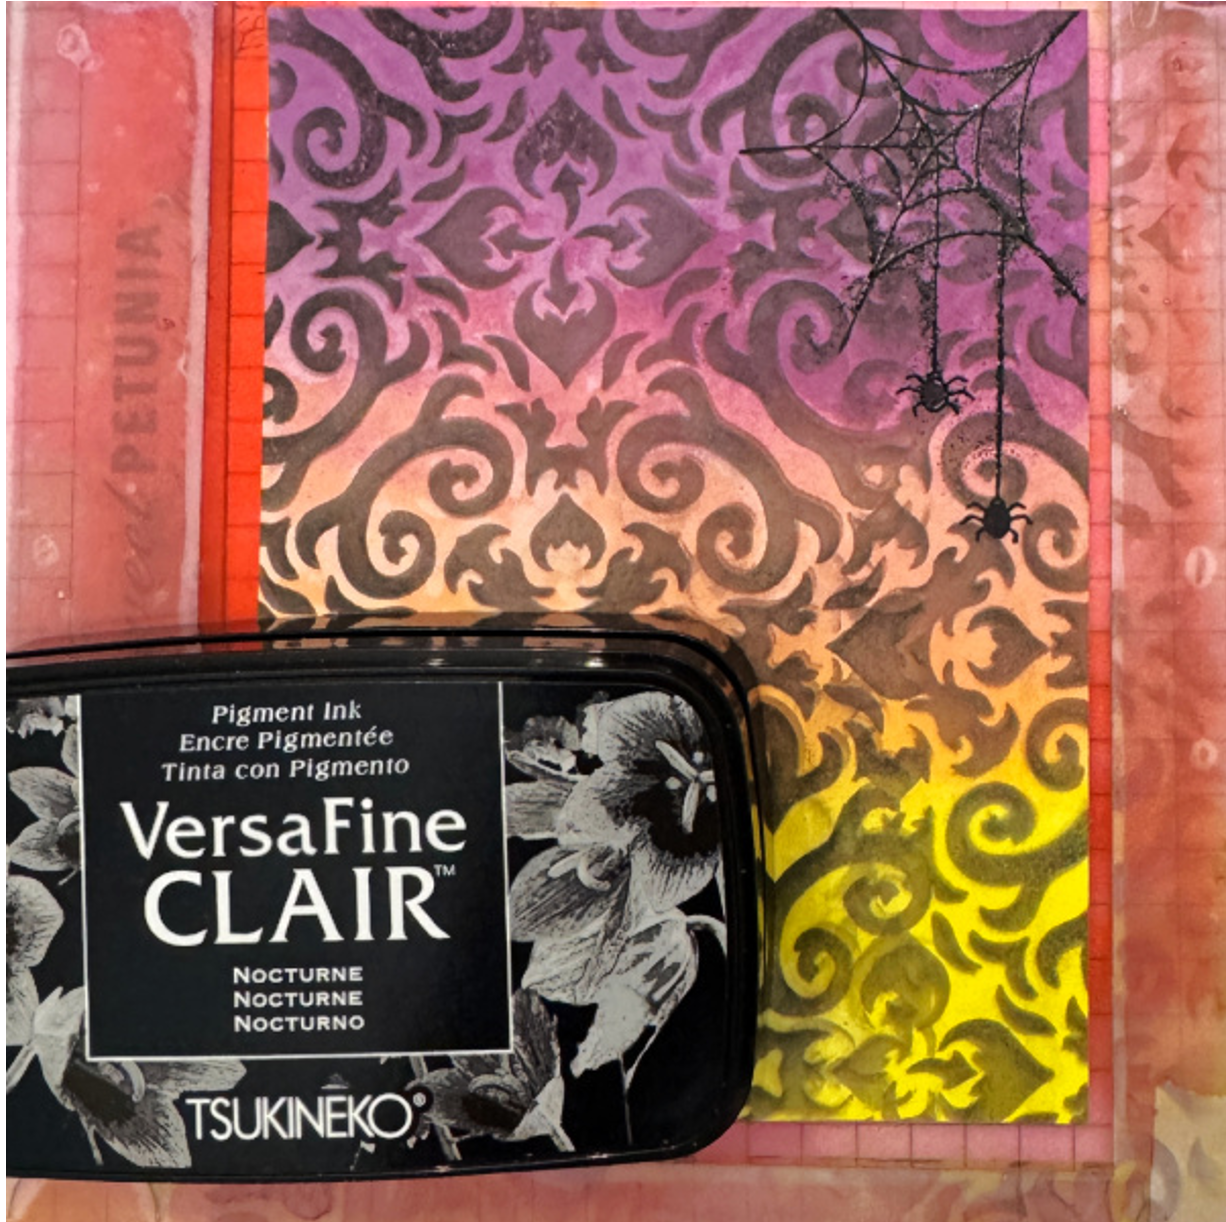
Splatter Rich Cocoa Fireworks! Craft Spray onto the background panel with the stick from the bottle’s spray nozzle. Then use a Nocturne VersaFine Clair ink to partially stamp the panel as well as ink blend the edges. Heat emboss the cobwebs and ink blended edges with clear embossing powder

Step 8:
Press the Nocturne VersaFine Clair ink pad onto a small piece of watercolor paper to color it black.

Step 9:
Die cut the now black piece of watercolor paper to create the sentiment and spray it with Gold Sheer Shimmer Craft Spray.

Step 10:
Die cut a piece of vellum with the sentiment’s shadow and glue both layers together.

Step 11:
Assemble the card. Glue the pumpkin’s stem and the rest of the pumpkin together and glue it approximately in the center of the panel. Glue the sentiment on the right side of the pumpkin. Then add orange and yellow sequins onto the card. To finish the card, glue the whole card panel onto an orange A2-sized card base.
Art Supplies
Imagine
Fireworks! Craft Sprays- Bamboo Leaves, Dandelion, Rich Cocoa and Tangelo
Sheer Shimmer Craft Spray – Gold
VersaFine Clair ink – Nocturne
Sponge Dauber
Other
Pink and Main – die set – Notched Corners
Pretty Pink Posh – die set – Fringe Pumpkin
Simon Says Stamp – die cut – Trick or Treat 2
Simon Says Stamp – sequin mix – Autumn Leaves (retired)
Tailored Expressions – stamp – Spiderweb Cling & Clear Combo
A2-sized orange card base
Clear Embossing Powder
Watercolor paper
Die cutting machine Scissors
Glue