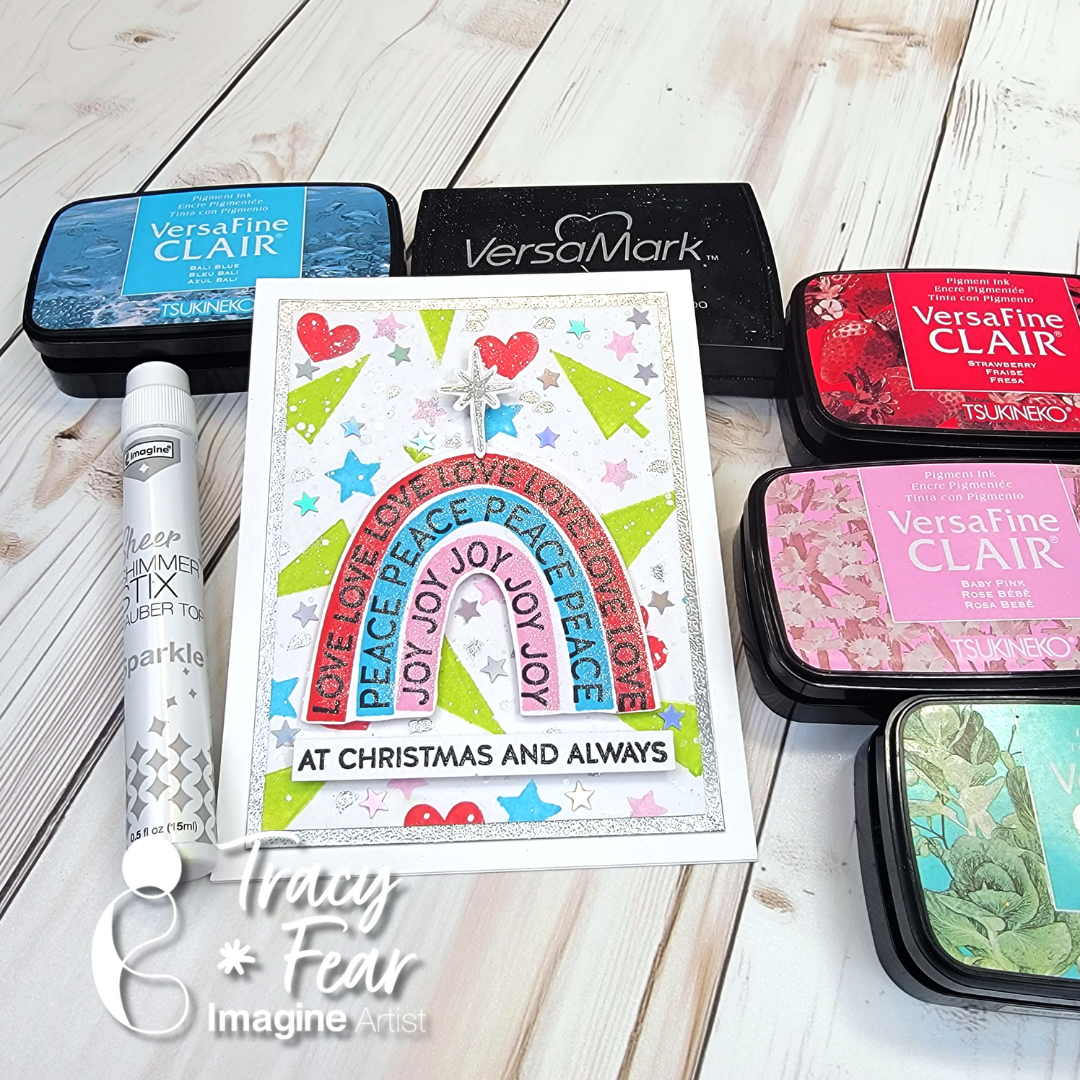
– Hello Friends! Tracy here and today I am delighted to share this tutorial for a fun and whimsical Christmas Card starring some non-traditional colors!
In today’s video tutorial I am sharing how I created my own pattern paper background using traditional and non traditional colors for Christmas!
Skill: Intermediate Time: 30 Minutes to 90 Minutes
Other Products Used • Rainbow Christmas Stamps from Simon Says Stamp • WOW Silver Embossing Powder • 120lb paper in white • Misti Stamping Platform tool • PVA Adhesive • Holographic Stars from Trinity Stamps
ALTERNATIVE PRODUCTS THAT CAN BE USED TO RECREATE SOMETHING SIMILAR
Any inks or stamps in your stash! To learn how to create your own modern, funky Christmas Card click here!
Hello crafty friends! Today, I wanna share this easy and quick card idea for you. You can use stamps to create a fun background and focal point using small image stamps. Let’s make it together.
Skill: Beginner Time: 15 minutes
Direction:
Step 1 Cut out a piece of 8.5 x 11 inch white heavyweight cardstock and make them your card bases.
Stamp the cloud image (or any small image stamp) directly on the front of the card base to create your background using Memento Ink (Summer Sky)
Step 2 It is easier to use a stamping tool when you use several stamps to build up an image. This stamping tool can help you to line up your image stamp perfectly.
For my rainbow, I used several small stamps to build it. I stamped each image one by one using VersaFine Clair ink pads (Tulip Red, Summertime, Cheerful, Verdant, Paradise, Fantasia)
Set aside for the inks to dry when you are done stamping, or you can use a craft heat gun to speed up the drying process.
Step 3 On another piece of white cardstock, stamp the cloud image outline and dots with VersaFine Clair (Warm Breeze)
Dry the stamped image with a craft heat gun and then fussy cut it with scissors.
Step 4 Trim the focal image into 3.5 inch x 3.5 inch.
Cut out a piece of dark blue cardstock slightly bigger than the focal image panel. I cut mine into 3 ¾ inch square mat.
Use the Tear It! Tape to add them to the front of the card.
Add some of the Teart It! Tape on a small piece of white fun foam to make your own 3D foam tape. I use it to add the cloud image on the card.
Isn’t that quick and easy to make this fun rainbow kindness card? I hope you will give it a try and send it out to encourage others with your handmade kindness card.
Thank you for stopping by our blog today. Have a fabulous day!
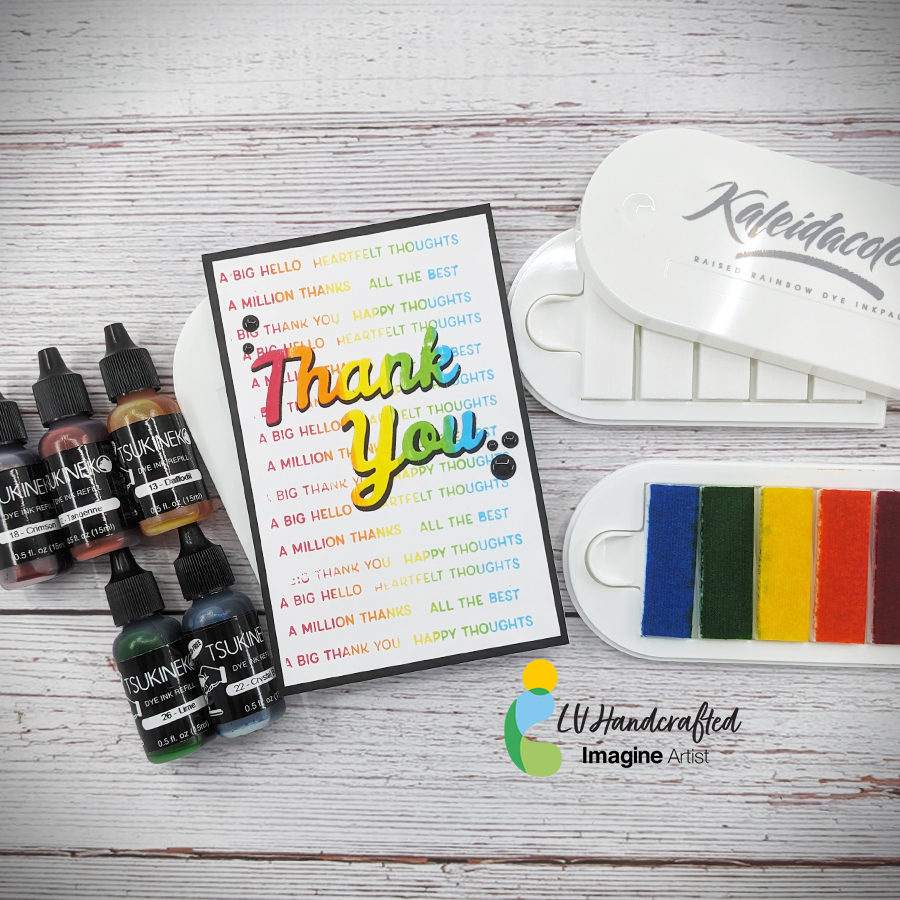
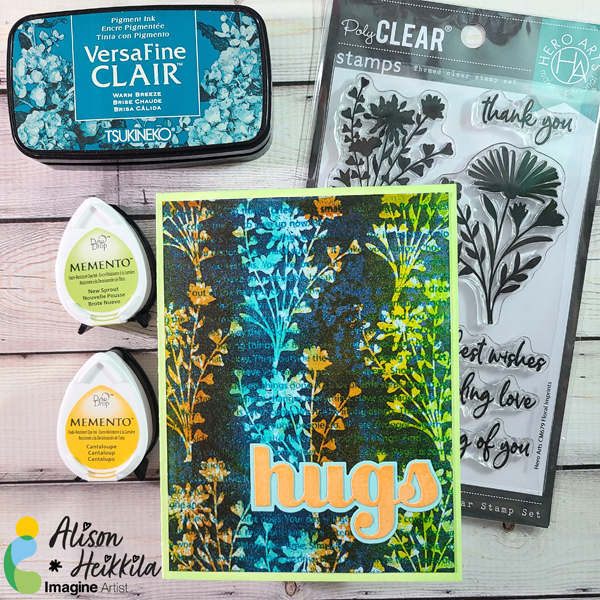
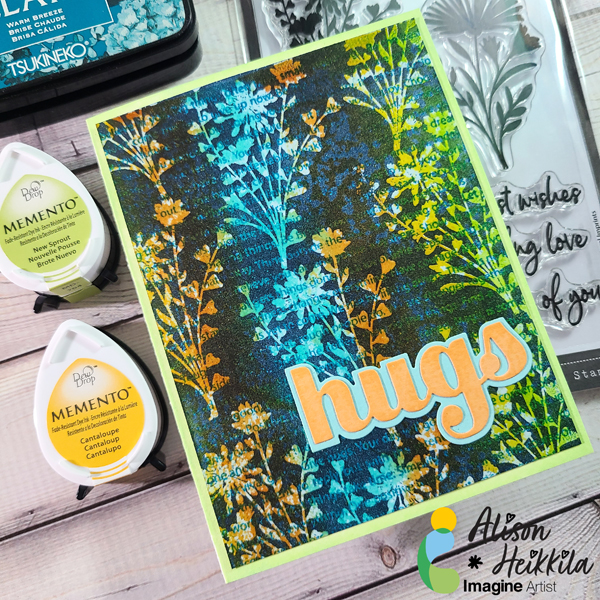
– Hello friends! This is Linh (or LV Handcrafted on all the socials). Let your imagination fly and make your own Kaleidacolor ink pad! It is so easy to create any combination of 5 colors. Mix and match any set of dye ink refills to create your favorite color blends. These fun ink pads make it so easy to create ombre backgrounds and papers to die cut from. For this card, I combined several small sentiment stamps and used my rainbow ink pad to ink up my stamps and create a custom rainbow sentiment background — you can’t do that with any other ink pad!
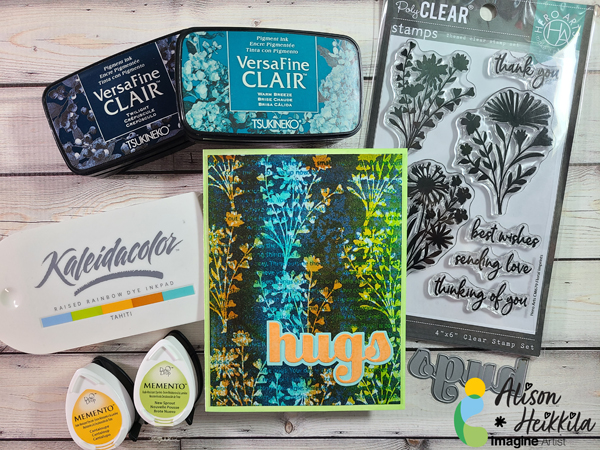
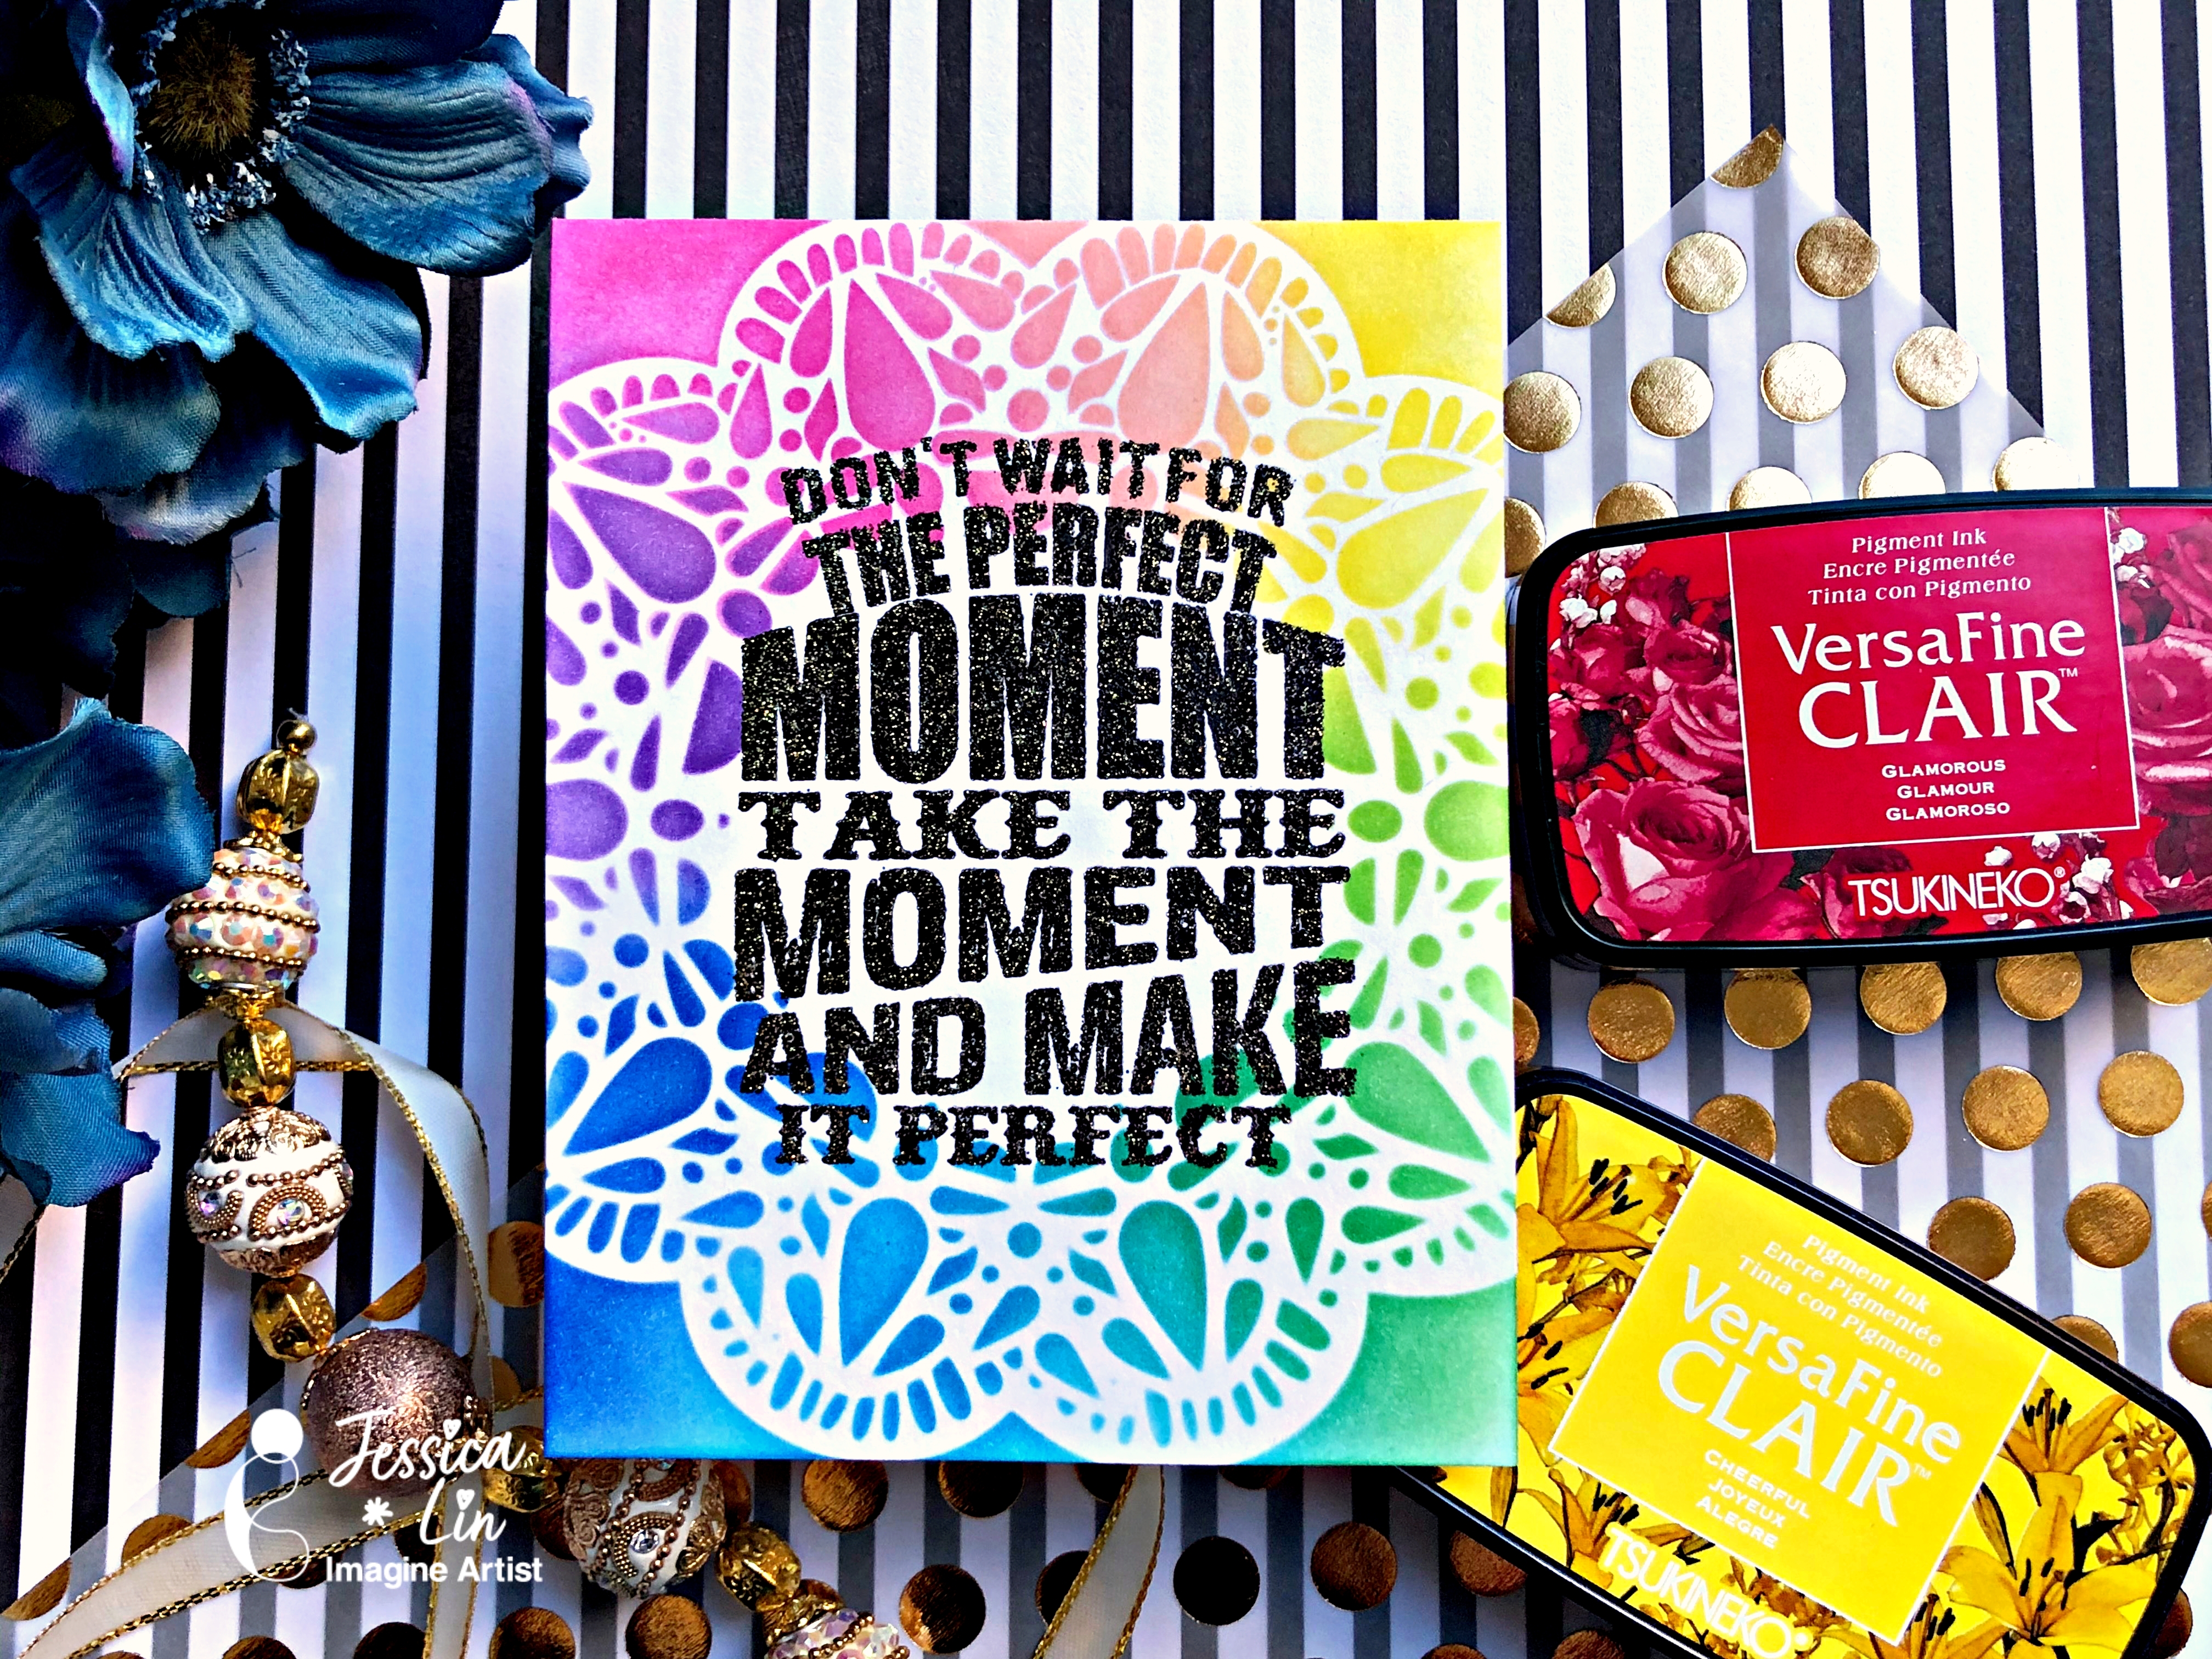
Hello! I have a new tutorial for Imagine today and it uses some of my favorite types of inks: Kaleidacolor and VersaFine Clair. I’m going to show you how to use bold silhouette stamps, along with a detail stamp to get a unique “trapped rainbow” effect.
*Some affiliate links are used in this post. That means that if you shop through these links, I may receive a small compensation, at no cost to you.For more information, please see my Affiliates page, where I also have some coupon codes.
Difficulty: Intermediate Time to Complete: Approx. 45-60 Minutes
Step 1:
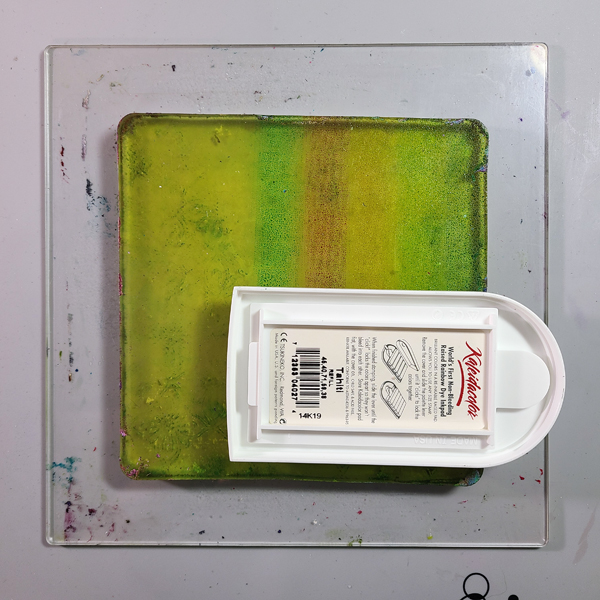
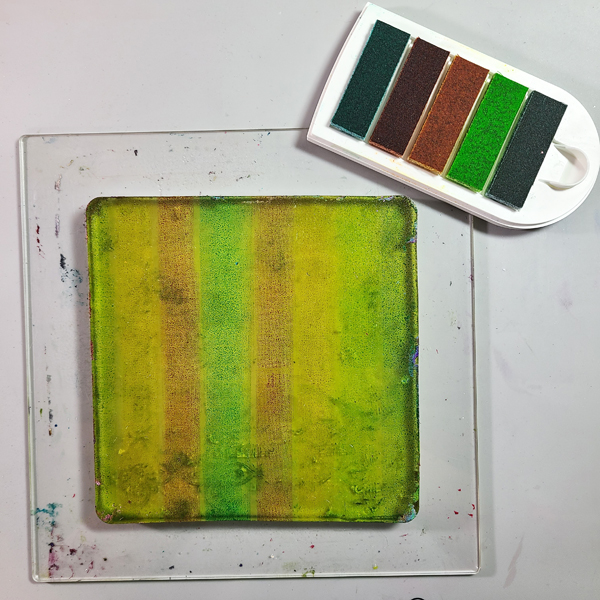
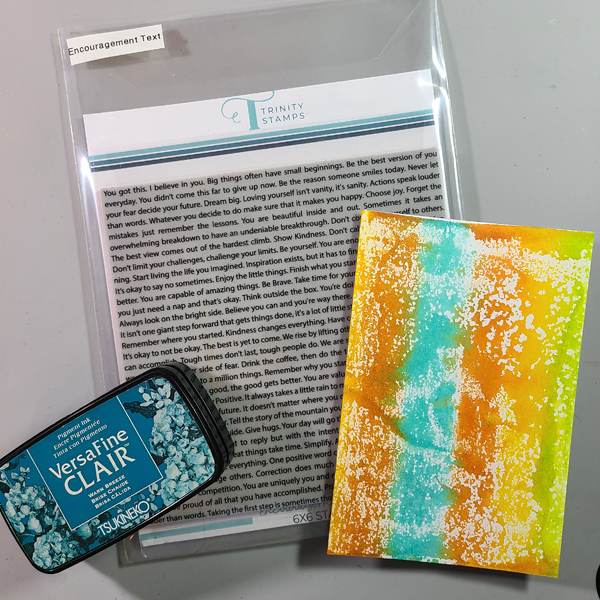
Apply Tahiti Kaleidacolor Ink to a 6×6 Gel Press Plate. Gently tap the color. You don’t need much.
Pro Tip: The Kaleidacolor Inks do not need to be clicked together. The pad does not reach across the entire surface, and the little area for your finger to click the colors together can get in the way of inking the Plate. I have mine hang over the edge, as seen above, then I flip the pad around to the other side of the Plate to finish inking it.
Your Gel Press Plate will look like this when you are done inking.
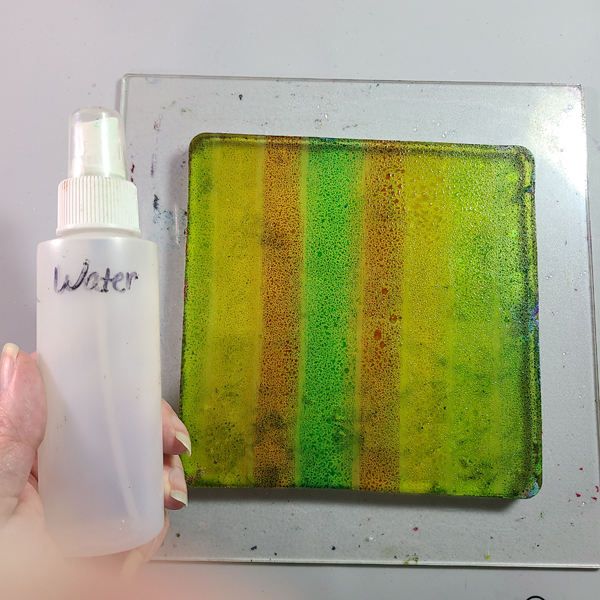
Step 2:
Spray the Plate lightly with water.
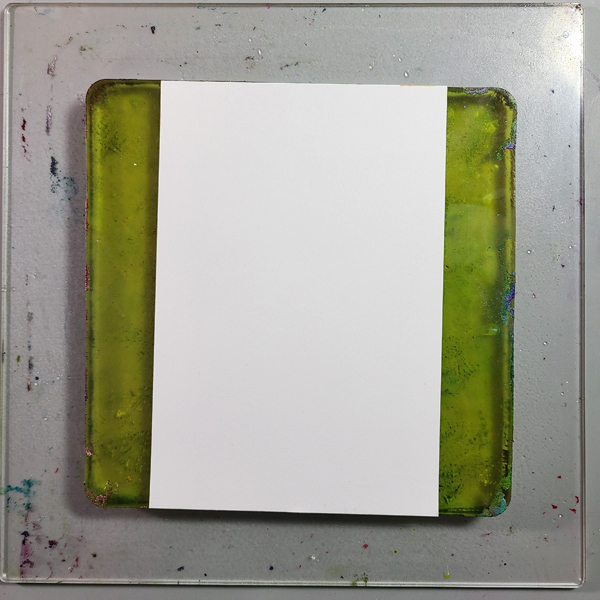
Step 3:
Lay a piece of cardstock on to the Plate. Gently rub your hand across the back of the cardstock. If you are worried about getting ink on your hands, cover the whole plate with a piece of copy paper and rub.
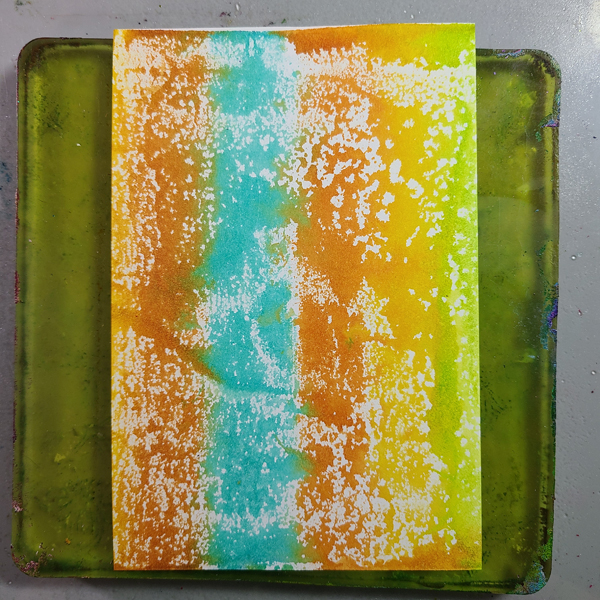
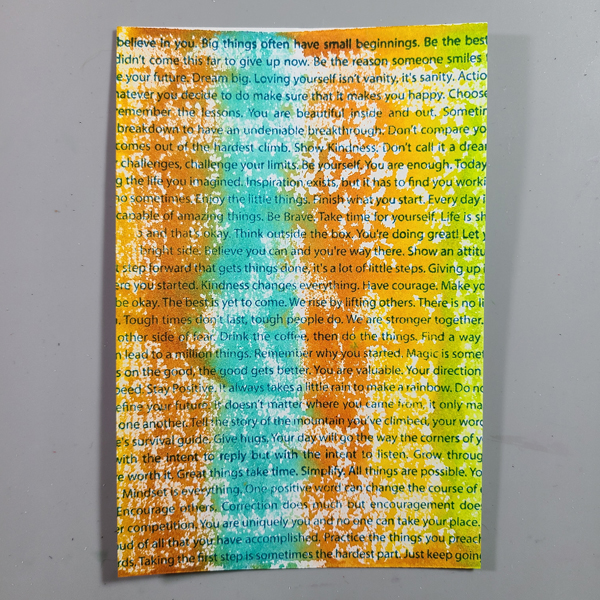
This is what the monoprint, or “pull” will look like. I love the bits of white showing…it makes it look grungy.
Step 4:
Let’s add some more interest by stamping a large text stamp on to our background. I inked this stamp up with Warm Breeze. Don’t worry about what the stamp says, you won’t be able to read much of it when we’re finished.
Step 5:
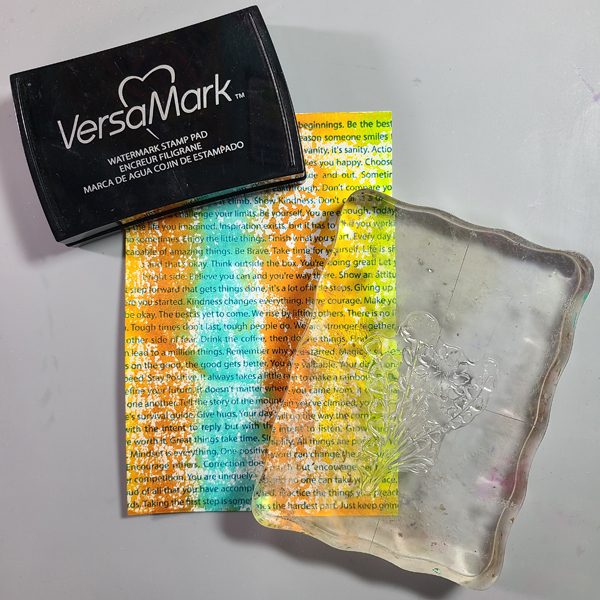
Dry the panel completely with a heat tool or embossing gun. VersaFine Clair ink stays wet for a long time, and we don’t want embossing powder to stick anywhere just yet.
Step 6:
Apply your silhouette stamp to an acrylic block. Stamp it all over the panel, without overlapping the images. It will be hard to see, so if you are having trouble, go back and forth between this step and the next.
Step 7:
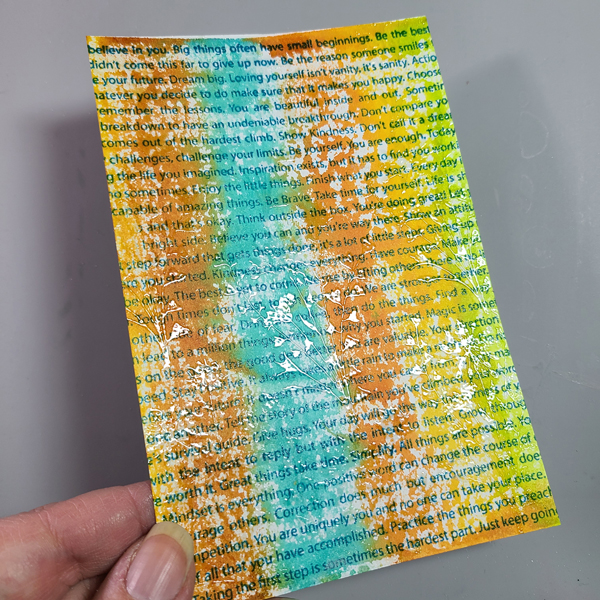
Sprinkle Clear Embossing Powder on to the stamped images and heat set.
You can see some of the shine from the embossed florals above. Don’t worry, with the next step, they will be much easier to see.
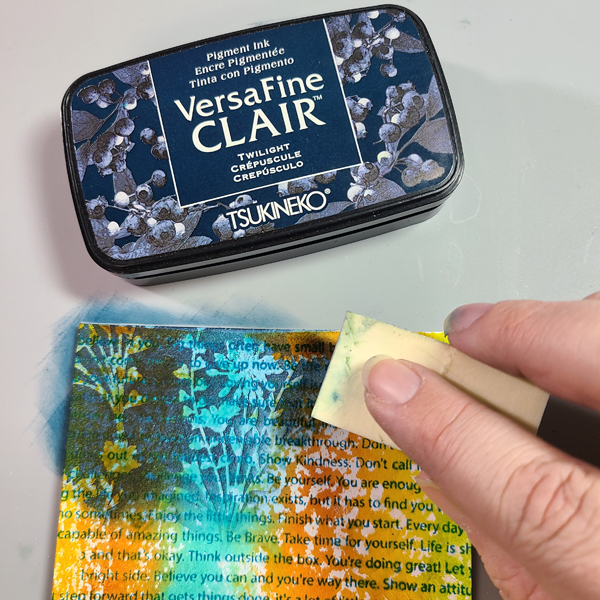
Step 8:
Using a cosmetic sponge (which gives a nice heavy application), apply Twilight Ink across the entire panel. You will see that the areas that have been embossed will resist the ink.
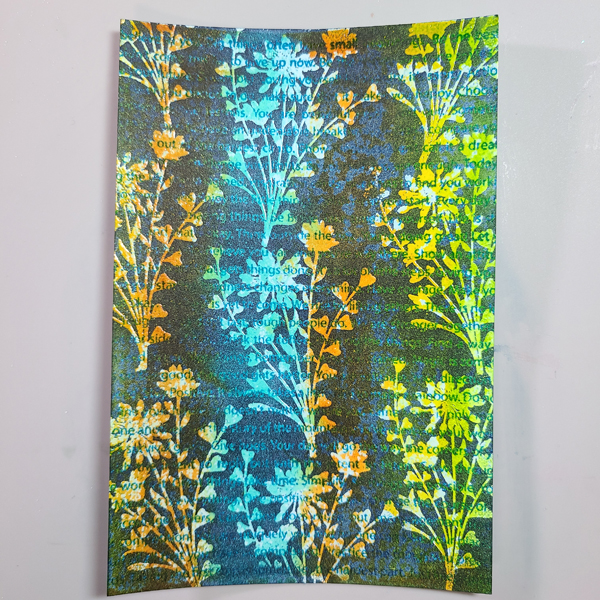
Step 9:
When you are done inking the panel, buff off the excess with a dry cloth or paper towel. Trim the panel down to 4″ x 5 1/4.”
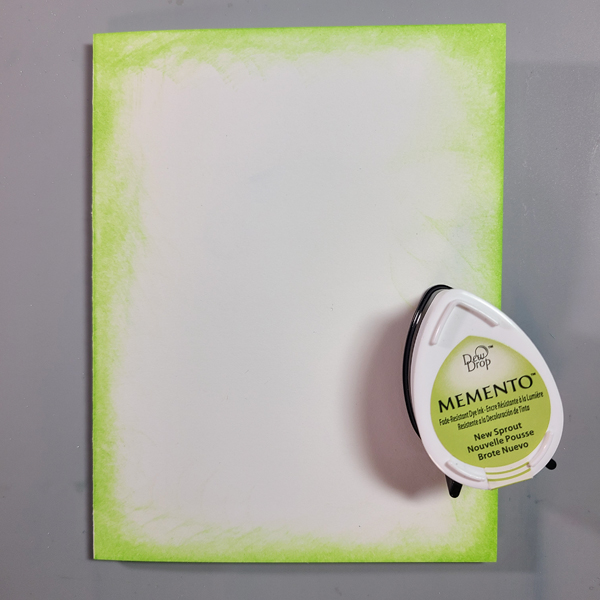
Step 10:
Apply New Sprout ink to your white card base, just around the perimeter.
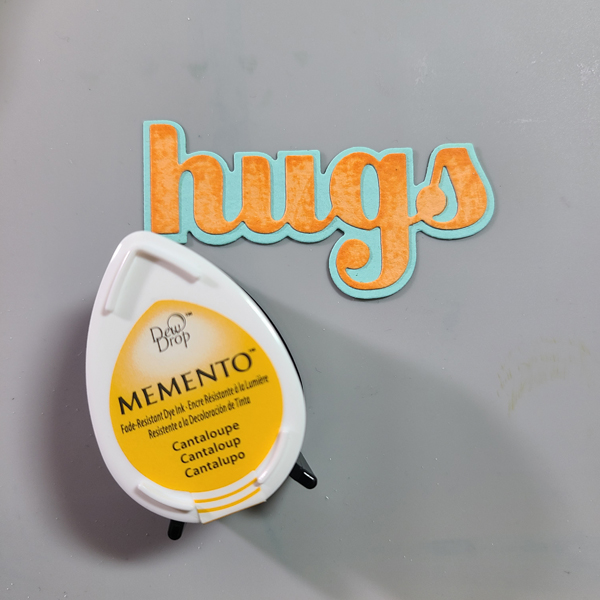
Step 11:
Die cut your sentiment. To grunge it up a bit, lightly apply Cantaloupe Ink to the top layer, which will bring out the texture in the cardstock.
You can of course change up the colors however you like! Kaleidacolor Inks come in a wide range of palettes. I hope you will try this technique for yourself. Thanks so much f stopping by. Have an inspiring day!
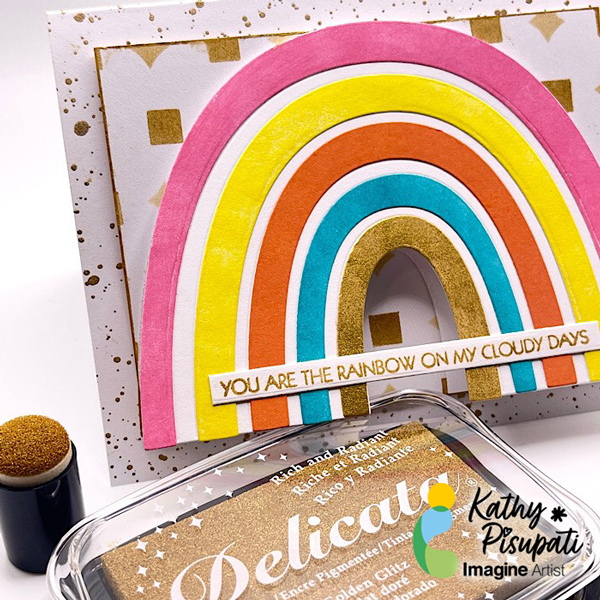
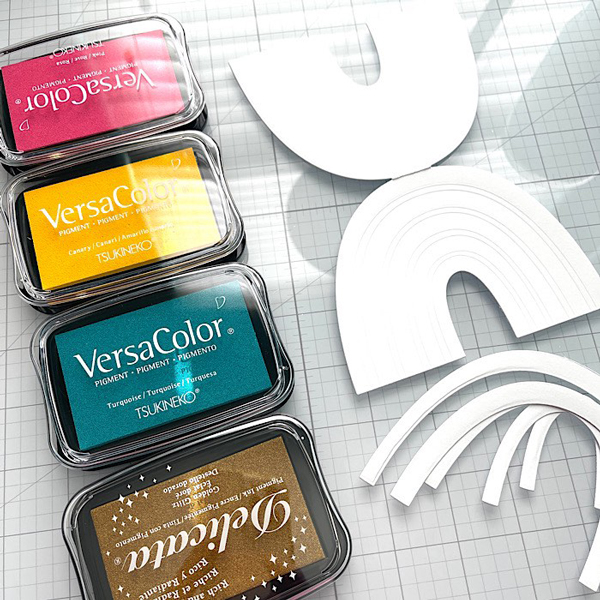
Hi there, Kathy here with Imagine Crafts with a new tutorial. My space is limited so by using VersaColor pigment inks, I can reduce the amount of colored card stock I need on hand.
VersaColor pigment inks are bright and bold and coupled with the Delicata Golden Glitz it’s a winning combination.
Skill Level: Intermediate Time to Complete: 1 hour with drying time
Directions:
Step 1:
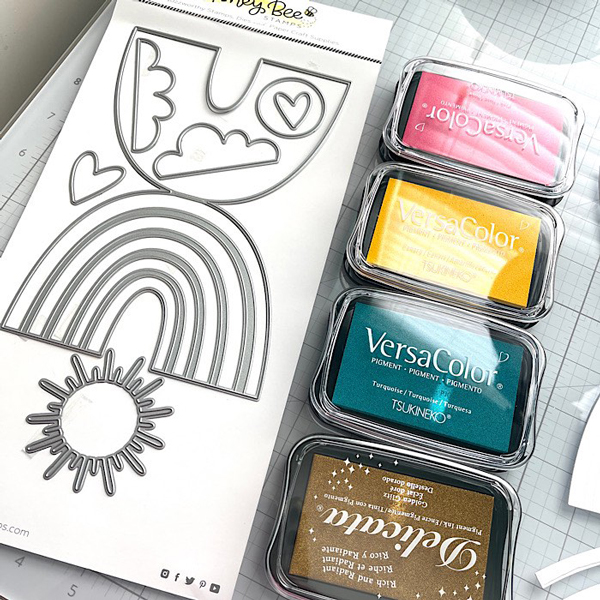
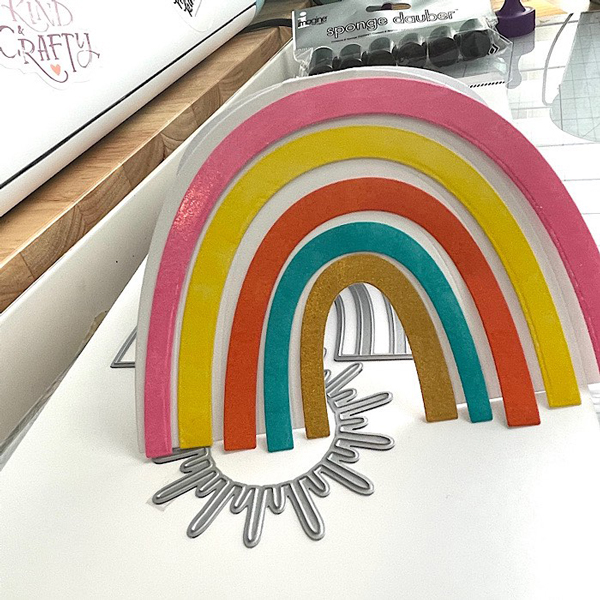
You will need a card base measuring 4 1/4 x 5 1/2“. You will also need a panel that measures 4“ x 3 1/2“. I have also used the Rainbow Builder and Rainbow Accent dies from Honey Bee Stamps. You will die-cutthe rainbow card and the rainbow stripes from the accent set.
Step 2
Using VersaColor & Delicata pigment inks, use Imagine Crafts sponge daubers to apply your ink to the rainbow stripes. I used the Delicata Golden Glitz for the smallest stripes. Allow these pieces to dry.
Step 3
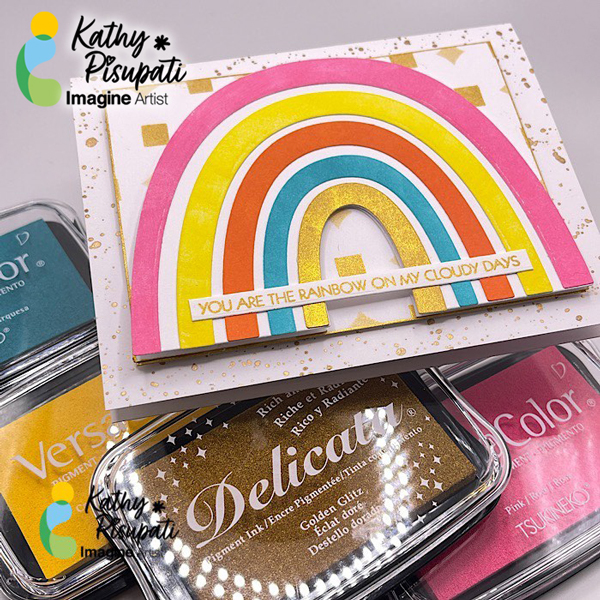
On the smaller card panel I used a stencil from Simon Says Stamp called Interlocking Circles Good Luck Charm. It is a Layered Stencil but I only used two of the layers. I used a heavy amount of Delicata Golden Glitz on the squares and a light amount on the diamonds. I also used the Daubers to ink around the edges of this panel.On the front of the card panel, I splattered some gold watercolor paint.I stamped a sentiment from Pink & Main, Spring Sentiments Stamp Set onto white card stock using the Delicata Golden Glitz Ink. I used my paper trimmer to cut the sentiment to size.
Step 4
Next use Imagine Craft On Point glue to adhere your stripes to the rainbow card die-cut.I used Imagine Crafts Tear-It tape to adhere the rainbow card to the stencil panel. I also used Imagine Crafts On Point glue to adhere the sentiment to the front of the rainbow. Foam tape was used on the back of the stencil panel to adhere it to the card base.
– Hi everyone! It’s Jessica. I have a simple rainbow ink blending card to share with you today. I used some of the brighter colors from the VersaFine Clair line, but you could try out different colors and different ink pads for a similar look. I also love the positive and motivational sentiment, which I’ve embossed with New Year’s Eve Mboss powder.