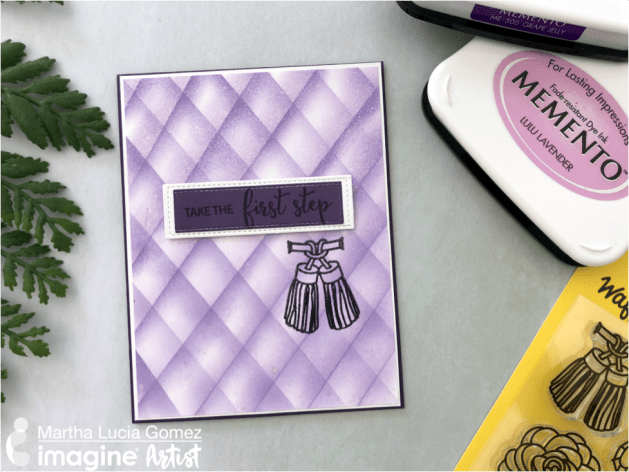
by Kyriakos Pachadiroglou
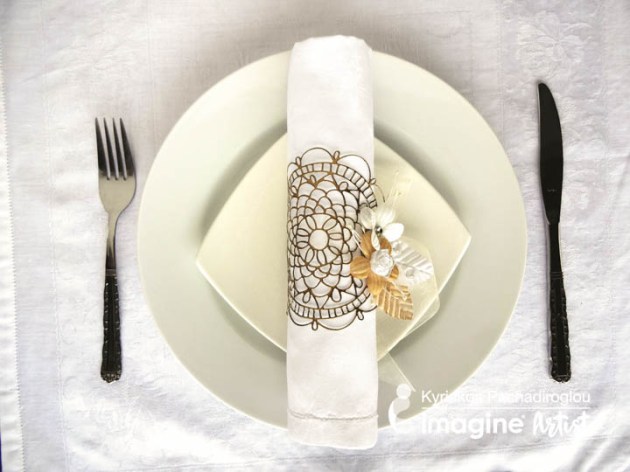
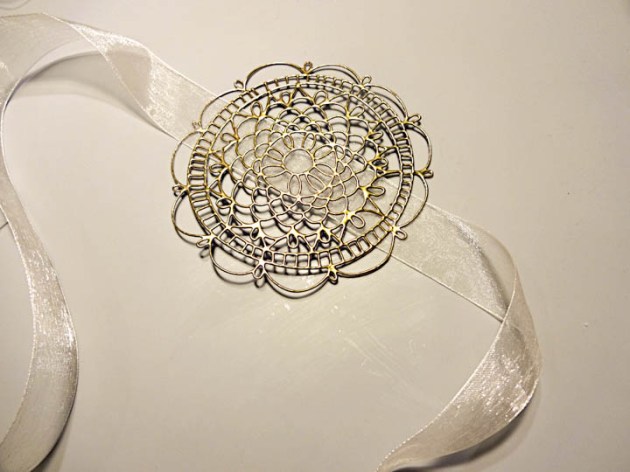
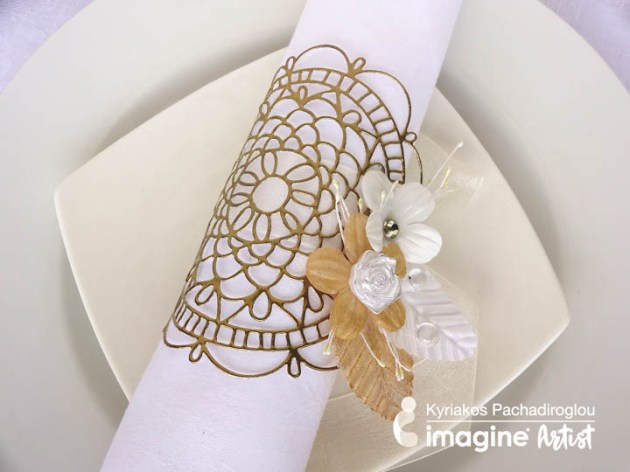
The fine detailed Doily die from Waffle Flower is versatile to use beyond card making. Covered with Mboss embossing powder in Gold, it gives the look of a true metallic made piece that works as the main body of the napkin ring. By choosing from any of the colors of the Mboss embossing powder you can match your table theme. Simple and easy to make, this napkin ring shows excellent around a white cloth napkin.
Skill: Beginner to Intermediate
Time: 1 hour per four pieces
Directions
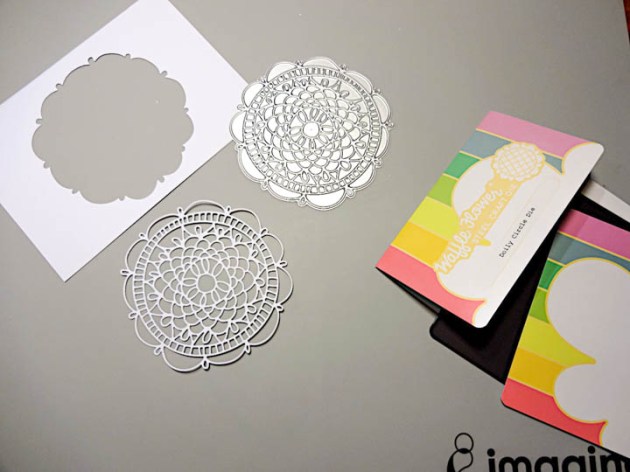
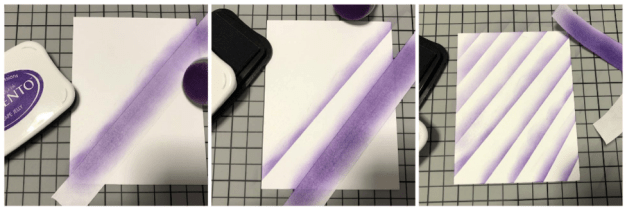
Step 1
Die-cut a doily circle with the Waffle flower die. Waffle Flower dies work with any brand of machine such as Spellbinders or Sizzix.
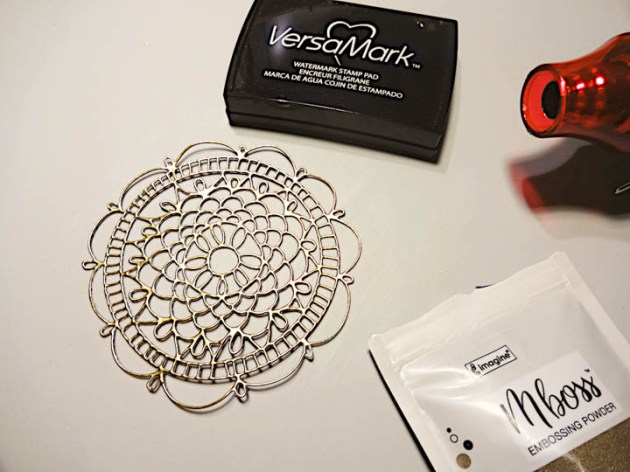
Step 2
Press the VersaMark watermark ink pad on the die-cut dolly, cover with the Mboss gold embossing powder and heat set. Repeat once more to create a thick texture.
Step 3
Glue the organza ribbon to the middle back of the gold embossed dolly cut.
Step 4
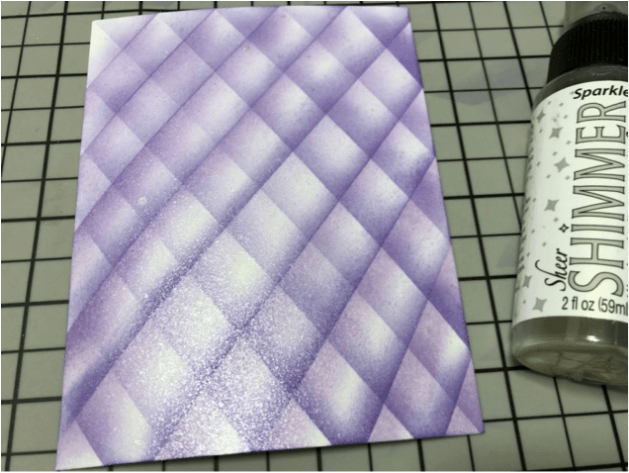
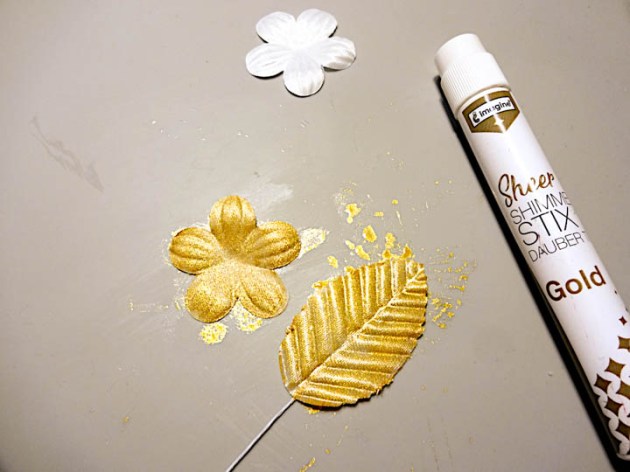
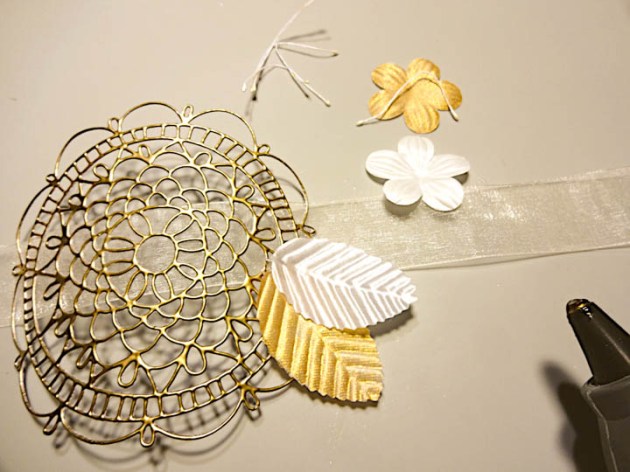
Color the white leaves and flowers with Sheer SHIMMER STIX gold.
Step 5
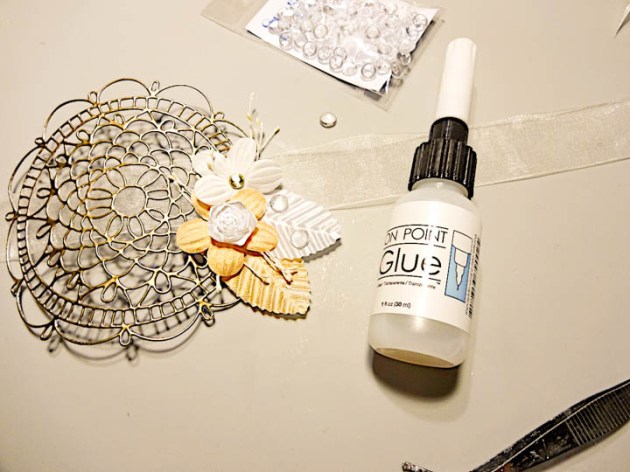
Use the hot glue gun to set the flowers and the leaves onto the doily.
Step 6
Add the flower embellishments with the On Point Glue.
Supplies
Imagine
Other
- Waffle Flower – Doily Circle die
- White cardboard
- Organza ribbon
- Satin flowers and leaves
- Sparkletz embellisments
- Die-cutting machine
- Heat tool
- Hot glue gun