– Nothing says Summertime to me like a nice juicy chunk of watermelon… and making this card made me get up and grab a watermelon popsicle when I was done…
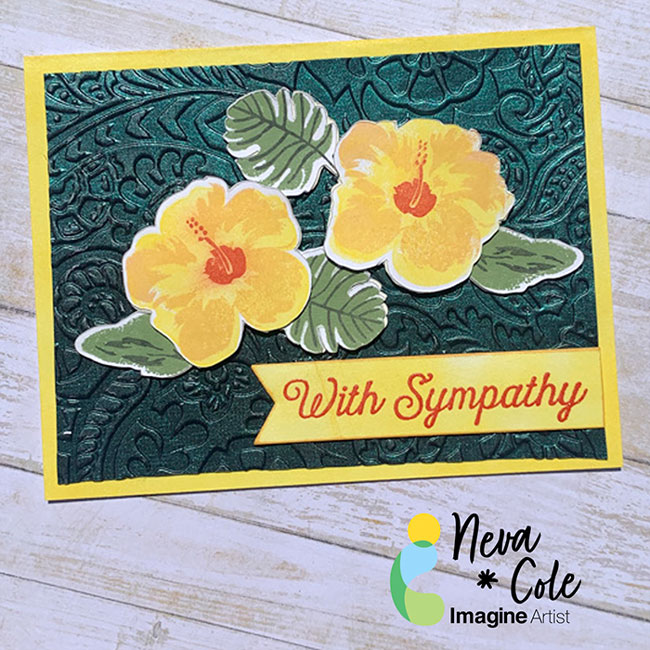
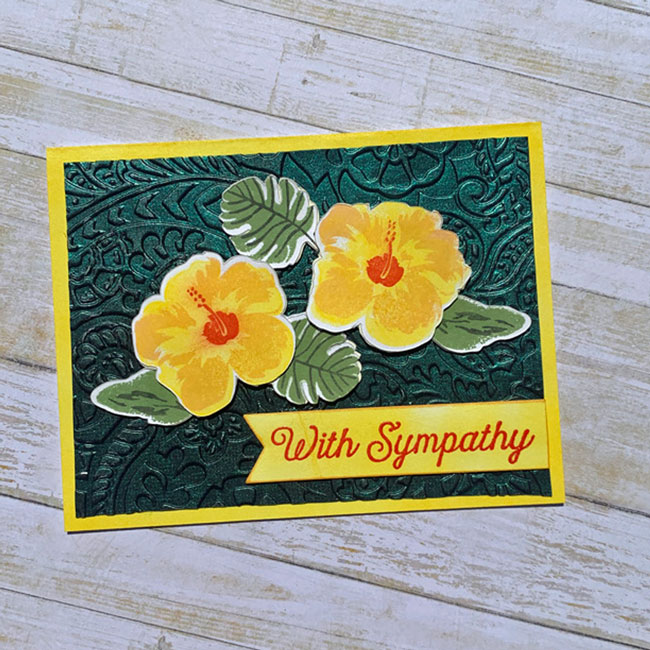
I am always searching for new ways to use supplies and tools.Creative Medium comes in many colors, but the Iridescent Green creates stunning results on black paper.The use of an Embossing Folder helps the layers of the iridescent effect really shine.A few layered stamped images and I have a beautiful sympathy card to send to a dear friend.
Skill: Beginner
Time: 1 Hour plus dry time
Directions:
Step 1
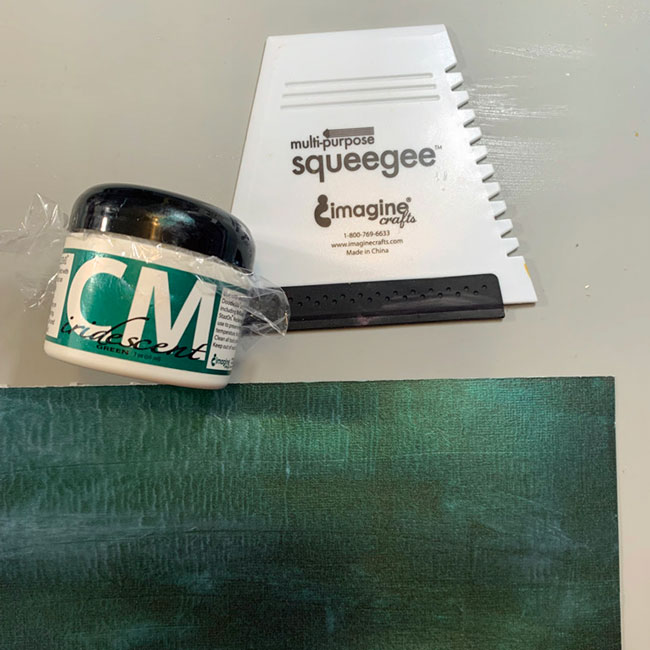
Cover a section of black paper (with or without texture) with a thin layer of Creative Medium in Iridescent Green.I used Imagine’s Squeegee to spread the layer across the paper.The rubber edge was very helpful to get a thin even layer.Set aside to dry, possibly overnight.After it is dry it will still have a slightly rubbery texture.
Step 2:
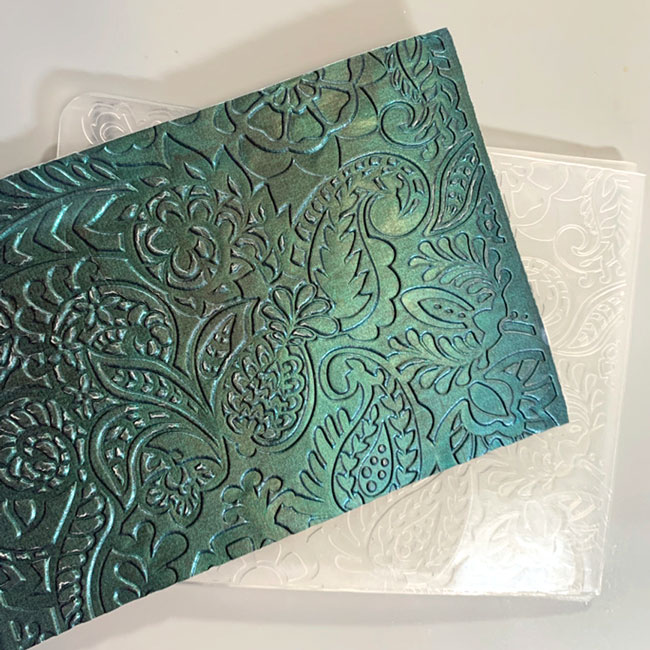
Trim a section of the paper to 4” x 5 1/4” and pressure emboss with Sizzix Tropical Paisley Embossing Folder.You can really see the detail in this photo.
Step 3:
Layer stamp the Hero Arts Hibiscus and leaves images.Start with the lightest ink first.For the Hibiscus–Radiant Neon Electric Yellow, Memento Cantaloupe, Memento Tangelo, and VersaFine Habanero.The leaves are stamped in Memento Bamboo Leaves and Northern Pine.The images are die cut twice more from white and layered under matching die cuts with OnPoint glue.
Step 4:
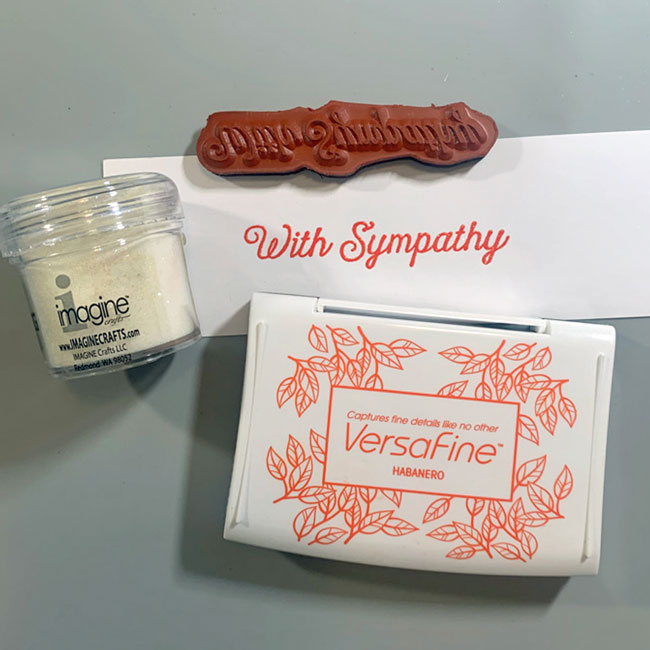
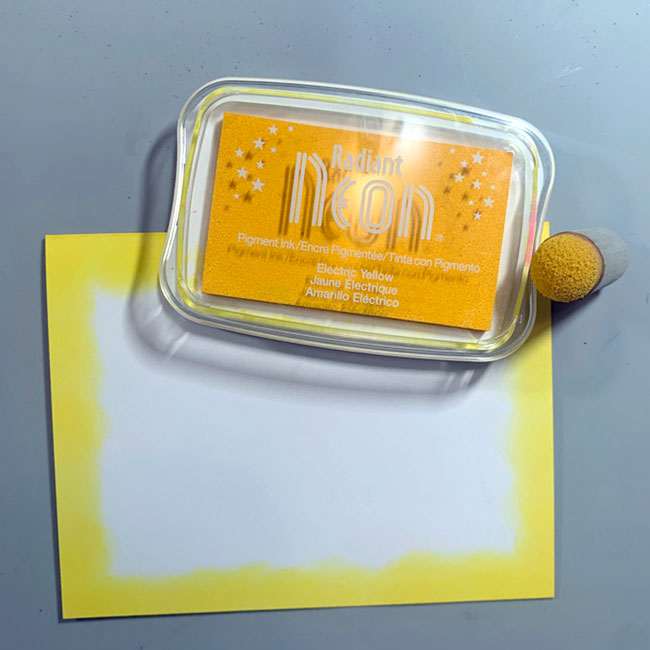
The sentiment from Unity Stamp Company is stamped in Versa Fine Habanero then heat embossed with Iridescent Embossing powder.(Not shown) The image is die cut with Lawn Cuts Everyday Sentiments die.One end is trimmed off square.The banner is inked with an ink dauber and Radiant Neon Electric Yellow.The edges are inked with Memento Cantaloupe.
Step 5:
Ink the edges of a 4 1/4” x 5 1/2” card with Radiant Neon Electric Yellow ink with an ink dauber.
Step 6:
The layers are adhered together with Tear It! Tape.It adheres well with the textured layers of the card.The two Hibiscus flower are lifted a bit with dimensional foam adhesive.
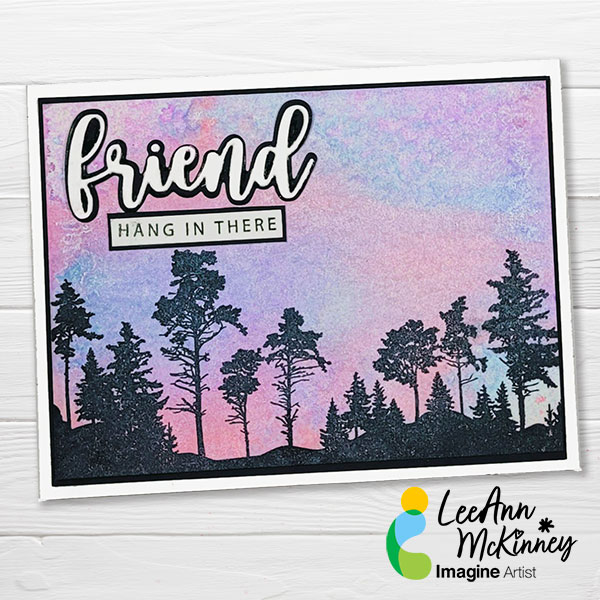
– Hi there friends and fellow crafters, LeeAnn here with a project that I knew I was going to make the minute I saw the photo. See a friend of mine posted this amazing photo on her Facebook page last month, and I started thinking right then about how I was going to replicate it. How about leaving a comment below and let me know how I did.
Welcome to our blog! Imagine Crafts is pleased to be a super sponsor for the Coffee Lover’s Blog Hop for the Spring/Summer of 2022.Our design team members all joined in to show you some of the fun and coffee themed cards they made using some of the Imagine Inks and readily available stamps/dies that are coffee themed.
We are also having a giveaway!Since Imagine Crafts is a super sponsor, we will be giving away a $25.00 gift card to the store. Please comment below for your chance to win.
Some of our design team members have created extra projects in order to participate in the Coffee Lovers Blog Hop and we will now share their photos of their projects and links to the Imagine items used. That way, you can go visit the item and see if it is for you.
– Hi there Coffee Lovers, for my project today I used The Perfect Blend Stamp Set from Gina K Designs. Using Memento Espresso Truffle I stamped the background and since Memento is a dye based ink it dried quickly.
I cut a panel of vellum to cover most of my background panel, and then grabbed a circle tag out of my stash. I stamped the coffee cups on the tag with the Memento Espresso Truffle and then used Memento Markers to add a pop of color. For The cup part I used Bamboo Leaves and Pistachio, while for the rings I used Rich Cocoa and Desert Sand.
The final stamping was the sentiment in which I used VersaFine Clair in Pinecone. I used Tear It! Tape and On Point glue to adhere my panels together and with that my project is complete.
Happy Hopping in the Coffee Lover’s Blog Hop Spring/Summer 2022!!!
– I went with a simply designed card that is perfect for any coffee lover. I ink blended two VersaFine Clair Inks with my coffee bean stencil. My sentiment was die cut and I used the die itself as a mask to softly ink around the sentiment. Sparkle Blends were adhered with On Point Glue for some shine.
– Hi there friends and fellow crafters, Today I am here making 2 Impactful but clean and simple cards using Tear It! Tape, On Point Glue, VersaFine CLAIR in Nocturne, MBoss in Clear and Memento Luxe in Wedding Dress.
The first thing I had done to prepare for my video was to create 2 A2 panels 4.25” x 5.5”. I then used my Mini Misti stamped 1 panel with the sentiment from the Gina K Designs Delightful Daisies stamp set using VersaFine CLAIR in Nocturne. This is a Vegetable Oil based ink and takes a little time to dry so put it aside and move to my second panel.
The second panel, I put in the Altenew Daisy Bed 3D embossing folder and ran it though my Vagabond 2 machine with only 1 cutting plate and the platform, this worked perfectly and gave a great embossing effect.
I then went back to the first panel and ran it through the embossing folder as well, following that I poured a bit of clear MBoss on the sentiment and heat set it. This gave a seal and a shiny effect to the sentiment and allowed me to move on to the next step, which was using the Memento Luxe Mixed Media Pad in Wedding Dress to add a bit of shine and White color to the Raised edges of the panel. I added this purple panel to the card base, a few Jewels and this card was complete, Moving back to the Mint card, I used On Point glue to adhere the Happy Anniversary Sentiment and Shadow to the front panel, the Cantaloupe Memento Marker to the center of the Daisies and a Jewel for the tittle in the sentiment. Added this to the card base using Tear It Tape and this card was also complete.
– Howdy friends and fellow crafters, LeeAnn with a fun Easter card made using a wood blog stamp and some peg stamps from Stamps by Judith. Also used a grass/cloud stencil and had a whole lot of fun. The sentiment stamp is from Lawn Fawn’s Happy Add On Collection.