By Martha Lucia Gomez
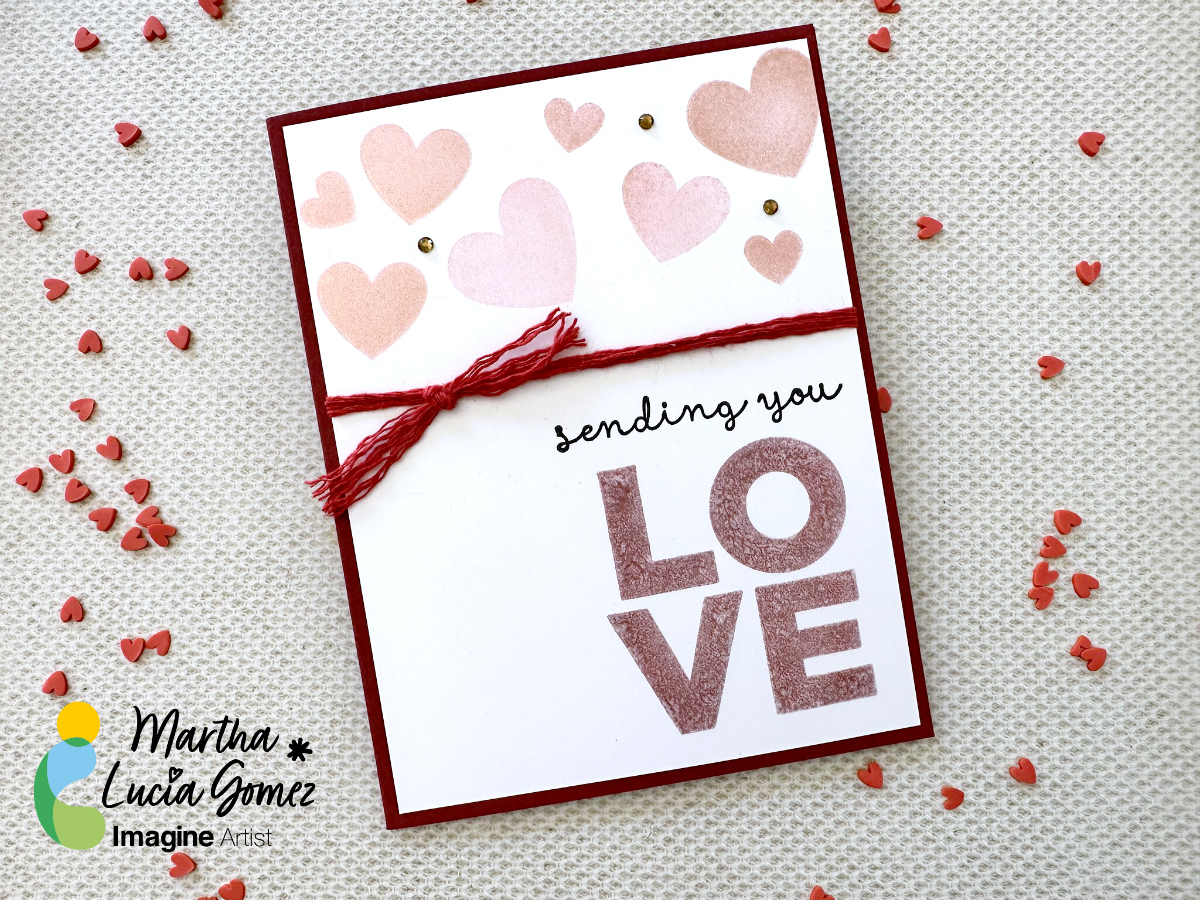
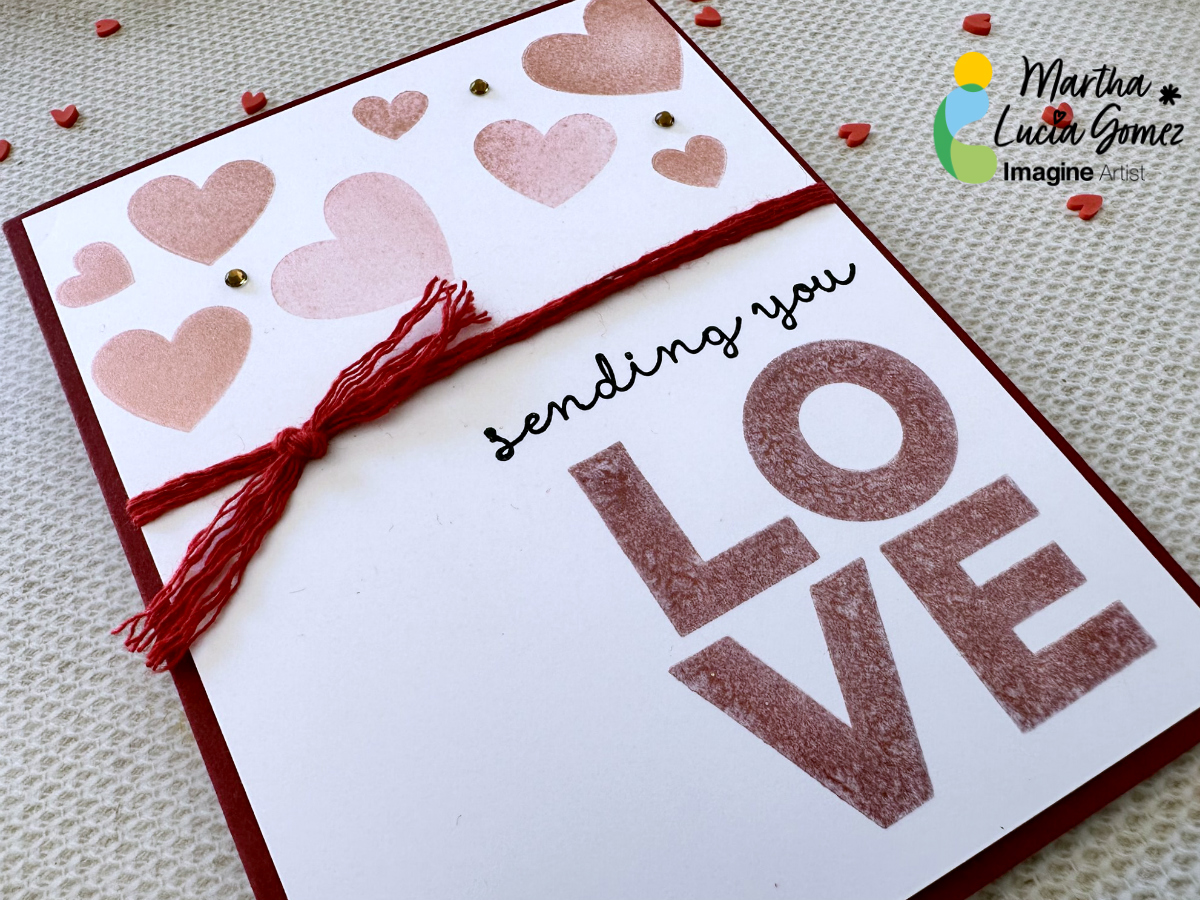
Hello there! Today’s tutorial is about texture without dimensions. Do you know that you can create a flat card with these two ingredients and just one type of ink? Well, the Delicata is the ink that can bring you these possibilities and more. I decided to make this card using two colors of Delicata, Ruby Red and Rose Gold.
Skill: Beginning
Time: 45 minutes
Directions:
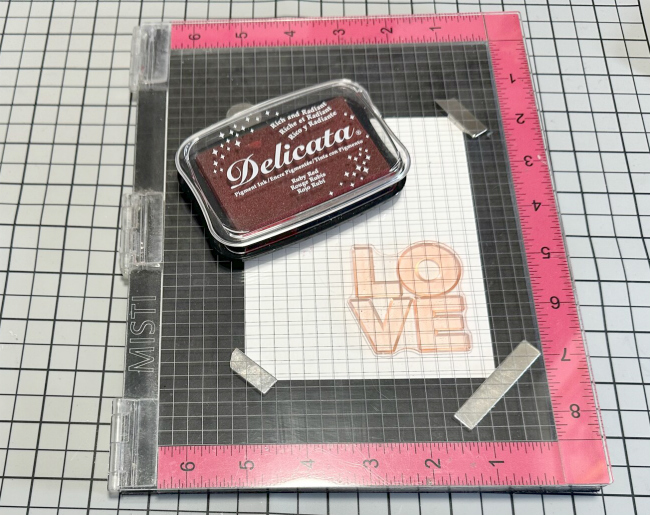
Step 1:
Take a piece of white smooth cardstock and solid stamps to create your design. In my sample, I am using hearts in different sizes and the Love Sentiment. First, ink the sentiment using the Ruby Red Delicata Ink. The Delicata is a pigment ink that dries within minutes on porous papers and never loses the luster. You can also obtain a Metallic touch with it if you don’t emboss the stamped images.
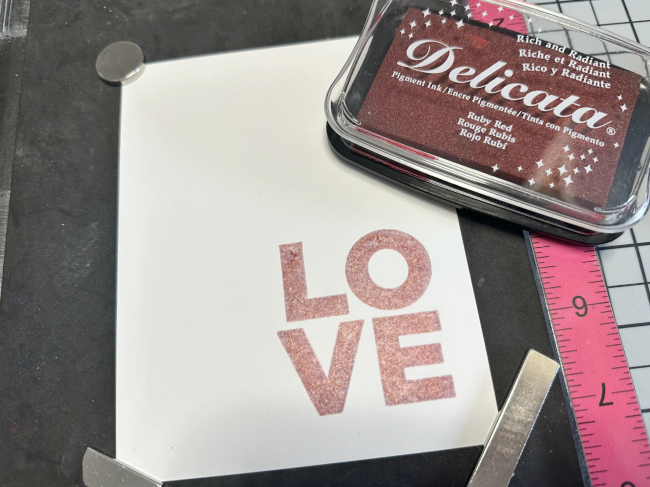
Step 2:
If you want to obtain more texture and coverage, you can stamp the same image several times. In my sample, I stamped it three times.
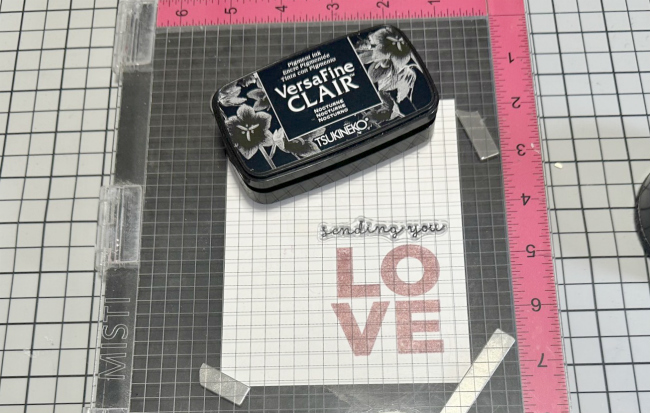
Step 3:
To complete the sentiment, you can stamp a complement using the same ink or other ink. On this sample, I used VersaFine Clair Nocturne. On it, you can notice the different textures of both inks and the soft color of the Delicata.
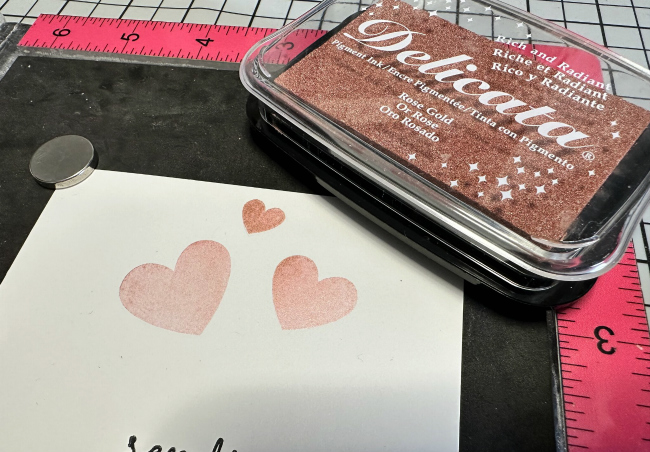
Step 4:
Now is the time to create more texture. This time, I used Rose Gold Delicata Ink to create it and hearts in different sizes. I stamped them randomly on the upper part of the card. Using a stamping tool, you can create different tones with the same ink and color, depending of the times that you stamp your image.
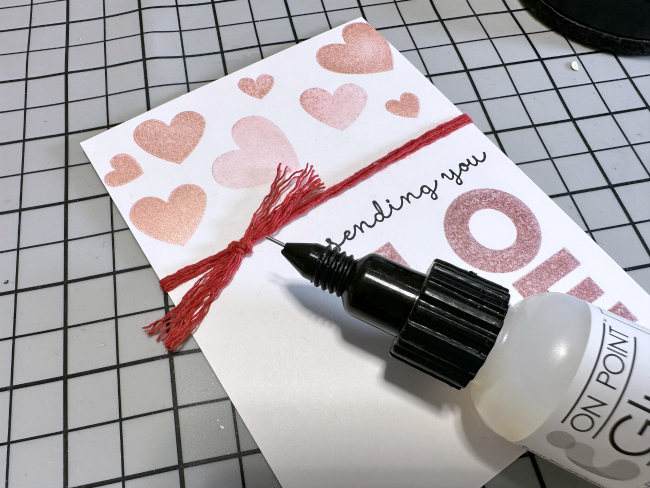
Step 5:
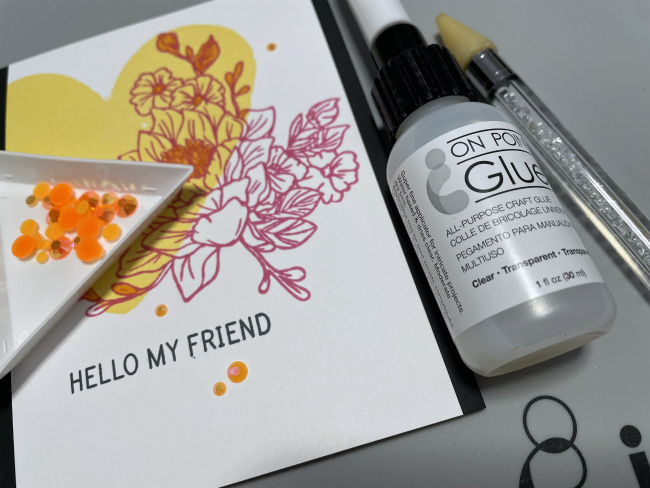
After finalizing the stamping process, I decided to embellish the card with a few loops of red twine. I used a dot of On Point Glue to secure just the knot.
Step 6:
Due to the dimension created with the twine, I pasted the decorated layer over a red card base using crafty foam tape. And voila, my soft and textured Valentine’s Card is ready!
Thanks for stopping by and don’t forget that you can explore more textures with other colors of Delicata Ink.
Art Supplies:
Imagine:
• Delicata Ink Ruby Red and Rose Gold
Other:
• I Love You Stamps by Diamond Press.
• Stamping Tool
• Crafty Foam Tape.