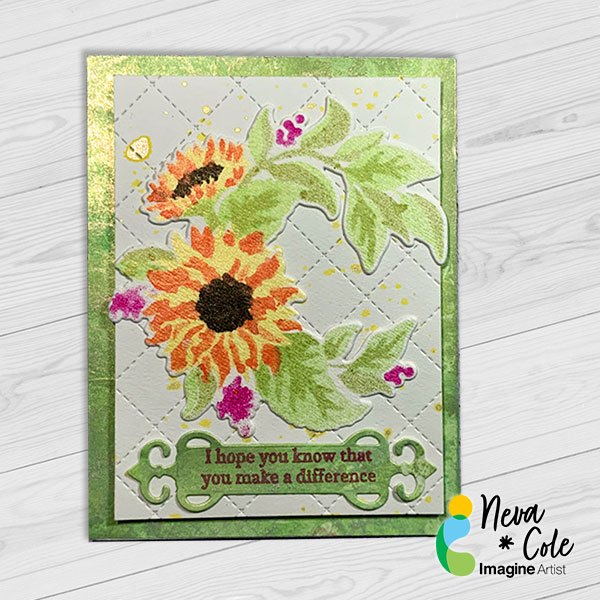
By Neva Cole –
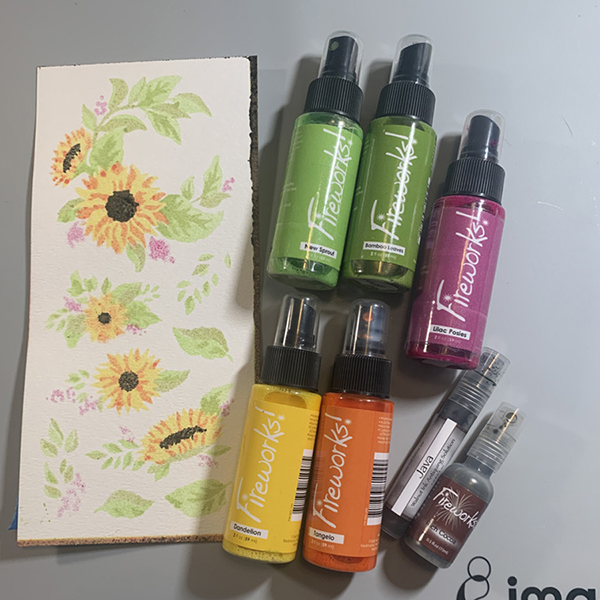
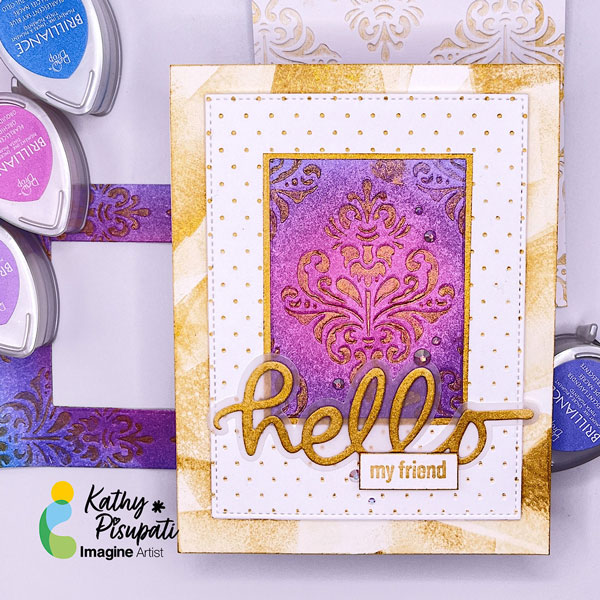
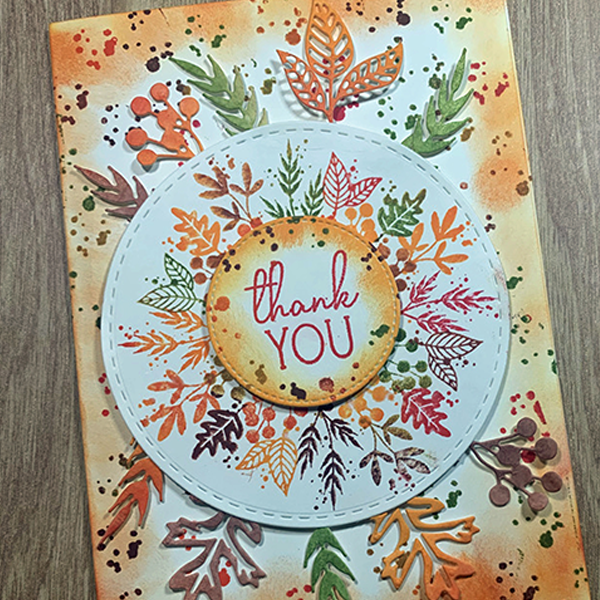
There are many Kaleidacolor pads that are in the autumn themed pallet. Even though this card is multi-layered it comes together in a short amount of time considering all of the inked embellishments!
Skill: Intermediate
Time: 2 Hours
Directions:
Step 1:
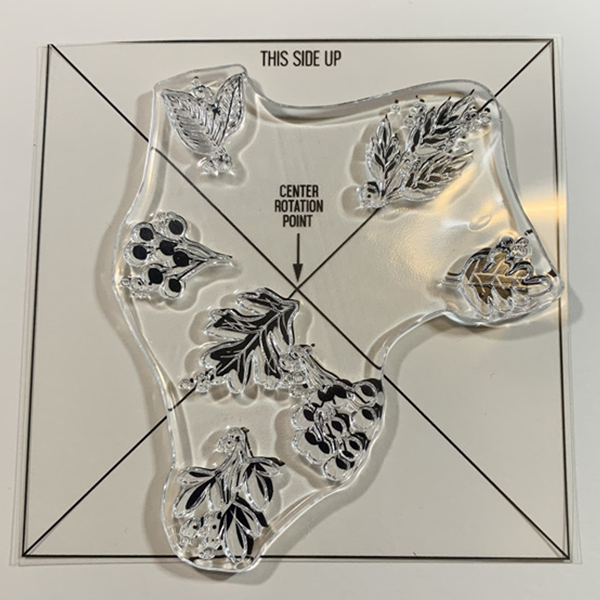
Trim cream cardstock to 5” x 5” and center the overlay and stamp on the center rotation point of the Turn About Stamp. Place on stamp platform to pick up stamp, and remove overlay.
Step 2:
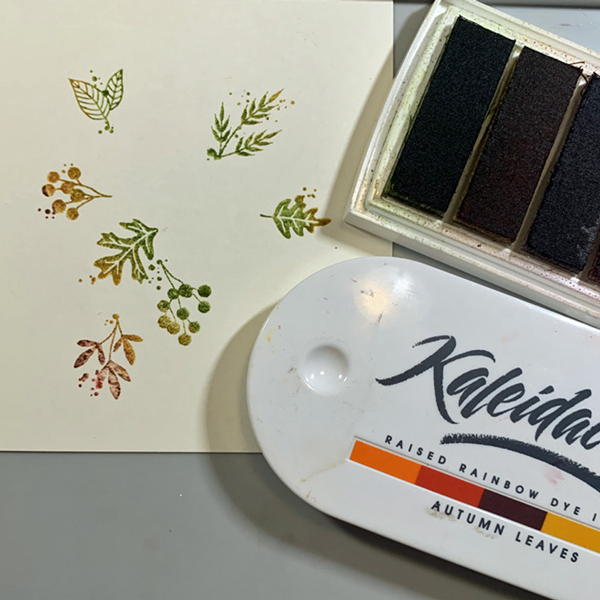
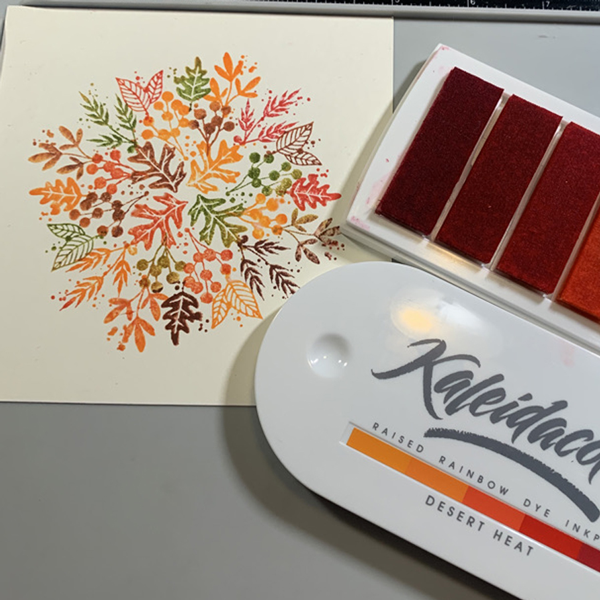
Ink up the stamp with Kaleidacolor in Autumn Leaves with the green end of the pad and stamp the image. Rotate the paper 90 degree to the right.
Step 3:
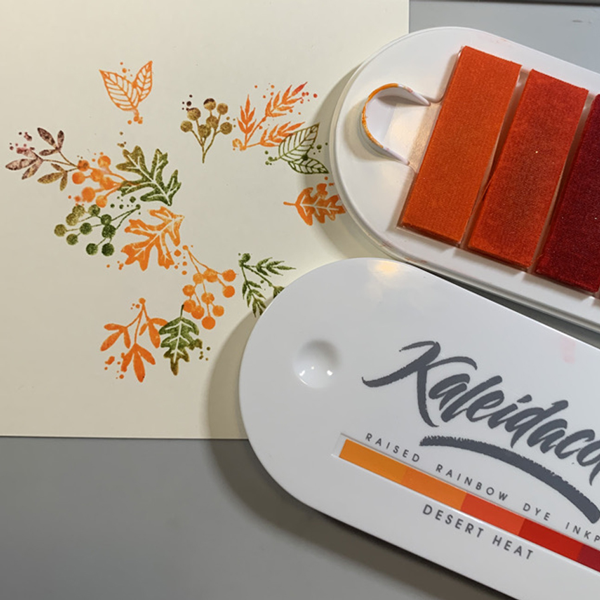
Ink up the stamp with Kaleidacolor in Desert Heat with the orange end of the pad and stamp the image. Rotate the paper 90 degree to the right.
Step 4:
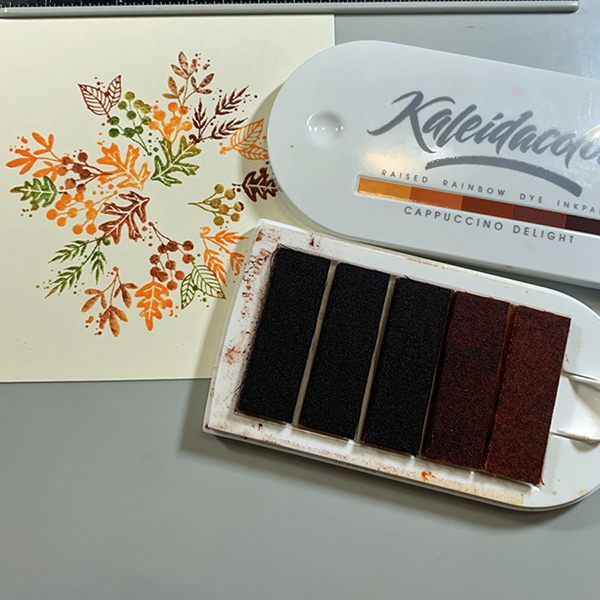
Ink up the stamp with Kaleidacolor in Cappuccino Delight with the brown end of the pad and stamp the image. Rotate the paper 90 degree to the right.
Step 5:
Ink up the stamp with Kaleidacolor in Desert Heat with the red end of the pad and stamp the image. Rotate the paper 90 degree to the right. After I started the card I realized it can also be completed with two complementary Kaleidacolor pads, just by using opposite ends to ink the image. Die cut the completed wreath with a circle die cut.
Step 6:
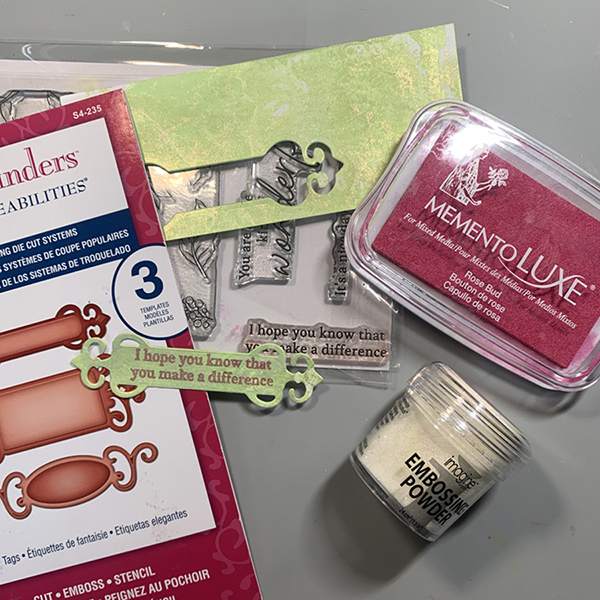
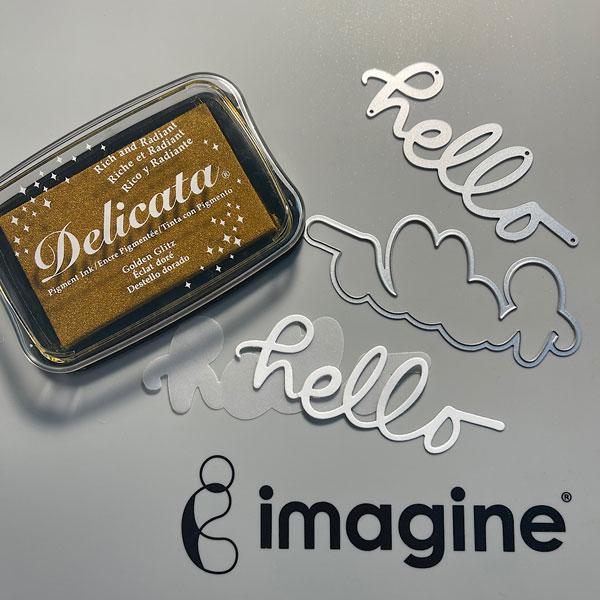
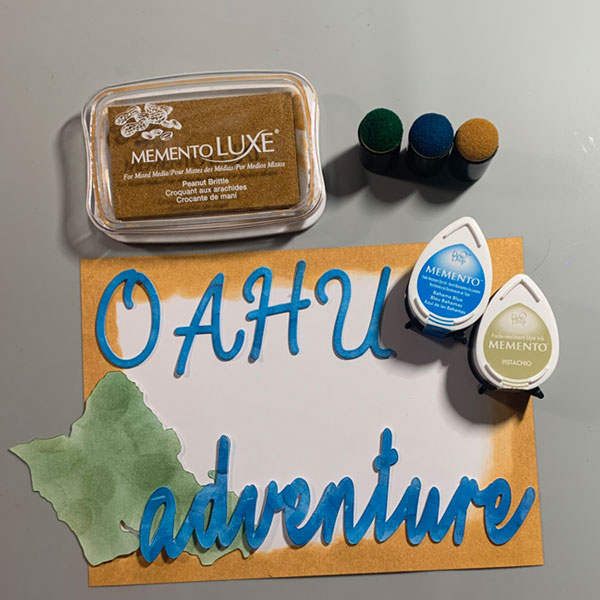
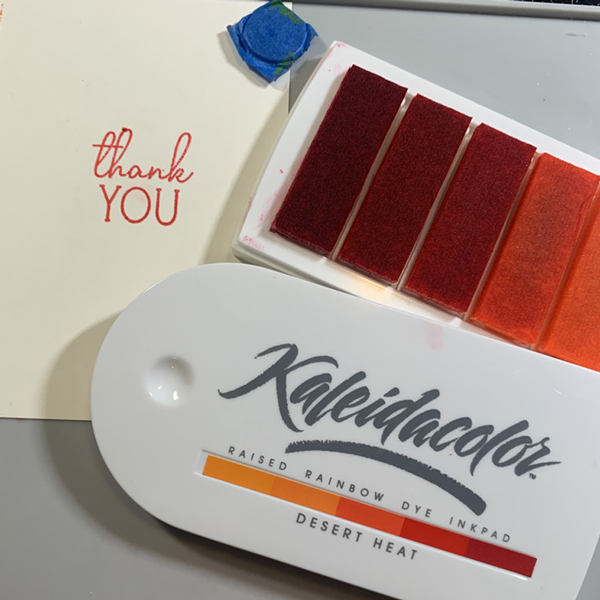
Ink the sentiment from the red end of the Kaleidacolor Desert Heat pad and stamp.
Step 7:
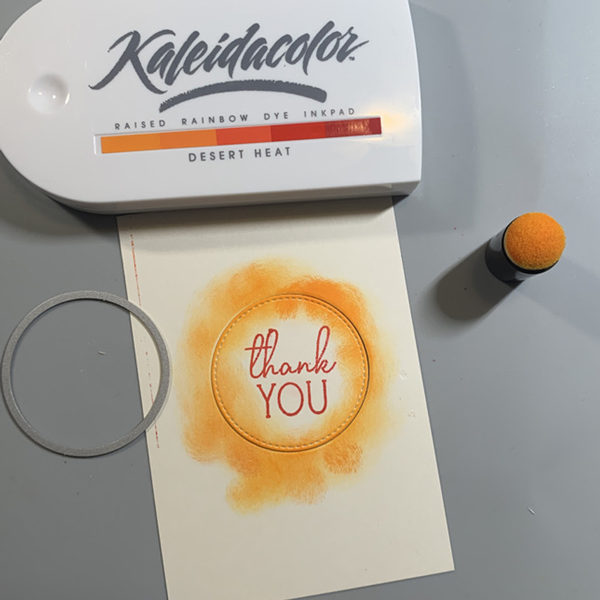
Die cut the sentiment. The edges are then blended in with an Ink Dauber and the yellow end of the Kaleidacolor Desert Heat pad.

Step 8:
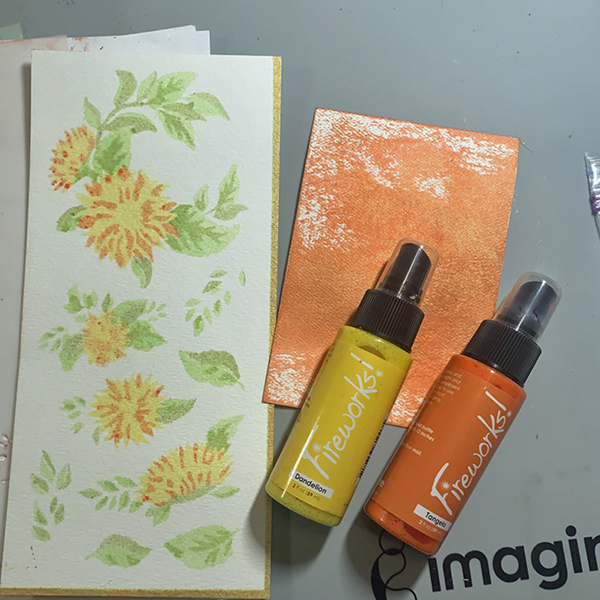
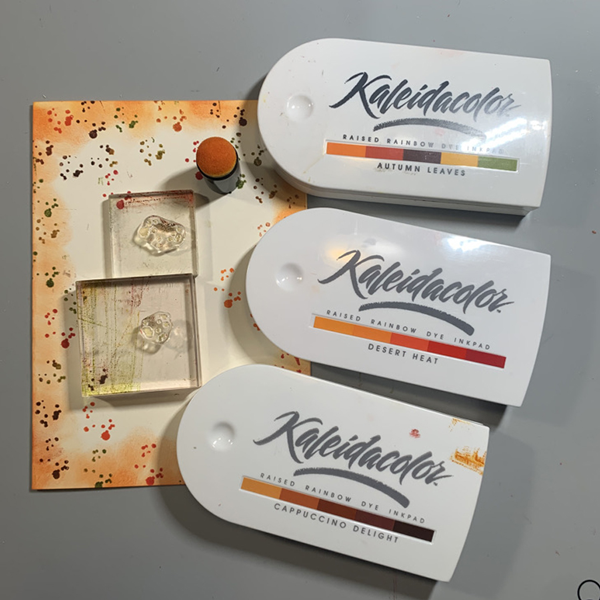
More embellishment is added with included stamps from the set from various sections of all three Kaleidacolor pads.
Step 9:
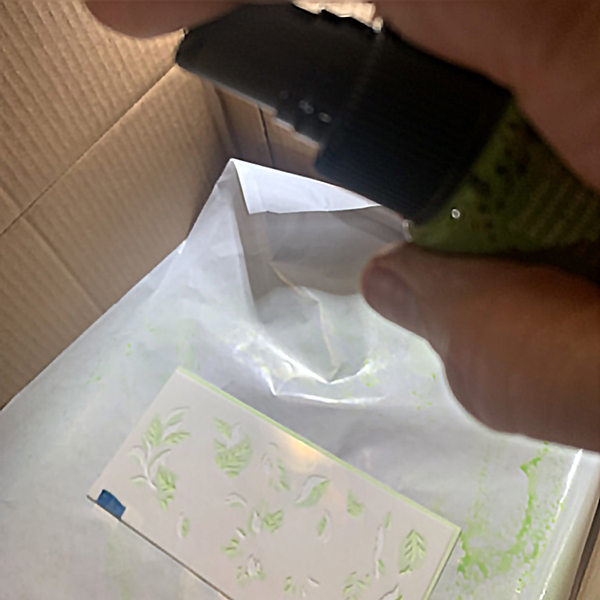
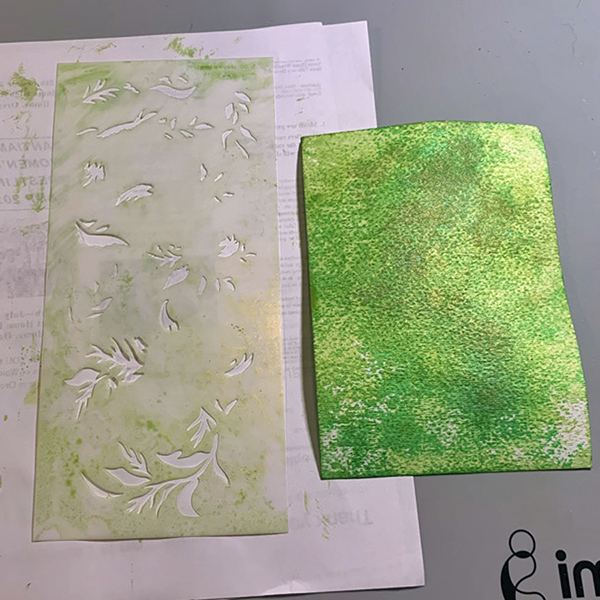
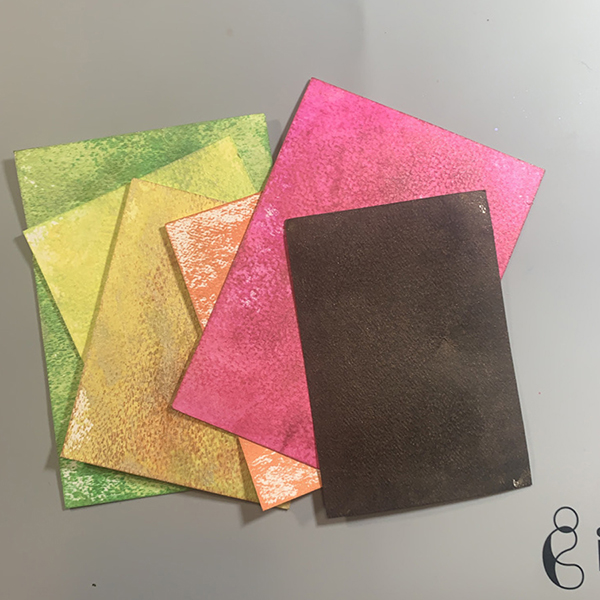
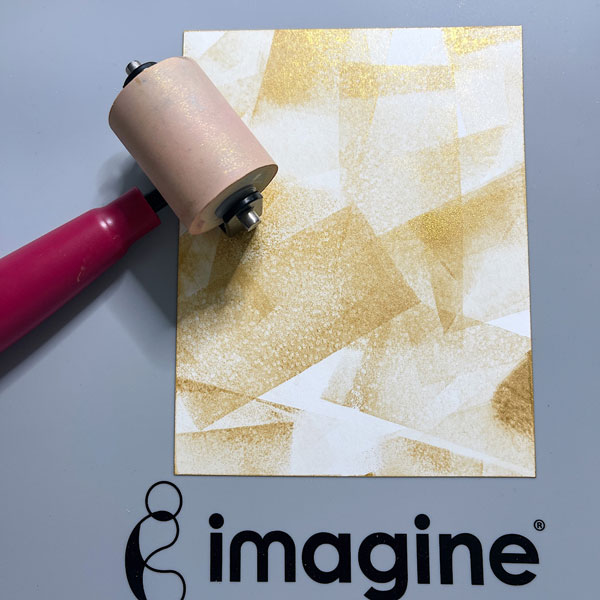
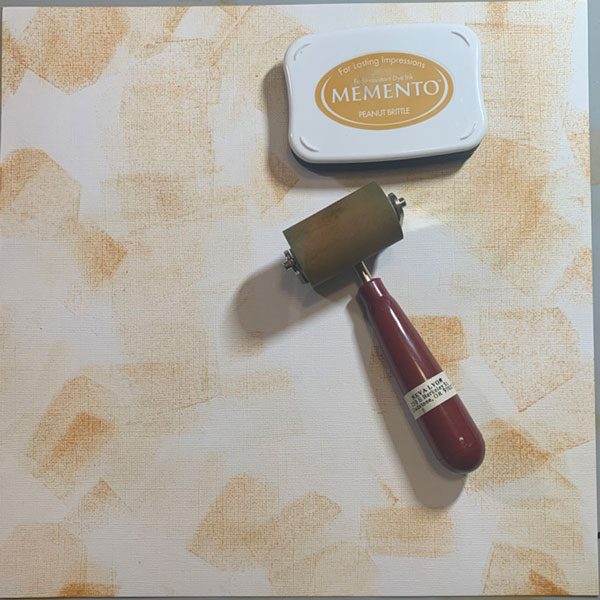
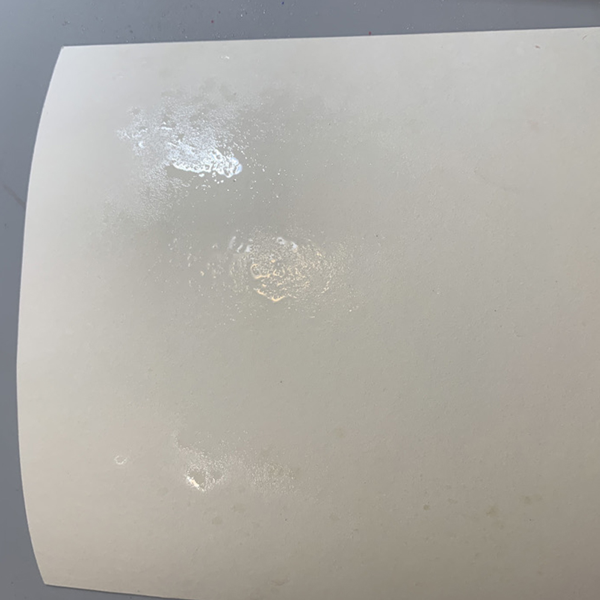
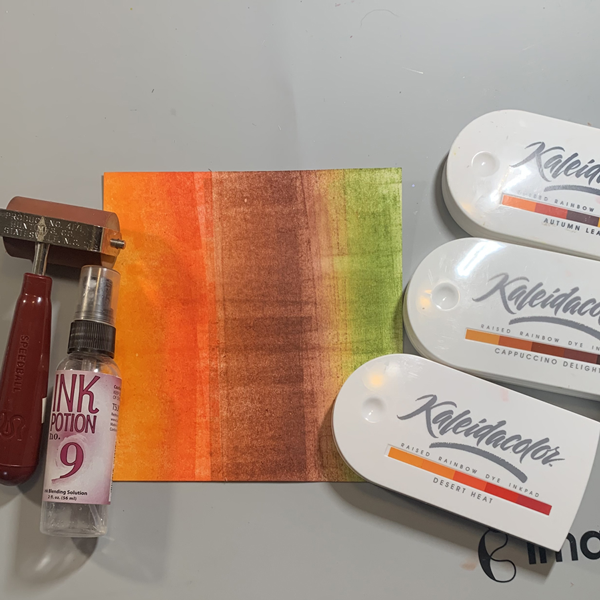
Spritz a section of cream cardstock with Ink Potion No. 9. This will allow the ink to spread more uniformly on the cardstock. Generally glossy cardstock works best, but the rest of the card was regular cream cardstock, this is a good work around.
Step 10:
Using a 2” rubber brayer add ink liberally to the white cardstock until fairly well blended. All three Kaleidacolor ink pads are used on one piece of cardstock with the intention to have several colors to die cut the coordinating leave dies.
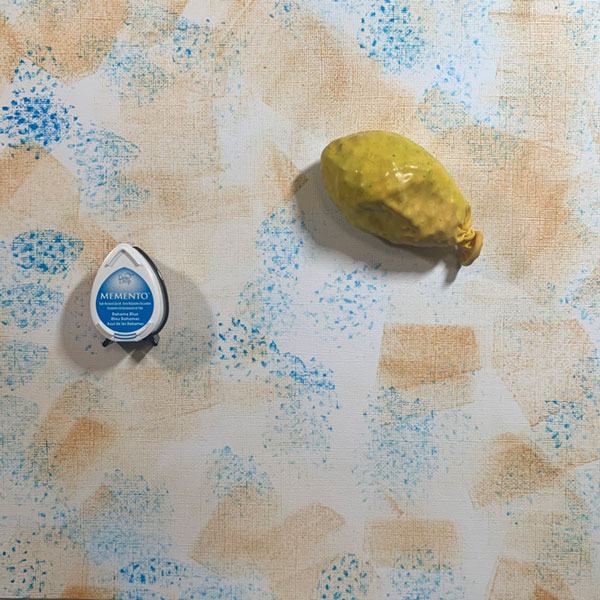
Step 11:
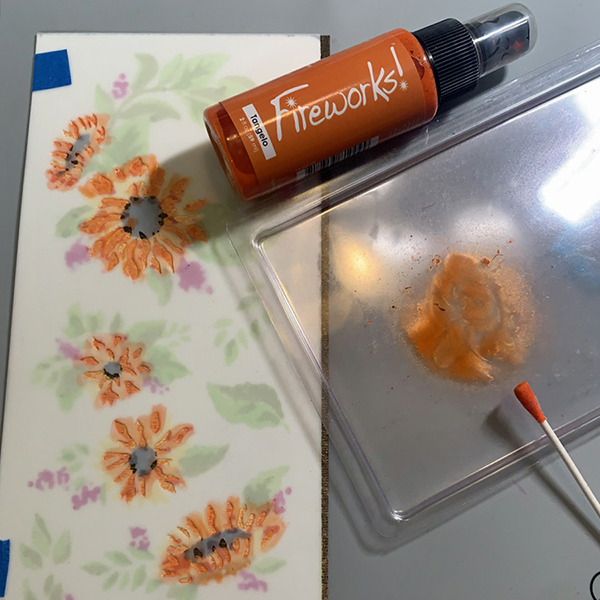
Decorate the front of the 5” x 7” card front in the same way the sentiment die is inked and stamped in Step 8.
Step 12:
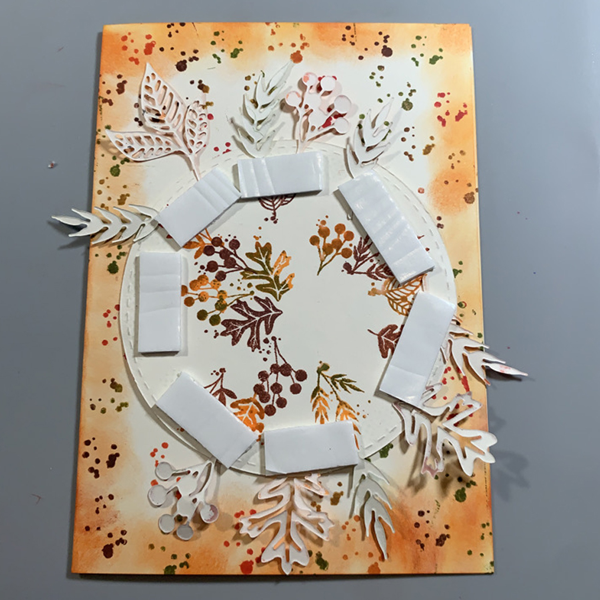
Arrange die cuts from the brayered section of cardstock on the card base. Use repositionable adhesive to pick up the edges of the die cuts and flip over the entire front circle wreath. Add dimensional foam adhesive to secure die cuts in place. (You will notice that the reverse side was the first try, however it wasn’t the best, so it is simply flipped over and the other side was used. You only see the mistake in the demonstration step!)
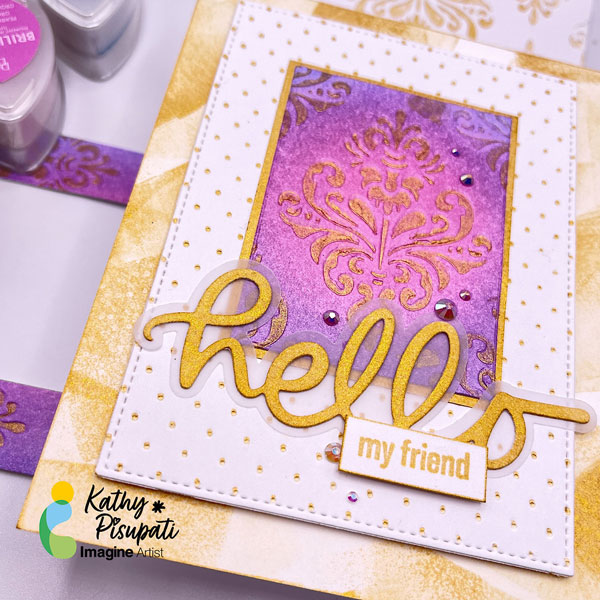
Step 13:
Adhere stamped wreath to card front. Adhere the sentiment to the center of the stamped wreath with dimensional foam adhesive.
Art Supplies
Imagine
• Kaleidacolor–Autumn Leaves, Desert Heat, Cappuccino Delight
Other:
• Cream Cardstock
• Concord & 9th–Harvest Wreath Turnabout Set and Dies
• Elizabeth Craft Designs–Stitched Circles
• 2” Rubber brayer
• Temporary repositionable adhesive
• Dimension Foam adhesive
• Die Cut machine
• Stamp Platform