by Iris Rodriguez

I love stamps as much as the next crafty person. Sometimes, I like to hand draw my own images though. Did you know you can draw your images with Imagine’s irRESISTible Pico Embellisher? IrRESISTible is a texture medium; which adds dimension to your project. It comes with a fine-tipped applicator for writing or making doodles. For the background, I used various All-Purpose Inks to create a watercolor painted look and then drew on top with the Pico Embellisher.
Skill: Beginner/Intermediate
Time: 30 minutes
Directions

Step 1
Determine how many colors of All-Purpose Ink. Prepare a water container for each color, so that you do not contaminate the colors; also, avoids running the risk of your ink turning into a mud color. Use a different for each color, or wash the brush between each color if using the same brush.

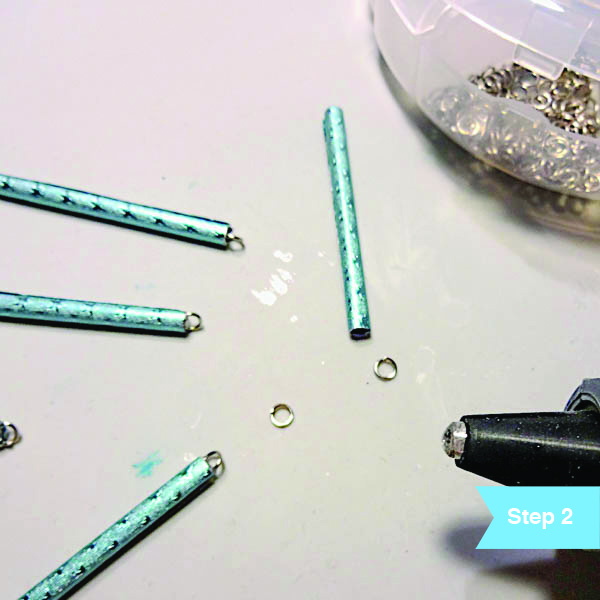
Step 2
First, wet the area with plain water. Place a small amount of ink into one of the ink wells. Add water to the ink and brush onto the paper.

Step 3
Repeat the same process for each color. Do not blend the colors; just lay them next to each other. Dry the paper.

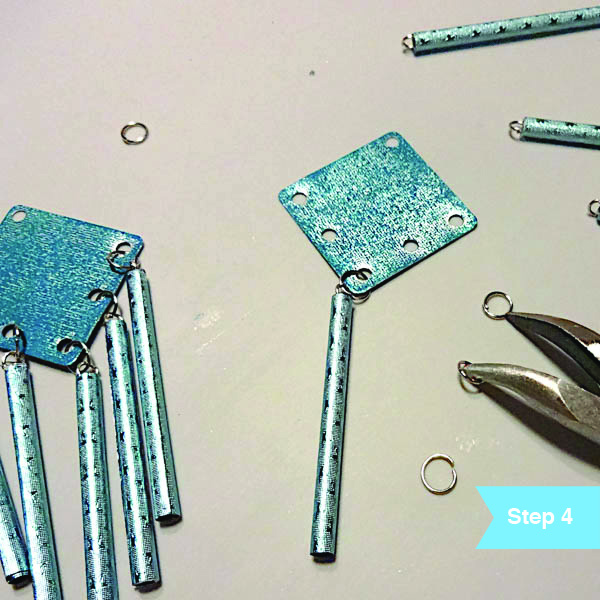
Step 4
Brush on Creative Medium in order to seal in the All-Purpose Ink. Draw your image using Zeal Teal irRESISTible Pico Embellisher. If you are not used to this medium, first practice drawing on a piece of scratch paper. Always squeeze out the Pico Embellisher onto scratch paper to eliminate the bubbles, before applying to your project. Finally, stamp on sentiment and assemble the card.
Supplies
Imagine
- Craft Mat
- All-Purpose Ink – Tropical Lagoon, Thyme, Rose Pink, Wisteria
- irRESISTible Pico Embellisher – Zeal Teal
- Creative Medium – Clear
Other
- Watercolor paper
- Ink well palette dish
- Paintbrush
- Cardbase – black