Let’s Make an Adorable Summertime Card 

2022-LeeAnn-June_700x700

By LeeAnn McKinney

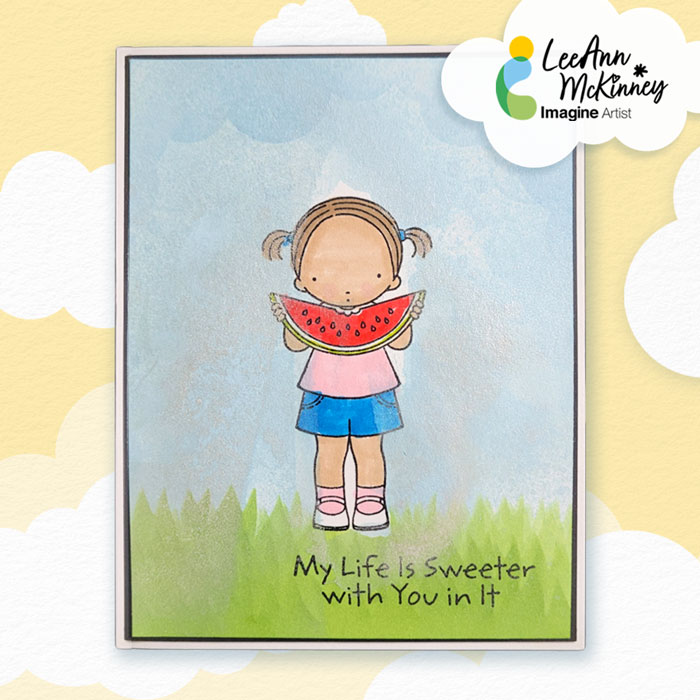
– Nothing says Summertime to me like a nice juicy chunk of watermelon… and making this card made me get up and grab a watermelon popsicle when I was done…

Skill level: Beginner

Time: 30 minutes


Art Supplies

Imagine:

• VersaFine CLAIR Nocturne – 

• Fireworks Summer Sky – 

• Tear It! Tape – 

• Angel Pink Memento Marker – 

• Lady Bug Memento Marker – 

• Desert Sand Memento Marker – 

• Summer Sky Dew Drop – 

• Bamboo Leaves Dew Drop – 

• Pear Tart Memento Marker – 

• Toffee Crunch Memento Marker – 

Other supplies:

• MFT Through The Clouds Stencil

• MFT Summertime Pure Innocence Girl

• Accent Opaque 120lb White Cardstock

• Gina K Designs 80 lb Layering Weight Cardstock

How To Create Nautical Theme Cards Using Memento Inks

2022_June_Katy-Ingram_Nautical-Theme-IG1

By Katy Ingram –

Hello Friends! Katy here with another quick project for you. I have started to create A1 size cards, I think they are the cutest size for note cards. Normally A1 size cards are used for R.S.V.P or Reception cards, but I have started creating them for my every day note cards, I hope you like them too. 

The theme is nautical and when I think of nautical I think navy and white, so for todays project I combine Bahama Blue, Nautical Blue and Teal Zeal Memento Inks. I have a video tutorial for you that shows how these cards came together. I hope you enjoy.

Card Panel Measurement 2 1/2 inches Wide 4 1/4 inches Long

Card Base Measurement 4 7/8 inches x 7 inches, Score on the 7 inch side at 3 1/2 inches. 

Skill: Beginner, Intermediate, Advanced
Time: 10 minutes

Art Supplies:

Imagine

• Memento Ink Bahama Breeze 

• Memento Ink Nautical Blue 

• Memento Ink Teal Zeal 

• Tear It! Tape 

Other Products Used:

• Honey Bee Stamps Zen Ocean Stamp Set (no longer available)

• Honey Bee Stamps Mermaid Song Stamp Set (no longer available)

• Hero Arts My Monthly Hero Kit (no longer available)

• 100 lb Accent Opaque Cardstock https://amzn.to/3qFj36v 

• Brush https://amzn.to/3KoVExK

Follow Katy Here:

Youtube: https://youtube.com/c/eastwickspaperandink 

facebook: fb.me/eastwickspaper 

Instagram: https://www.instagram.com/eastwickspaperandink/ 

Blog: https://www.eastwickspaperandink.com/

How To Create The Perfect Plaid Background Using Kaleidacolor Inks 

2022-May-Katy-Ingram-Fathersday-Plaid_650x6502022-May-Katy-Ingram-Fatherday-Plaid-650x650

By Katy Ingram –

Hello Friends! Katy here and I am excited to share my project with you today. I am using the Kaleidacolor Ink Pad in Caribbean Sea to create my two plaid panels. Have you ever wondered or struggled with what colors to use to create a plaid background? Well my friends wonder and struggle no more because the Kaleidacolor Ink Pads solve it all. These ink pads coordinate so well that it takes the guesswork out. In the video I show just how easy it is, with a stencil of course, but the best part is, you don’t have to use all the colors or all the layers of the stencil I am using to get some really cool backgrounds. I will definitely be bringing the pads out more often to take the guesswork out of what colors go well with each other. Thanks so much for stopping by. 

I will catch you next time!   

Katy

Skill: Beginner, Intermediate, Advanced
Time: 20 minutes


Art Supplies:

Imagine

• Kaleidacolor Ink Pad – Caribbean Sea 

• Ink Refills

– 40 Chartreuse

– 38 Pale Aqua

– 37 Celeste Blue

– 10 Teal

– 39 Nile Green

• VersaFine Clair – Twilight

• Tear it! Tape 


Other Products Used:

• Stardream Metallic Lapiz Lazuli

• Accent Opaque 120 lb Cardstock

• Kat Scrappiness Postage Stamp Die

• Kat Scrappiness Happy Fathers Day Die

• Hero Arts Dapper Dad Stamp Set

• Pinkfresh Studio Lowercase Heather and Lea’s Ornate Lowercase dies

• Blender Brushes

• The Greetery Tartan Builder Diagonal Stencil

Follow Katy Here:

Youtube: https://youtube.com/c/eastwickspaperandink 

facebook: fb.me/eastwickspaper 

Instagram: https://www.instagram.com/eastwickspaperandink/ 

Blog: https://www.eastwickspaperandink.com/

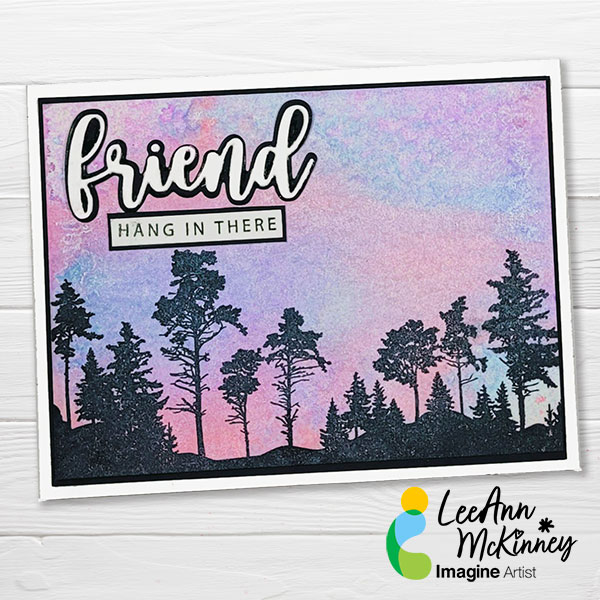
Hang In There… An Inspirational Project 

LeeAnn_Feb_Card_Blog

By LeeAnn McKinney

– Hi there friends and fellow crafters, LeeAnn here with a project that I knew I was going to make the minute I saw the photo. See a friend of mine posted this amazing photo on her Facebook page last month, and I started thinking right then about how I was going to replicate it. How about leaving a comment below and let me know how I did. 

Skill level: Beginner

Time: 30 minutes


Art Supplies

Imagine:

• Fireworks! Angel Pink

• Fireworks! Summer Sky

• Fireworks! Lulu Lavander

• Imagine Craft Mat

• On Point Glue

• Imagine Tear It! Tape

• VersaFine Clair Nocturne

Other products:

How To Make Simple but Impactful Wedding/Anniversary Cards

2022-LeeAnn-April-IG

By LeeAnn McKinney

– Hi there friends and fellow crafters, Today I am here making 2 Impactful but clean and simple cards using Tear It! Tape, On Point Glue, VersaFine CLAIR in Nocturne, MBoss in Clear and Memento Luxe in Wedding Dress.

The first thing I had done to prepare for my video was to create 2 A2 panels 4.25” x 5.5”. I then used my Mini Misti stamped 1 panel with the sentiment from the Gina K Designs Delightful Daisies stamp set using VersaFine CLAIR in Nocturne. This is a Vegetable Oil based ink and takes a little time to dry so put it aside and move to my second panel. 

The second panel, I put in the Altenew Daisy Bed 3D embossing folder and ran it though my Vagabond 2 machine with only 1 cutting plate and the platform, this worked perfectly and gave a great embossing effect. 

I then went back to the first panel and ran it through the embossing folder as well, following that I poured a bit of clear MBoss on the sentiment and heat set it. This gave a seal and a shiny effect to the sentiment and allowed me to move on to the next step, which was using the Memento Luxe Mixed Media Pad in Wedding Dress to add a bit of shine and White color to the Raised edges of the panel. I added this purple panel to the card base, a few Jewels and this card was complete, Moving back to the Mint card, I used On Point glue to adhere the Happy Anniversary Sentiment and Shadow to the front panel, the Cantaloupe Memento Marker to the center of the Daisies and a Jewel for the tittle in the sentiment. Added this to the card base using Tear It Tape and this card was also complete.

Skill level: Beginner

Time: 30 minutes


Art Supplies

Imagine:

Memento Luxe Wedding Dress

• Imagine Craft Mat

• On Point Glue

• Memento Marker Dandelion

• Clear MBoss

• Imagine Tear It! Tape

• VersaFine Clair Nocturne

StazOn Stamp Cleaner

Other products:

• Gina K Designs Delightful Daisy Stamp set

• Altenew Daisy Bed Embossing Folder

• Kat Scrappiness Happy Anniversary Die with Shadow

• Kat Scrappiness Ornate Rainbow Jewels

• Accent Opaque 120lb Cardstock

Create Your Own Shimmer Cardstock and Turn It Into a Mother’s Day Card

2022-April-Katy-Mothers-Day-700x700

By Katy Ingram –

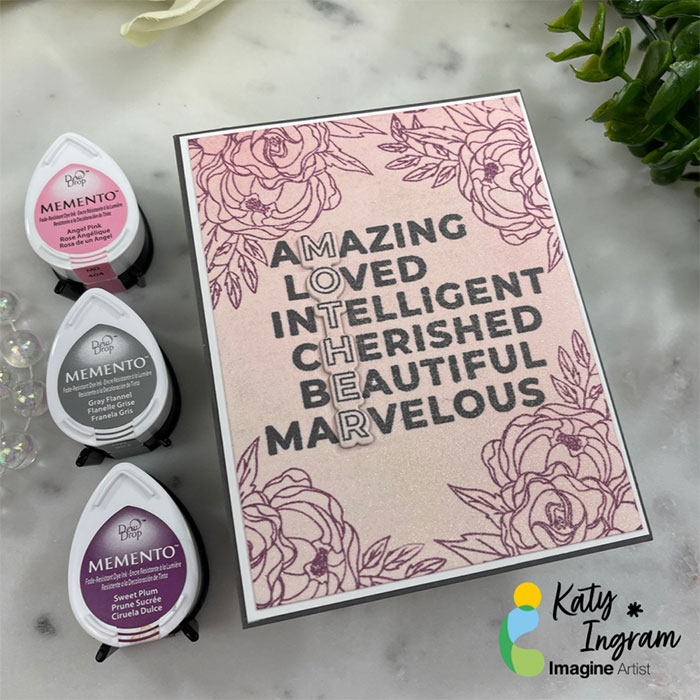
Hello Friends! Katy here with another quick project for you. Today’s card works up super quick, but has several techniques used to create it. I have a video for you below, but a quick recap: I used the Sheer Shimmer Spray in Sparkle on a piece of watercolor paper to start and then once that was dry I blended some Angel Pink Memento Ink and then stamped the center sentiment in Gray Flannel Memento Ink. Lastly, I stamped a floral image in each corner with Sweet Plum Memento Ink. I hope you enjoy the video, thanks so much for watching.

Skill: Beginner, Intermediate, Advanced
Time: 20 minutes


Art Supplies:

Imagine

• Memento Inks:

Angel Pink

Gray Flannel

Sweet Plum

Sheer Shimmer Spray-Sparkle

On Point Glue


Other Products Used:

• Simon Says Stamp Incredible Women Stamp and Die Set

• Pink Fresh Studio Blooming Bouquet Stamp

• Fabriano Traditional White Hot Pressed Watercolor Paper

• Accent Opaque 120 lb Cardstock

• Slate Gray Cardstock

• Gina K Designs White Layering Card Stock

• Blender Brushes

Follow Katy Here:

Youtube: https://youtube.com/c/eastwickspaperandink 

facebook: fb.me/eastwickspaper 

Instagram: https://www.instagram.com/eastwickspaperandink/ 

Blog: https://www.eastwickspaperandink.com/