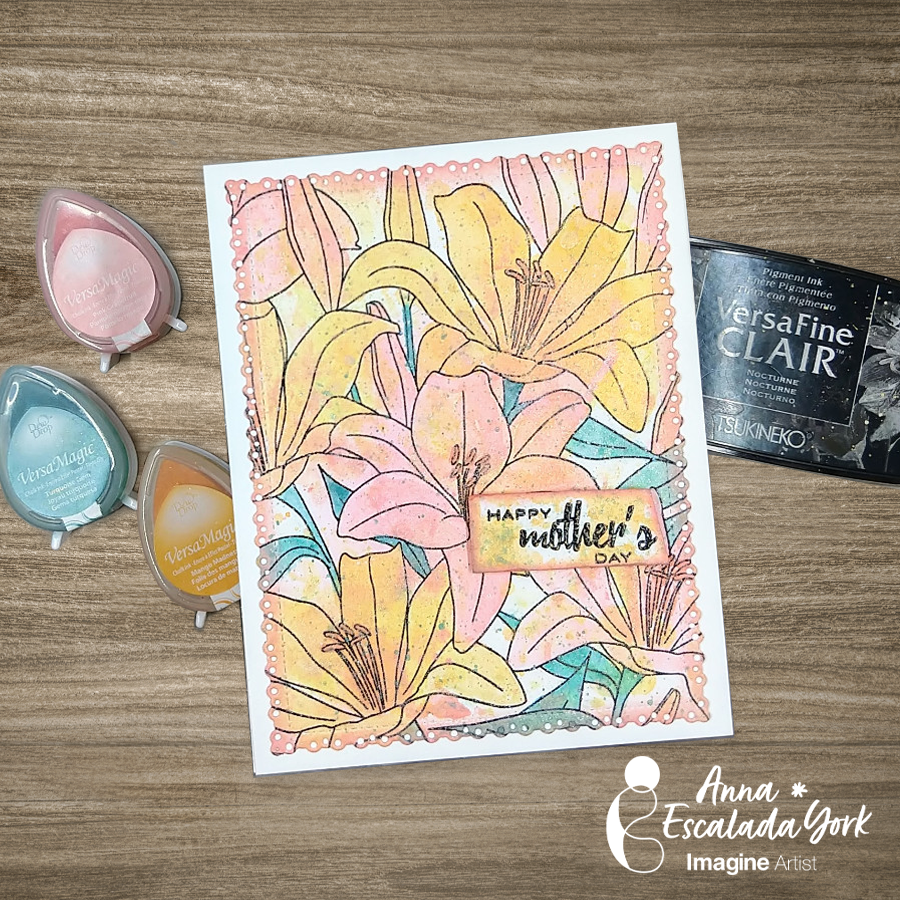
By Anna Escalada York
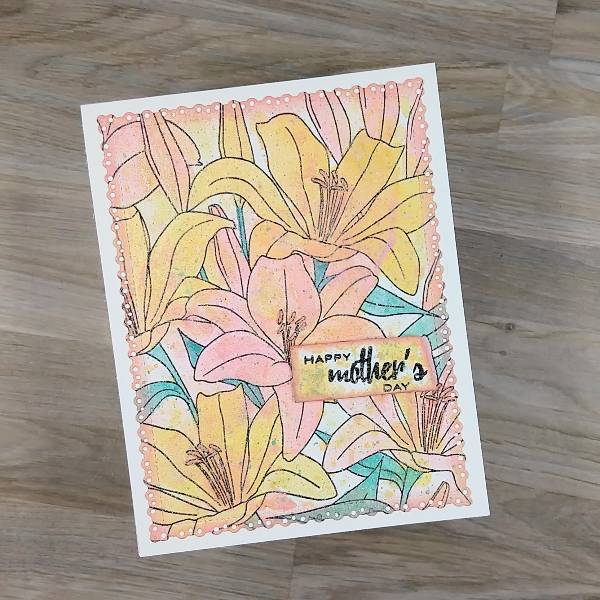
In today’s tutorial, I am sharing the card I made for my mom for Mother’s Day, using sprays and ink
mixed with Sheer Shimmer spray to watercolor the images.
Skill: Intermediate
Time: 1.5 hours
Directions:
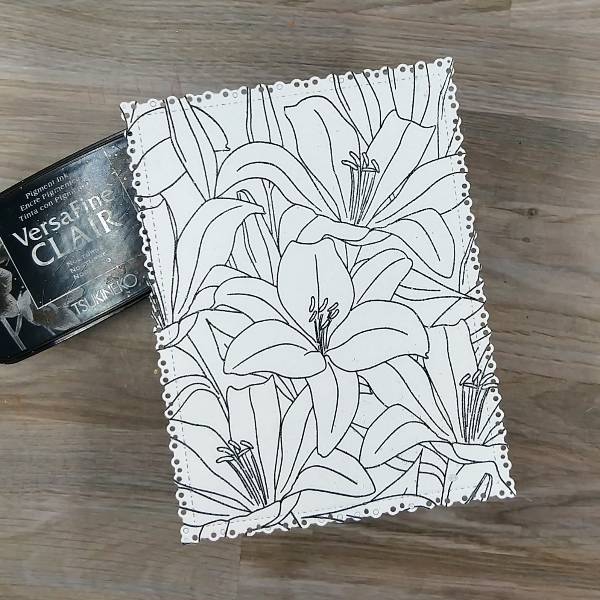
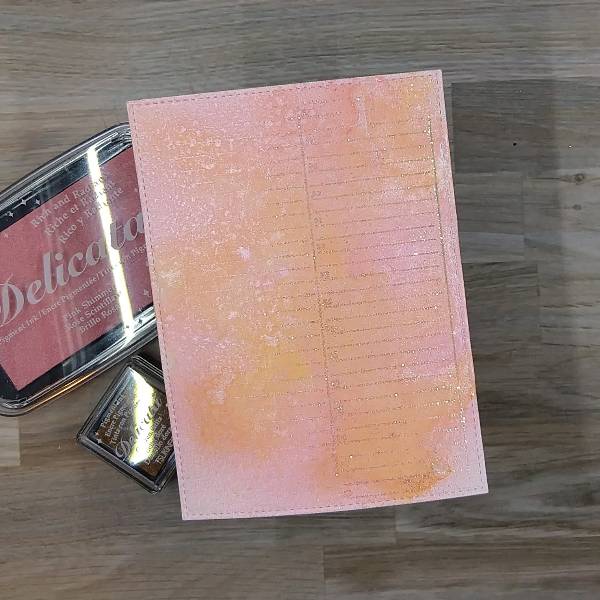
Step 1:
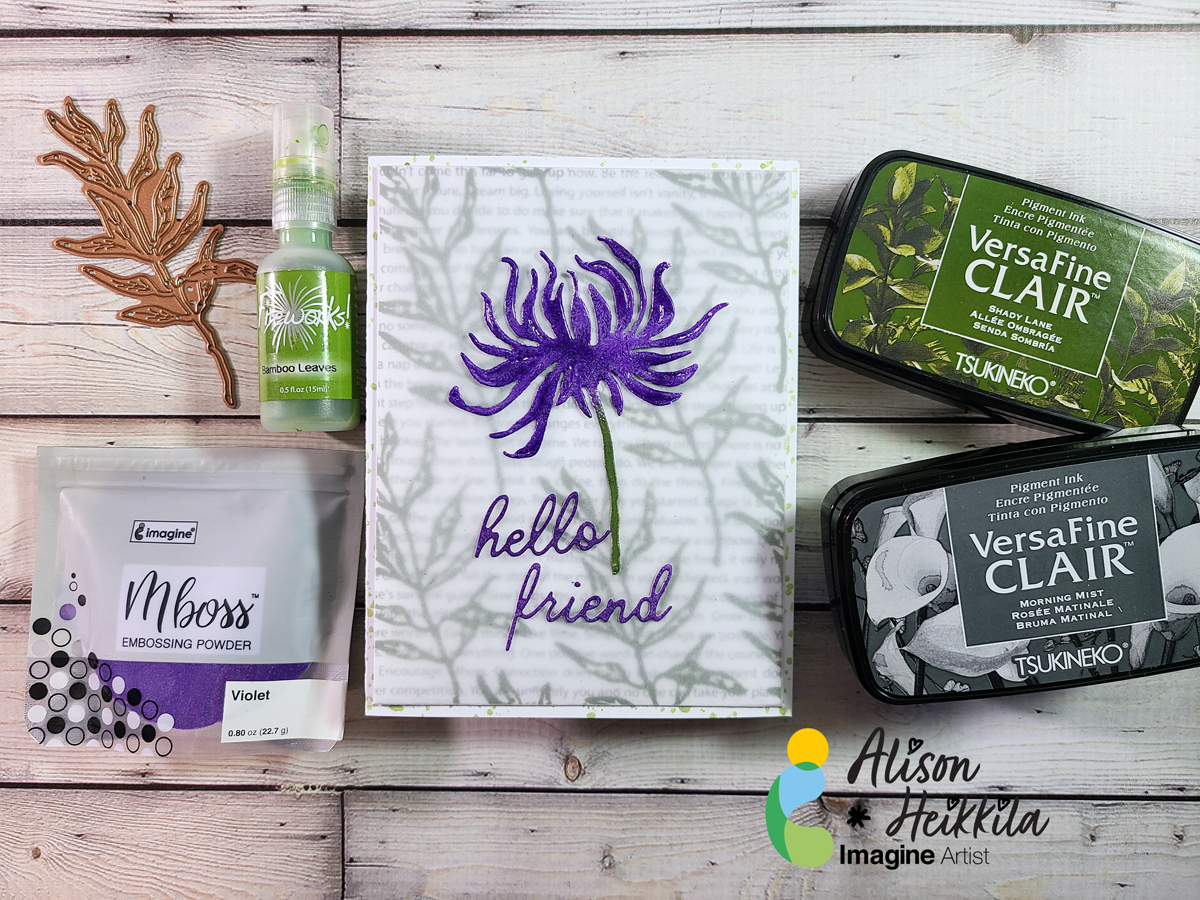
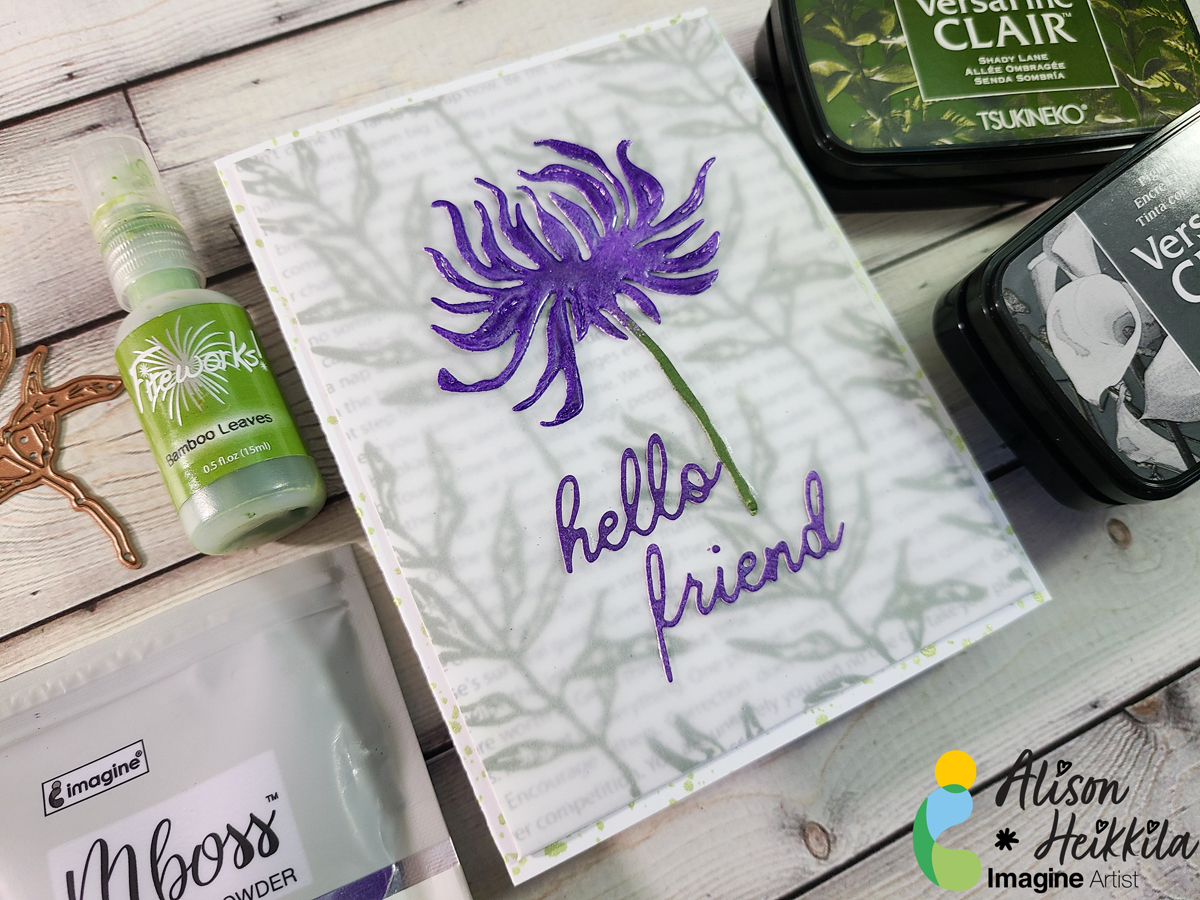
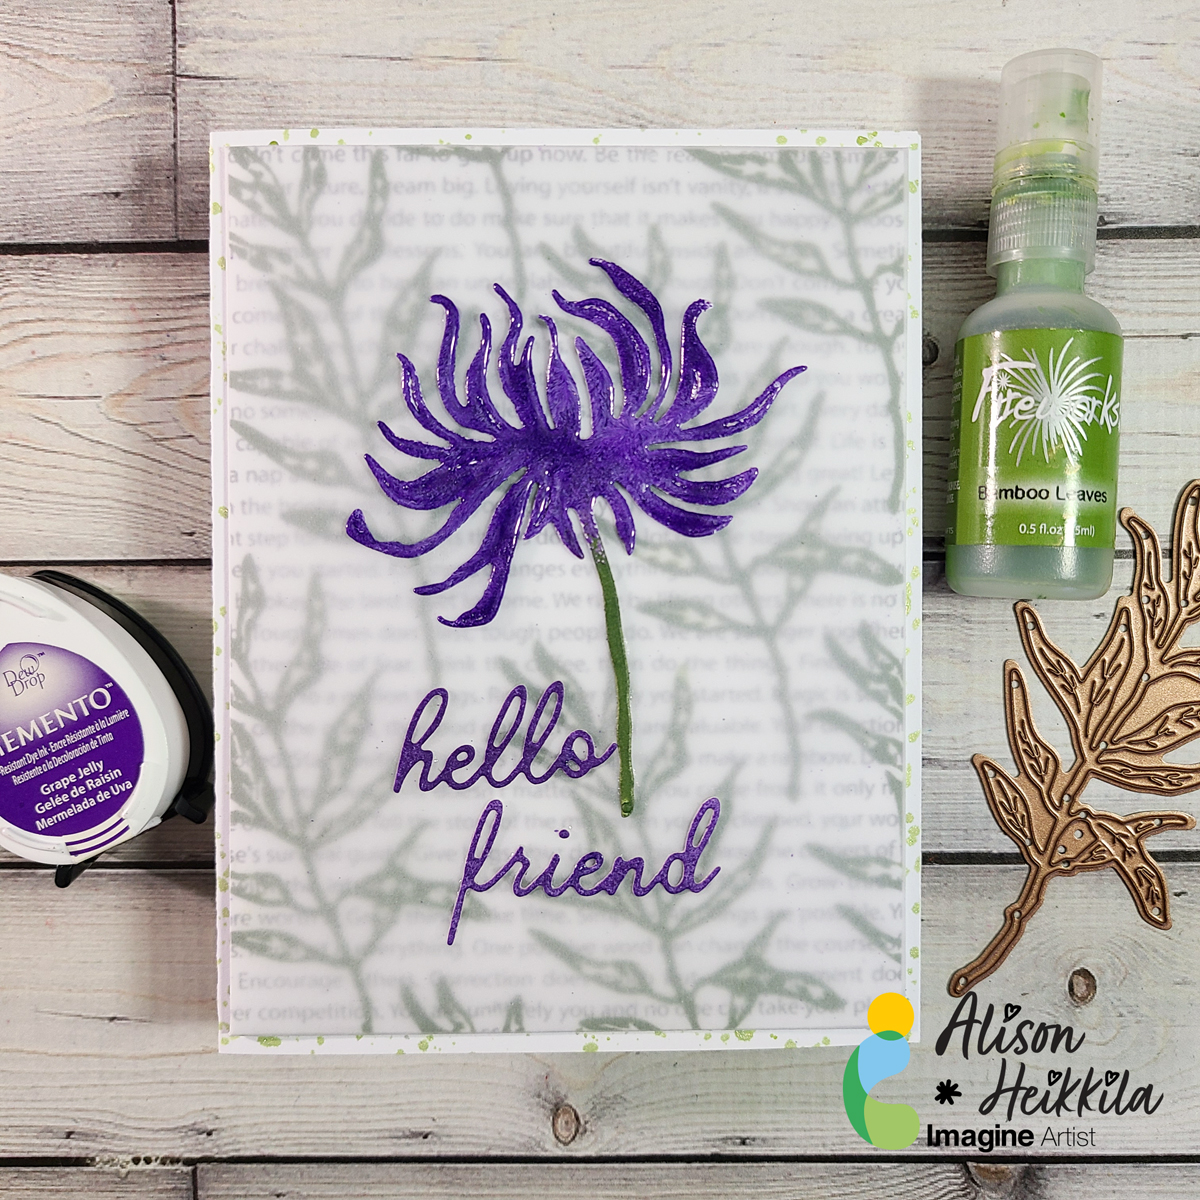
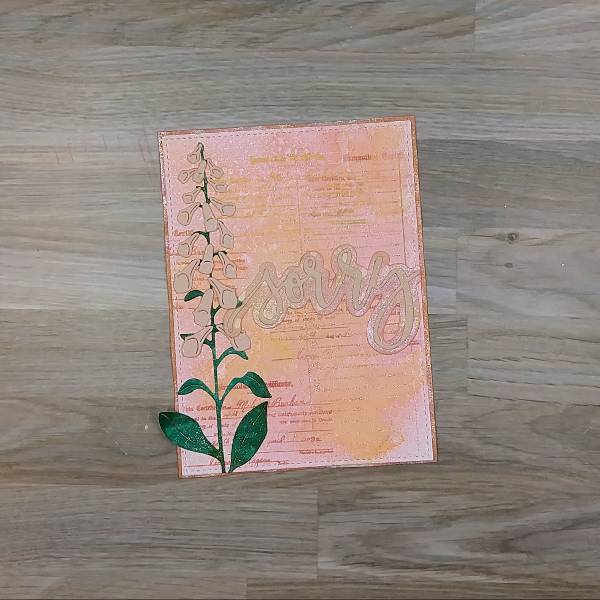
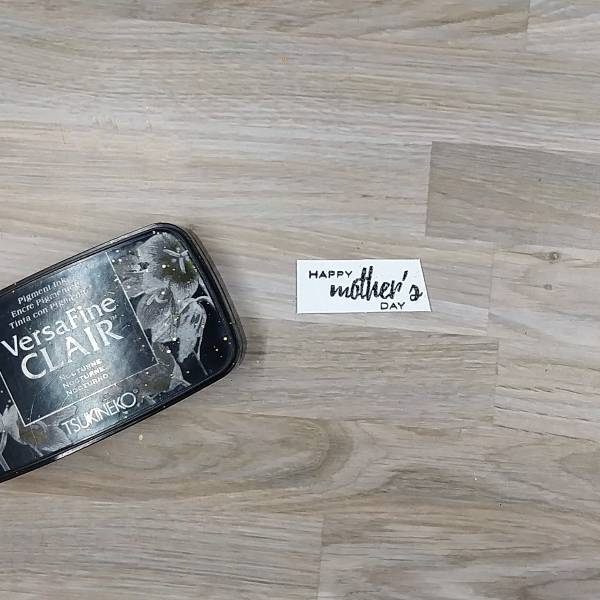
Use a die cut to create a watercolor paper panel and then stamp a large flower stamp with Nocturne VersaFine Clair Ink. Heat emboss with clear embossing powder
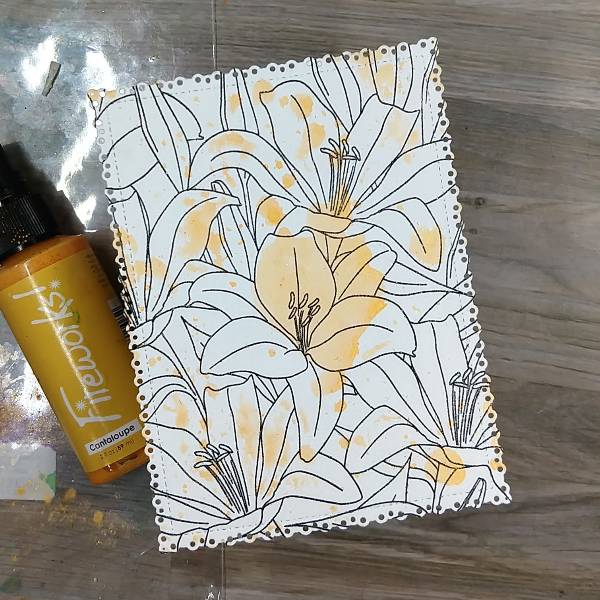
Step 2:
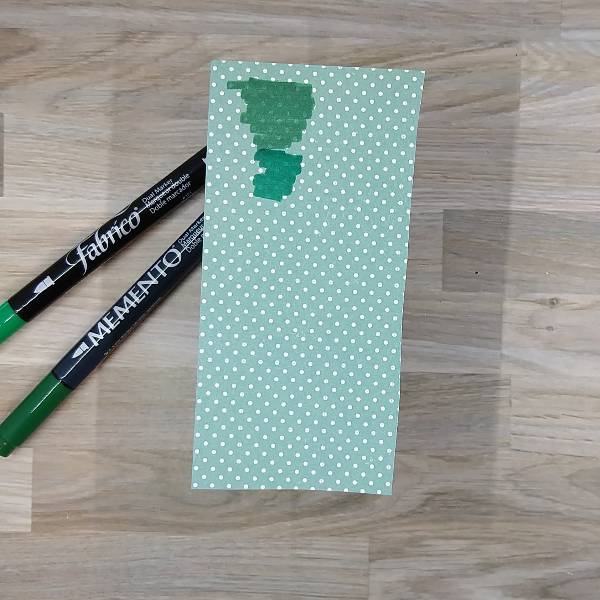
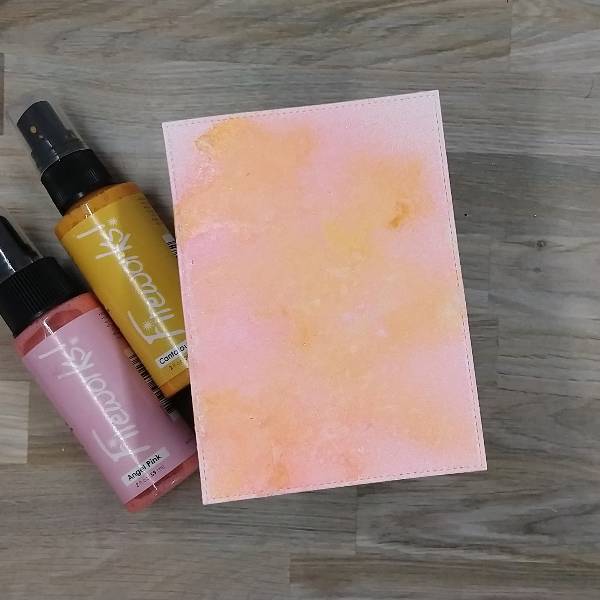
Spray Cantaloupe Fireworks! Spray onto a piece of scrap acetate packaging, and press the
sprayed acetate onto the stamped panel, making sure to get spray on multiple parts of the
stamped panel. Let dry.
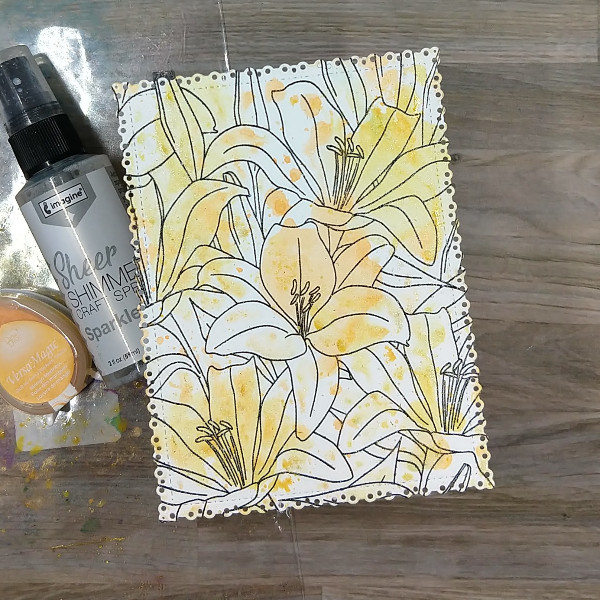
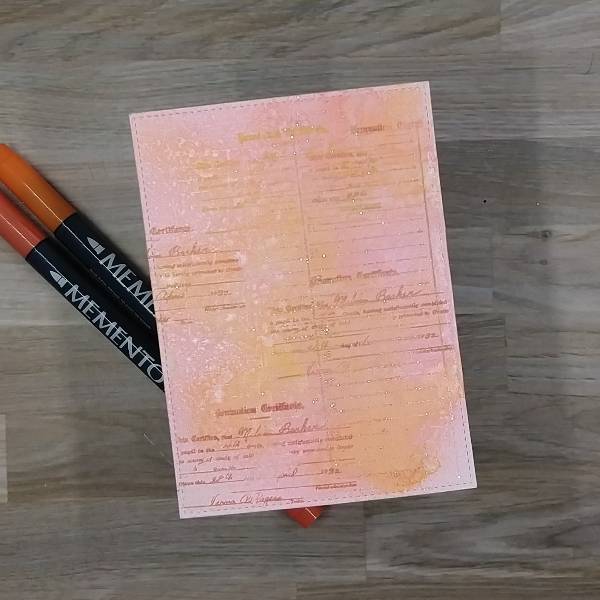
Step 3:
Press the Mango Madness VersaMagic Chalk Ink pad onto the acetate packaging. Then spray
Sparkle Sheer Shimmer Craft spray onto the ink to give it a watery consistency. Then press this
color of yellow ink onto the stamped panel to add interest and a variety of colors. Let dry.
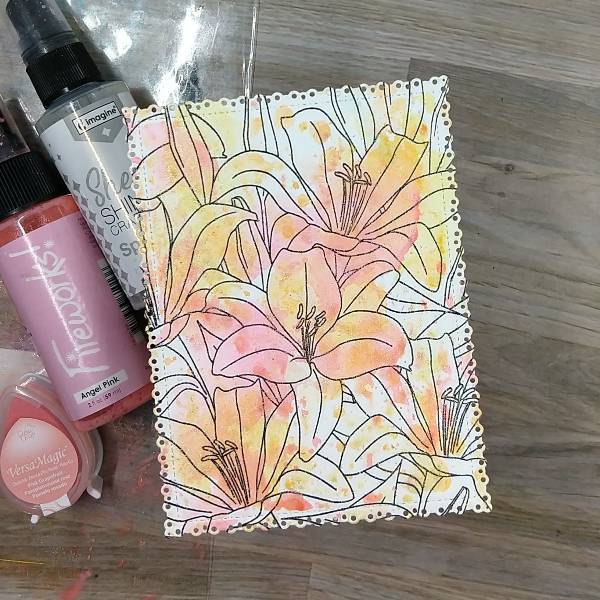
Step 4:
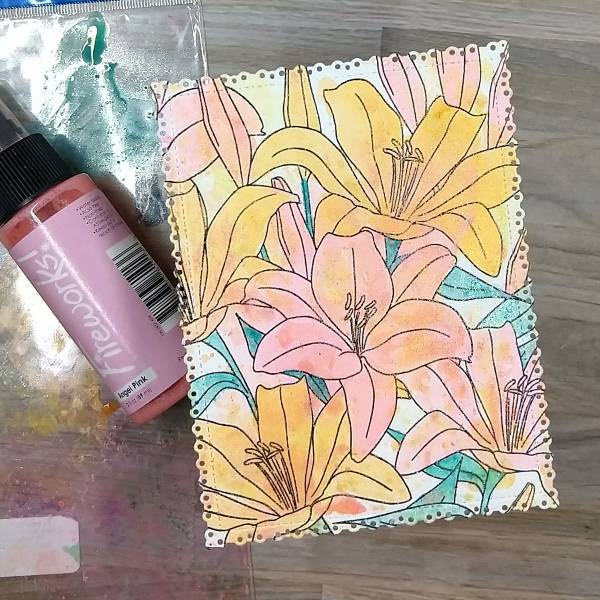
Repeat the process with pink inks. Spray Angel Pink Fireworks! Spray onto the acetate
packaging and press the packaging onto the stamped panel. After the spray dried, press Pink
Grapefruit VersaMagic Chalk Ink onto the acetate and spray it with more of the Sparkle Sheer
Shimmer Craft spray and press that onto the stamped panel as well. Again, let dry.
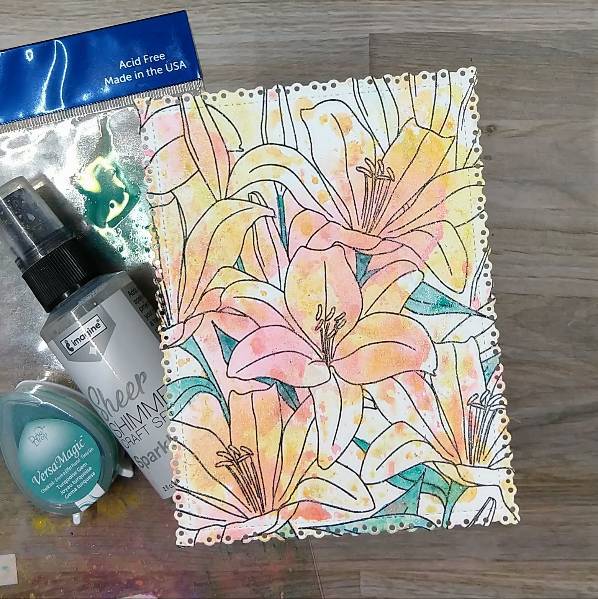
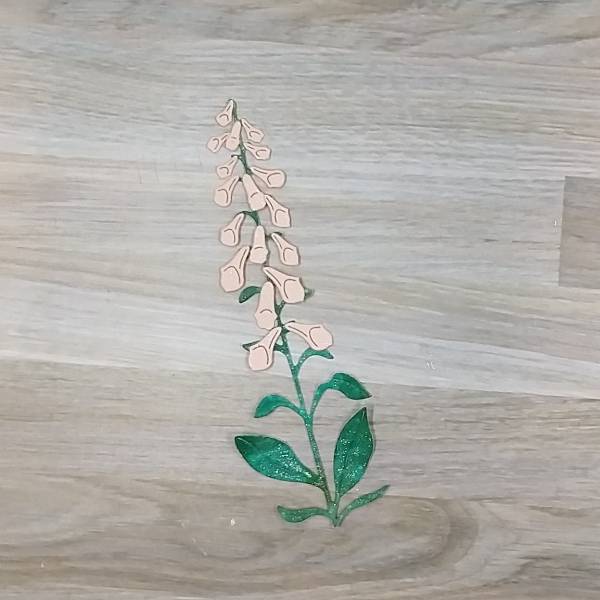
Step 5:
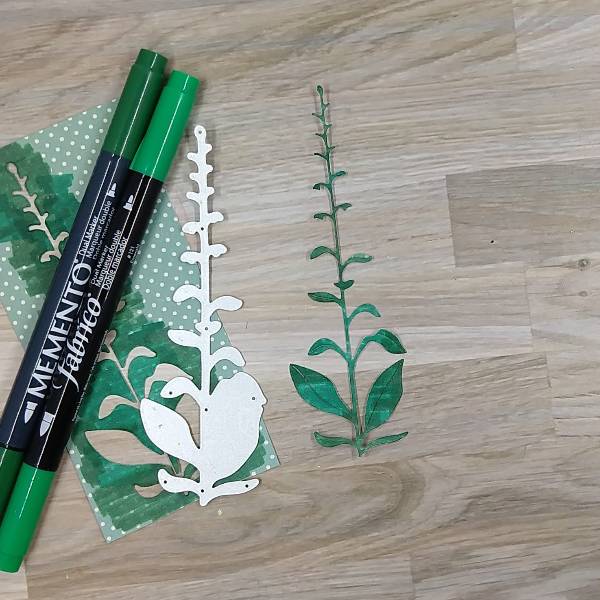
Press the Turquoise Gem VersaMagic Chalk Ink pad onto the acetate packaging and spray the ink with more of the Sparkle Sheer Shimmer Craft Spray to create a watercolor consistency. Then use a thin paintbrush to paint the leaves and stems of the flowers turquoise. Let dry.
Step 6:
Spray more of the Cantaloupe Fireworks! Spray onto the acetate packaging and use the spray to watercolor about half of the flowers yellow. Let dry.
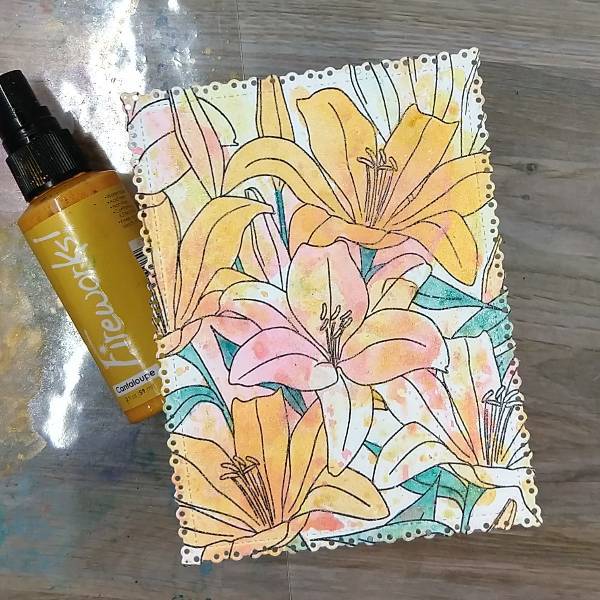
Step 7:
Spray more of the Angel Pink Fireworks! Spray onto the acetate packaging and then paint the rest of the flowers pink. Again let the spray dry.
Step 8:
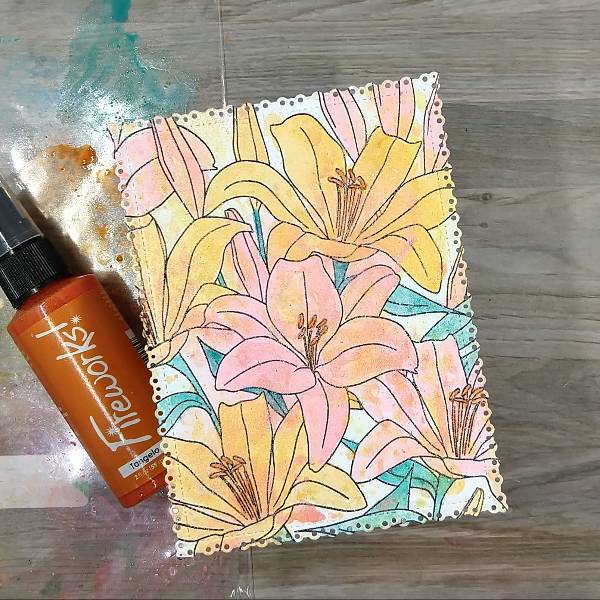
Spray Tangelo Fireworks! Spray onto the acetate packaging, and use it to paint the anthers and filaments (center parts) of the flowers. Let dry.
Step 9:
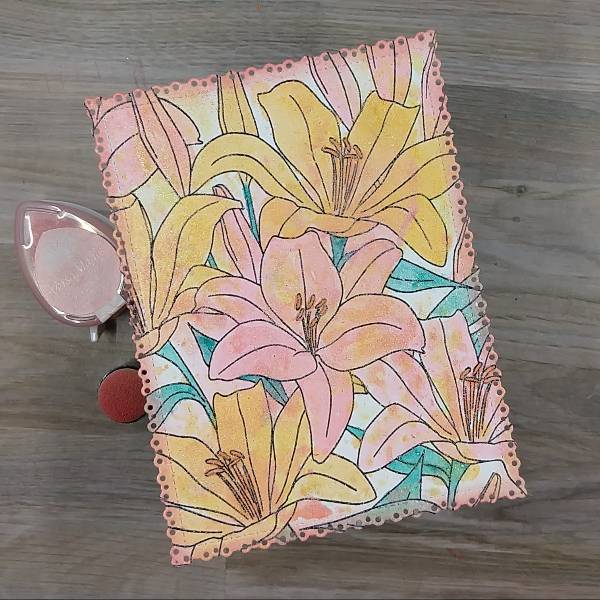
Use an ink dauber to ink blend the edges of the panel with Pink Grapefruit VersaMagic Chalk Ink.
(I ended up touching up the leaf on the bottom edge by painting a second layer of the Turquoise Gem VersaMagic Chalk Ink mixed with water to make sure the turquoise color wasn’t lost.)
Step 10:
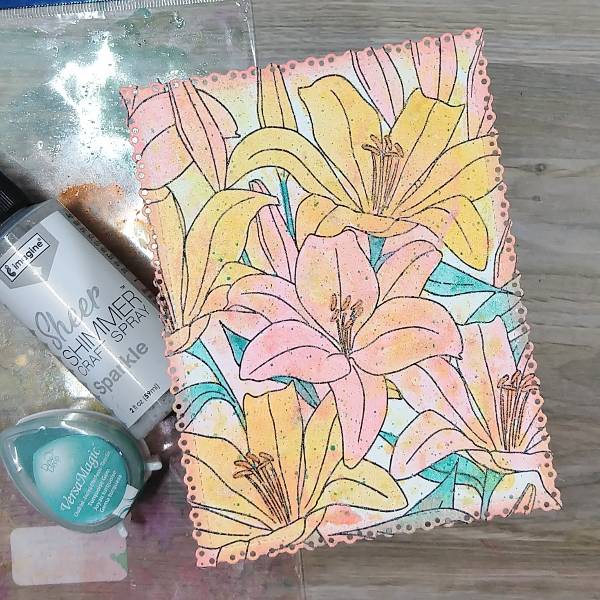
Press the Turquoise Gem VersaMagic Chalk Ink pad onto the acetate packaging and spray the ink with more of the Sparkle Sheer Shimmer Craft Spray to create a watercolor consistency a second time. (In my case, I had leftover from step 5, so I used that.)
Hold a paintbrush saturated with the turquoise watercolor parallel to the panel and tap it against your finger. Repeat if needed and let dry.
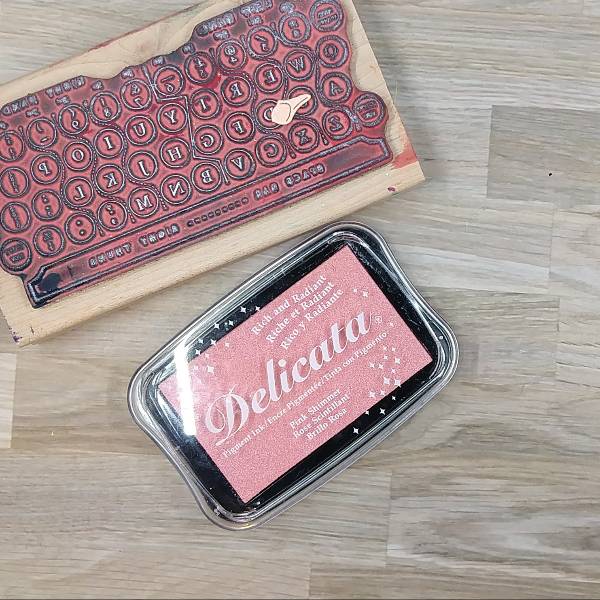
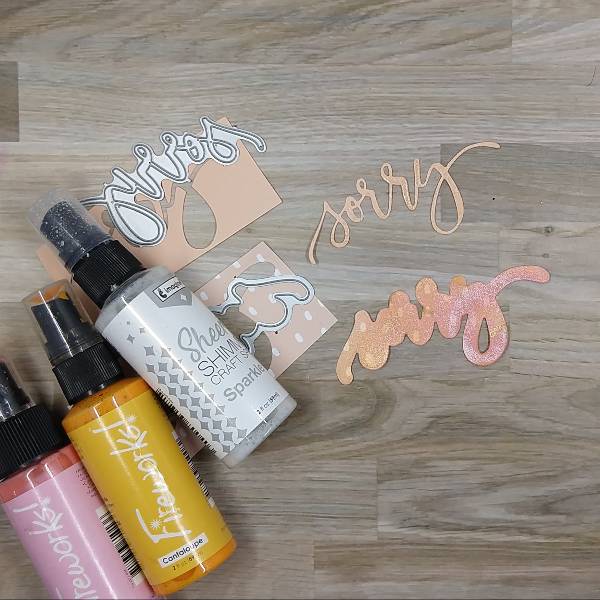
Step 11:
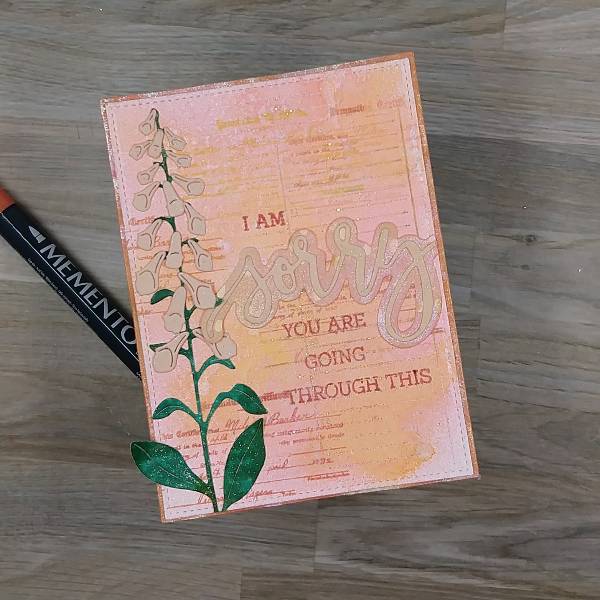
Stamp a sentiment onto a piece of watercolor paper with Nocturne VersaFine Clair ink. Heat emboss with clear embossing powder and trim with scissors or a paper trimmer.
Ink blend around the edges of the stamped layer with more of the Canary VersaColor ink with an ink dauber.
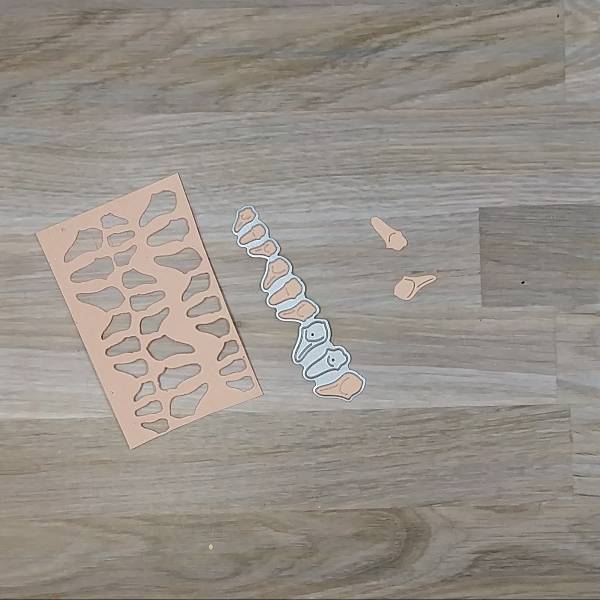
Step 12:
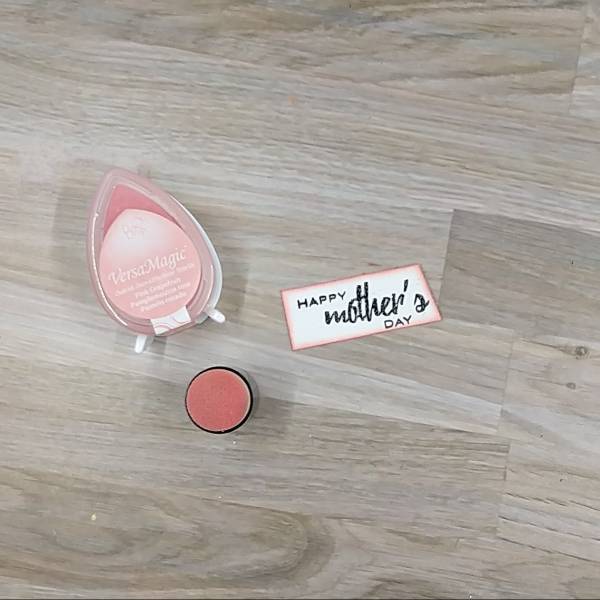
Use an ink dauber to ink blend the edges of the sentiment strip with Pink Grapefruit VersaMagic Chalk ink.
Step 13:
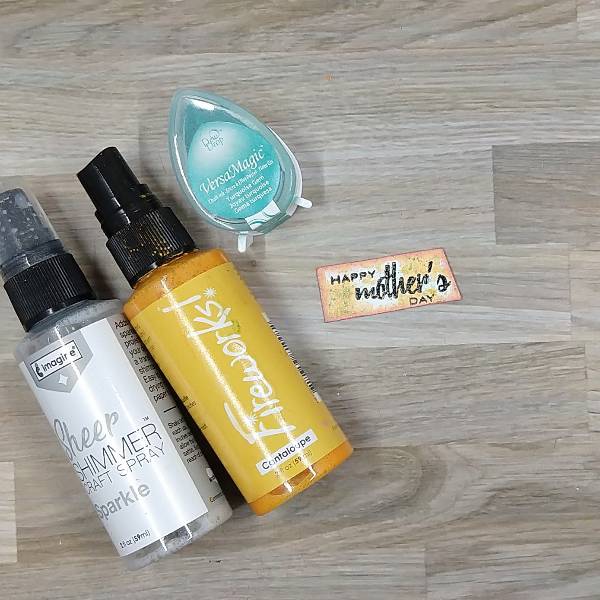
Spray one part of the acetate packaging with Cantaloupe Fireworks! Spray and press Turquoise Gem VersaMagic onto another part of the acetate before spraying it with more Sparkle Sheer Shimmer Craft spray. Alternate pressing the sentiment strip into both colors of spray before splattering the strip with more of the turquoise ink. Let dry.
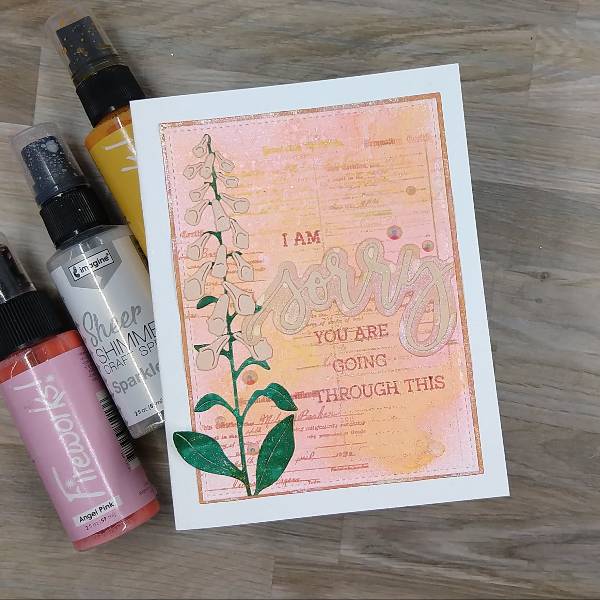
Step 14:
Glue the panel onto an A2-sized white card base and attach the sentiment onto the card with some foam tape for dimension to finish the card.
Craft Supplies
Imagine
• Fireworks! Shimmery Craft Spray – Angel Pink
• Fireworks! Shimmery Craft Spray – Cantaloupe
• Fireworks! Shimmery Craft Spray – Tangelo
• Sheer Shimmer Spray – Sparkle
• VersaFine Clair Ink – Nocturne
• VersaMagic Chalk Ink – Mango Madness
• VersaMagic Chalk Ink – Pink Grapefruit
• VersaMagic Chalk Ink – Turquoise Gem
• Sponge Dauber
Other
• Altenew – Stamp – Extra Special stamp set
• Altenew – Tape – Instant Dimension Foam Tape
• Gina Marie Designs – Die – Pleated Lace Rectangles die set
• The Ton Stamps – Stamp – Lily Fields
• Clear embossing powder Scissors
• Glue