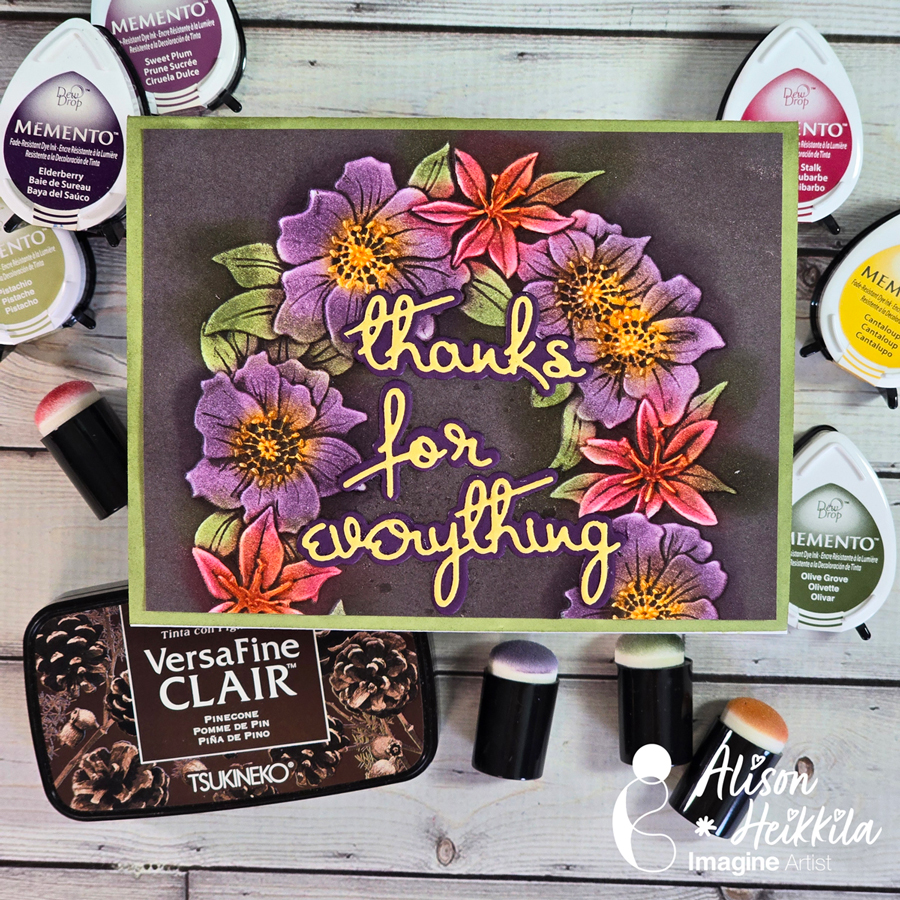
Hello! I’m Alison Heikkila. Embossing folders are so popular right now, not just because of the dimension they create so easily, but because of all the techniques you ca do with them. Today, we’ll be doing a Blackout technique with Memento and VersaFine Clair Inks for Imagine, which is so much fun to do.
*Some affiliate links are used in this post. That means that if you shop through these links, I may receive a small compensation, at no cost to you. For more information, please see my Affiliates page, where I also have some coupon codes.
Skill Level: Intermediate Time to Complete: 20-30 minutes
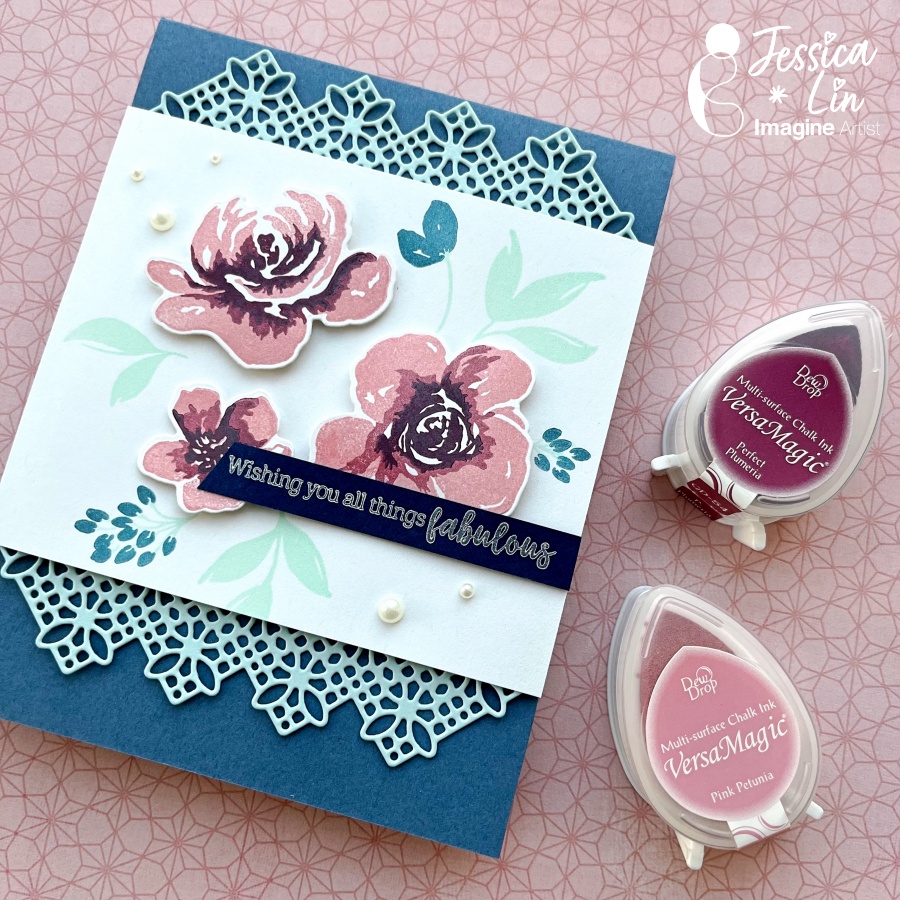
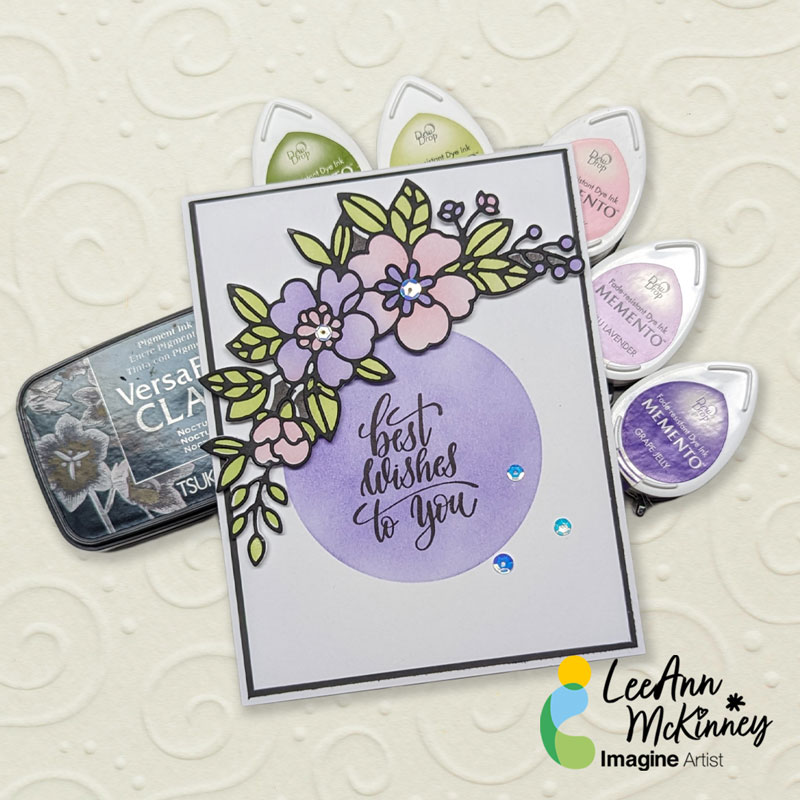
VersaMagic is one of my all time favorite ink pads. The pastel, muted tones create a nice range of colors, and some look great together for stamp layering. Today I’ll be sharing some ink combos I used for stamping the layered floral images from the All Things Fabulous set.
Skill Level: Intermediate
Time: 45 minutes
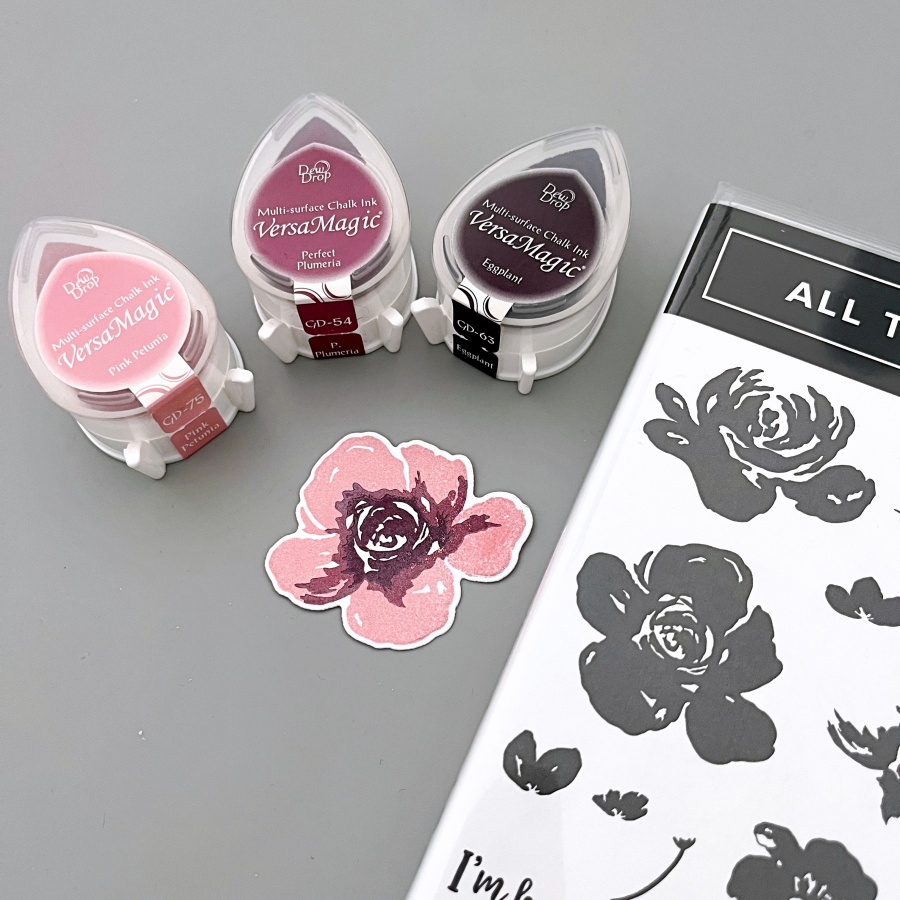
Step 1 Stamp the flower images with VersaMagic Pink Petunia, Perfect Plumeria, and Eggplant ink pads. I start with stamping the base layer with the lightest shade (Pink Petunia in this case), and work towards the darker tones. When layering the stamps, I find that aligning the center white spots is the easiest. After stamping, die cut the images with Fabulous Florals dies.
Step 2 Stamp leafy images onto the white card panel. I created 2 versions with different colored leaves. The version shown here is stamped with Aloe Vera (an all time favorite color of mine) but I decided to break out of my comfort zone and opted for the version using Aquatic Splash instead.
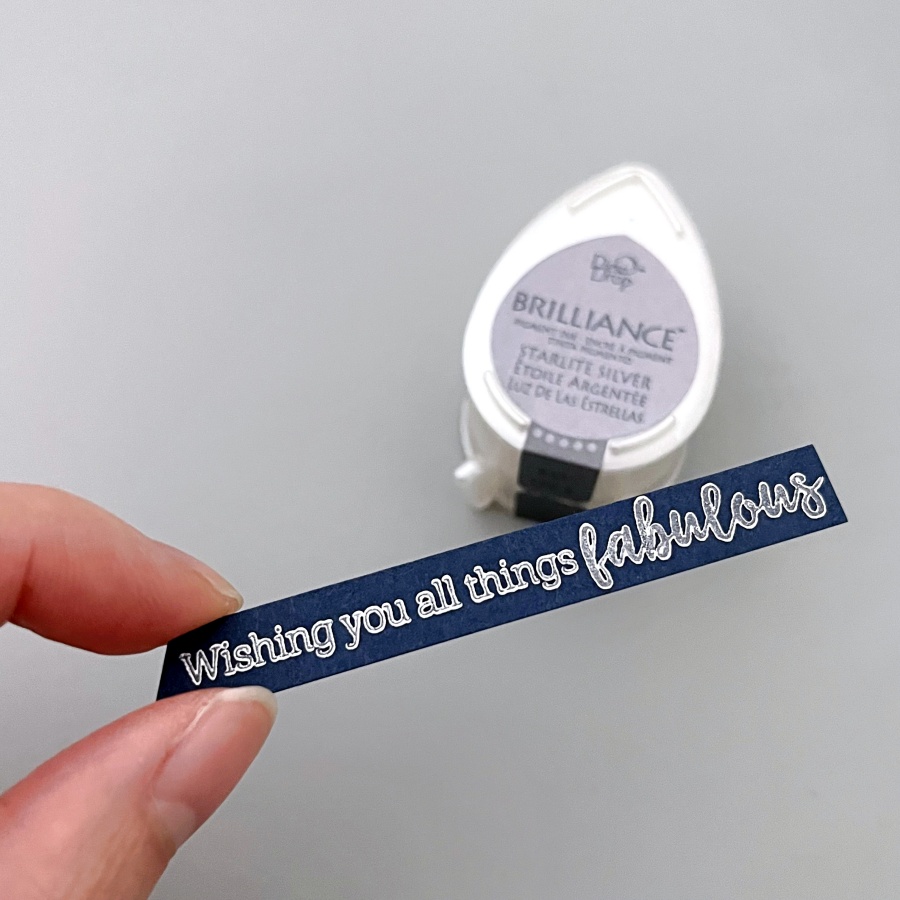
Step 3 Stamp the sentiment using Brilliance Starlite Silver ink pad. The shimmery effect is stunning against the dark cardstock! If you are looking for a silver ink pad, I highly recommend Starlite Silver.
Step 4 It’s time to embellish the card. This delicate lace die is to die for! It adds a feminine touch to the card and can be very versatile in my opinion. This die fits in the Mini Stampin’ Cut and Emboss machine as well! I’ve been enjoying the mini machine for die cutting flowers and smaller elements. Then I cut the lace die cut in half and adhere them on the top and bottom behind the white card panel.
I hope you like this floral card! The muted colors from the VersaMagic ink pads are just so pretty together. I hope you’ll try them out with layering stamps.
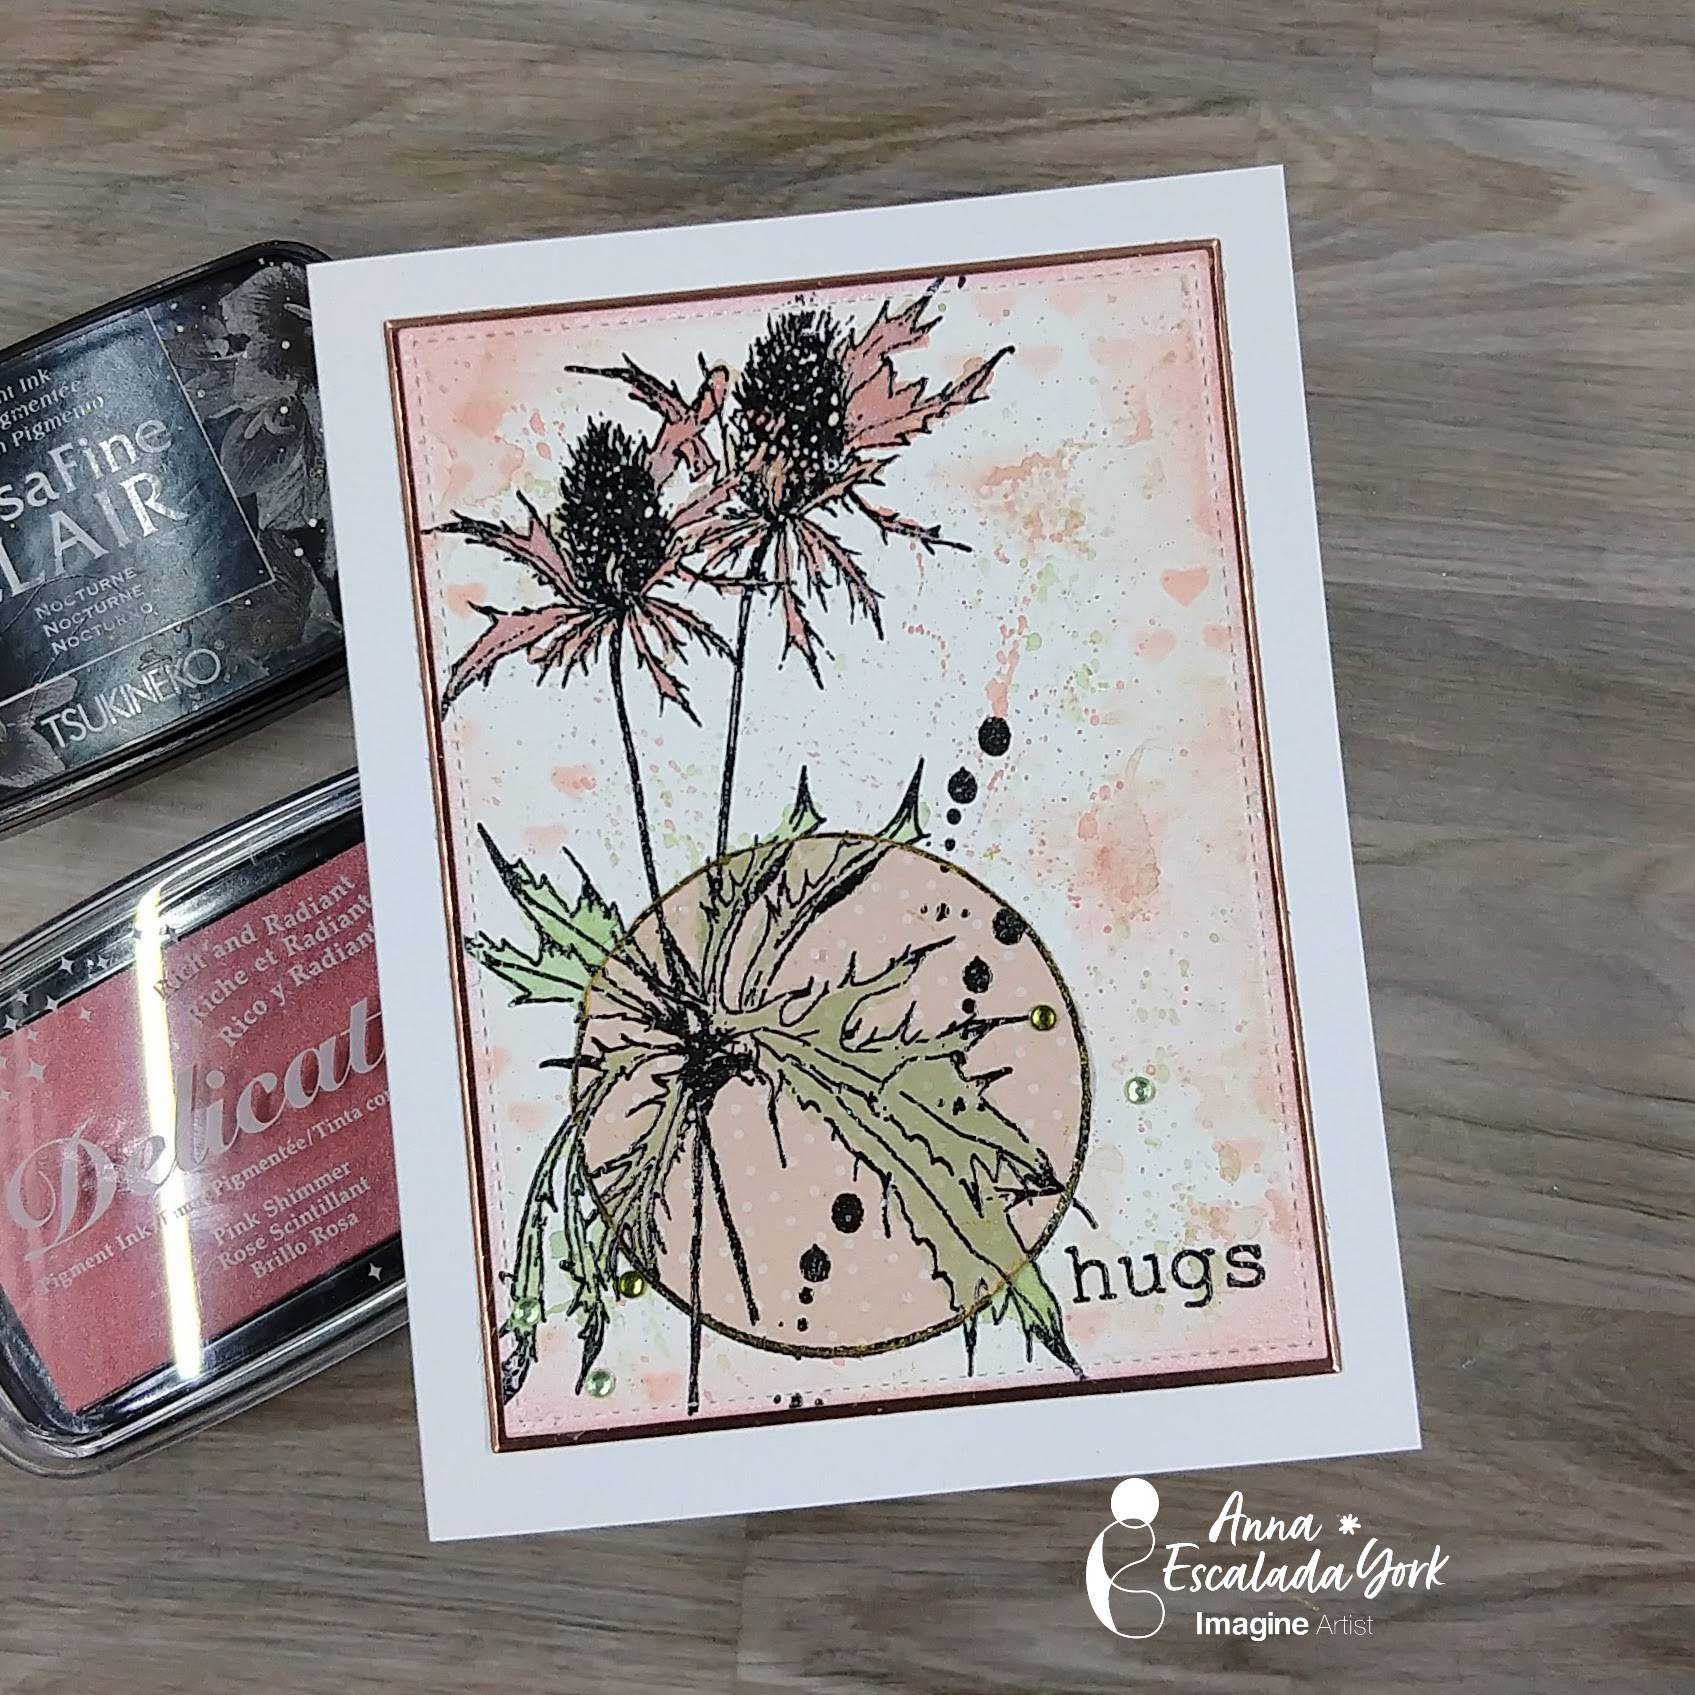
In today’s blog post, I will show you how to add some patterned paper to a card to spotlight a part of the image.
Skill: Intermediate Time: 1.5 hours
Directions:
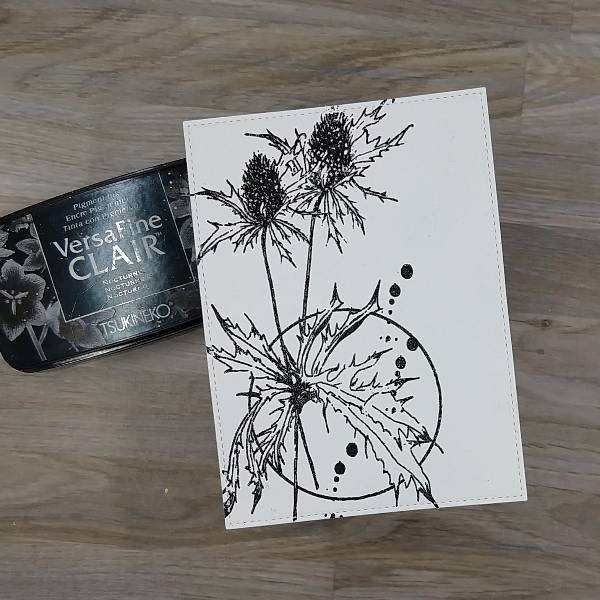
Step 1: Using a stamping platform, stamp the floral image with Nocturne VersaFine Clair ink onto a piece of watercolor paper. (I used a pre-die cut panel.) Optional step: Heat emboss with a clear embossing powder. I did this because I didn’t want to wait for the VersaFine Clair ink to dry, as well as add some subtle shine.
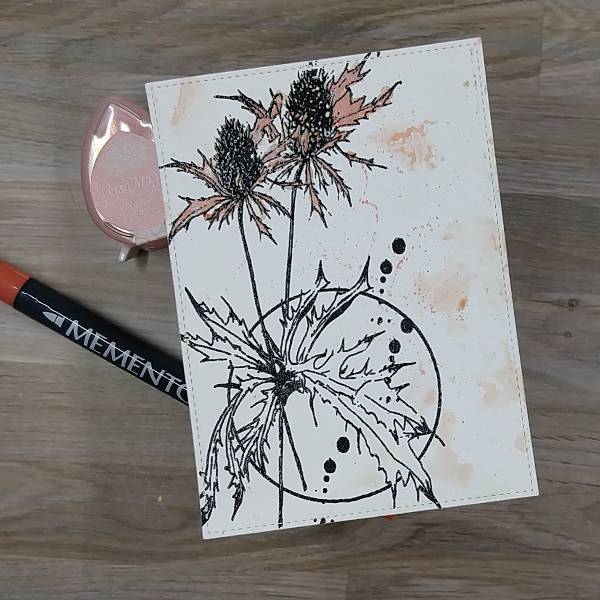
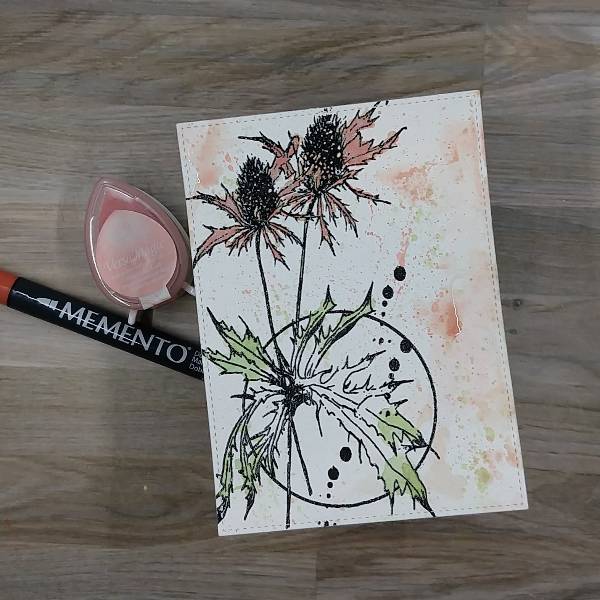
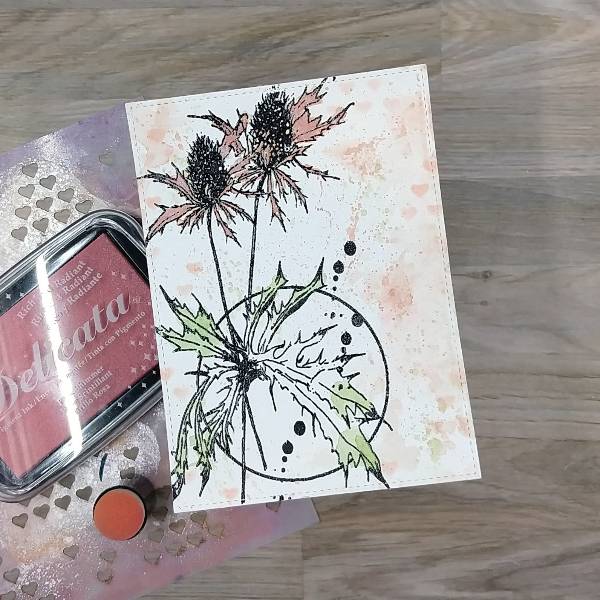
Step 2: Mix some Pink Grapefruit VersaMagic Chalk Ink with a Morocco Memento marker by pressing the ink pad and coloring a piece of scrap acetate and spraying both with water before mixing the colors to create a coral watercolor. Watercolor the petals of the floral image. Using the remainder of the watercolor to splatter the watercolor panel and smoosh the panel as well to add color around the panel. It was set aside to dry.
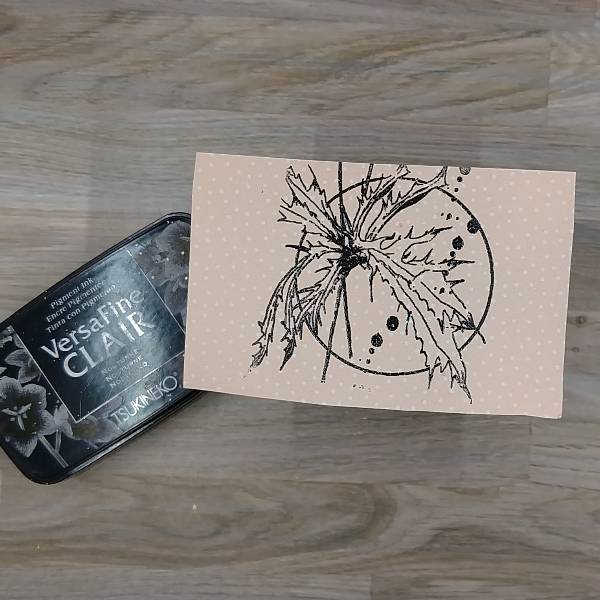
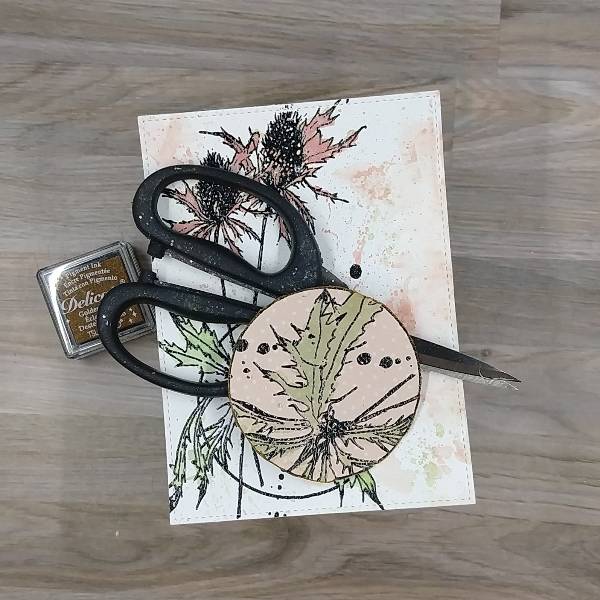
Step 3: Stamp the bottom part of the stamp onto a piece of dusty pink patterned paper with more Nocturne VersaFine Clair ink. Optional step: Heat emboss the image with more clear embossing powder.
Step 4: Cut the patterned paper image along the circular edge.
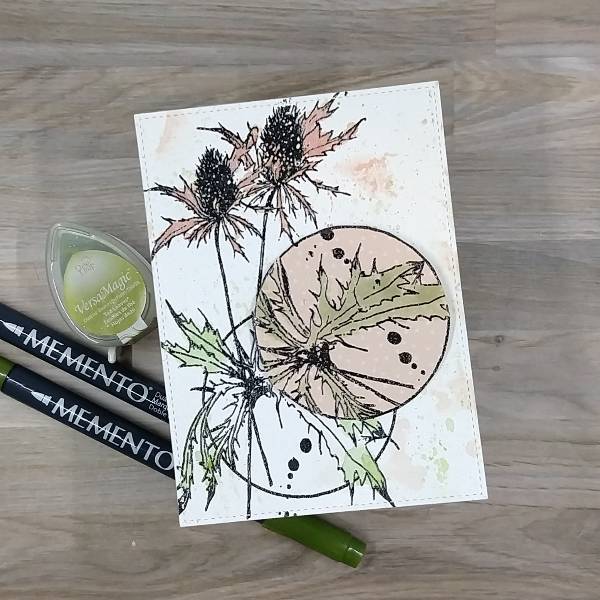
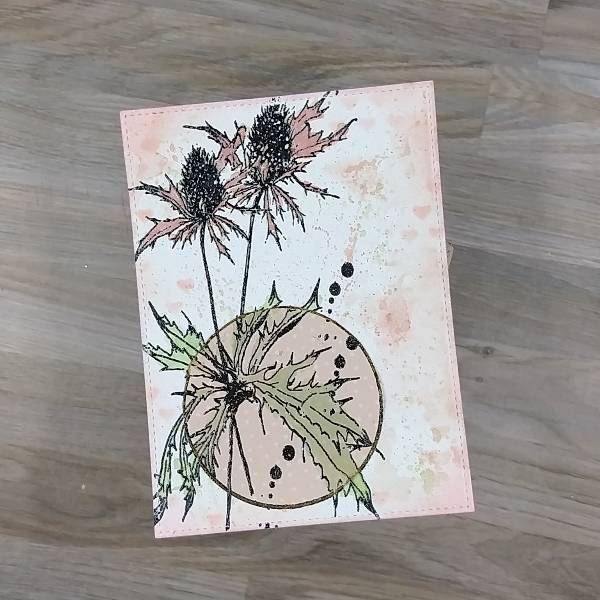
Step 5: Create green watercolor by pressing Tea Leaves VersaMagic Chalk Ink onto a piece of acetate Create green watercolor by pressing Tea Leaves VersaMagic Chalk Ink onto a piece of acetate as well as scribbling the acetate with both Cottage Ivy and Bamboo Leaves Memento marker and spraying all of the areas of color with water before mixing them together. Watercolor the edges of the leaves with the watercolor. (You won’t need to color the central parts of the leaves as they will be covered soon.) Again, splatter the card and watercolor smoosh the panel with the acetate to add green blobs around the watercolor panel. Again, set aside to dry.
Step 6: Watercolor the leaves on the patterned paper with the same mix of greens created using the Tea Leaves VersaMagic Chalk ink as well as Collage Ivy and Bamboo Leaves Memento marker mixed with water. Set this aside to dry.
Step 7: I decided to add a little more intensity to the coral colors on the petals and on the watercolor panel by adding more Pink Grapefruit VersaMagic Chalk ink and Morocco Memento marker added to the scrap of acetate and again mixed with water before painting the petals. The remaining coral-colored watercolor was again smooshed onto the watercolor panel. Set the panel aside to dry again.
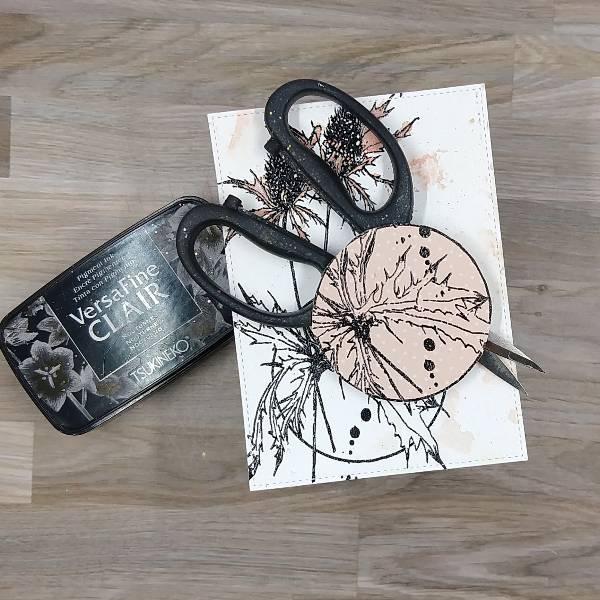
Step 8: Distress the edges of the patterned paper circle by rubbing the sharp part of a pair of scissors’ blade around the circle. Then rub the distressed edge of the circle with Golden Glitz Delicata.
Step 9: Using a sponge dauber, ink blend Pink Shimmer Delicata ink through a heart stencil in my stash on random parts of the watercolor paper. Not pictured: Ink blend the edges of the panel with more of the Pink Shimmer Delicata ink.
Step 10: Glue the patterned paper circle onto the stamped image, making sure that the patterned paper circle lines up with the rest of the stamped image.
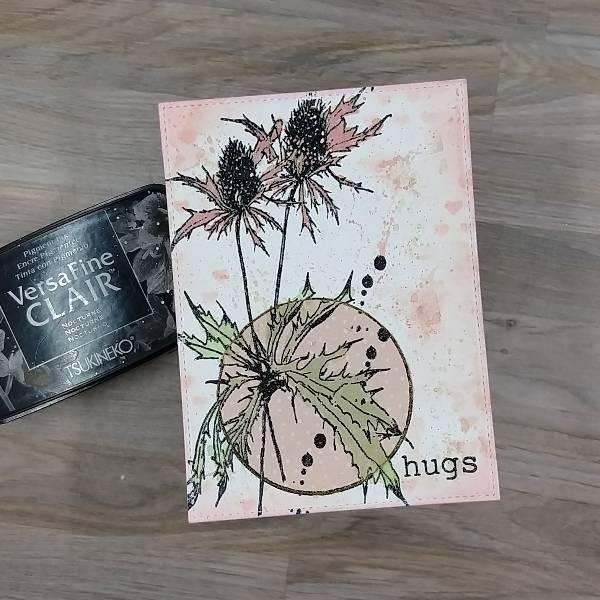
Step 11: Stamp the sentiment on the lower right corner of the watercolor panel with more Nocturne VersaFine Clair ink. Optional step: Heat emboss the image with more clear embossing powder.
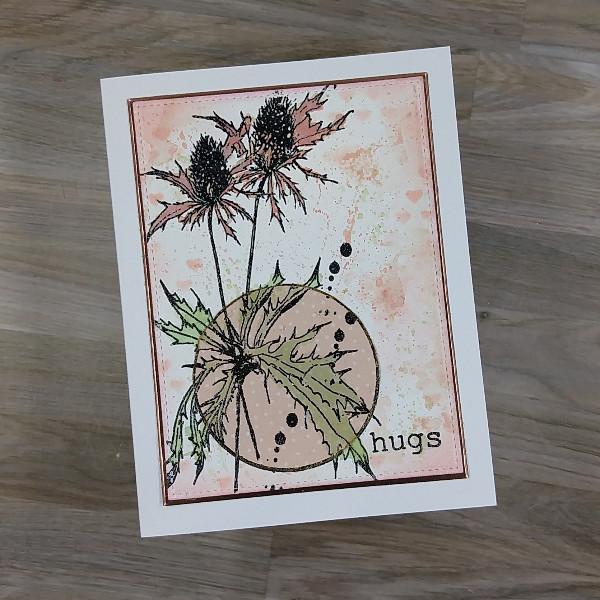
Step 12: Using a slightly larger die than the watercolor panel, die cut a piece of rose gold cardstock. Glue the two panels together, and glue both onto an A2-sized white card base.
Step 13: Add green gem stickers around the circle of patterned paper to finish the card.
Other AALL & Create – stamp set – Flower Journey Gina K Designs – dies- Master Layout 2 die set Honey Bee Stamps – gem stickers Memory Box – stamp set – Big and Little Words Sizzix- cardstock – Rose Gold Opulent cardstock Heart stencil in my stash Clear embossing powder in my stash Watercolor paper Scissors Small paint brush Stamp positioner Glue
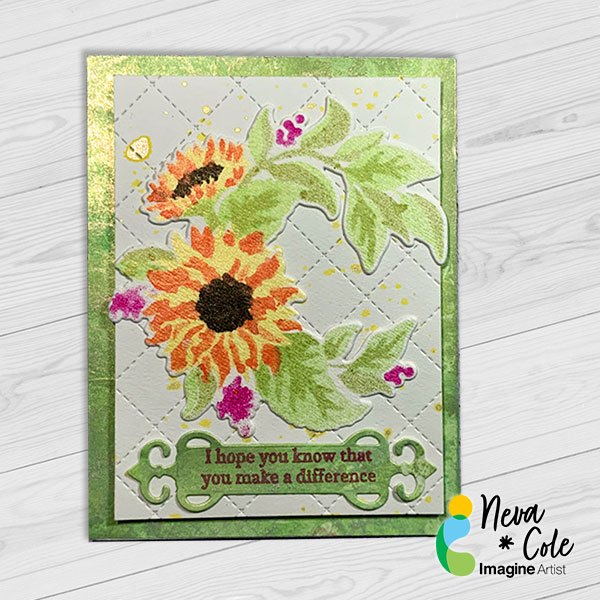
In today’s tutorial, I will share how I used layering sunflower stencils to create a water color look to my image.Notice there is no stamp outline, that helps achieve a more organic look to the project.I learned a few things along the way, and almost want to include a few blooper photos!Instead I share the way that will give you the cleanest look avoiding the pit falls!
Skill: Beginner
Time: 2 Hours
Directions:
Step 1:
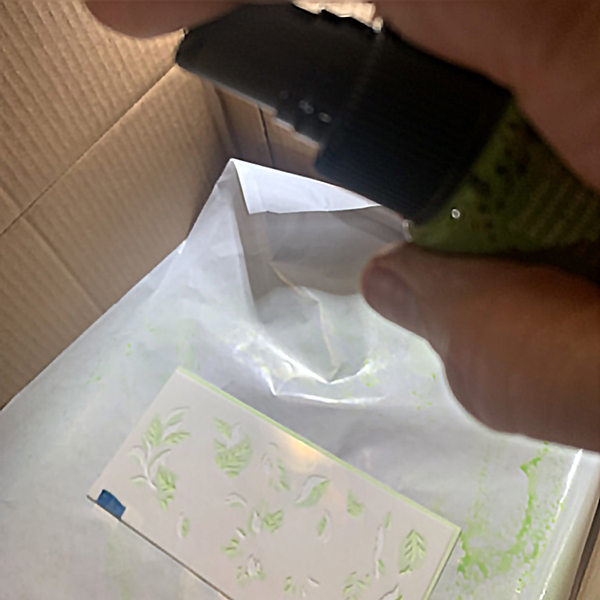
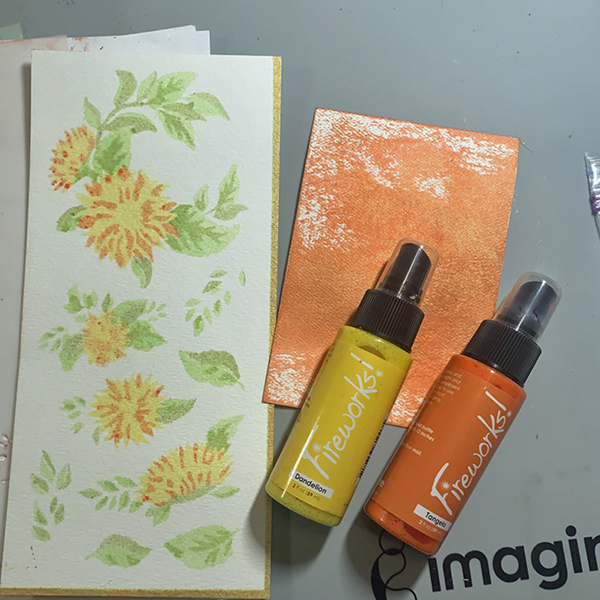
Trim white watercolor cardstock to 4 1/4” x 9 1/4”,or about 1/4” on each side larger than your stencil.this will allow you to handle your project more cleanly.Use reposition able painters tape or washi tape to secure stencil along left side with edges matching along the upper and left hand side.Spritz with Fireworks! in New Sprout until color depth desired is achieved.In this close up photo freezer paper is used underneath the stencil and paper with the plasticized side up.This allows collection of the over spray for background papers.Carefully lift stencil to keep excess Fireworks from leaking under the stencil and adding unwanted color.
Step 2:
Secure next layer of layering stencil in place and spritz with Fireworks! Shimmery Craft Spray in Bamboo Leaves.This photo shows a spray box that protects your work area from over spray.It also shows the best distance of 12” to 18” to spray the stencil to avoid large droplets of Fireworks!.
Step 3:
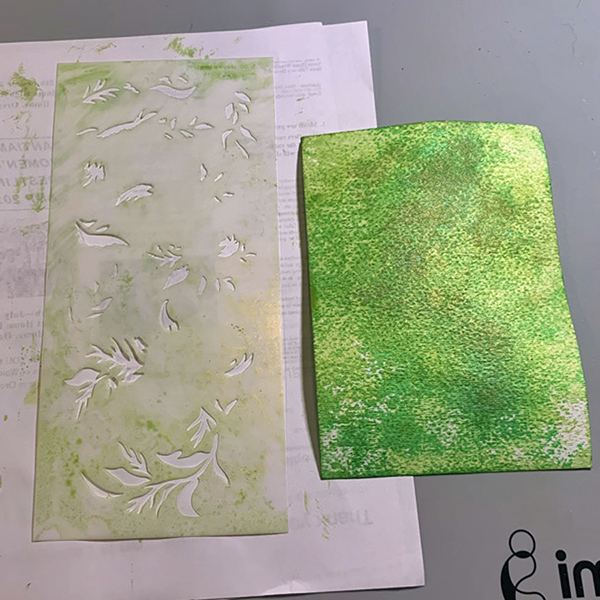
Clean stencils with sections of watercolor paper after each layer.Move the watercolor paper around on the freezer wrap to pick up excess spray.Keep color families together, as both colors of green are used on this background paper.Clean up excess with paper towels or baby wipes.
Step 4:
Continue with additional layering stencils. Here Dandelion is used for Stencil 3, and Tangelo for Stencil 4.
Step 5:
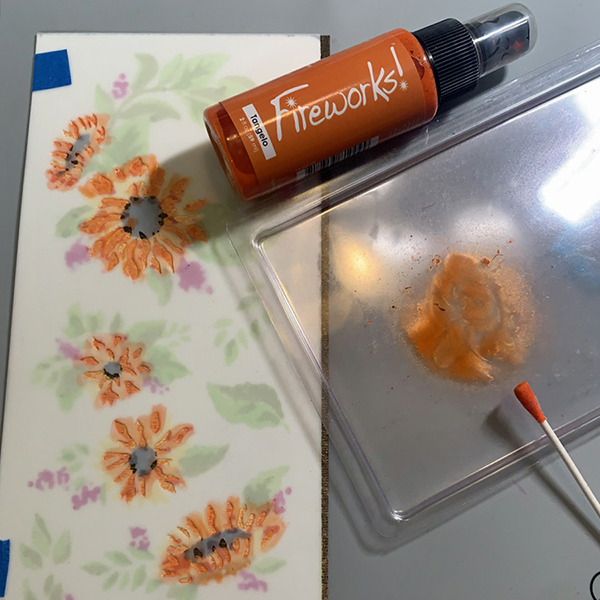
Sometimes as a designer you discover easier methods in the process of designing a project.I was not satisfied with the color through the stencil by just spraying with the stencils that were smaller openings.It is recommended to use this method for the rest of the layers.Fireworks! in Tangelo is shown here sprayed on a plastic sheet.Using a cotton swab the color is carefully dabbed through the stencil to give better color depth.A cotton swab also prevents leakage underneath the stencil of excess color.A lot less of the spray was used with this method!Stencils 5 and 6 used this method to complete the look.Stencil 5 used Fireworks! in Lilac Posies, and Stencil 6 a mixture of Fireworks! Rich Cocoa (for shimmer) and Walnut Ink in Java for a darker color.
Step 6:
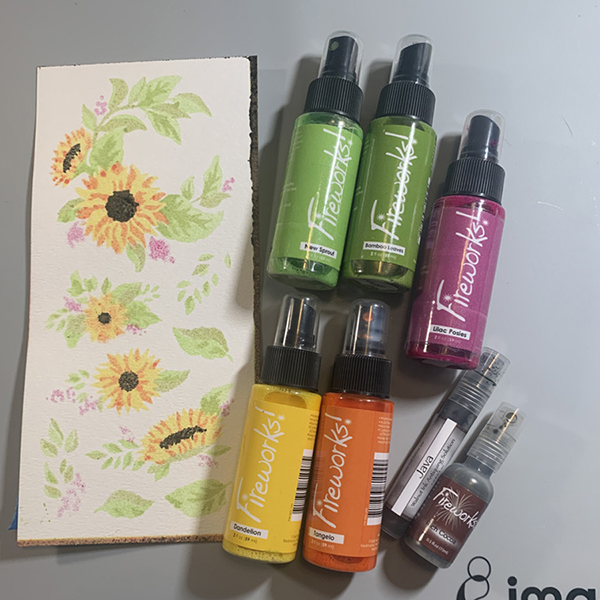
Here are the images from the entire stencil set.
Step 7:
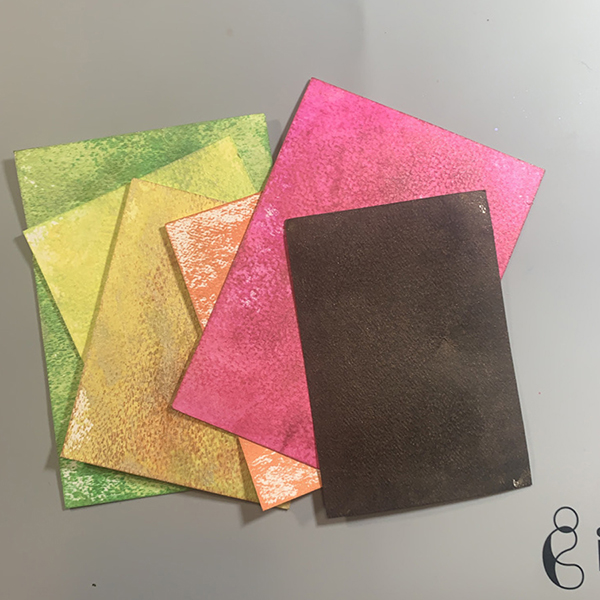
One “blooper” photo, all the backgrounds made with the over spray and Fireworks! left on the stencils.To be used in future projects?The green sheet is trimmed to 4 1/4? to 5 1/2” to cover the front of the card.
Step 8:
Tap drop of Fireworks! in Dandelion on white watercolor paper trimmed to 3 3/4” x 5”. Use quilted card front die to add texture to front panel.
Step 9:
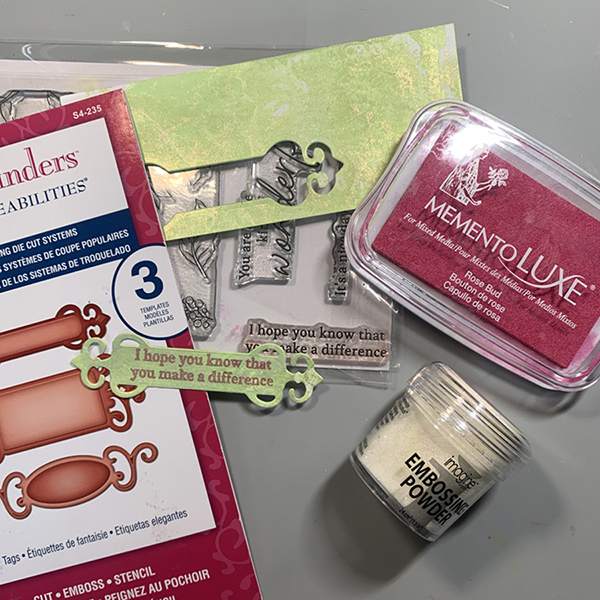
Part of the remaining background section is stamped with Memento Luxe in Lilac Posies using a sentiment from the Sunflowers stamp set.It is die cut with a Spellbinder die.
Step 10:
The Sunflower is die cut with the coordinating die.The layers are adhered together with Tear It! Tape with dimension foam tape behind the card front.