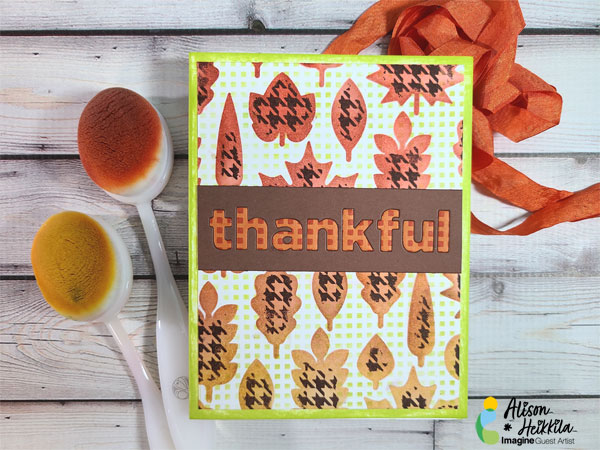
I love to use stencils. They’re an inexpensive and simple tool that has a ton of options. For this Thankful card, I used stencils in a few different ways, along with a fun background stamp. You do not need to have the exact items I used to get this effect, so check through your stash to see what you have to recreate this look. Combining these tools along with some of your favorite inks from Imagine, will give you a visually interesting and unique card.
Skill Level: Intermediate
Time: 30-45 Minutes
Directions:
Step 1:
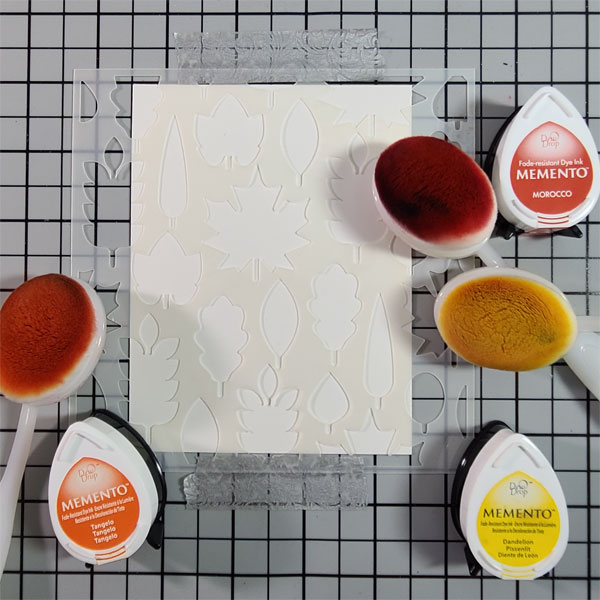
Tape your background panel of Smooth Bristol Cardstock (4″ x 5 1/4″) to your craft mat. Adhere your stencil on top with washi tape.
Step 2:
Using a Blending Brush, apply Morocco, Tangelo, and Dandelion Memento Inks on to the panel, being sure to blend the colors where they meet.
Step 3:
After checking the panel to make sure the stenciling is complete, transfer the panel and the stencil to a stamping platform. Adhere the 2 pieces in the middle of the platform temporarily.
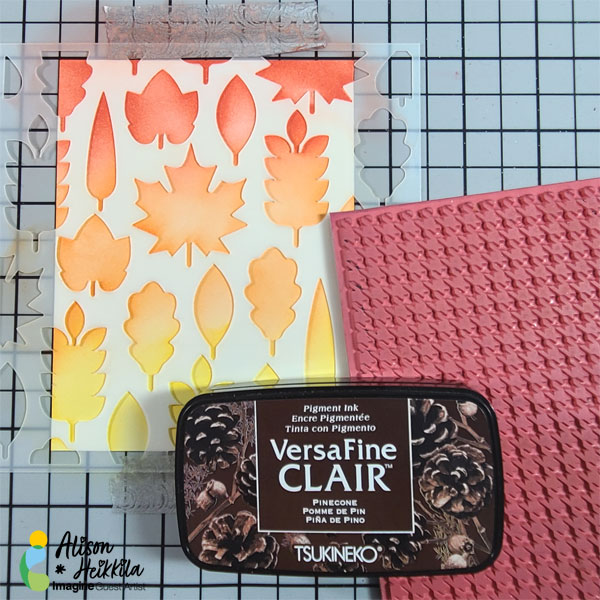
Step 4:
Attach your stamp to the platform. We’ll be using this houndstooth background stamp with VersaFine Clair in Pinecone.
Step 5:
After inking up the stamp, press the stamp very firmly. You need to try to get the inked image past the stencil, which has some dimension. Depending on your stencil and the stamp, you may or may not get a complete image. This is fine, either way. It just depends on the look you’re going for. You can see on my example below, that the houndstooth pattern didn’t go from edge to edge on all the leaves, but I like this look.
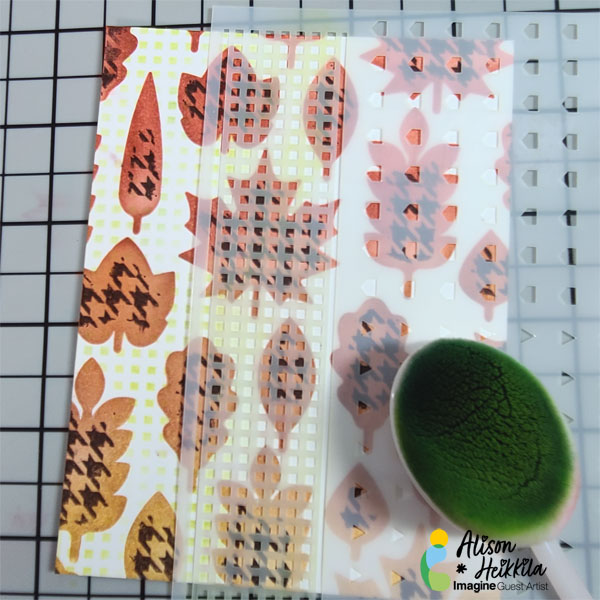
Step 6:
Using another stencil with a small design, apply Pear Tart around the foliage. We’re only inking the white spaces with this design. I chose a grid pattern that is easy to line up as I work my way across the card.
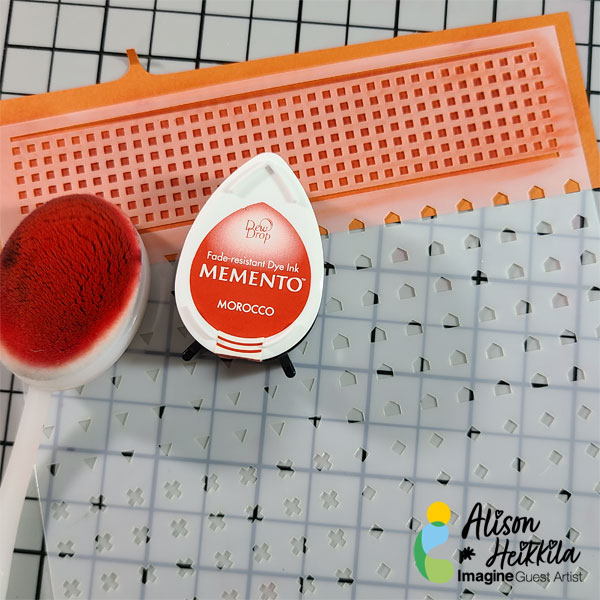
Step 7:
Using the same grid pattern, I inked it up on to a deep pumpkin colored cardstock with Memento ink in Morocco.
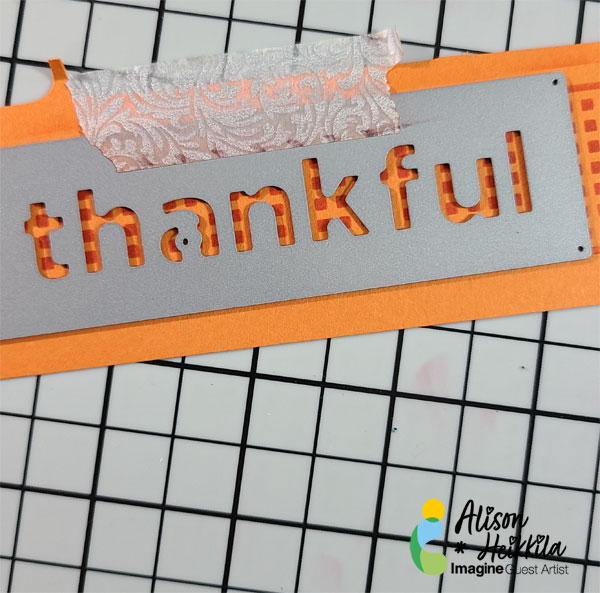
Step 8:
Arrange the sentiment die on top of the stenciled cardstock and die cut.
Step 9:
Repeat the process with brown cardstock
Step 10:
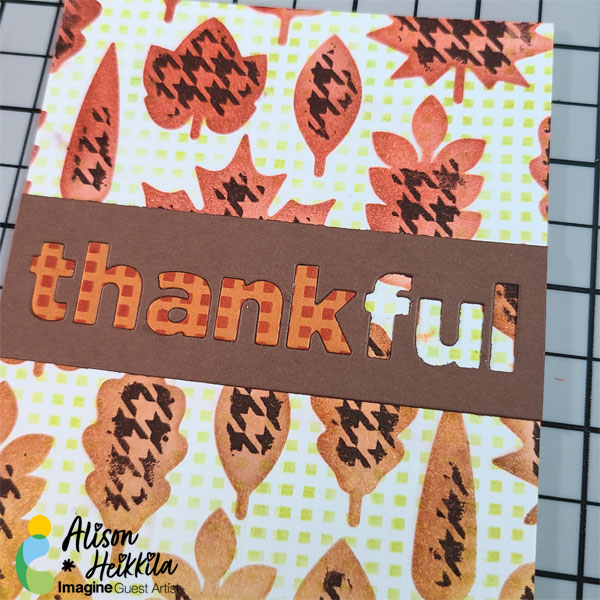
Adhere the brown outer portion of the die cut to the card panel.
Step 11:
Adhere the stenciled letters into the negative spaces. Don’t forget to add the center of the “a” in brown!
 e.
e.
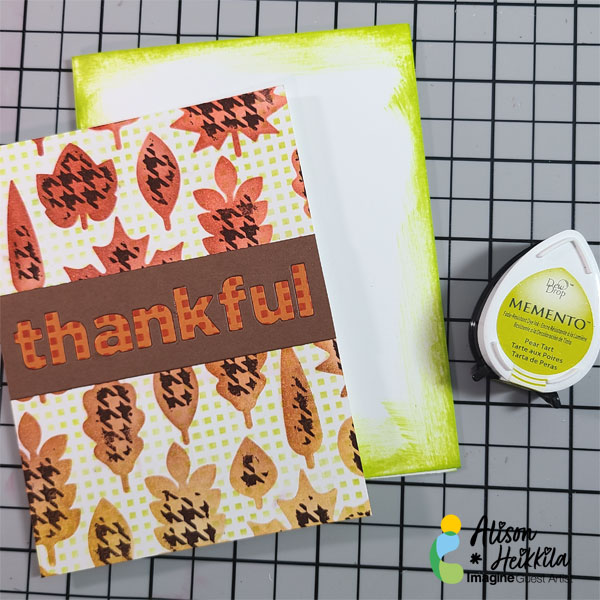
Step 12:
On an A2 sized card base, ink the edges with Pear Tart Memento ink.
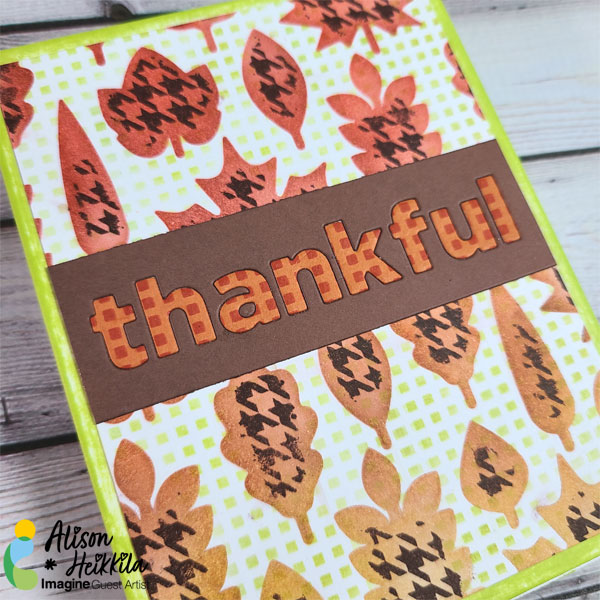
Step 13:
Adhere your card panel to the card base.
Art Supplies:
Imagine:
• Memento Ink in Morocco
• Memento Ink in Tangelo
• Memento Ink in Dandelion
• Memento Ink in Pear Tart
• VersaFine Clair Ink in Pinecone
Other:
• Brutus Monroe: Fall Foliage Stencil
• Simon Says Stamp: Game Day Patterns
• Simon Says Stamp: Bold Thankful Die
• Erin Lee Creative: Houndstooth 6×6 Stamp
• Strathmore Smooth Bristol Cardstock
• Brown and Pumpkin Colored Cardstock
• White A2 Sized Card Base
• Blending Brushes
• Adhesive