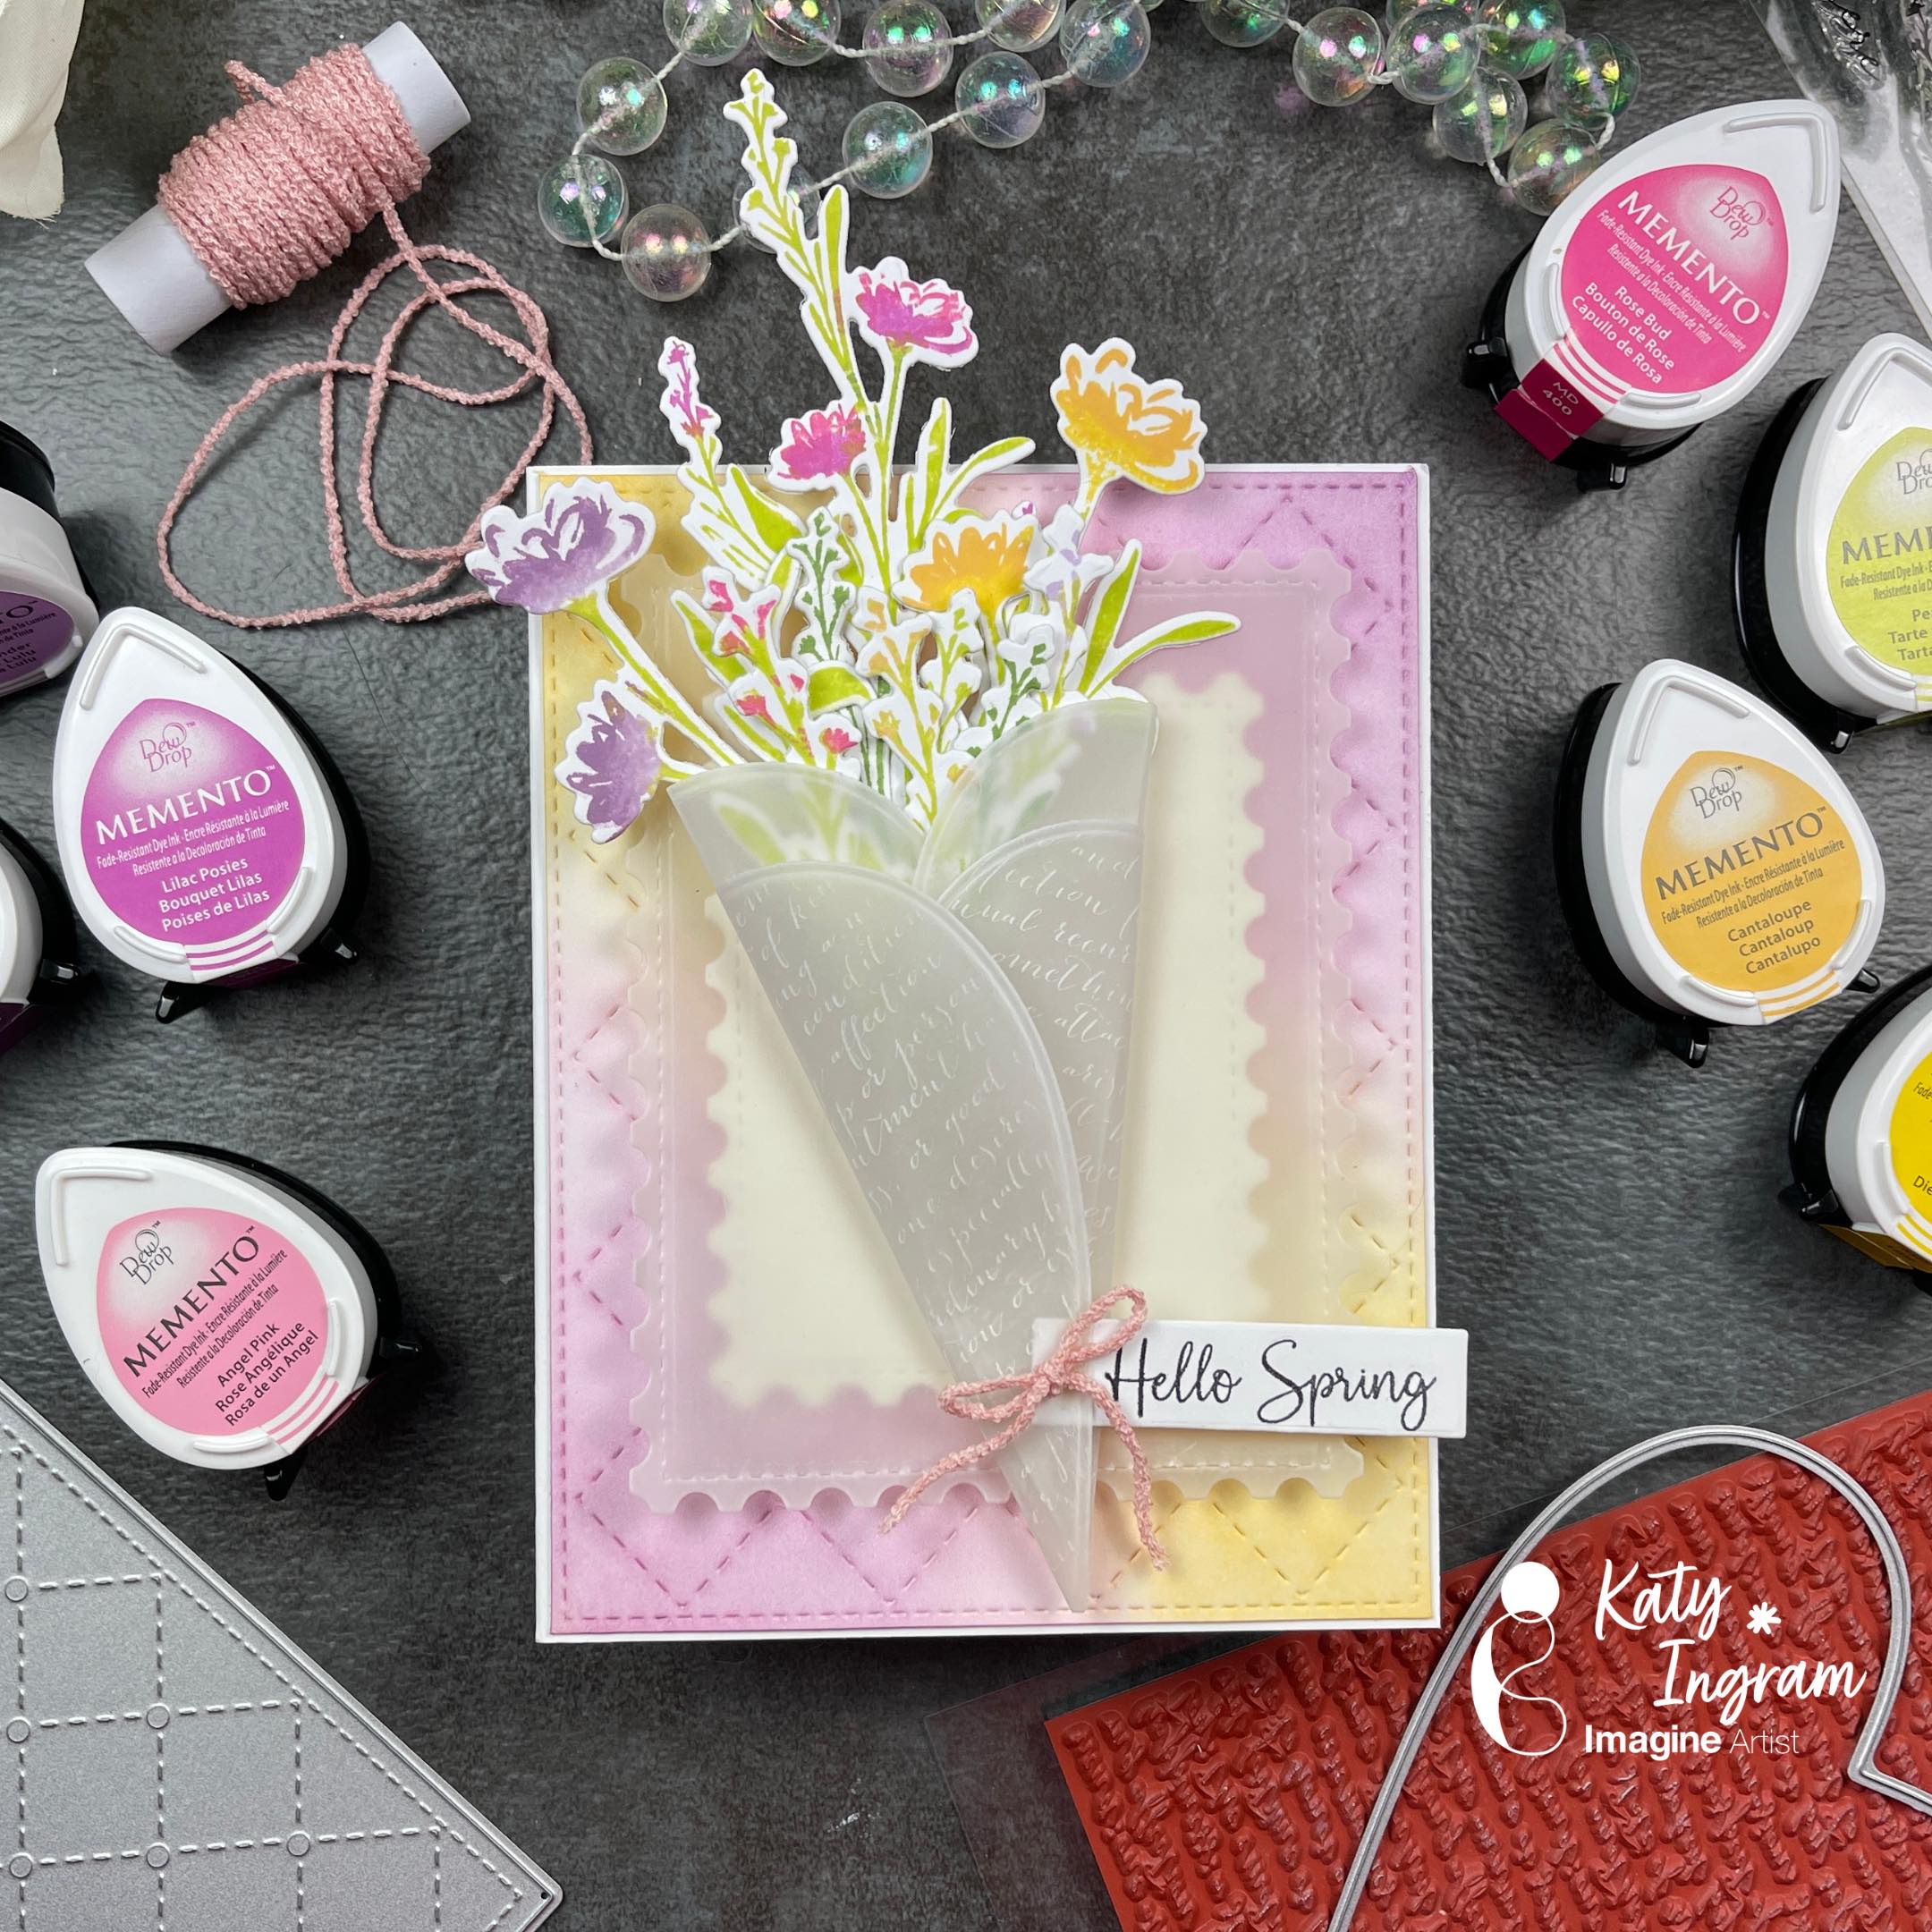
Hello Friends! Katy here and today I am sharing how I used Memento Dew Drop Inks to create a dimensional Spring bouquet.
In todays video tutorial I am sharing how I use the perfectly pointed end of the Memento Dew Drop Inks to layer ink colors on a silhouette stamp. I then die cut them out and create a vellum wrap to go around my bouquet. In the video I also follow up on the Press n Seal barrier that I added to my StazOn Pigment ink pad to see if it keeps it from drying out. It has been about three months since I added the barrier, watch the video below to see if it worked.
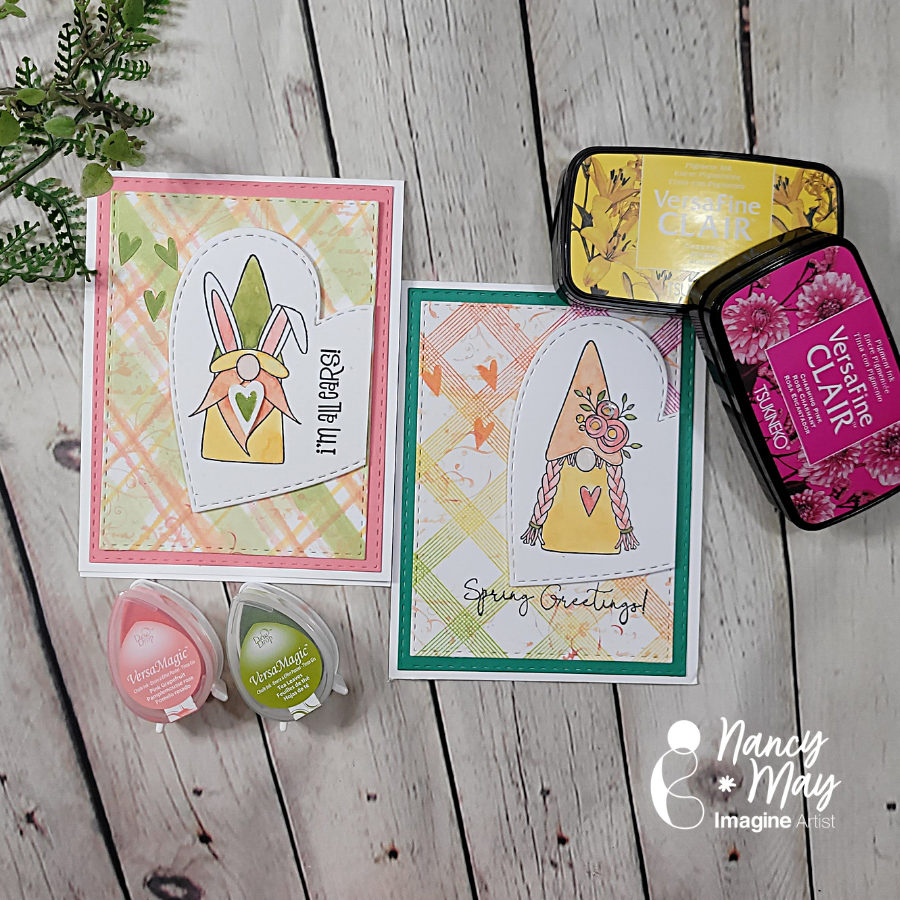
Hey y’all. We are going to make two very different fun, bright Spring plaid backgrounds. One is very controlled, precise, and clean, stamped in VersaFine Clair inks with a fun color gradient; the other is much looser and more organic, hand painted with VersaColor inks for a more painterly look.
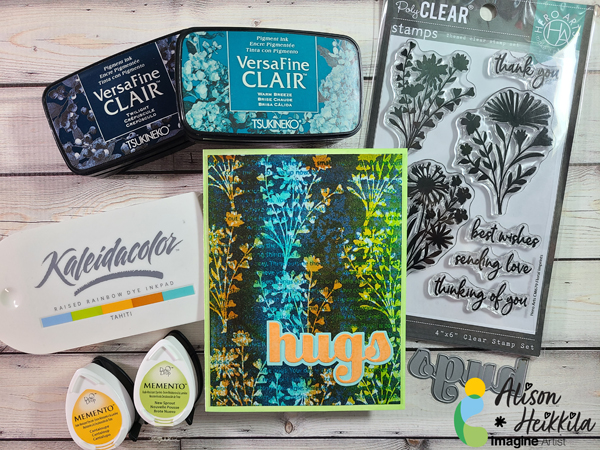
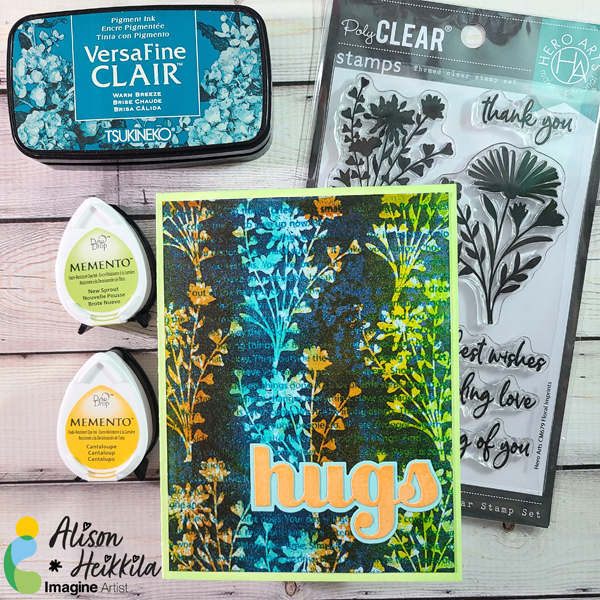
Hello! I have a new tutorial for Imagine today and it uses some of my favorite types of inks: Kaleidacolor and VersaFine Clair. I’m going to show you how to use bold silhouette stamps, along with a detail stamp to get a unique “trapped rainbow” effect.
*Some affiliate links are used in this post. That means that if you shop through these links, I may receive a small compensation, at no cost to you.For more information, please see my Affiliates page, where I also have some coupon codes.
Difficulty: Intermediate Time to Complete: Approx. 45-60 Minutes
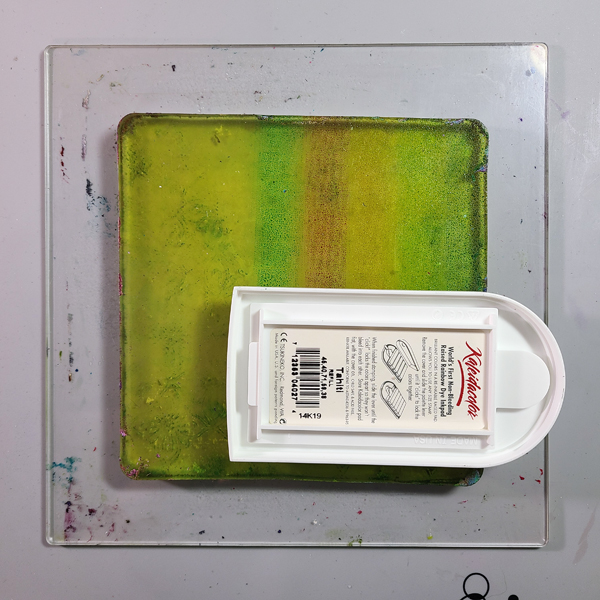
Step 1:
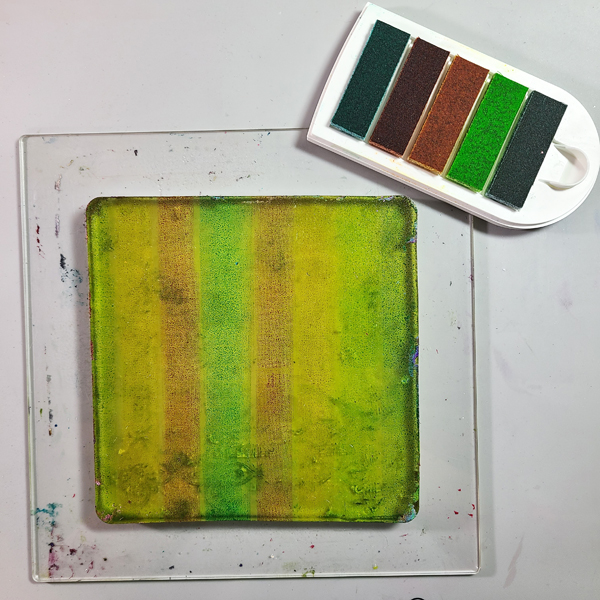
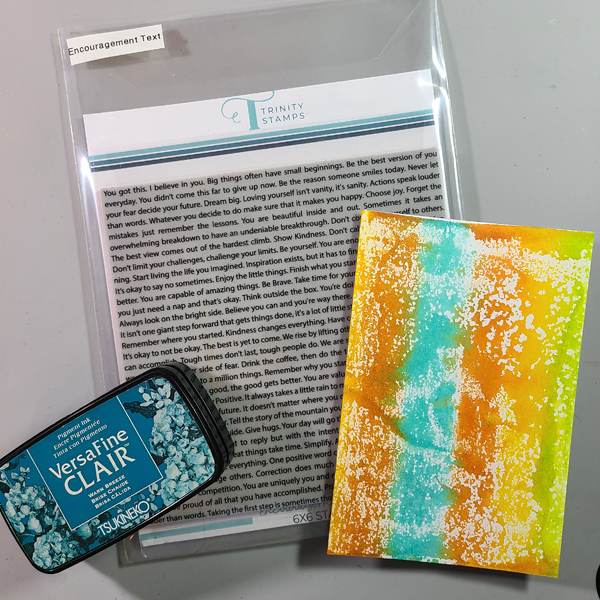
Apply Tahiti Kaleidacolor Ink to a 6×6 Gel Press Plate. Gently tap the color. You don’t need much.
Pro Tip: The Kaleidacolor Inks do not need to be clicked together. The pad does not reach across the entire surface, and the little area for your finger to click the colors together can get in the way of inking the Plate. I have mine hang over the edge, as seen above, then I flip the pad around to the other side of the Plate to finish inking it.
Your Gel Press Plate will look like this when you are done inking.
Step 2:
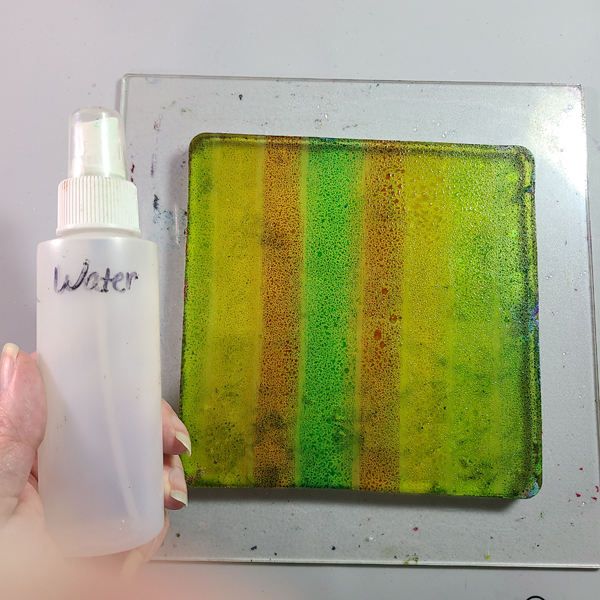
Spray the Plate lightly with water.
Step 3:
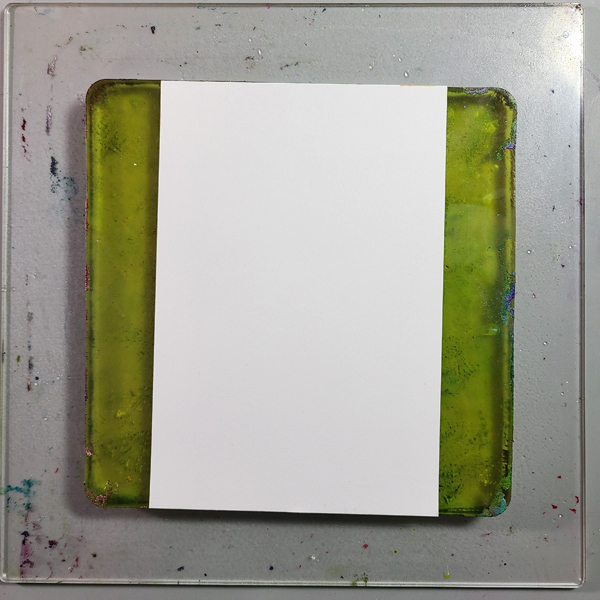
Lay a piece of cardstock on to the Plate. Gently rub your hand across the back of the cardstock. If you are worried about getting ink on your hands, cover the whole plate with a piece of copy paper and rub.
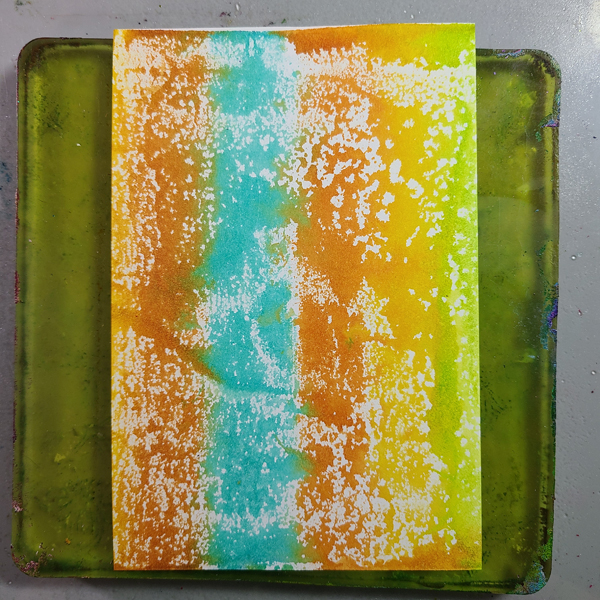
This is what the monoprint, or “pull” will look like. I love the bits of white showing…it makes it look grungy.
Step 4:
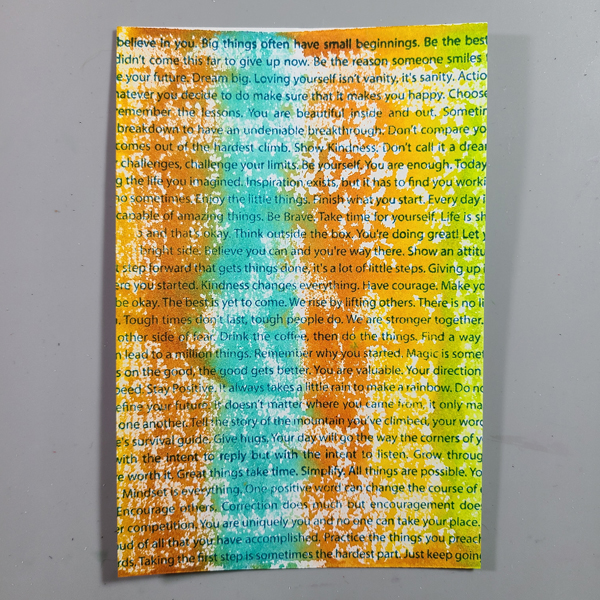
Let’s add some more interest by stamping a large text stamp on to our background. I inked this stamp up with Warm Breeze. Don’t worry about what the stamp says, you won’t be able to read much of it when we’re finished.
Step 5:
Dry the panel completely with a heat tool or embossing gun. VersaFine Clair ink stays wet for a long time, and we don’t want embossing powder to stick anywhere just yet.
Step 6:
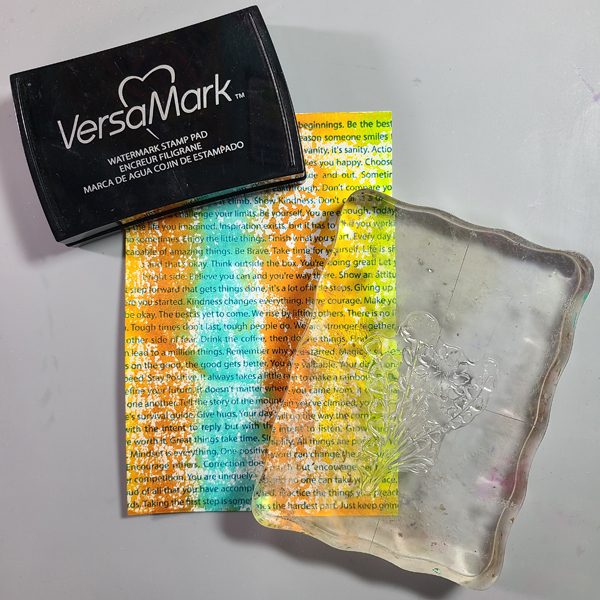
Apply your silhouette stamp to an acrylic block. Stamp it all over the panel, without overlapping the images. It will be hard to see, so if you are having trouble, go back and forth between this step and the next.
Step 7:
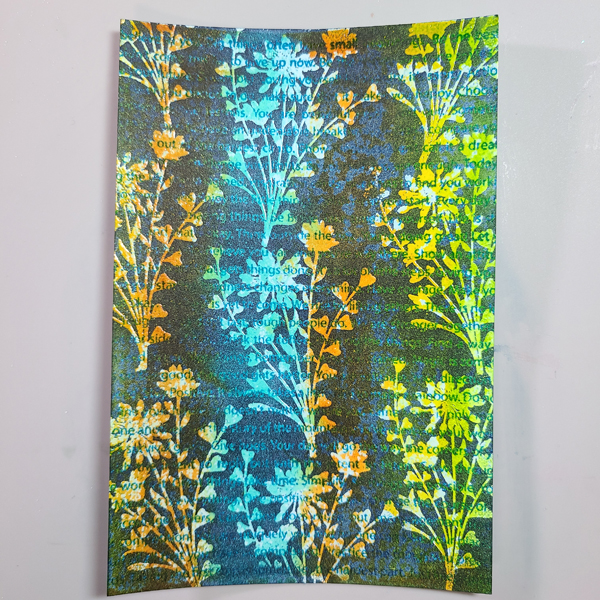
Sprinkle Clear Embossing Powder on to the stamped images and heat set.
You can see some of the shine from the embossed florals above. Don’t worry, with the next step, they will be much easier to see.
Step 8:
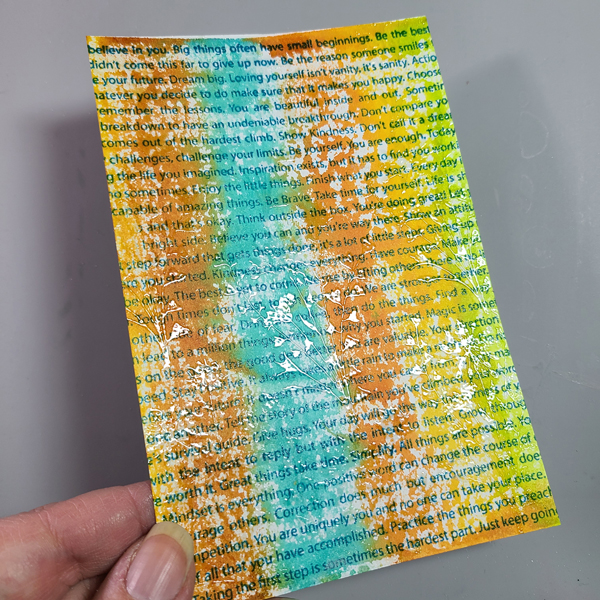
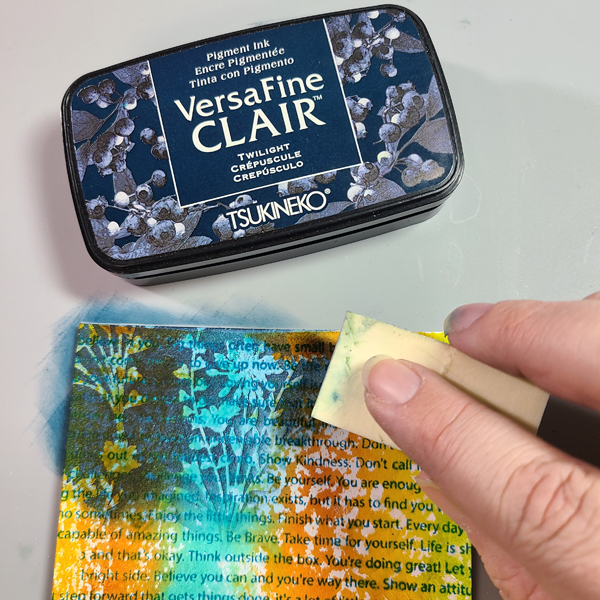
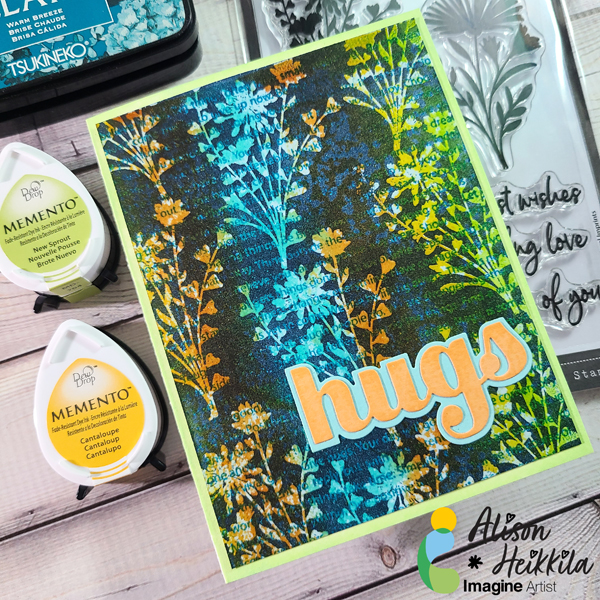
Using a cosmetic sponge (which gives a nice heavy application), apply Twilight Ink across the entire panel. You will see that the areas that have been embossed will resist the ink.
Step 9:
When you are done inking the panel, buff off the excess with a dry cloth or paper towel. Trim the panel down to 4″ x 5 1/4.”
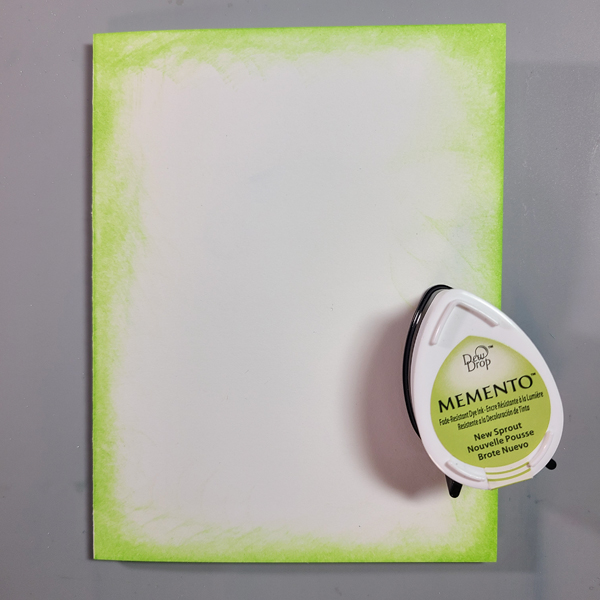
Step 10:
Apply New Sprout ink to your white card base, just around the perimeter.
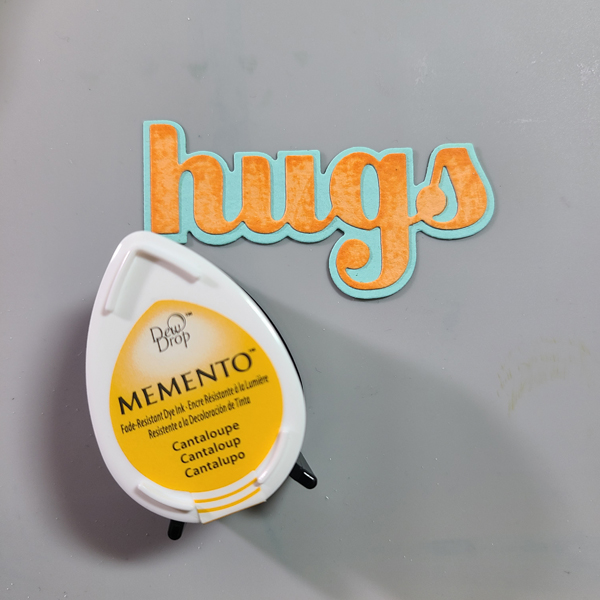
Step 11:
Die cut your sentiment. To grunge it up a bit, lightly apply Cantaloupe Ink to the top layer, which will bring out the texture in the cardstock.
You can of course change up the colors however you like! Kaleidacolor Inks come in a wide range of palettes. I hope you will try this technique for yourself. Thanks so much f stopping by. Have an inspiring day!
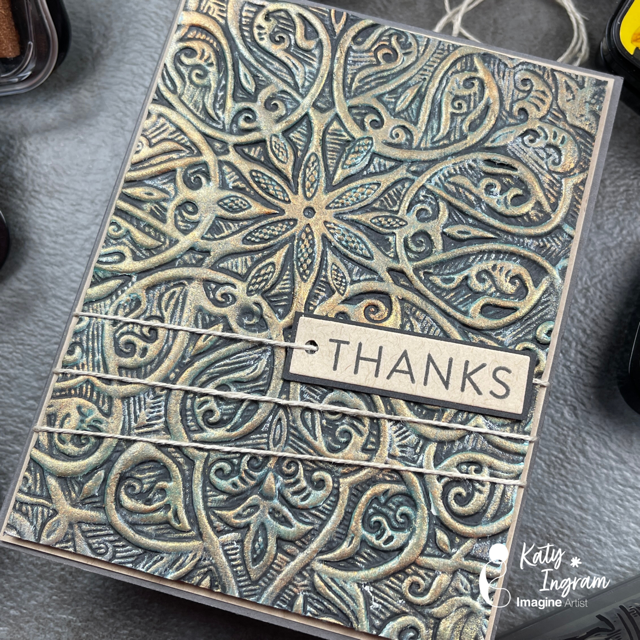
Hello Friends! Katy here and today I am excited to share this really cool background technique.
In today’s video tutorial, I am sharing how I use some All Purpose Inks, Delicata Inks and a 3D embossing folder to create a Gilded/Aged Celtic background. I have to admit I am in love with these backgrounds and in the video I show two ways to create it and both give different results depending on how you apply the ink. I also give some alternatives to the products I am using in the video, so be sure and watch to find out what they are. This technique will work with any embossing folder and I will for sure be using it with other folders I have in my stash.
Hello friends! This is Linh (or LV Handcrafted on all the socials). Today I’m playing with Fireworks! I start off by using what would normally be used to create a shaped 3D flower and I cut it out of a scrap piece of cardstock to use as a stencil. I lined that over black cardstock and sprayed the Grape Jelly Fireworks! Then I rotated the flower stencil to offset the petals. I sprayed the Lulu Lavendar Fireworks! And without shifting the stencil, I sprayed a bit of the Lilac Posies. What’s fabulous about these Fireworks! sprays is they are opaque and as you can see are gorgeous even on black cardstock. They have a beautiful shimmer and shine!
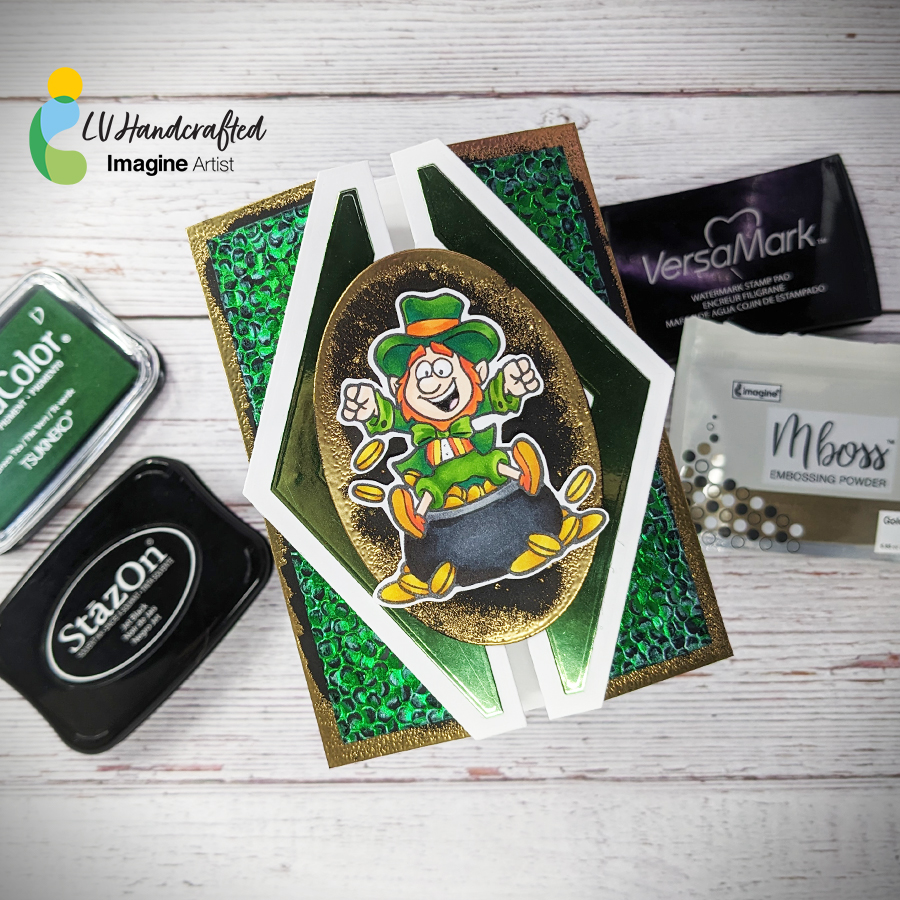
Hello friends! This is Linh (or LV Handcrafted on all the socials). I’ve made this St. Patrick’s Day card featuring some messy embossing techniques. Embossing powders aren’t just for stamped images. They are fun for creating a distressed, mixed media effect as well!
Here I’ve swiped clear VersaMark ink on the border of black cardstock and embossed with gold. In my video, you’ll also see me use gum arabic and water to create a splatter effect and emboss with gold as well. (There’s some beautiful gold splatter beneath the leprechaun).