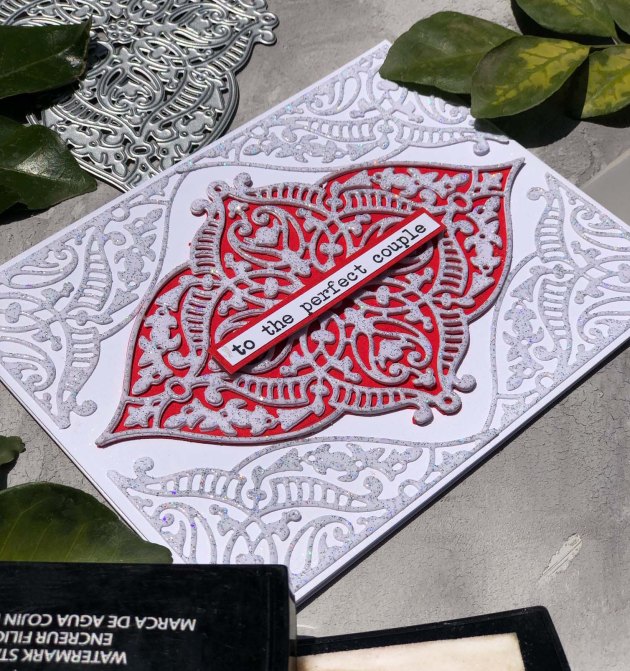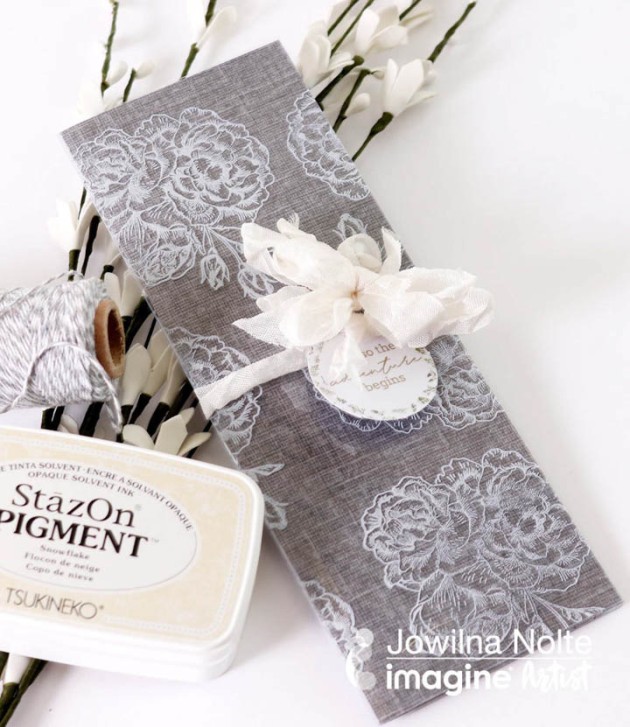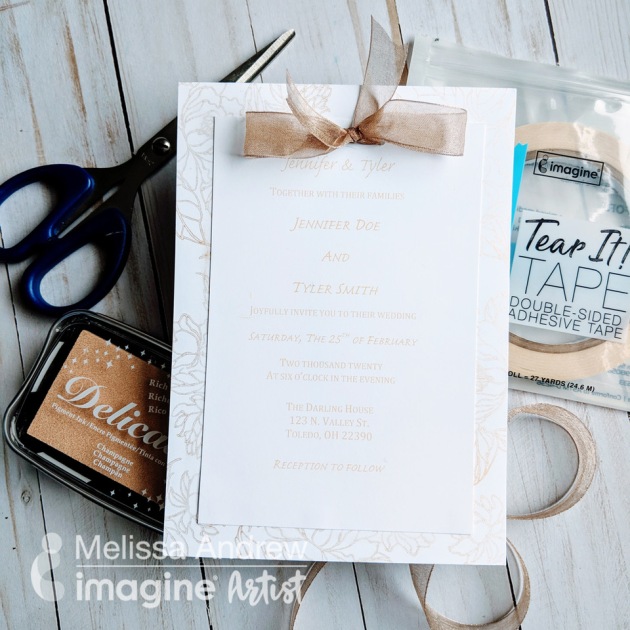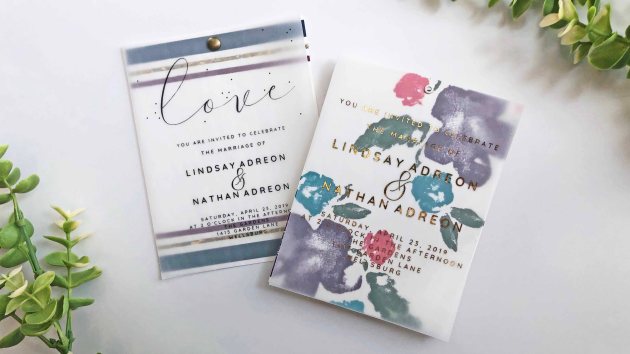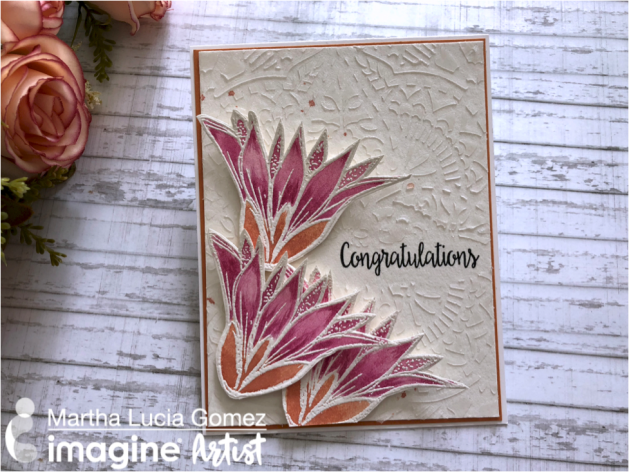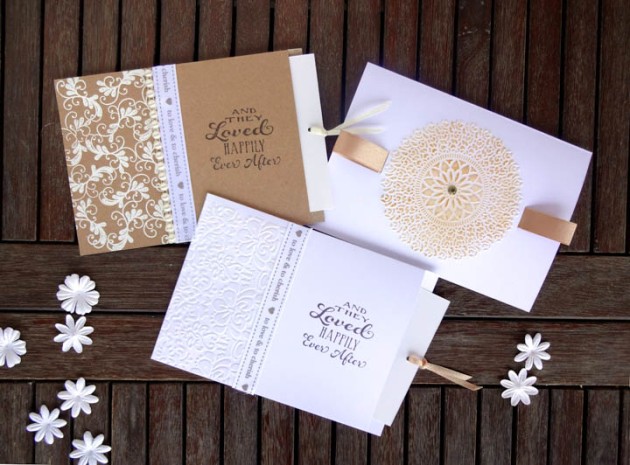
I wanted to share some easy to make wedding invitations using standard size cards in different designs. The designs are based on two techniques, one requiring a die cutting/embossing machine and one that does not, which makes it easier for everyone to make having basic supplies. The Delicata ink pads give shine and elegance to your wedding invitations. Another fun idea I include is how embossing powder can be used on darker papers to add beautiful contrast and pop to the front of a wedding invitation. Two of the designs form pockets. The text can be printed on a separate card and placed inside. You could also order pre-printed 5 x 7 inch cards, and not follow the pocket making instructions included in this tutorial.
Skill: Beginner
Time: 5 minutes per invitation (depends on details)
Directions

Step 1
Use the embossing folders to emboss the fronts of the first two card designs. If you have an embossing folder that is for a full card background, you can place it over just a portion of the card front to get the 1/3 partial coverage.


Step 2
Add some color and shimmer to the embossed areas by lightly and smoothly pressing/rubbing the ink pad directly on the embossed surface. In the examples above, I used White Shimmer on the embossed lower 1/3 and Golden Glitz on the medallion shape. By going lightly you will only get ink on the raised portions which will highlight the embossing.

Step 3
For the large medallion embossed design, cut about 1 inch on the sides of it to fit the satin ribbon width.

Step 4
Pass the ribbon from the back side to front, add some Tear It Tape on the cutting, and fold the ribbon to set it to make a loop. Add a large rhinestone on the center of the medallion adhering it with the On Point Glue. This finishes the first card design.
Finishing the Second Embossed Design

Step 1
For the second invitation add printed ribbon using Tear It Tape just above the embossed area. Trim so it is flush with edges.

Step 2
To make a pocket card, cut about ⅜ x 5 inches strip of the front side of the card opposite to the embossed edge.

Step 3
Add Tear It Tape to the inside of the card along the bottom of the embossed area and the outside edge. Remove the backing and fold shut to make a pocket.


Step 4
Stamp with VersaFine Clair ink in Pinecone and the “And They Loved Happily Ever After” sentiment (or sentiment stamp of choice). Print or order cards with the text printed on a 4 ½ x 6 inch size card, punch a hole at the top of the insert card and add a matching ribbon. This ads a bit of extra elegance while confirming to the recipient they should pull out the insert card.
If you Do Not Have an Embossing Machine…

Step 1
Stamp a large flourish stamp with the VersaMark watermark ink on kraft paper, only covering 1/3 of the card front. Apply embossing powder over the stamped area, shake off excess and heat set with a heat tool.

Step 2
Add ribbon and further embellishments and follow the steps from second card design above.

Supplies
Imagine
Other
- 5 x 7 inch card base
- 4 1/2 x 6 inch insert cards
- Craft knife
- Satin ribbons
- Hole Punch
- Printed cotton ribbon
- Rhinestones or Pearls
- Embossing folders
- Die cutting machine
- Flourish Background Stamp
- Acrylic Block
- Heat tool
- Wedding-themed stamp

