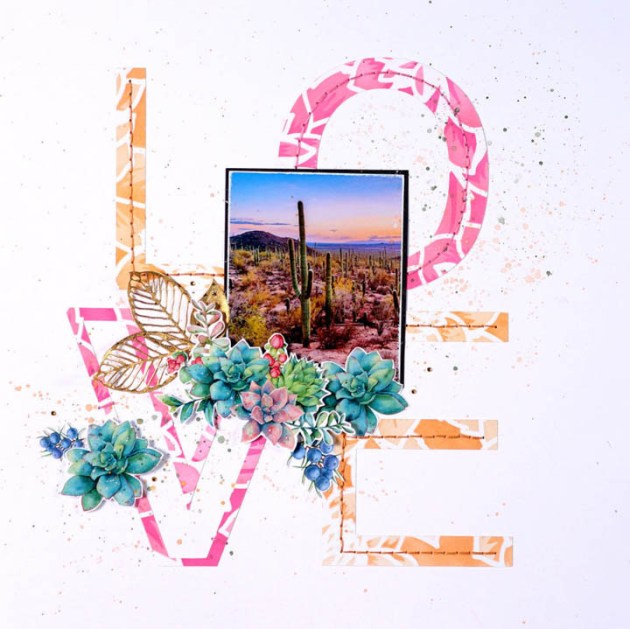
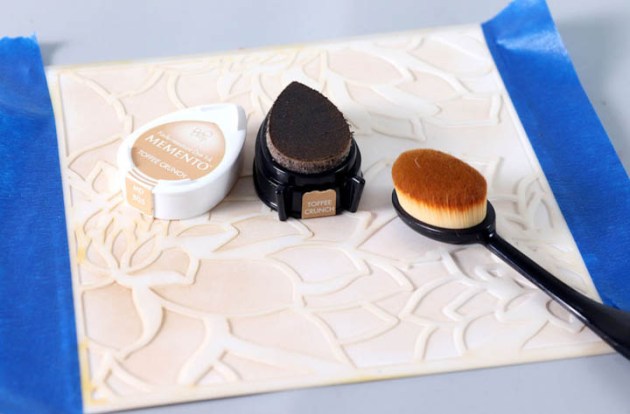
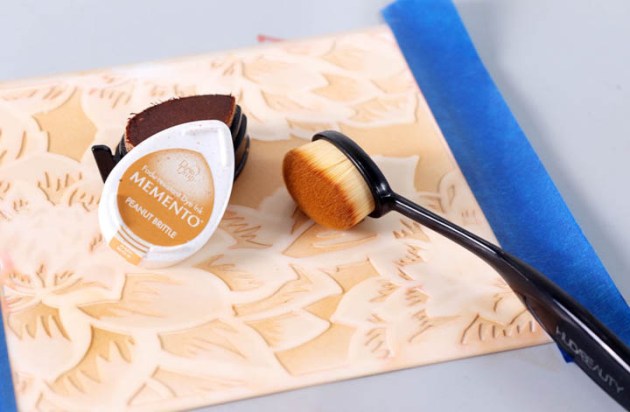
Learn How to Add just a Pop of Color to an Elegant Card

by Lori Warren

Adding just a pop of color added to a black and white project can be very dramatic. When you use Rinea Foil Paper as that pop of color, it not only adds drama, it adds a level of elegance as well.  Black cardstock, Snowflake StazOn Pigment ink and Rinea Foiled paper are the perfect combination for drama and elegance!

Skill: Intermediate
Time: 45 minutes

Directions

Step 1

Accordion fold a color piece of Rinea foil paper – I chose this bright pink color.

Step 2

Emboss that piece of foil paper using an embossing folder.

Step 3

Die cut gold foil paper medallions using 3D Impresslits Embossing Folder.

Step 4

Stamp floral images and saying onto black card front with StazOn Pigment in Snowflake.

Step 5

Stamp floral images onto smaller strip of black cardstock.

Step 6

Layer strip of stamped cardstock over piece of embossed foil paper and adhere to card front; adhere foil medallion.

Step 7

Background options 2; randomly stamp floral images onto black card front.

Step 8

Stamp floral images onto smaller strip of black cardstock

Step 9

Mount a square piece embossed foil paper to black foil paper; adhere to card.  Adhere stamped strip of cardstock and foil medallion over the squares.

Supplies

Imagine
Other
  • Rinea – Double sided foiled paper
  • Sizzix 3D Impresslits Embossing Folder – Medallion
  • Cuttlebug Embossing Folder – Spots n Dots
  • Hot off the Press – Botanical Blooms stamps
  • Black Cardstock
  • Scissors or paper trimmer

Make your Cards Shine with Rinea Foil and Sheer Shimmer

by Jowilna Nolte

Beautiful and shiny handmade card featuring a flying heart and earthy and metallic colors.

Create amazing shiny elements for your scrapbook layout or cards using the range of beautiful Rinea foils. Combining these foils with inked backgrounds and coordinating focal elements you can create a feast of color and shine. I colored the beautiful heart image with Memento Dual Markers and added lots of shine with Imagine’s Sheer Shimmer spray.

Skill: Advanced
Time: 1 hour

Directions

Step 1

Stamp heart image onto white cardstock using VersaFine Onyx Black.

Step 2

Use Memento markers in shades of yellow and gold to color in the heart.

Step 3

Once you are done coloring in, its time to add some shine. Fill an empty waterbrush with some Shimmer spray, then paint over the entire heart to add a nice thin shiny layer.

Step 4

Back Rinea foil with some double sided tape opposite side of the Rinea Foil. Leave the adhesive backing in place and emboss it with an embossing folder to add texture and pattern.

Step 5

Adhere the Rinea foil to the bottom of some patterned paper. (I actually made this patterned paper. Want to know how? Check it out here.) Add sewing detail where the two pieces meet.

Step 6

Add ink and paint splatters across the heart for a nice finishing touch. Then adhere the heart, stamped sentiment and some bling elements to finish off your card.

Supplies

Imagine
Other
  • Rinea Foil – Metallics
  • Cardstock – white
  • Patterned paper
  • Couture Creations – Embossing folder
  • Art by Marlene – Heart Stamp
  • Joy Clair – sentiment stamp
  • Double sided adhesive sheet
  • Sewing machine
  • Embossing machine
  • Diamante and pearls

How to Use Rinea Foil and Memento Inks on a Scrapbook Layout

by Jowilna Nolte

How to Use Rinea Foil and Memento Inks on a Scrapbook Layout

Create amazing elements for your scrapbook layout using the range of Rinea foils, Memento inks, and a layered stencil set. Combined with inked backgrounds you can create a feast of color and shine.

Skill: Intermediate
Time: 45 minutes

Directions


Step 1

Blend Toffee Crunch Memento ink through the first layer of a stencil set onto smooth white cardstock.


Step 2

Then blend Peanut Brittle Memento Luxe through the second layer of the stencil to bring out some more of the details.


Step 3

Add more highlights by blending in certain areas using Memento Peanut Brittle. Layering a dye on top of a pigment ink creates beautiful results.


Step 4

Remove the stencil to reveal the blended background. And repeat with different color hues to create more variety. I repeated this process with pink.


Step 5

Die-cut the stenciled background using a die-cut machine or hand-cut some letters.


Step 6

Back a sheet of Rinea foil with double-sided tape. Then die-cut some leaves out of the foil.


Step 7

Assemble your layout by adhering the die-cut letters, then add your photo. Create a cluster using your foil leaves and cut out elements.

Supplies

Imagine
Other
  • Wooden block
  • Altenew – Stencil – Layered Dahlia A, Layered Dahlia B
  • Resin
  • Prima Moulds
  • Texture Paste
  • Little Birdie

Learn How to Make a Background Pattern with Sponge Daubers

by Lori Warren

Need a quick and simple background technique for a greeting card? See how I create a patterned background with large sponge daubers and Memento Ink. Sponge daubers are dense foam and can behave like a soft textured circle stamp when inked up heavily. This technique is a perfect start for a card, art journal or even a scrapbook page. The color scheme and options are really endless.

Skill: Intermediate
Time: 45 Minutes

Directions


Step 1

Use a large dauber to apply Memento Inks to the card panel.


Step 2

Stamp floral images onto card panel with Memento in Tuxedo Black.


Step 3

Stamp a single flower and leaf image onto a separate piece of cardstock (with same dauber background) and cut out.


Step 4

Enhance single flower/leaf images with Memento Dual Tip Markers.


Step 5

Apply London Fog Memento to Craft Mat and add water; add ink splatters to the card panel.


Step 6

Edge card panel with Memento in London Fog.


Step 7

Use cutting die to die cut decorative strip from Rinea Foil paper.


Step 8

Adhere Rinea foil paper element to the card base.


Step 9

Adhere Single flower/leaf to the card panel with double-sided mounting tape. Highlight with a glitter pen.


Step 10

Double stamp sentiment. First stamp in Angel Pink then again, slightly offset, with Tuxedo Black.


Step 11

Edge card base with Memento in London Fog and Angel Pink.


Step 12

Adhere panel to the card base.

Supplies

Imagine
Other
  • Rinea – Double-sided foiled paper
  • Spellbinders Thin Die
  • Hot off the Press – Botanical Blooms
  • Double-sided mounting foam

See How to Make a Moon and Stars Art Canvas with Fireworks Spray

by Jowilna Nolte

See How to Make a Moon and Stars Art Canvas with Fireworks Spray

Create a beautiful dimensional Moon and Stars home decor element using resin embellishments and Fireworks Shimmery Craft Spray. Combine warm rich colors to compliment your yellow and the end result is simply stunning. A quick and easy project with lots of colors showcasing the amazing shimmer and shine by using Fireworks.

Skill: Intermediate/Advanced
Time: 30 – 45 minutes

Directions


Step 1

Add stenciling to a piece of wood using texture paste and leave to dry. Adhere resin elements to the block over the stenciling and leave to dry.


Step 2

Paint the entire block with the dimensional elements on using black gesso. Make sure you cover all the pieces and the sides too. Leave to dry.


Step 3

Use 3 to 4 colors of Fireworks Shimmery Craft Spray and mist over the entire design. Layer the colors over each other. Use a heat gun to dry layers in between and then add more color until you are happy with the look.


Step 4

Once the colored layers are dry, give it one last misting of Sheer Shimmer Spray in Sparkle for extra shine. I also added some Delicata Gold inker and rubbed it over the resin elements with a sponge to highlight the details and dimension.

Supplies

Imagine
Other
  • Wooden block
  • Jowilna Nolte stencil
  • Prima Moulds Resin
  • Texture Paste: Little Birdie

Create a Wonderful Mixed Media Best Wishes Card with Lace Texture

by Lori Warren

Create a wonderful mixed media “Best Wishes” card that is full of texture, layers, and dimension. Start with a stenciled layer using Creative Medium, add a lace focal point and finish it up with a saying strip mounted with dimensional tape.

Skill: Advanced
Time: 1 hour

Directions


Step 1

Apply VersaMagic inks to the Craft Mat, spray with water, and lay cardstock into the wet ink. Trim to size.


Step 2

Mix White Neon Amplify with Iridescent Creative Medium and apply over the stencil using a palette knife. Allow to fully dry.


Step 3

Cut out a rose from a panel of lace and then apply various VersaMagic ink colors to the rose with a Brushstix.


Step 4

Spray lace rose with Shimmer Sheer Craft Spray and allow to dry.


Step 5

Once dry, apply VersaMagic ink in Cloud White to lace rose with Brushstix if you want to soften any of the tones.


Step 6

On a scrap strip of paper trimmed from panel in Step 1, stamp with a script stamp.


Step 7

On the same strip of paper, stamp flower image. Here I used VersaMagic in Mango Madness.


Step 8

Add ink splatters from VersaMagic Ink in Pink Grapefruit by rubbing ink directly to the craft mat and spraying with water. Pick up with a brush and flick onto the card.


Step 9

Edge all elements with VersaMagic in Pink Grapefruit.


Step 10

Stamp script pattern randomly onto the panel.


Step 11

Adhere lace rose to stenciled panel with On Point Glue.


Step 12

Adhere paper strip saying onto the card panel and then highlight rose with irRESISTible Pico Embellisher.

Supplies

Imagine
Other
  • White Cardstock
  • Mixed Media Paper
  • Lace
  • TCW Stencil – Damask
  • Hot off the Press Stamps