By Neva Cole
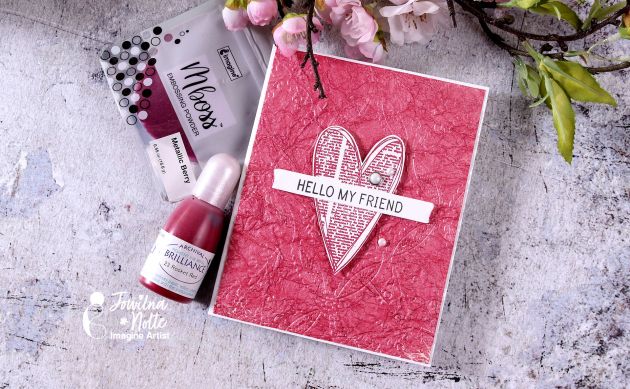
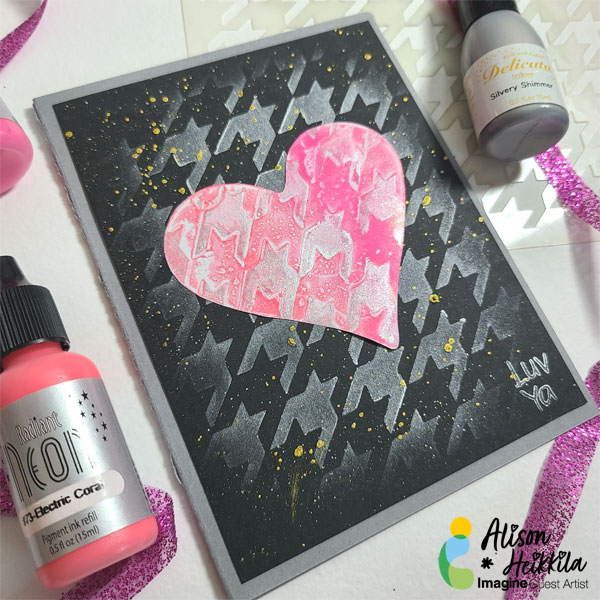
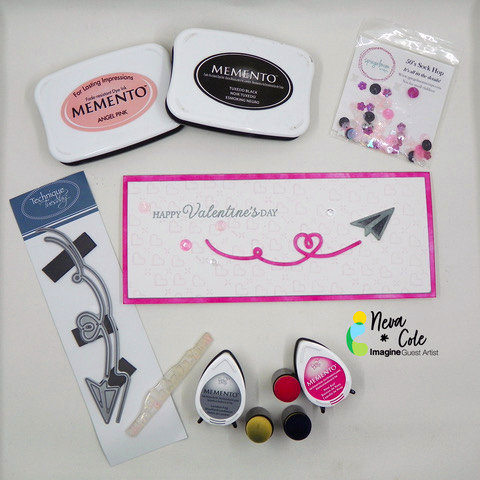
Today I am sharing how to make a Slimline Valentine using Memento inks. Slimline cards are very trendy. This is a great quick and easy card that can be given to the special guy in your life for Valentine’s Day.
Skill: Beginner
Time: 30 minutes
Directions:
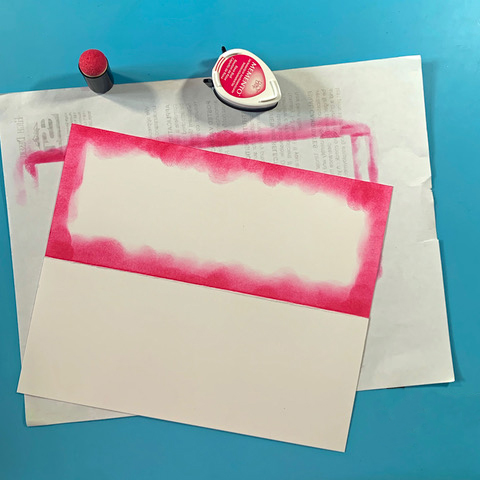
Step 1
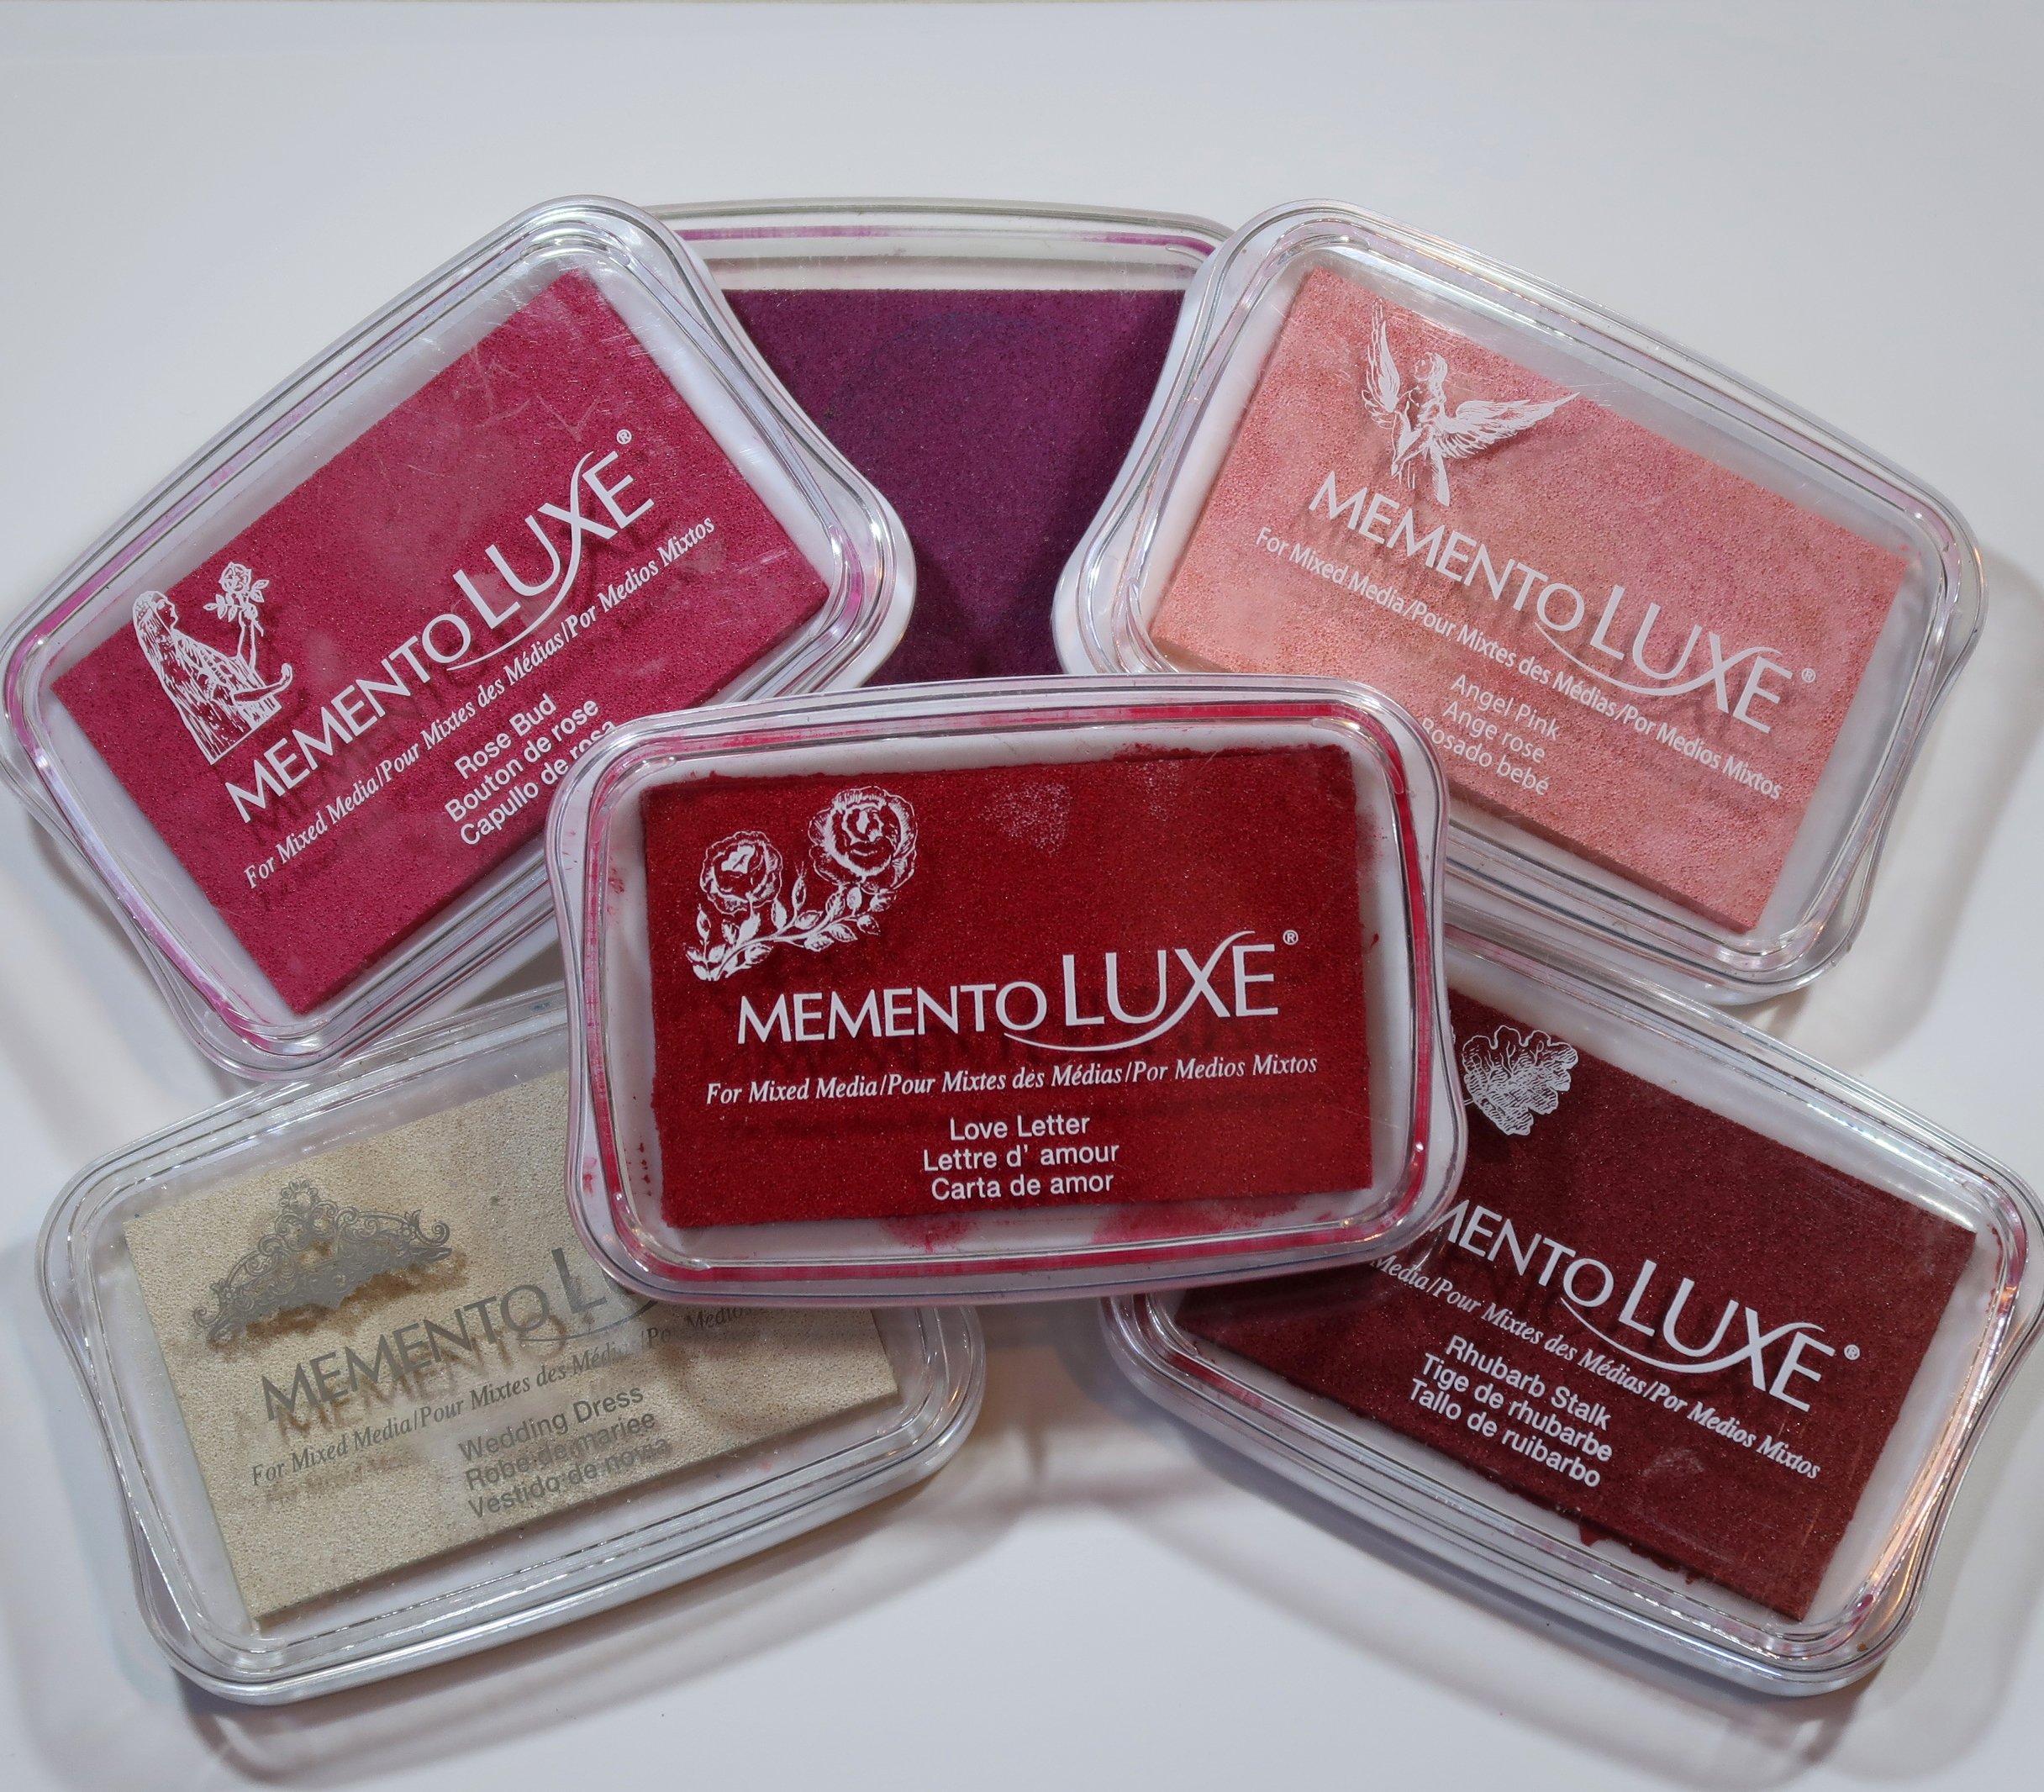
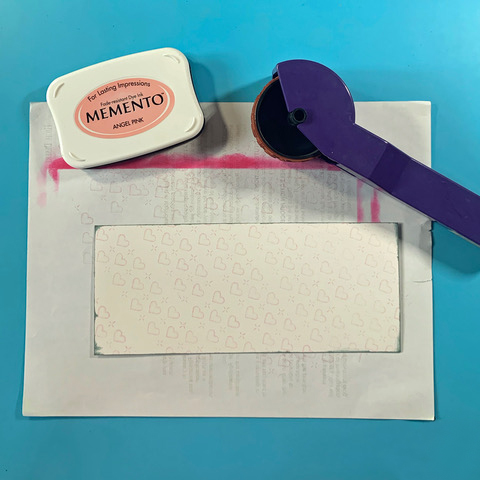
A great thing about slimline cards is that you only need a single sheet of 8.5” x 11” cardstock for the card and card front. Trim cardstock to 7” x 8.5” and score to make a card base of 3.5” x 11. It will fit in a standard A10 envelope. Use a Sponge Dauber and Memento Rose Bud to ink the outer 0.5” of the card base.
Step 2
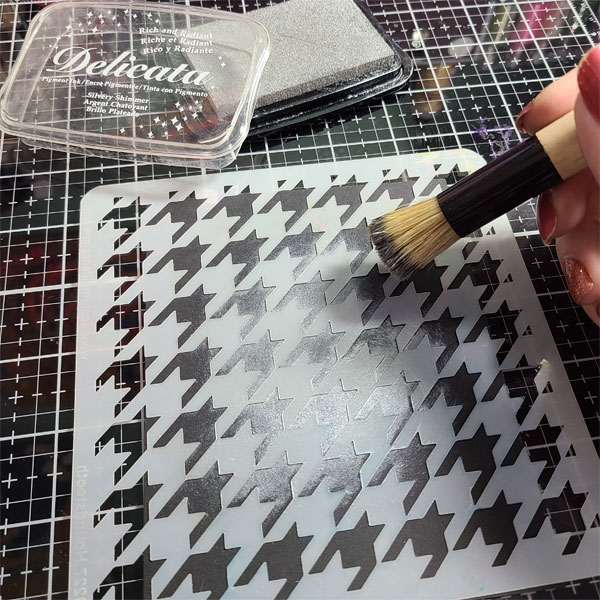
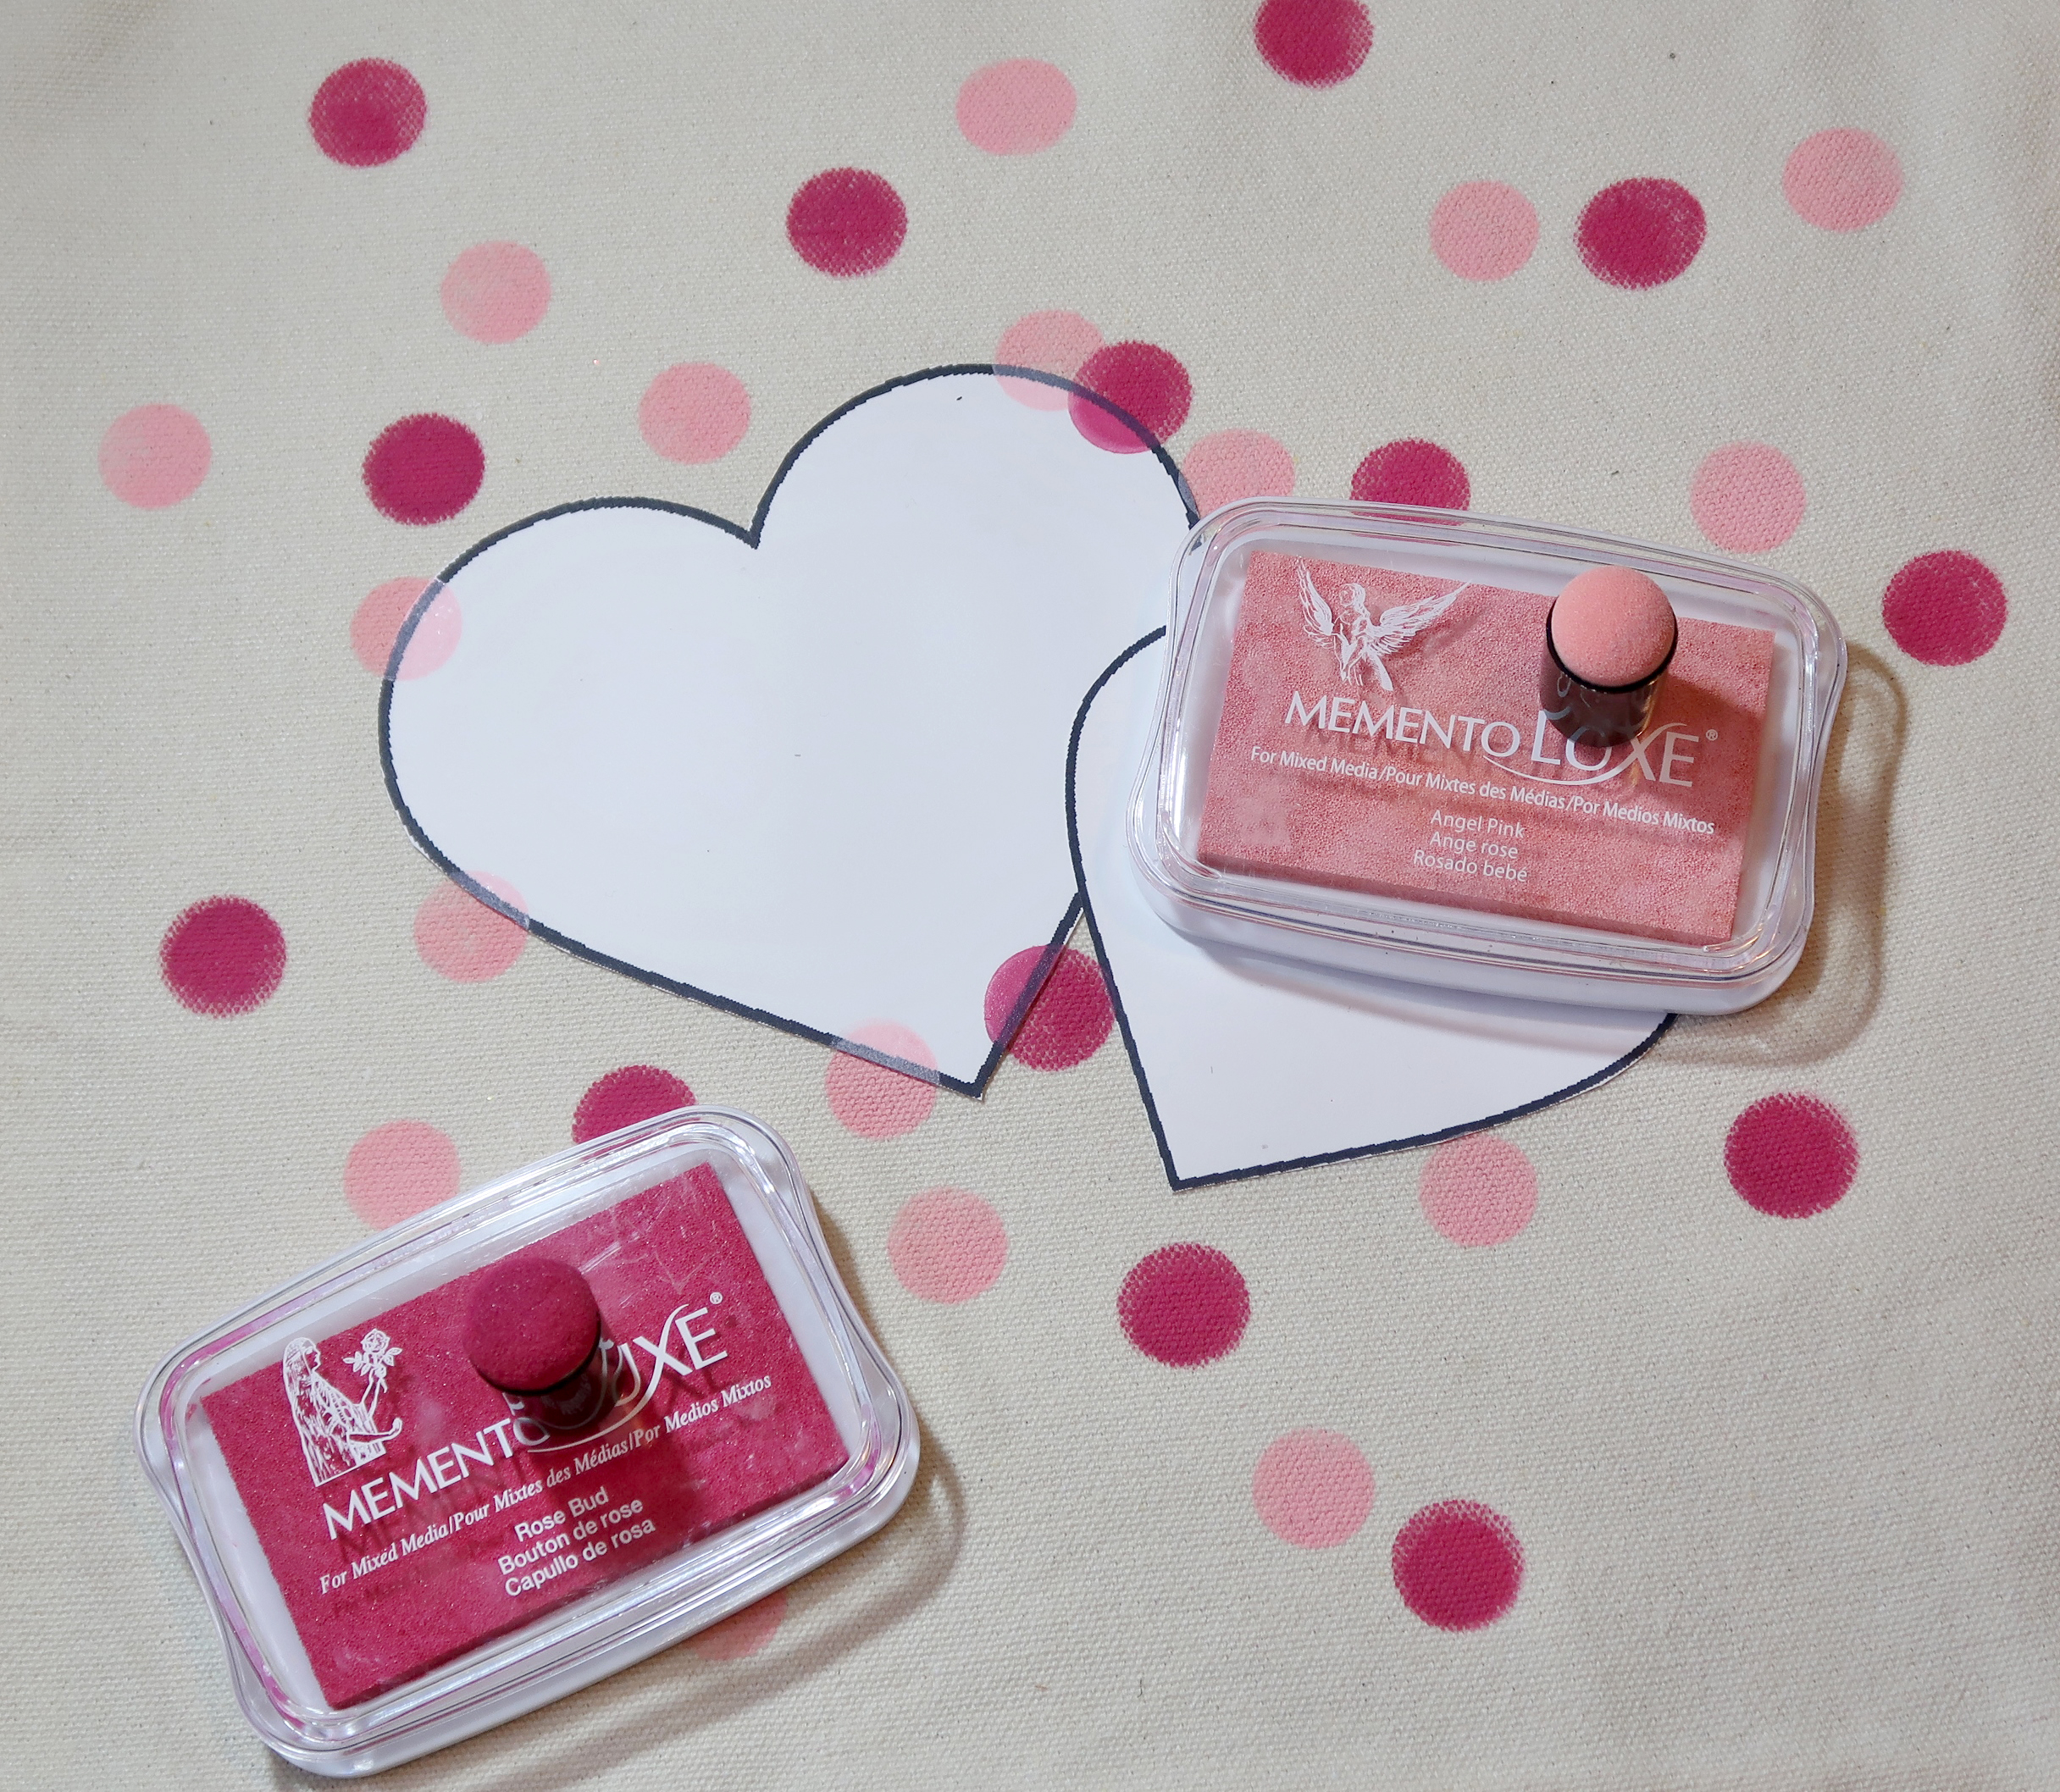
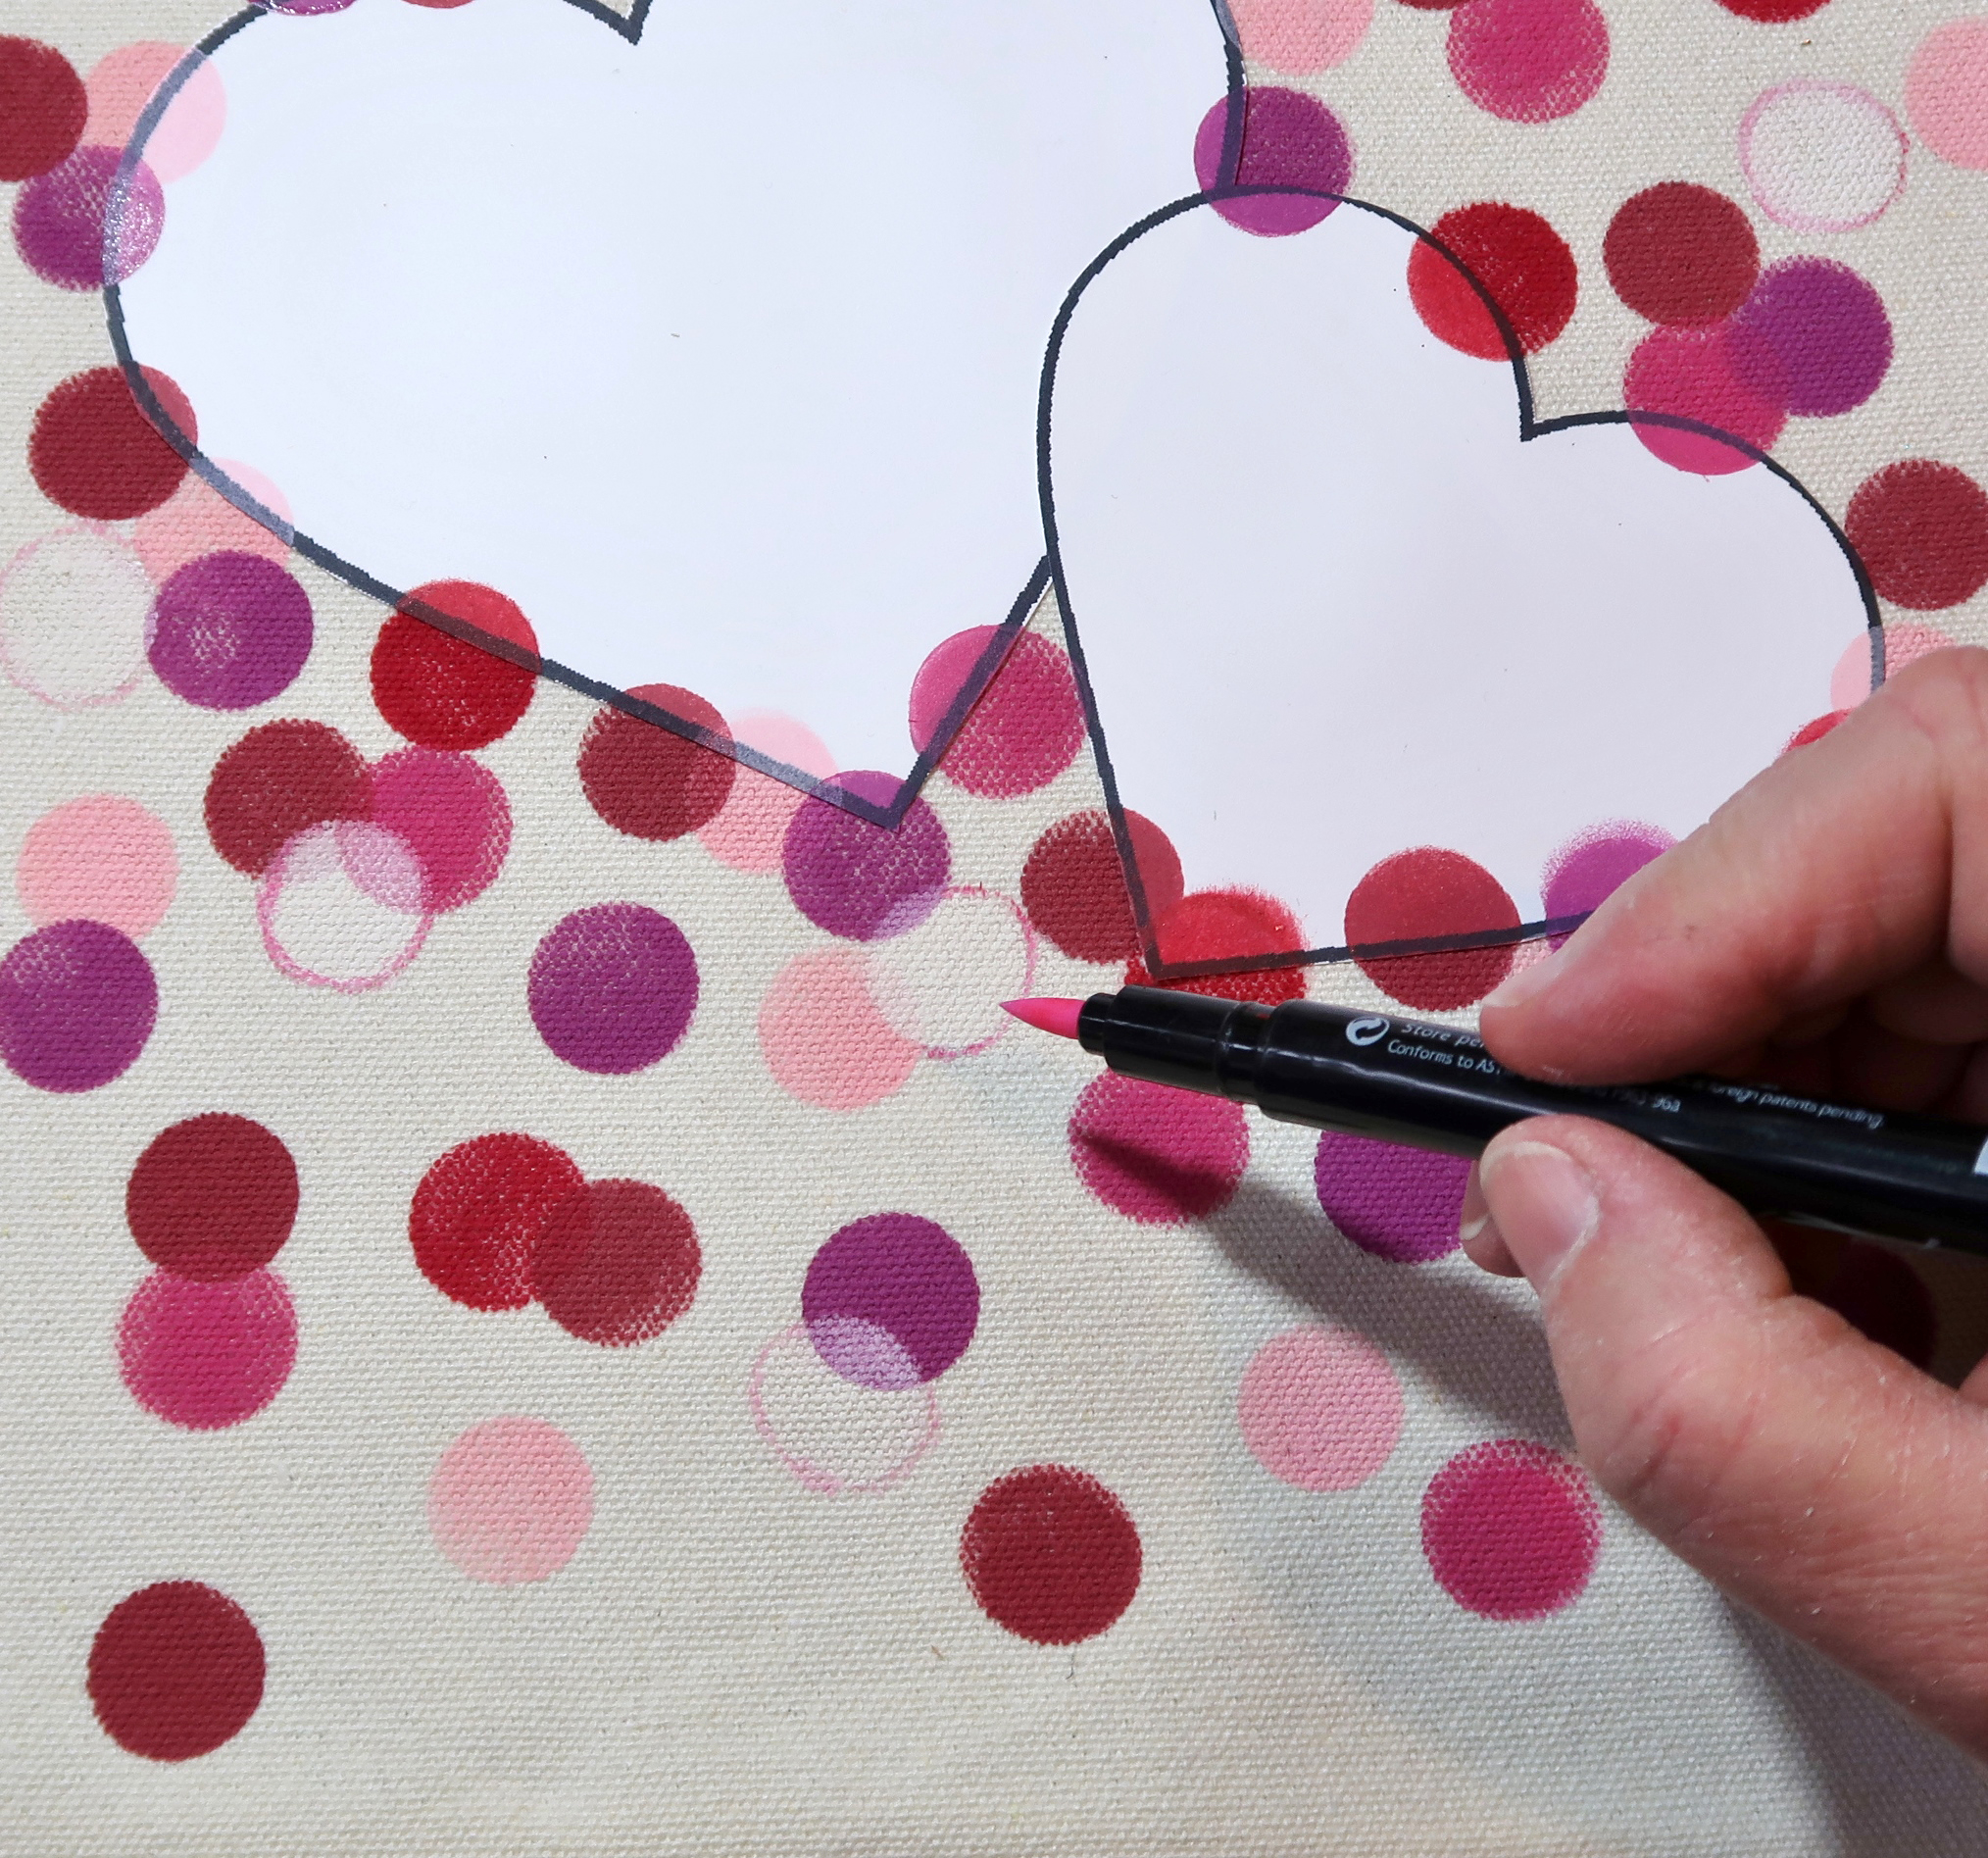
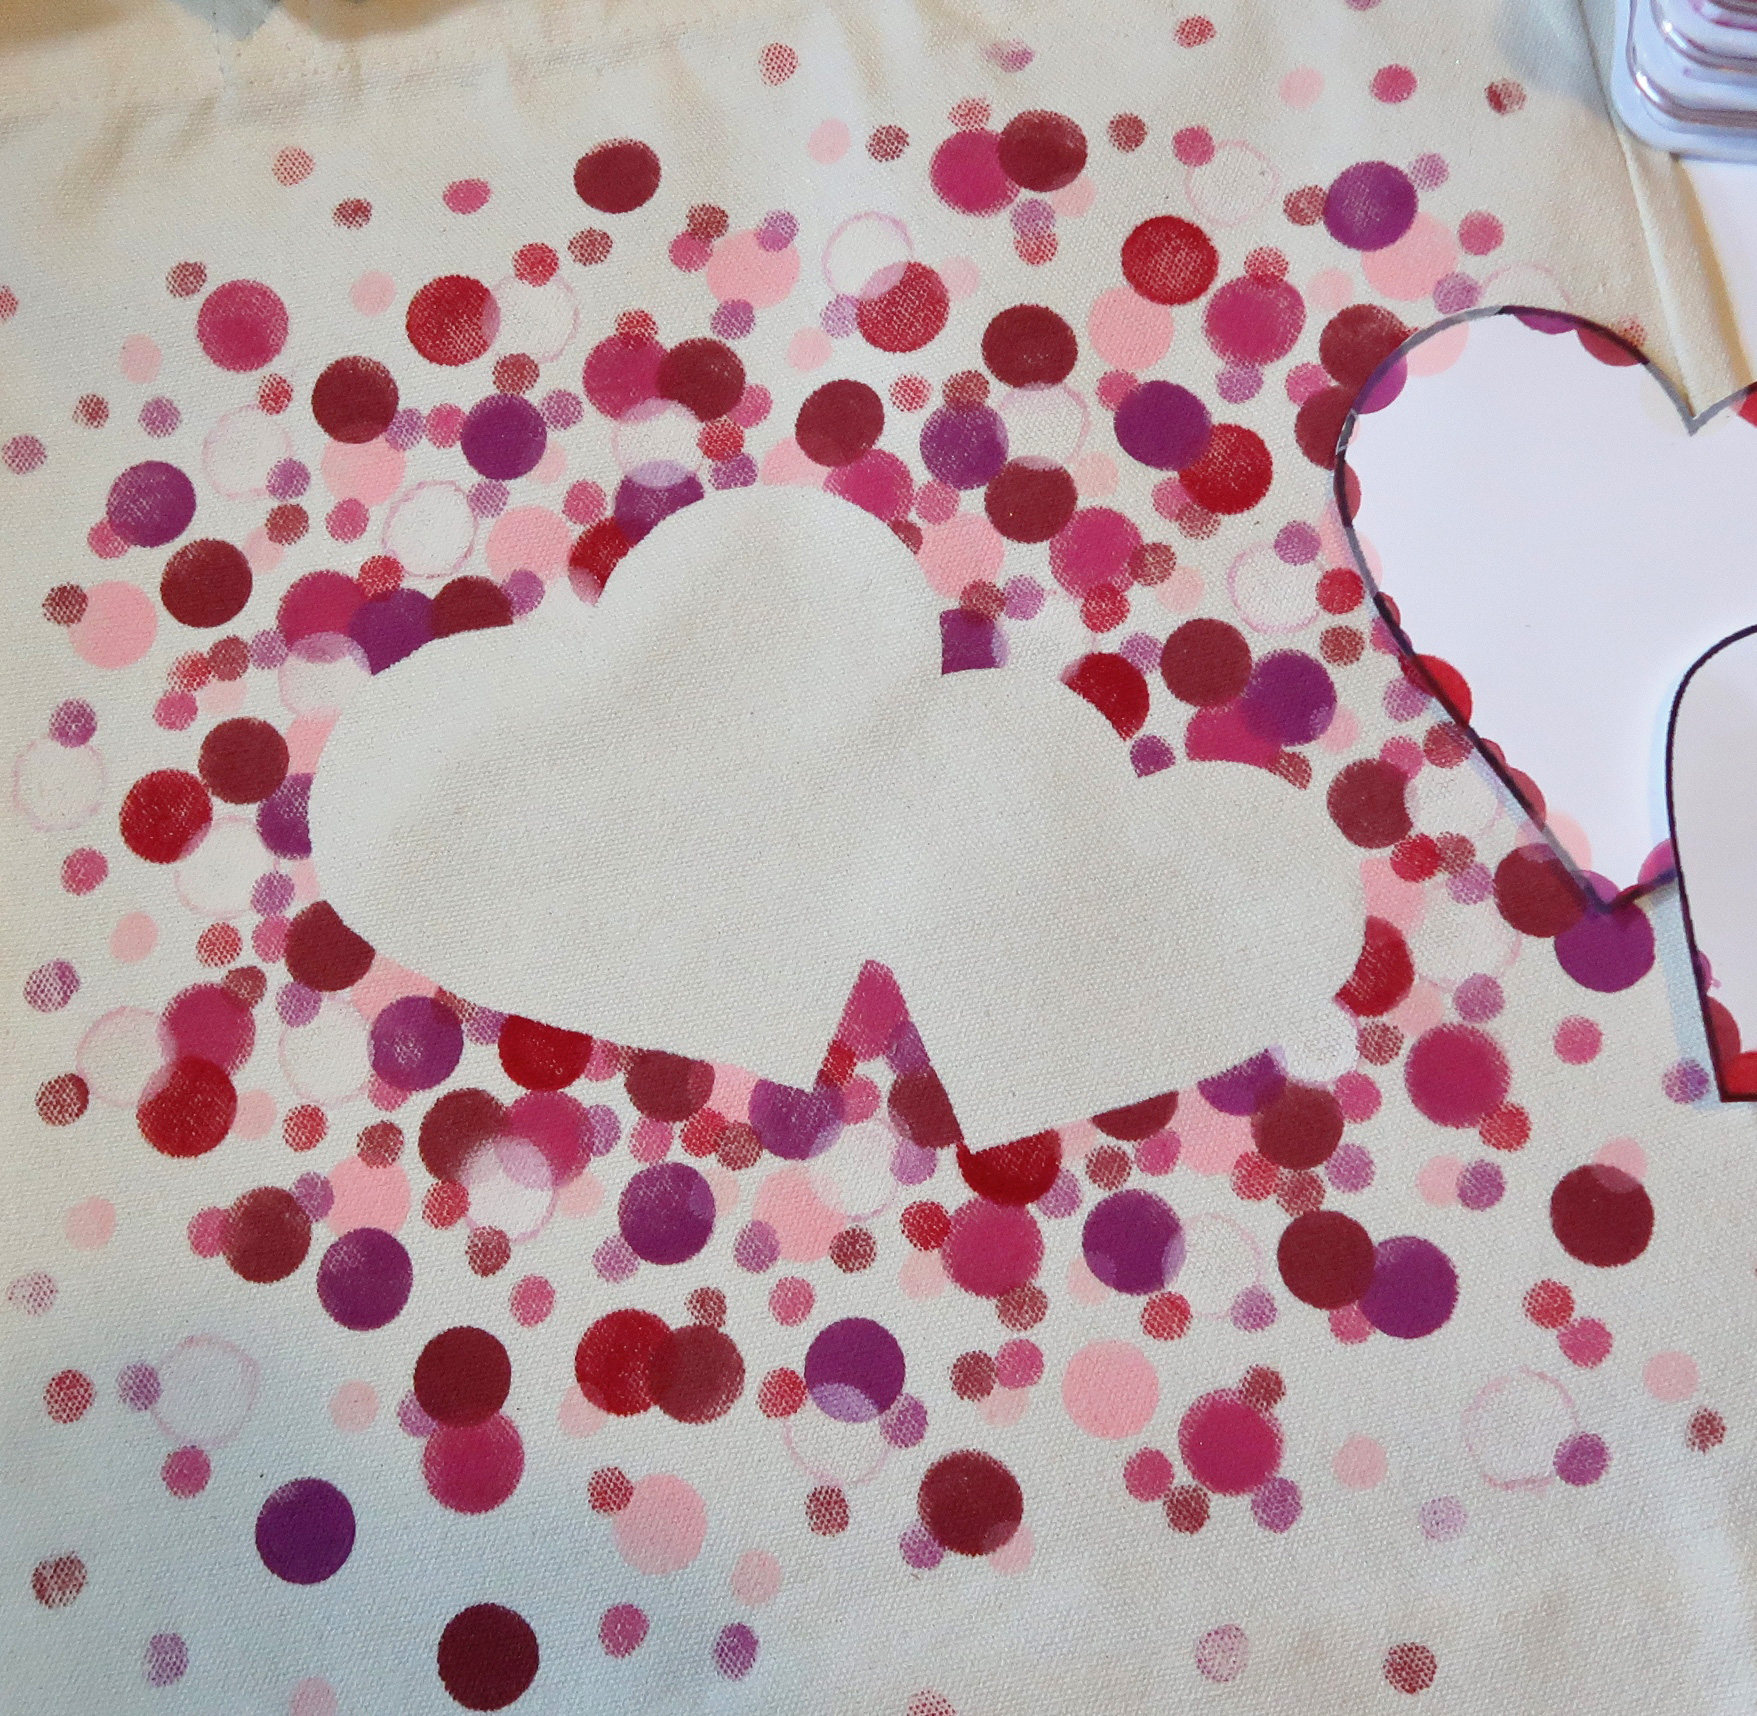
Trim the remaining cardstock to 3.25” x 8.25”. Edge with Memento London Fog. Stamp a background in Memento Angel Pink with a small Valentine’s themed image. I used an ancient Rollergraph heart stamp. It is very subtle but adds just a bit of depth to the card.
Step 3
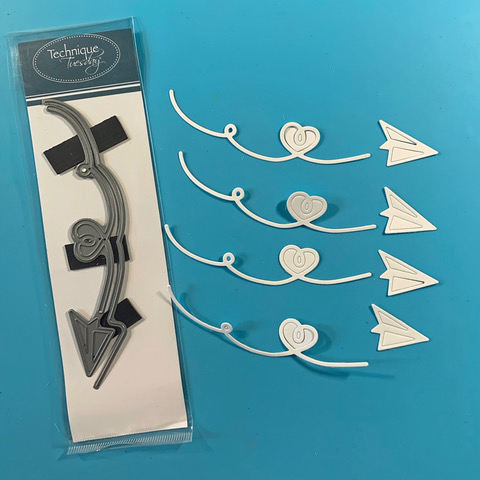
Die-cut four layers of cardstock with the Technique Tuesday Paper Airplane on the Border Die.
Step 4
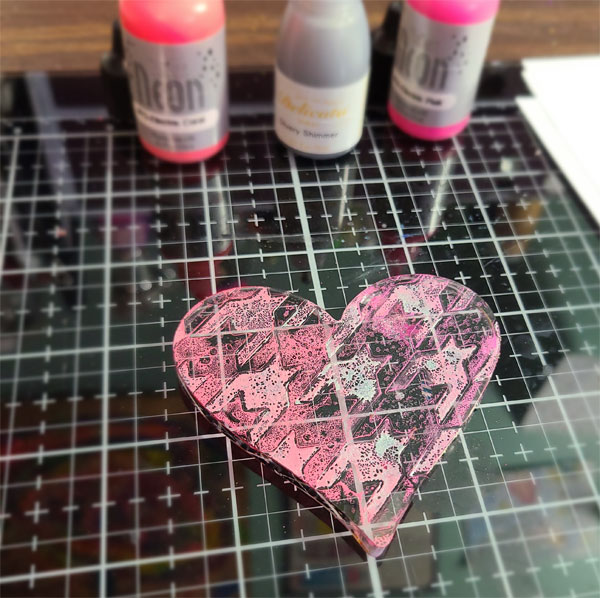
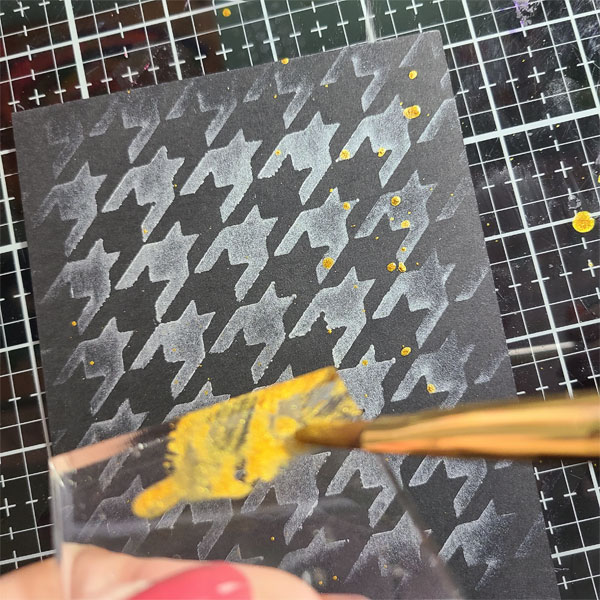
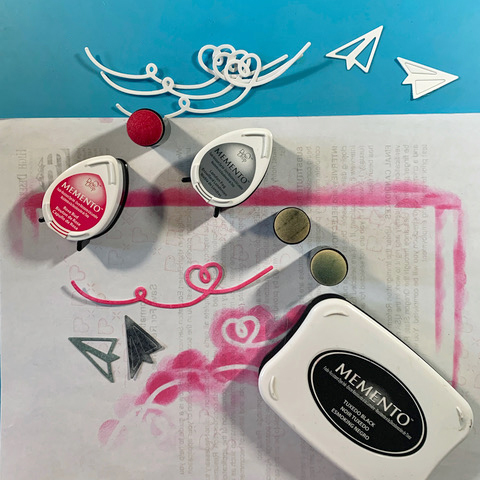
Ink one loop with a sponge dauber and Memento Rose Bud. Ink one airplane in Memento London Fog. Ink one airplane leaving the cutout section in place when inking with Memento Tuxedo Black.
Step 5
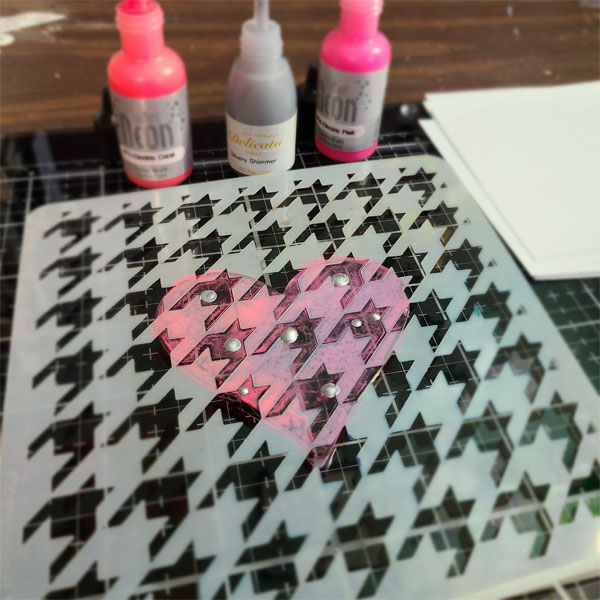
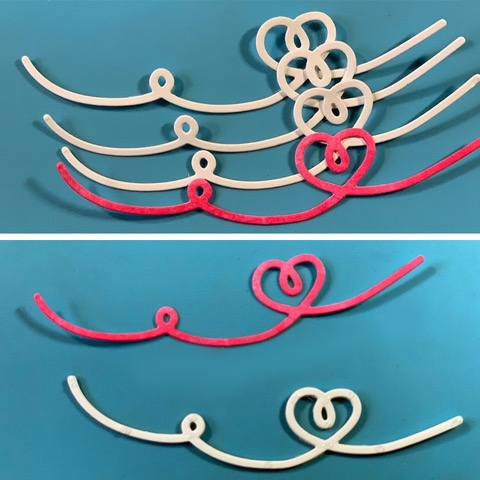
Layer the loops together with dots of On Point Glue, the lower photo shows the very small dots of glue, a little goes a long way! Lightly press together to create a raised die-cut.
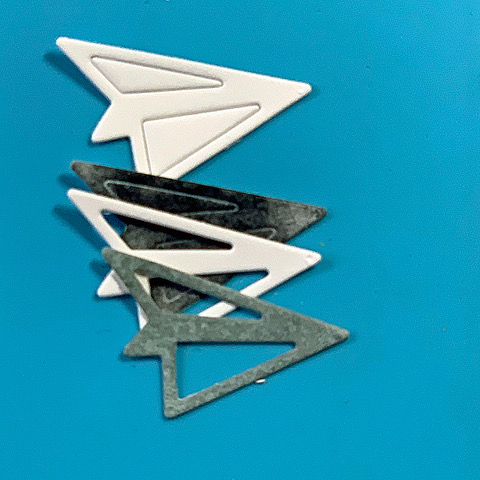
Step 6
Using On Point Glue, layer the Memento Tuxedo Black airplane over one white airplane. Layer the third airplane with the cutouts removed over the Memento Tuxedo Black airplane. Layer the Memento London Fog airplane with cutouts removed on top.
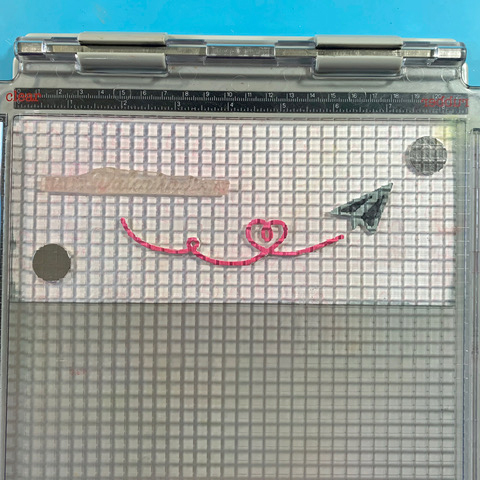
Step 7
Stamp sentiment image in Memento London Fog. I placed all the elements on the card to decide the position before using a stamp positioner to stamp the sentiment.
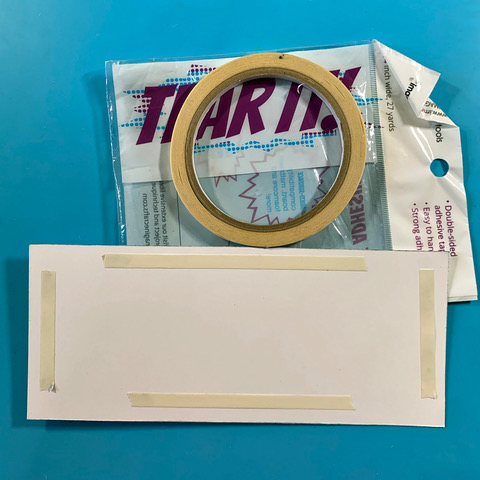
Step 8
Adhere the card front to the base using Tear It! tape.
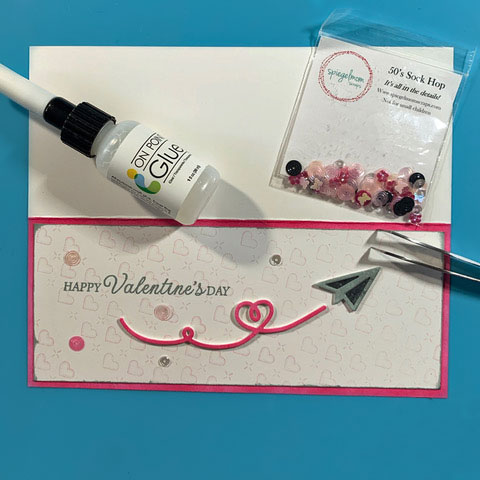
Step 9
Adhere die cuts and sequin embellishments with On Point Glue.
Art Supplies
Imagine
- Memento Ink Pad – Angel Pink, Rose Bud, London Fog, Tuxedo Black
- On Point Glue
- Sponge Daubers
- Tear It! Tape
Other
- Technique Tuesday Die-Paper Airplane on the Border
- Hero Arts-CL493 Holiday Sentiments
- Spiegelmomscraps-Sock Hop sequins
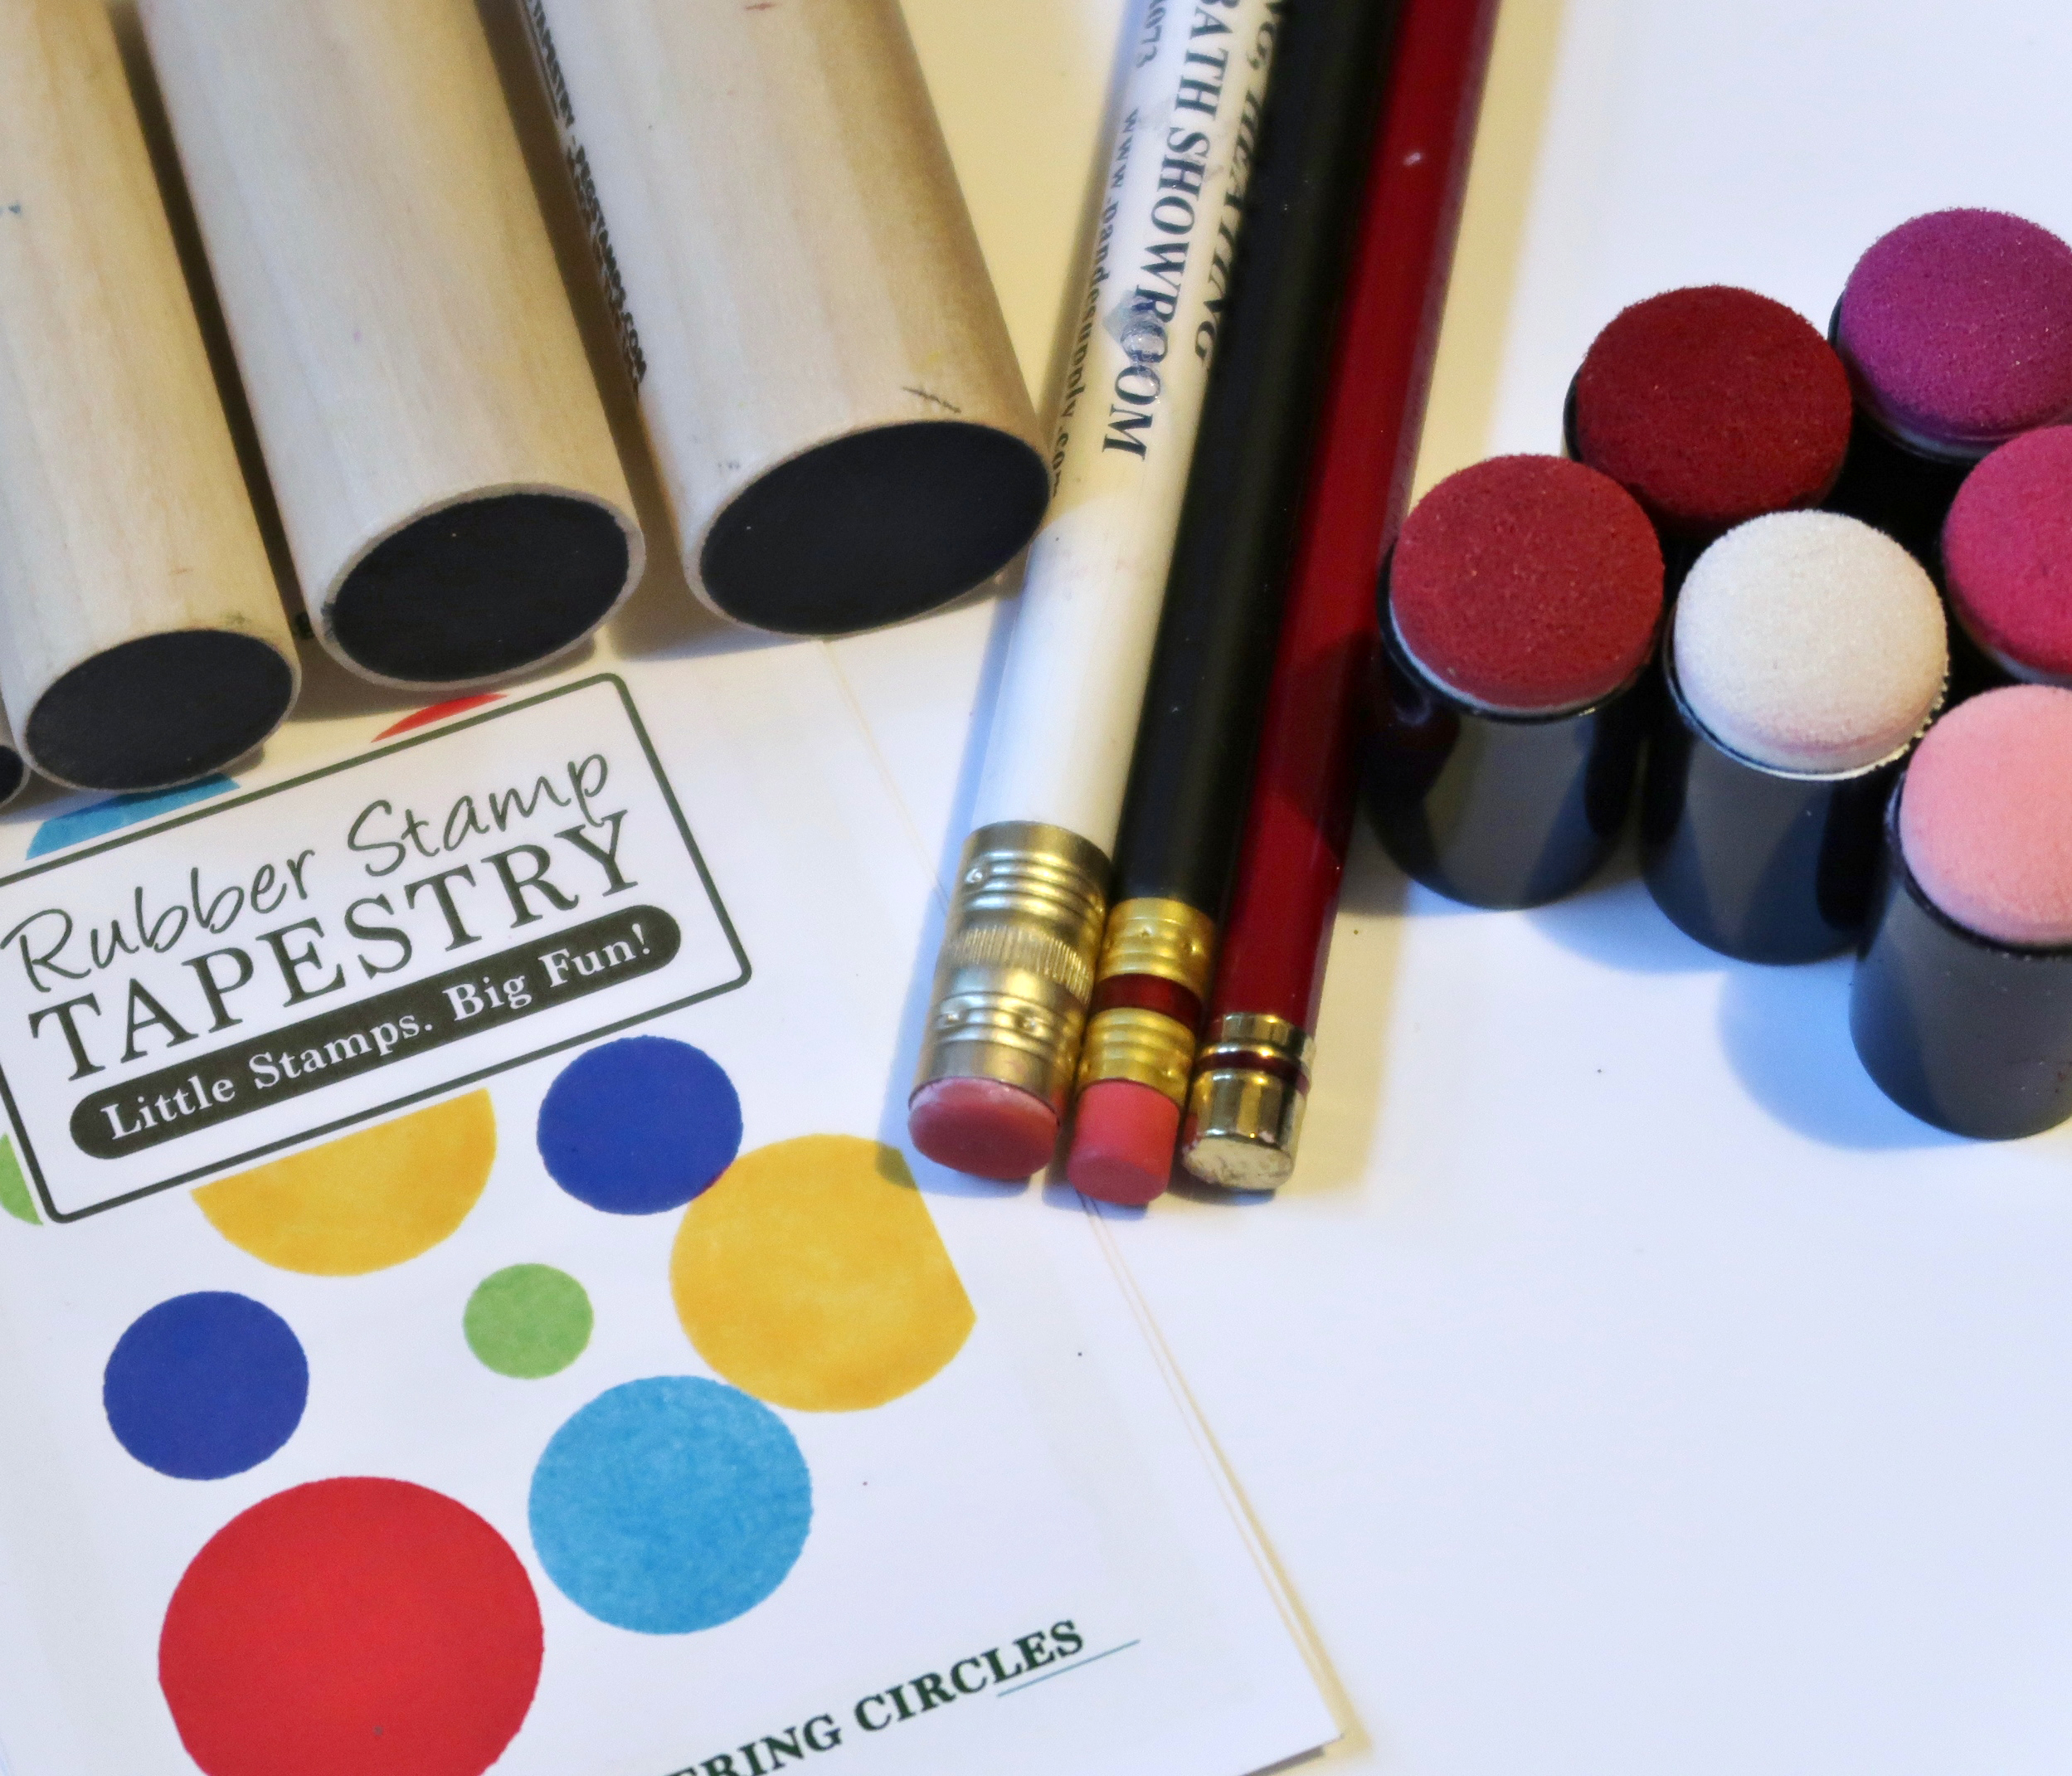
- Rollergraph-Heart Stamp