New Techniques for Embossing Stunning Springtime Cards

By Neva Cole 

In today’s crafting tutorial, I will show you how to use various Imagine products to create a sparkly stunning springtime birthday card, featuring both Mboss Valentine, VersaMark Ink, and Embossing Powders. The tutorial will also show you how you can use VersaMark over other inks to create a cohesive embossed look for a card, even if you do not have embossing powders in additional colors.


Skill:  Intermediate

Time:  45 minutes

Directions:

Step 1

Trim card front to 4.75” x 6.25” to fit a standard A-7 card base.  It is important to use a stamp positioner platform for this technique to ensure that the image lines up properly on the finished card front.


Step 2

Color stamen portion of Penny Black First Waltz Tulip with VersaMarker and heat emboss with Black Mboss powder.

Pro tip: Use a dry fine tip paintbrush to remove any embossing powder that ends up on the card you do not want to emboss before heating.


Step 3

Use the Versa Mark small cube which allows you more precision in where you place the VersaMark ink to ink the flower portion of the image. Cover with Mboss Valentine, and carefully remove powder from the stamen area with a dry fine tip paintbrush then heat emboss.
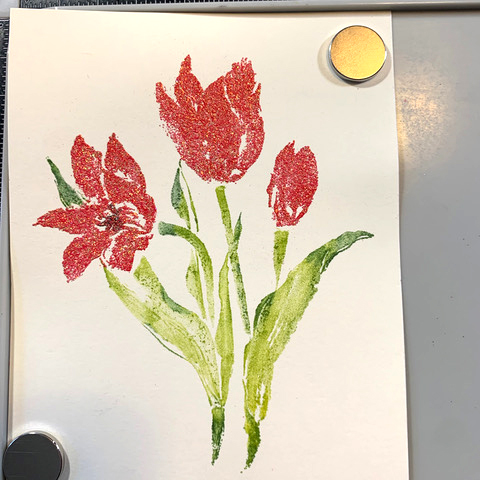
 

Step 4

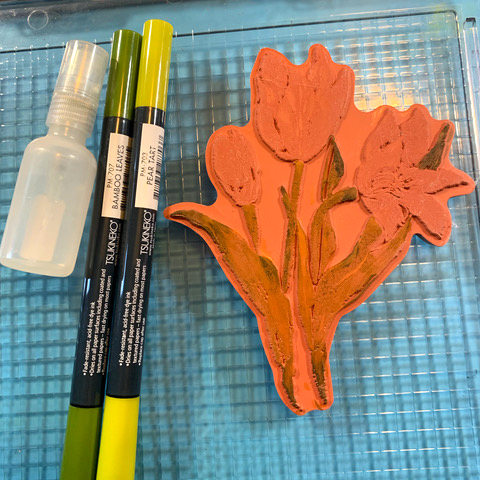
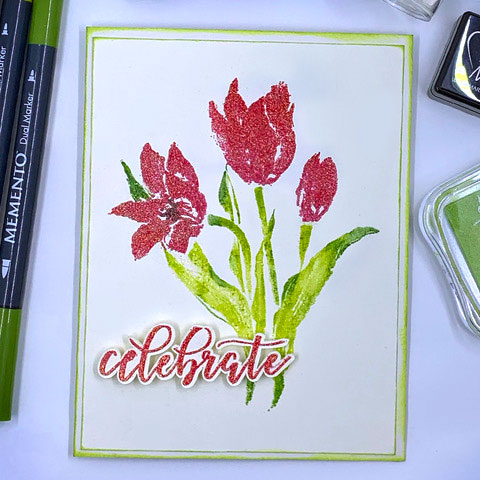
Color directly on the stem portion of the image with Memento Dual Marker in Pear Tart and Bamboo leaves.  Mist stamp lightly with water before stamping as this reactivates the ink to create a crisp image.
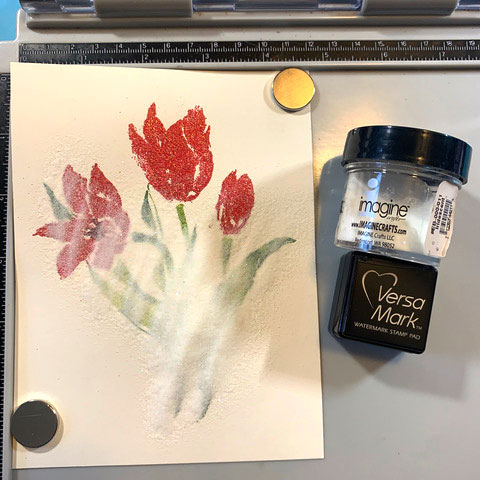
 

Step 5

Clean leaf portion of the image and ink with VersaMark ink. Stamp over the previously colored and stamped image with VersaMark Ink and heat emboss with Iridescent embossing powder.
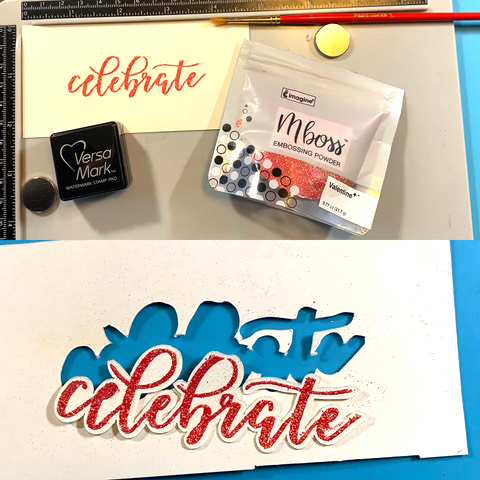
 

Step 6

Stamp the “Celebrate” sentiment in VersaMark Ink and heat emboss with Mboss in Valentine.  Die-cut the sentiment, I used my Brother Scan N Cut.
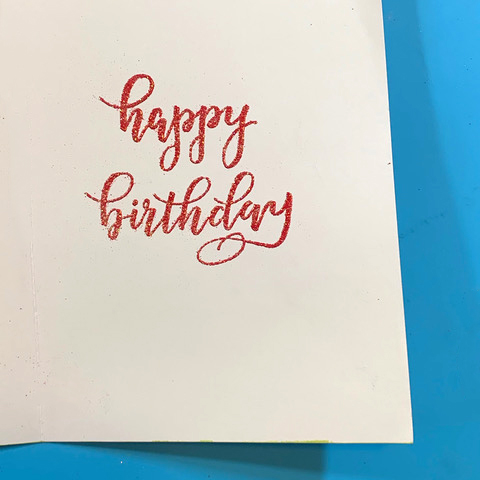
 

Step 7

I also stamped the inside of the card, as I intend to send it to a special friend for her birthday. Stamp the sentiment in VersaMark Ink and heat emboss with Mboss in Valentine.


Step 8

Lightly ink the card base and card front with the Memento Luxe Pear Tart ink pad to add just a hint of green around both layers.  I ran the ink pad around the edges of the cardstock to create the light tint.
 

Step 9

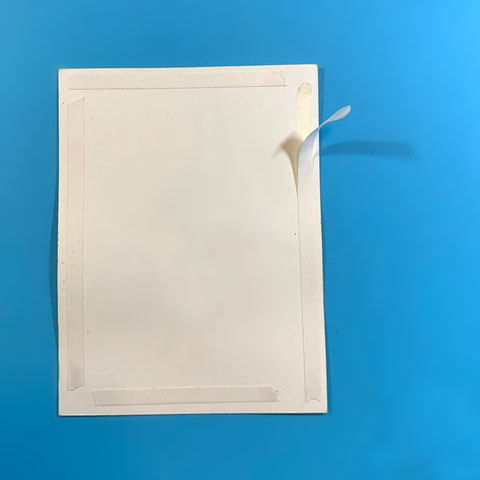
Apply Tear It! Tape to the back of the card front and adhere to the card base.
 

Step 10

Adhere the “Celebrate” sentiment to the card front using adhesive foam tape.


Art Supplies

Imagine

• VersaMark Ink

• VersaMarker

• Mboss – Valentine

• Memento Dual Tip Marker – Pear Tart, Bamboo Leaves 

• Embossing Powder – Black, Iridescent

• Memento Luxe – Pear Tart

• Tear It! Tape

• 0.5 fl oz Spray Bottle


Other

• Penny Black – First Waltz

• Kelly Creates – Traceable Celebration Stamps

• Brother Scan N Cut

• Stamp positioner

• Fine tip paintbrush
 

Valentine’s Day Card With A Resist Technique

by Nadine Carlier

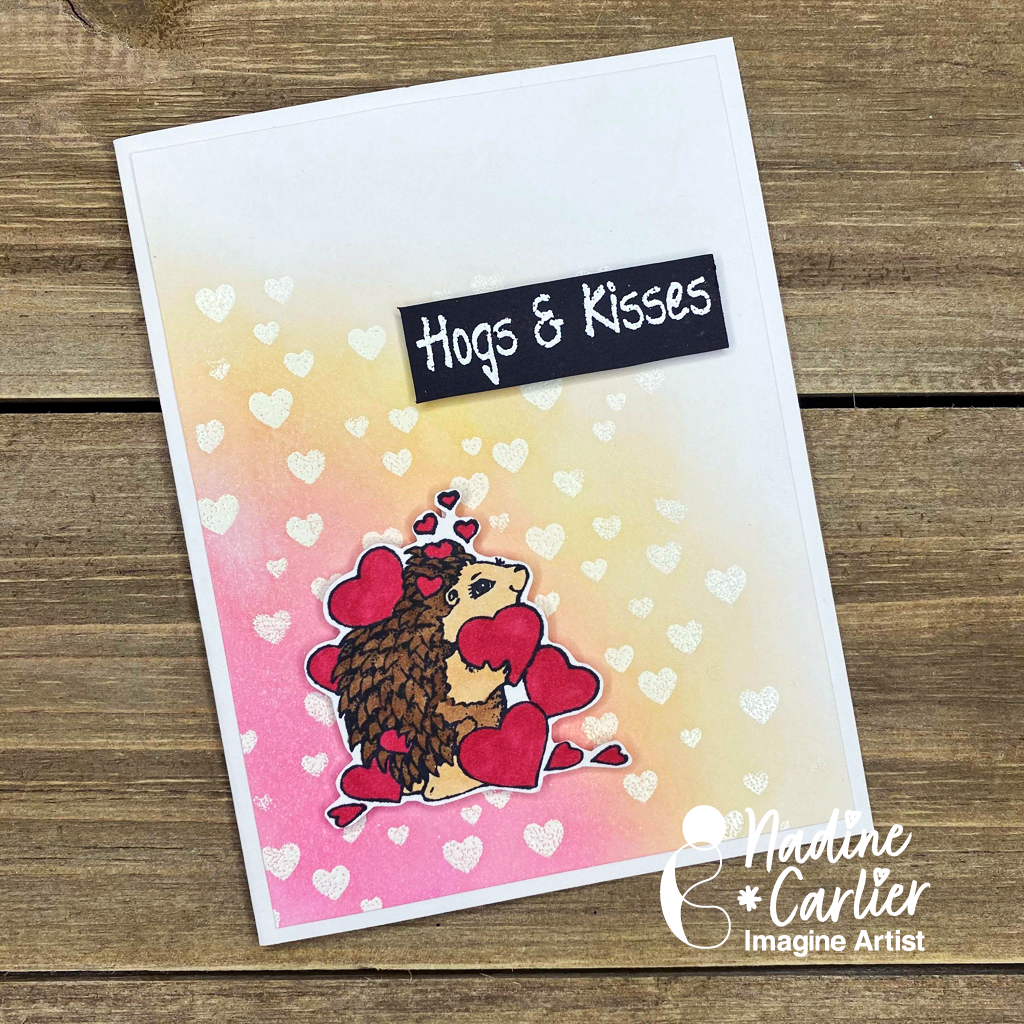
Watch my video tutorial below to see how I used Mboss Embossing Powder to create a resist when blending VersaColor Inks over it. Enjoy!

Skill: Intermediate
Time: 30 minutes

Supplies

Imagine
Other

Visit our YouTube Channel for more inspirational videos and subscribe. Make sure to click the bell to get updates when we post new videos.

Create a Beautiful Rainbow Ink Blended Card

By Jessica Lin

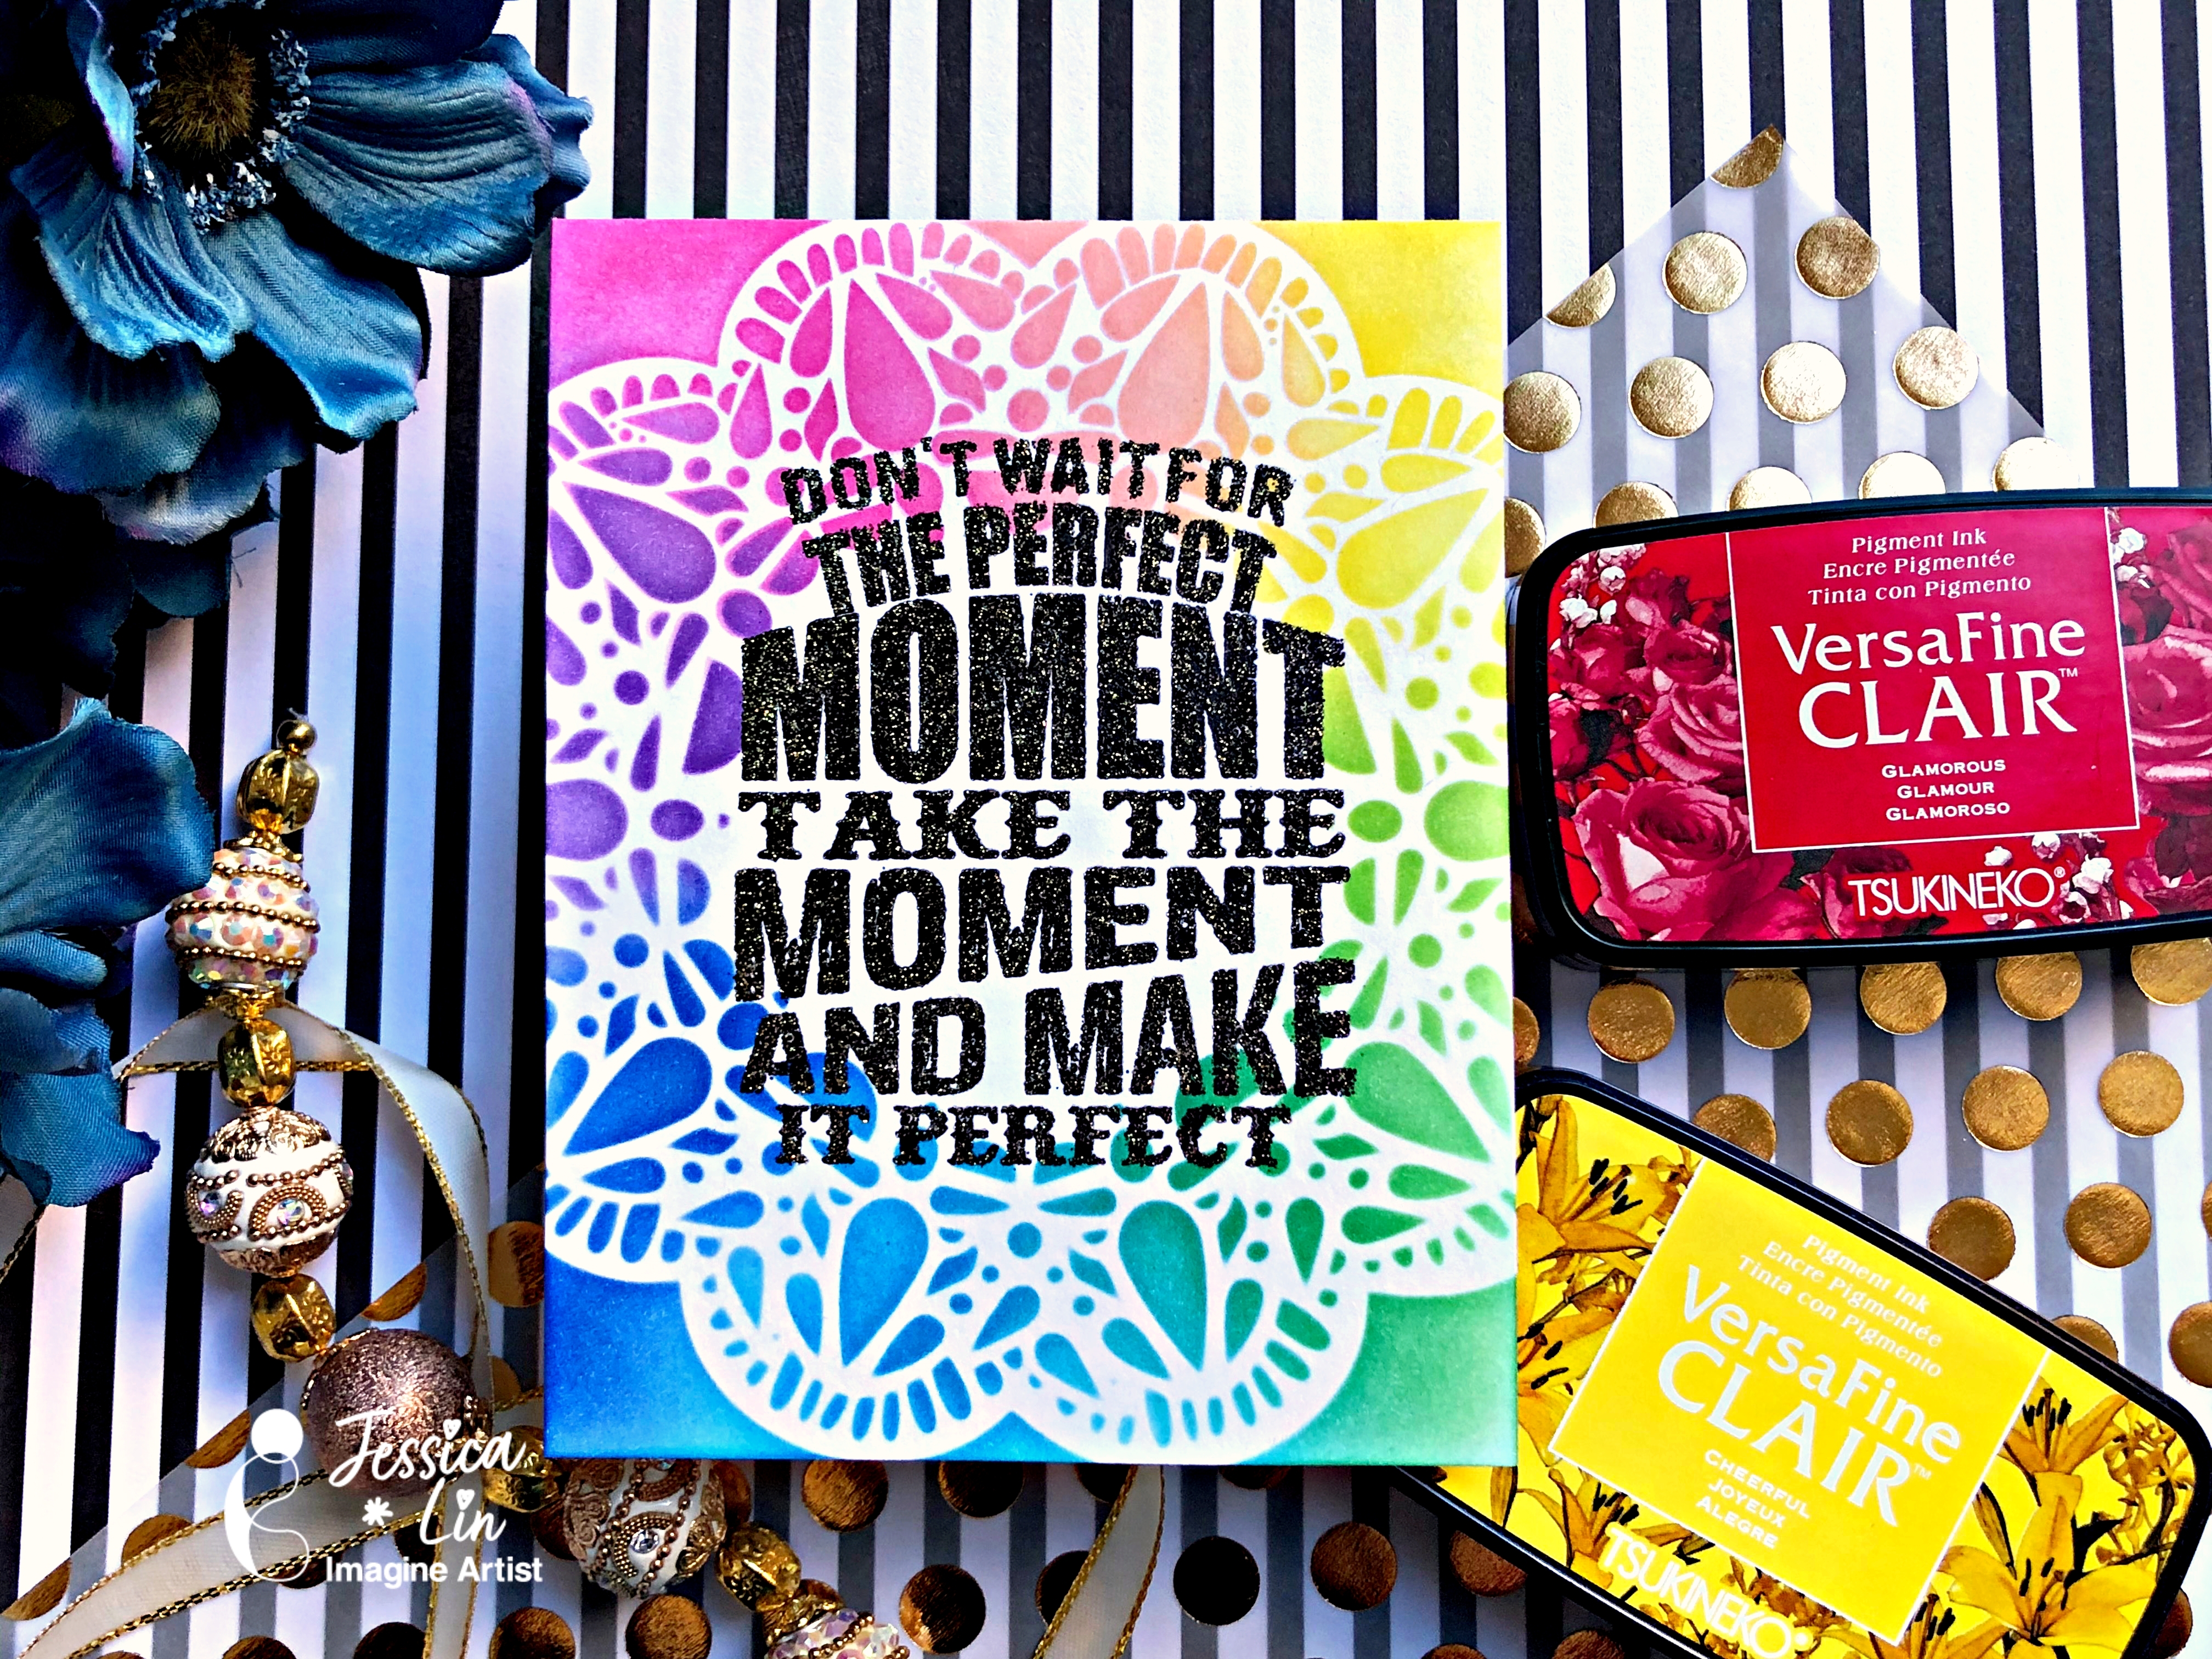
– Hi everyone! It’s Jessica. I have a simple rainbow ink blending card to share with you today. I used some of the brighter colors from the VersaFine Clair line, but you could try out different colors and different ink pads for a similar look. I also love the positive and motivational sentiment, which I’ve embossed with New Year’s Eve Mboss powder.

Skill Level: Beginner

Time: 15 minutes

Supplies:

Imagine

• VersaFine Clair: Glamorous, Summertime, Cheerful, Verdant, Green Oasis, Warm Breeze, Paradise, Blue Belle, Monarch – 

• Jumbo Dauber – 

• VersaMark Dazzle – 

• Mboss – New Year’s Eve – 

• StazOn All-Purpose Cleaner – 


Other:

• Crafter’s Workshop stencil – Deco Doily

• STAMPlorations Typografia Motivate: Perfect Moment stamp

• Heat gun

• Neenah Solar White 80lb cardstock

How to Create a Joyful Poinsettia Holiday Card

by Annie Collins

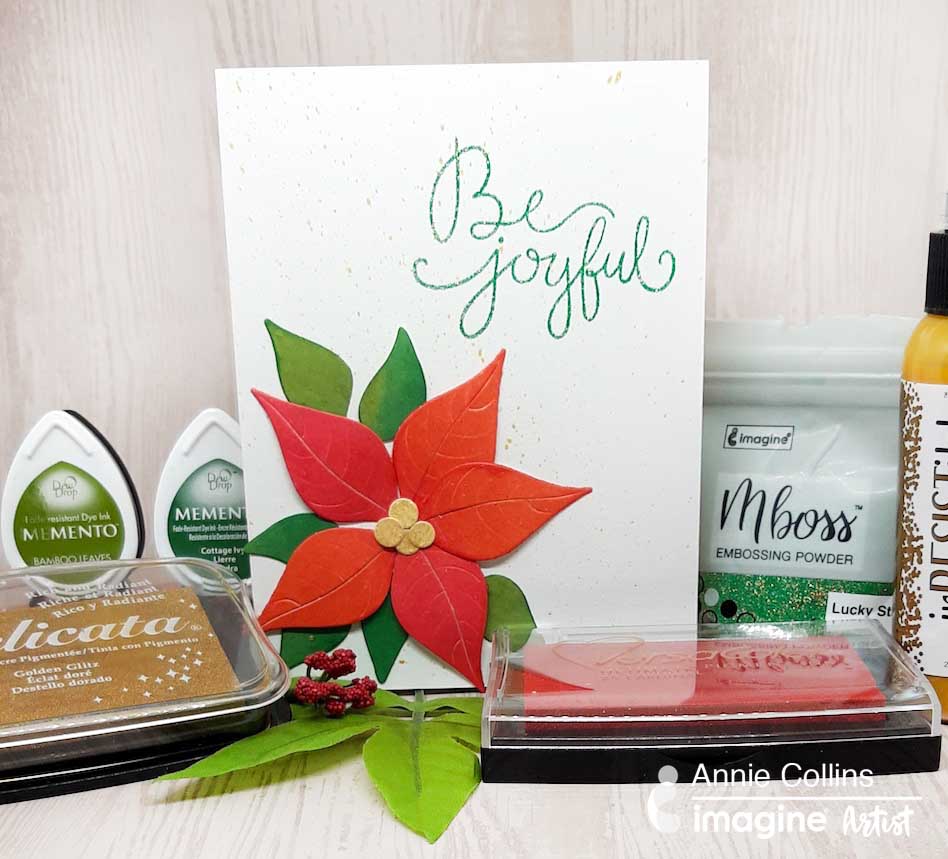
Hello Crafty Friends! Annie here with a clean and simple Joyful Poinsettia Holiday card using die cuts, embossing powders, and inks. I really love how the sparkle in Mboss Lucky Stars creates an extra shine in this card design.

Skill: Advanced
Time: 15 minutes

Directions

Art Supplies

Other


Let’s Make A Winter Wonderland Thank You Card

by LeeAnn McKinney

Hey there friends and fellow crafters. I’m here today making a fun quick paper crafting project — Thank You card with a Winter Theme! In this project, I create this card with a stencil, shimmery ink sprays, stamping, and heat embossing. Change the theme to make a thank you card for any holiday year-round.

Sending a handmade card is a thoughtful practice. Give someone a Thank You when they have invited you to a special party, gathering or gave a special gift.

Skill: Intermediate
Time: 15 minutes

Directions

Art Supplies Used

Imagine
Other
  • Echo Park Snowflake Stencil
  • Vellum
  • LetterIt Stamp Set
  • Recollections 110lb card stock

Quick & Stunning Holiday Cards in a Flash Made with Delicata Metallic Ink

by Nicole Watt

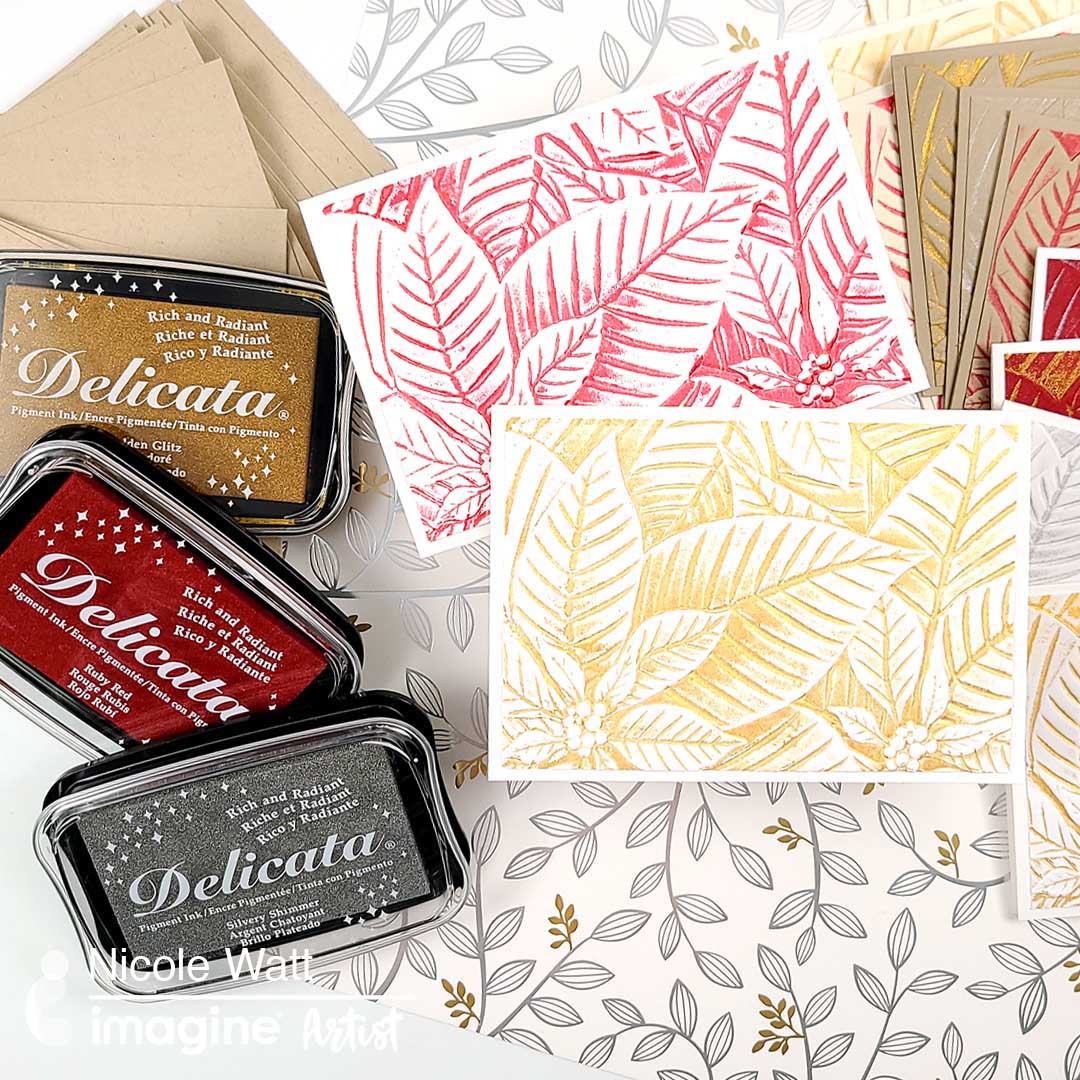
Running out of time for your holiday cards? Make a stack super fast with 3 colors of Delicata Inks and a holiday-themed embossing folder! This poinsettia imprint has a beautiful look for Christmas crafting. You’ll get caught up in no time with Nicole’s help!

Skill: Intermediate
Time: Crafternoon

Directions


Art Supplies

Imagine
Other