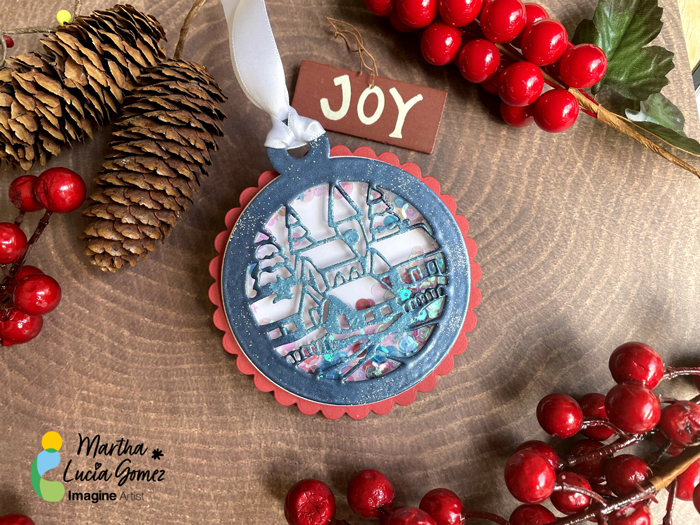
By Martha Lucia Gomez
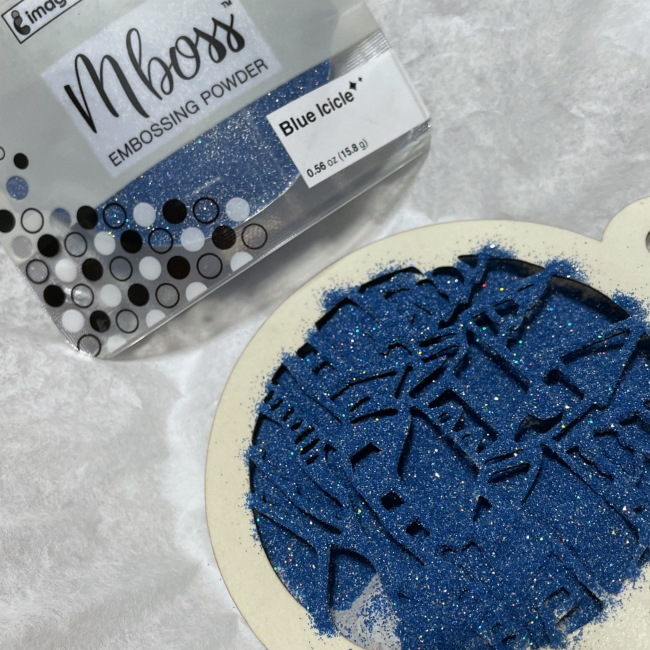
Hello there! Today’s tutorial is a shaker ornament created with embossing powders and using different colors in a single piece. To make this, I used the MBoss in Blue Icicle, Sapphire and White. To create this type of embellishments or ornaments for your cards, gifts or Christmas Trees, you can also use our traditional Embossing Powders in any color.
Skill Level: Medium
Time to Complete: 45 minutes
Directions:
Step 1:
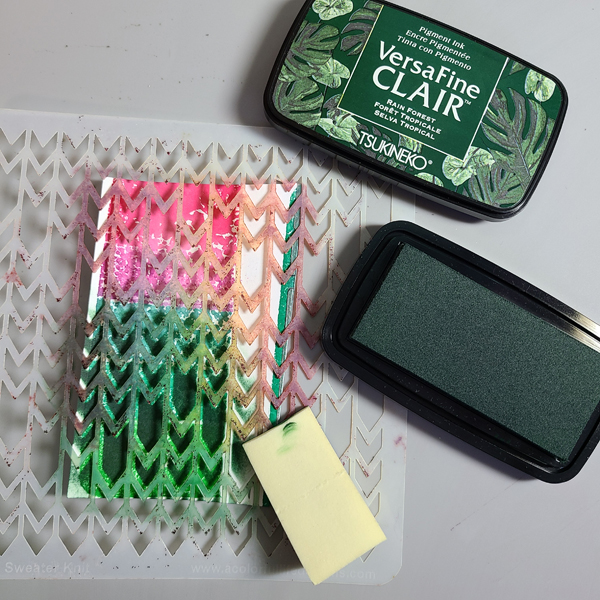
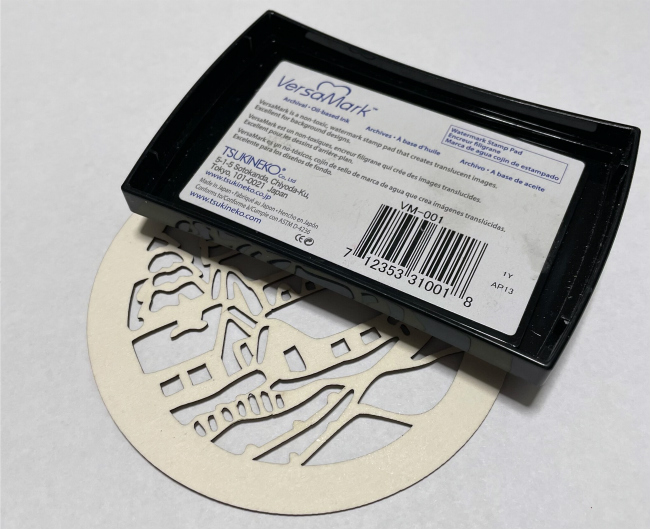
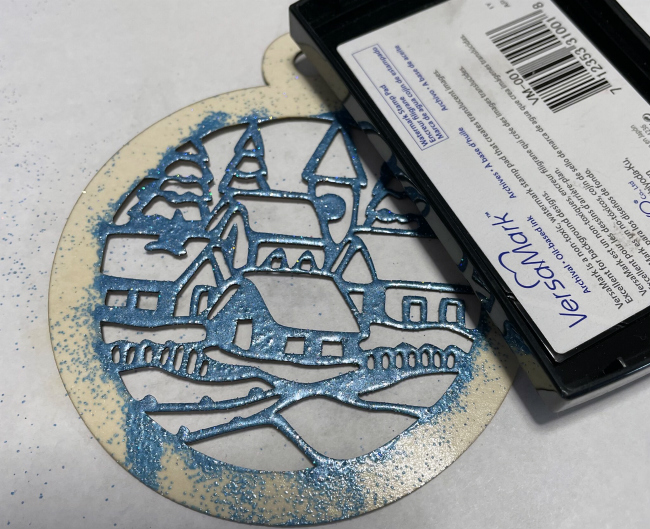
Apply a layer of ink to your Shaker Base or Chipboard piece directly with the ink pad of VersaMark. You can also use the small size or cube of VersaMark Ink if you are using a small piece of shaker card or chipboard. Make the emphasis on the center if it has the designed part.
Step 2:
Cover the center of your ornament with the light color of MBoss or embossing powder. In my sample, I am using the Blue Icicle.
Step 3:
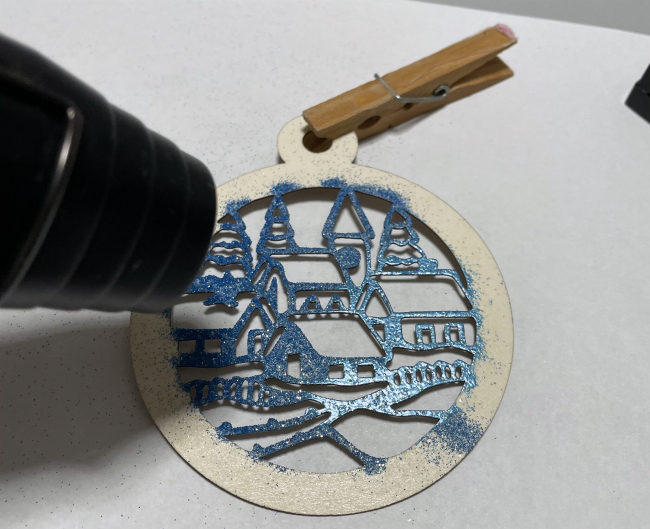
Melt the MBoss or Embossing Powder with the heat tool. Don’t worry if the powder covered some parts of the border.
Step 4:
Repeat steps 2 and 3 if you want a thick effect or want better coverage.
Step 5:
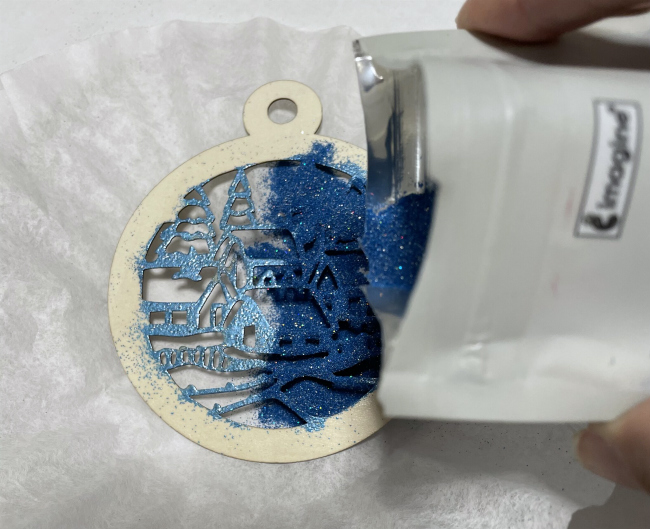
Ink the border or the chipboard ornament or shaker piece with the VersaMark Ink Pad, taking care not to cover the center of the piece.
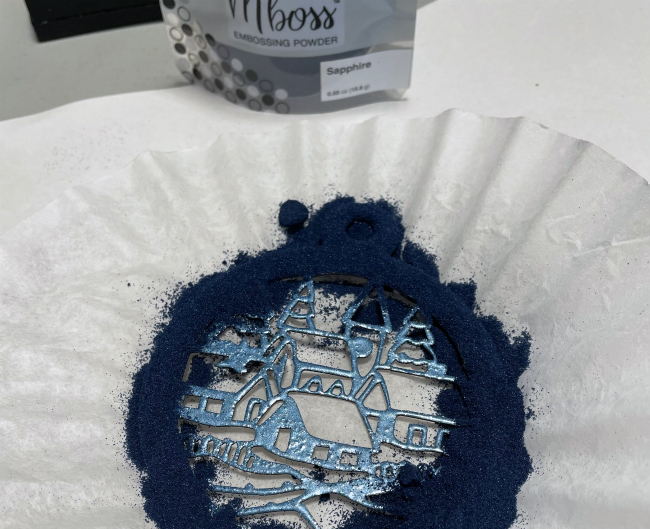
Step 6:
Cover the inked area with the dark color of MBoss. I am using the Sapphire.
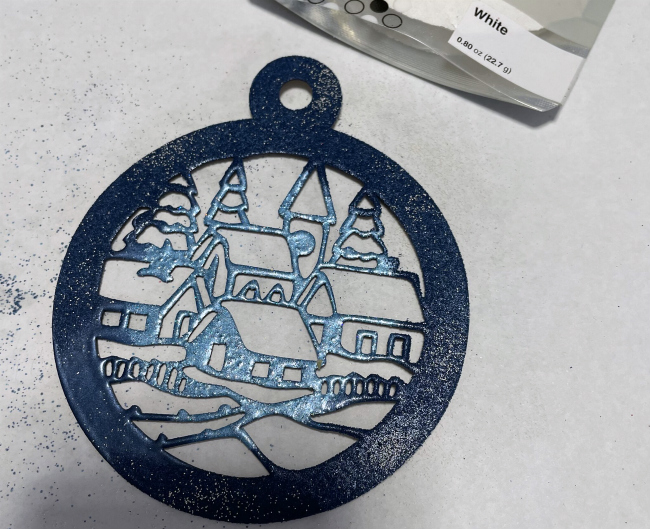
Step 7:
Melt the powder with the heat tool. Then, add some touches of MBoss White to create more dimension over it. Melt the MBoss White or White Embossing Powder with the heat tool.

Step 8:
Assemble your shaker card or finish the ornament by adding some sprinkles or small sequins and adding a piece of ribbon to tie it.
Voila! Our ornament is finished and can be used to decorate a card, a gift or to be handled on a Christmas Tree.
Remember that you can use this idea for any type of chipboard piece or for any occasion, not only for Christmas.
Art Supplies:
Imagine:
• Mboss Sapphire, Blue Icicle and White
Other:
• Shaker Dimension Set or Chipboard Piece.
• Heat Tool
• Sequins