By Jessica Lin
Skill: Beginner
Time: 20 minutes
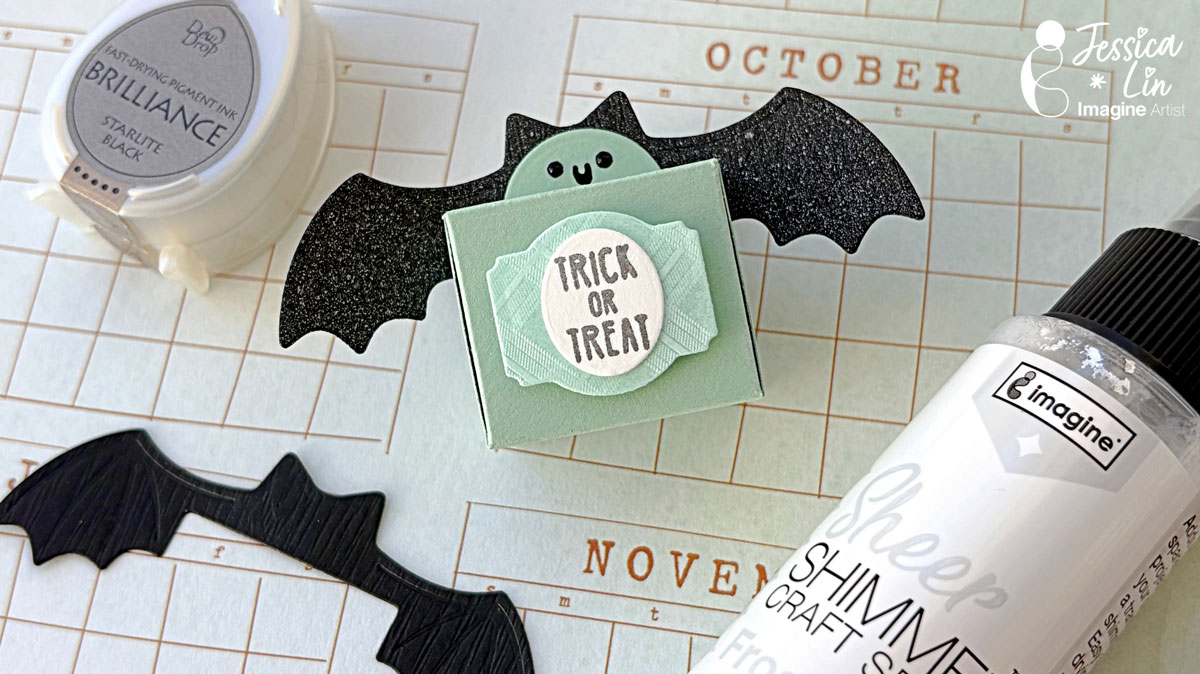
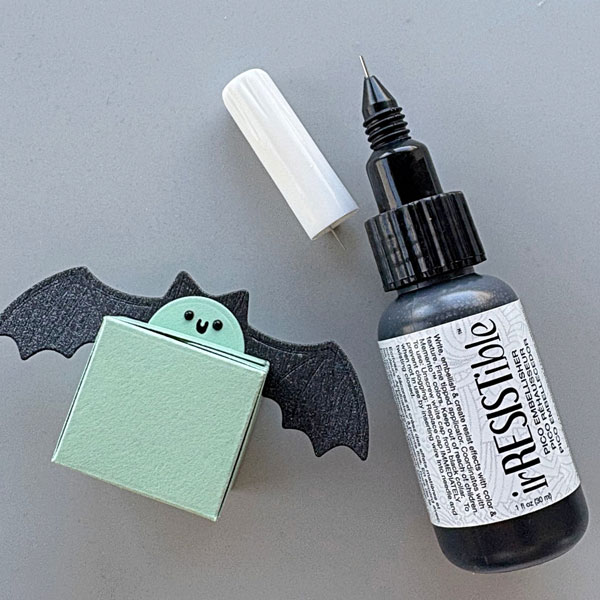
Hi everyone! It’s Jessica here. Today I am sharing a candy box idea that is fitting for all occasions. However, the candy box die I am using today is versatile and you could dress up the box for Halloween treats, too!
Directions:
Step 1:
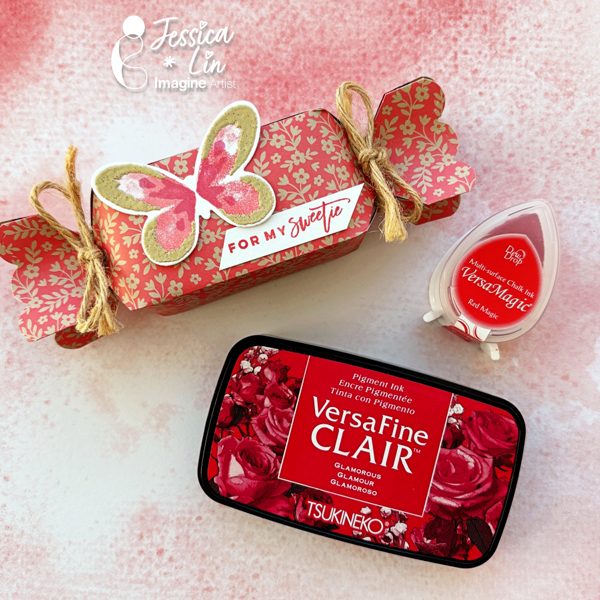
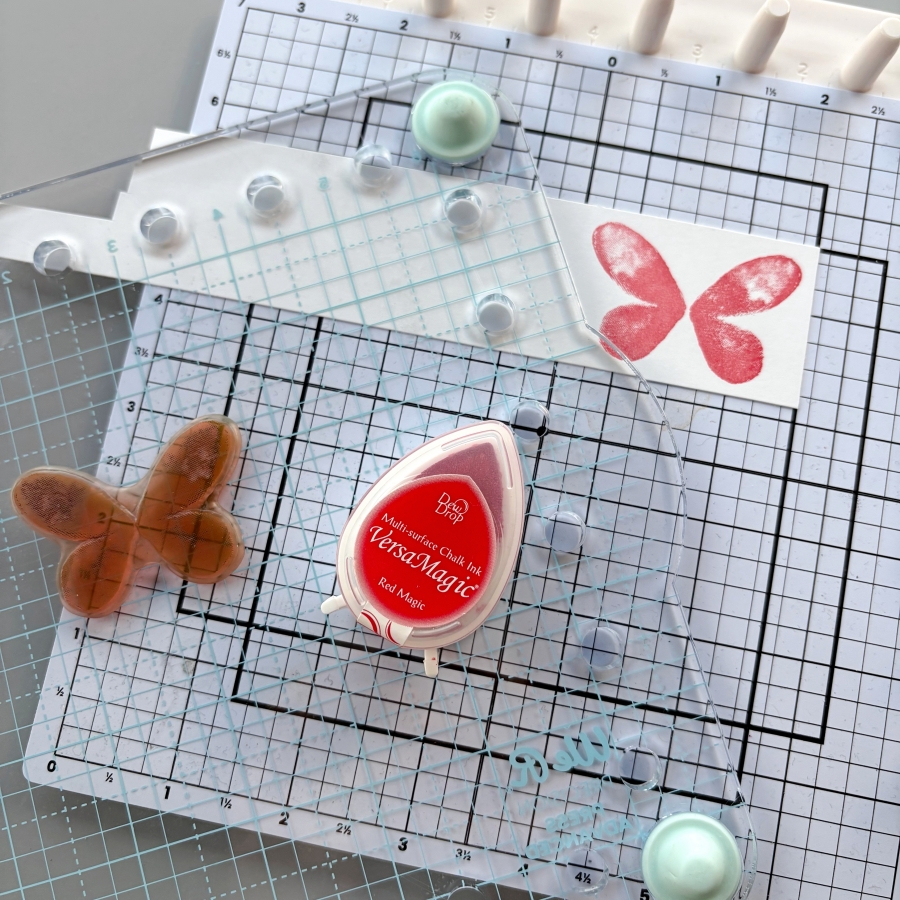
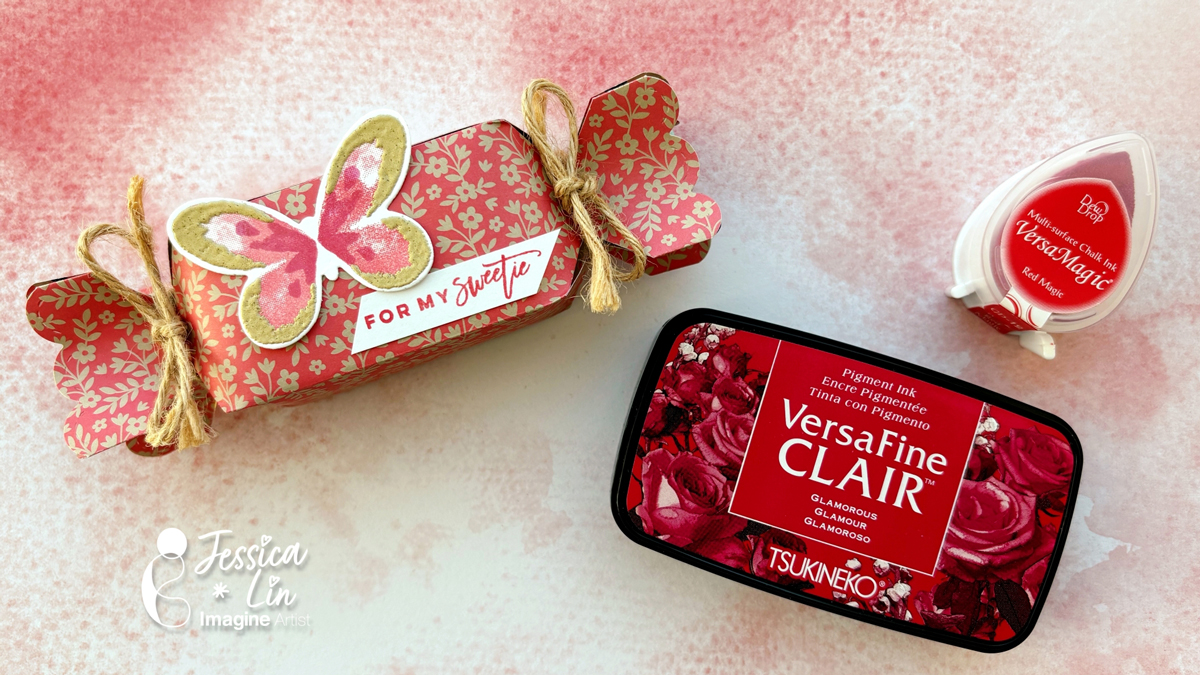
Stamp the small butterfly base image from Stampin’ Up’s Watercolor Wings set with VersaMagic Red Magic ink pad.
Step 2:
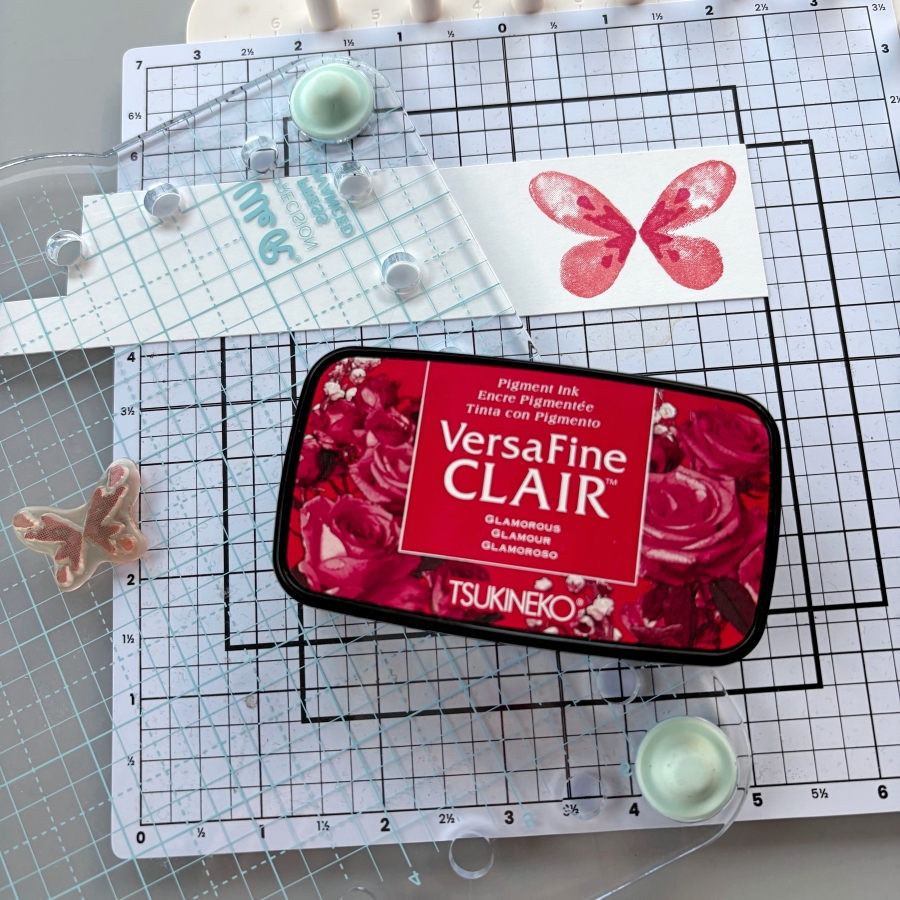
For the second layer of the butterfly stamp, I used VersaFine Clair Glamorous ink pad. I think these two shades of red complement each other very well.
Step 3:
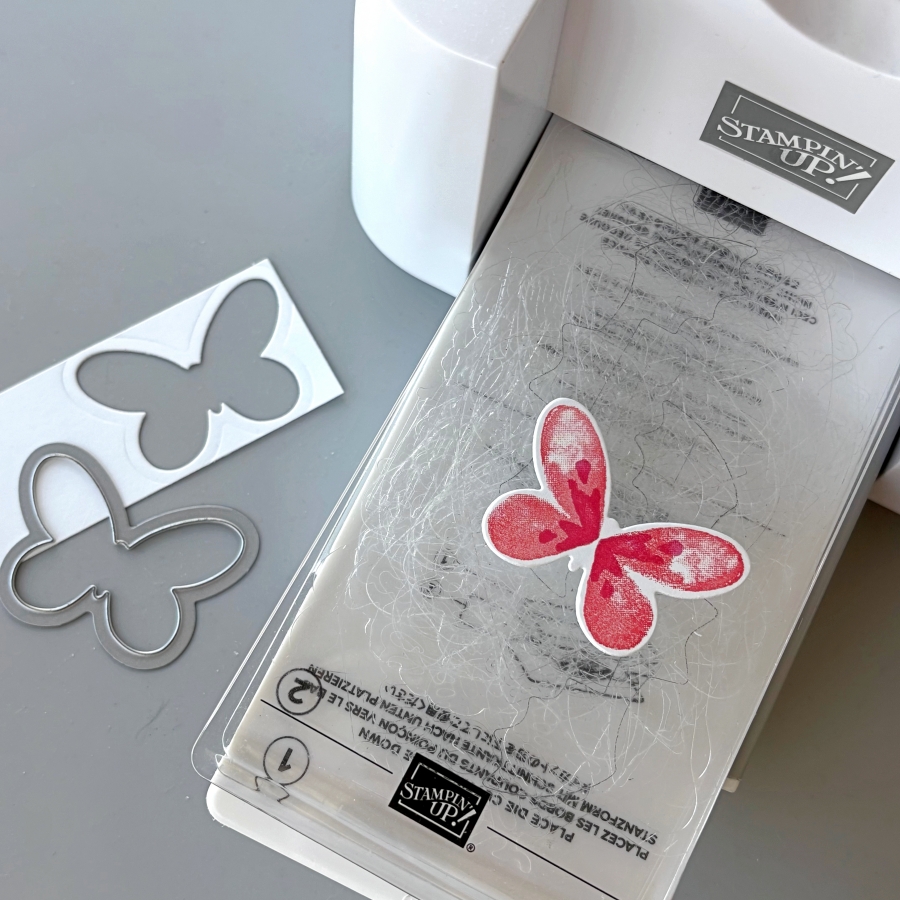
Die cut the butterfly with the coordinating Butterflies Thinlits dies.
Step 4:
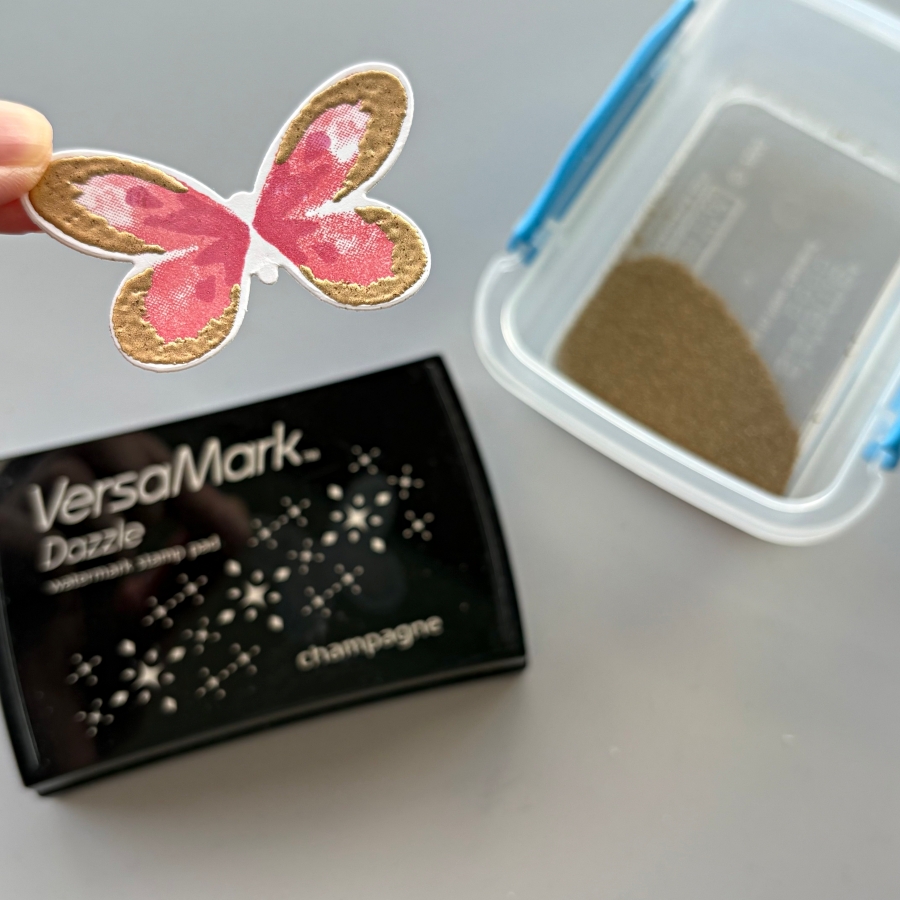
Stamp the third layer with VersaMark ink pad and heat emboss with gold embossing powder.
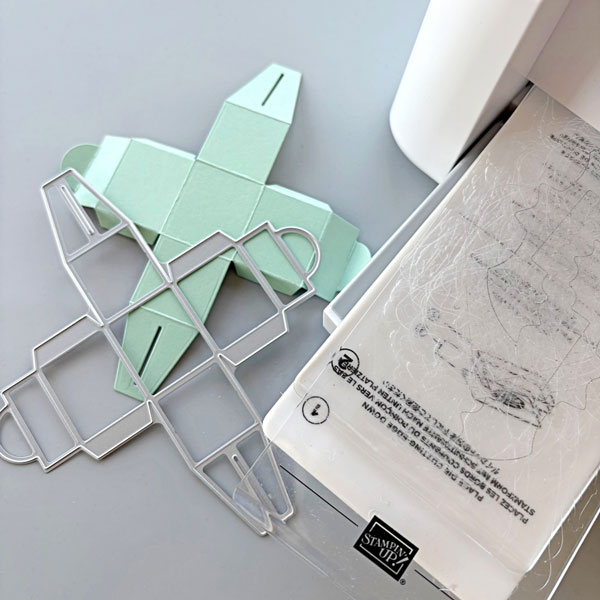
Step 5:
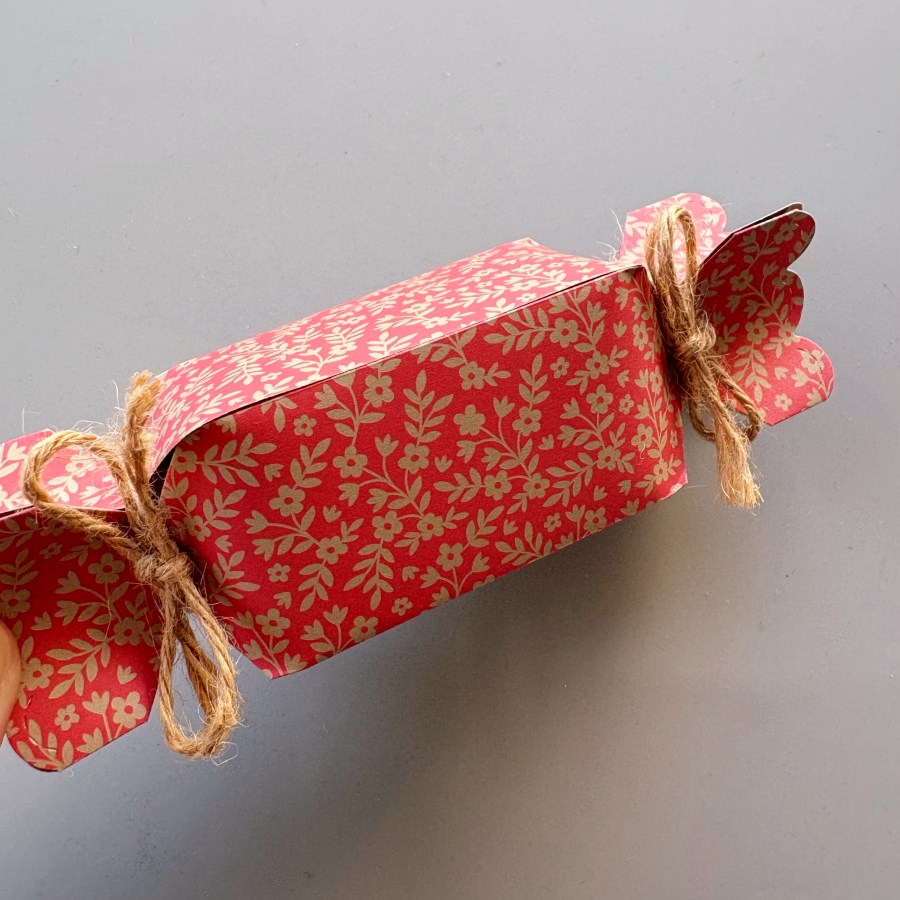
Die cut two pieces of patterned paper using Lawn Fawn’s Candy Box die. Then adhere the sides of the boxes together with Tear-It Tape, while leaving the ends open. After filling the box with treats (chocolates like Ferrero Rocher and Lindt are perfect!), tie the ends of the candy box with pieces of twine.
Step 6:
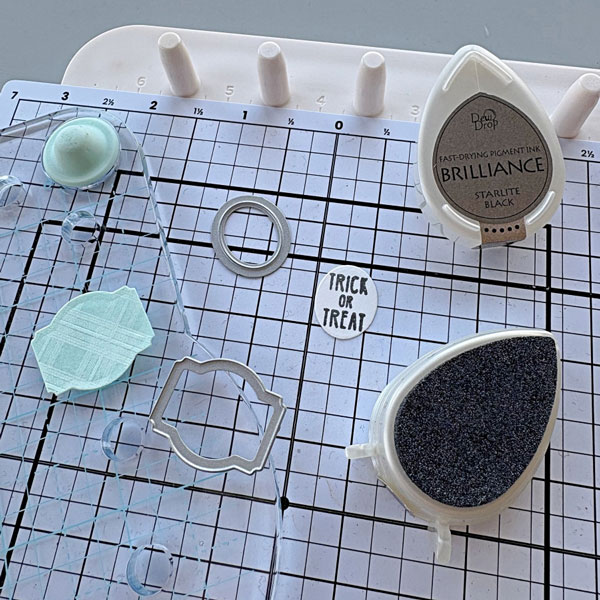
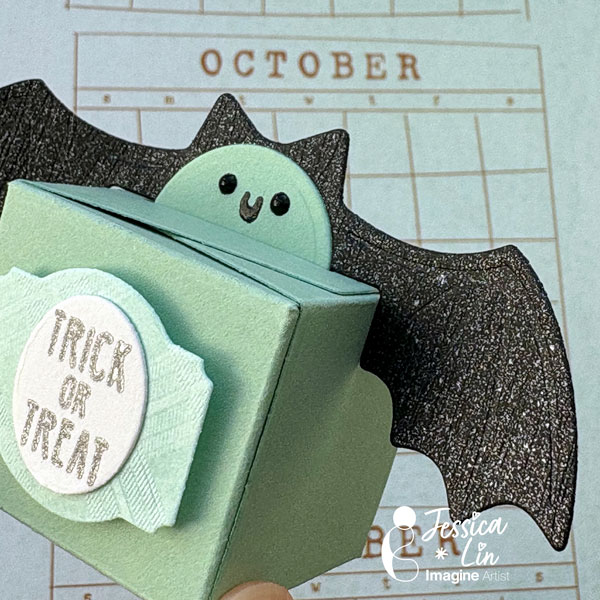
Stamp a sentiment with VersaMagic Red Magic ink and this simple treat box is complete! Imagine
Craft Supplies:
Imagine
- VersaFine Clair – Glamorous
- VersaMagic – Red Magic
- VersaMark – Dazzle Champagne
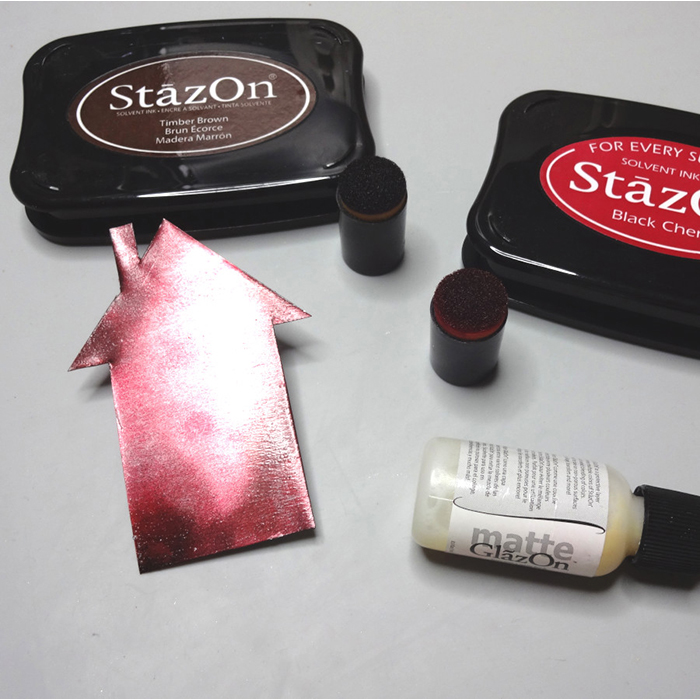
- StazOn Cleaner
- Tear-It! Tape
- Craft Mat
Other Supplies:
- Stampin’ Up! – Stamps – Watercolor Wings
- Lawn Fawn – Die – Candy Box
- Winnie & Walter – Stamps – Sentimental: Endearments
- Gold Embossing Powder
- Twine