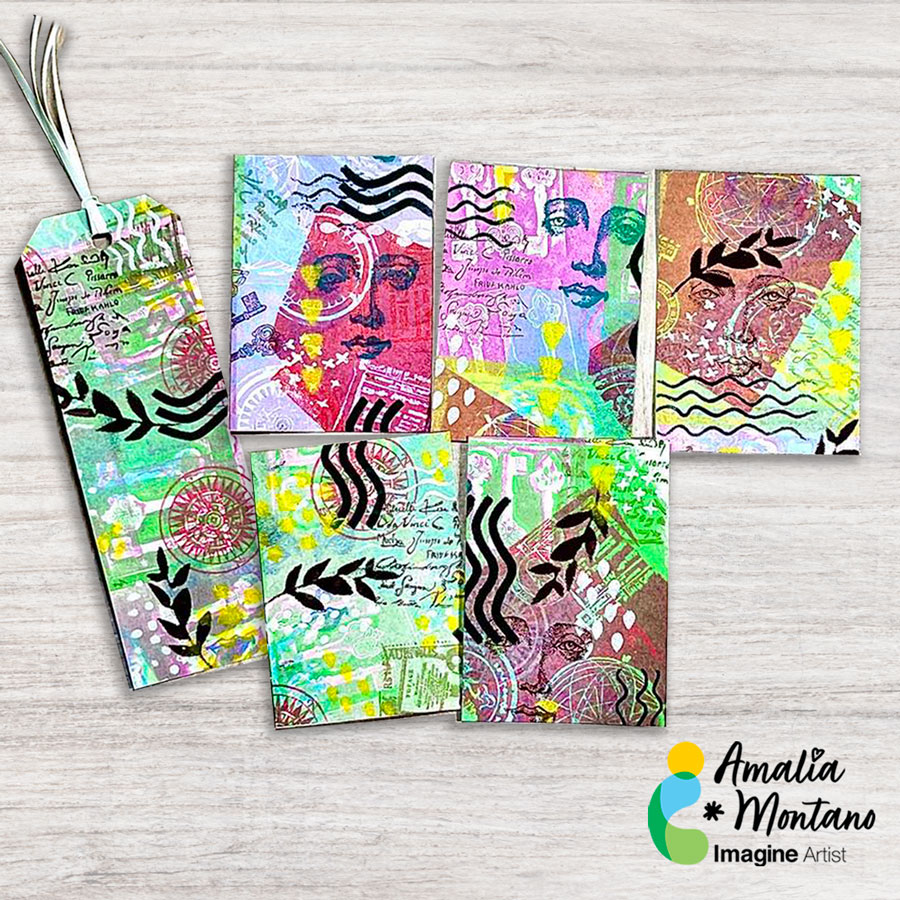
Hello, friends! Amalia here with a project from Imagine. In this video, I’m using the new VersaFine Clair ink colors to create masterboards, which will later be cut into ATCs and a bookmark. VersaFine Clair inks are highly pigmented and provide a perfect stamp impression on the first try. Their vibrant colors are ideal for watercoloring, as they won’t bleed when wet. I’ll also be incorporating stamps, stencils, and stamping foam to bring these ATCs and the bookmark to life.
I love to color! I am an avid Copic marker fan and adore using watercolor on stamped images. Sometimes I like taking a more liberal rather than literal approach to coloring images. If you do not like to color this is the video and project for you! Find some simple lined floral images and use sponge daubers to daub, rub, smear or pounce color on. Versacolor inks are blendable and provide jut the right dry time to create a smooth finish to your design. I used heat embossing with white MBoss powder on white cardstock so the outline would stand out but not overpower. This created a soft feminine hue to the image. This would also look great in black ink. Give it a try!
I wanted to create some backgrounds just to get my creative juices flowing. I am so glad I did because I was able to use many of the different cardstock scraps and designer paper scraps to make some really cute backgrounds.
I used different stencils from my stash, some blending brushes, and a few Imagine Crafts inks and daubers to create backgrounds that I turned into Birthday cards.
Hello Friends! Katy here and today I am excited to share this really cool background technique.
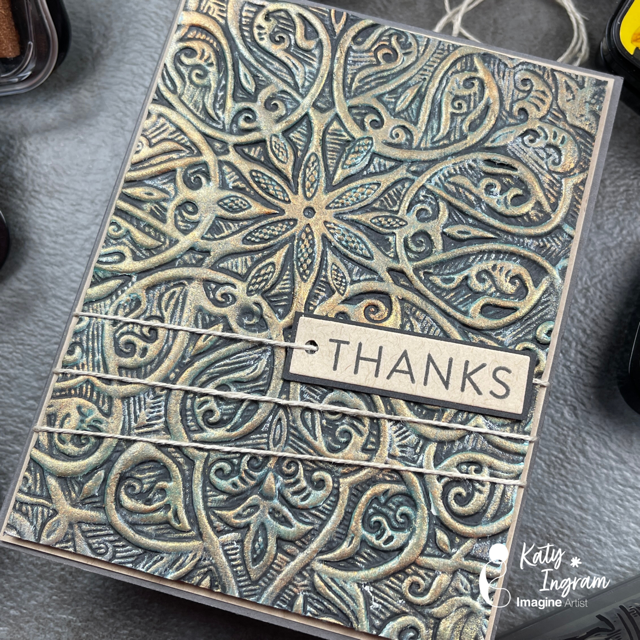
In today’s video tutorial, I am sharing how I use some All Purpose Inks, Delicata Inks and a 3D embossing folder to create a Gilded/Aged Celtic background. I have to admit I am in love with these backgrounds and in the video I show two ways to create it and both give different results depending on how you apply the ink. I also give some alternatives to the products I am using in the video, so be sure and watch to find out what they are. This technique will work with any embossing folder and I will for sure be using it with other folders I have in my stash.
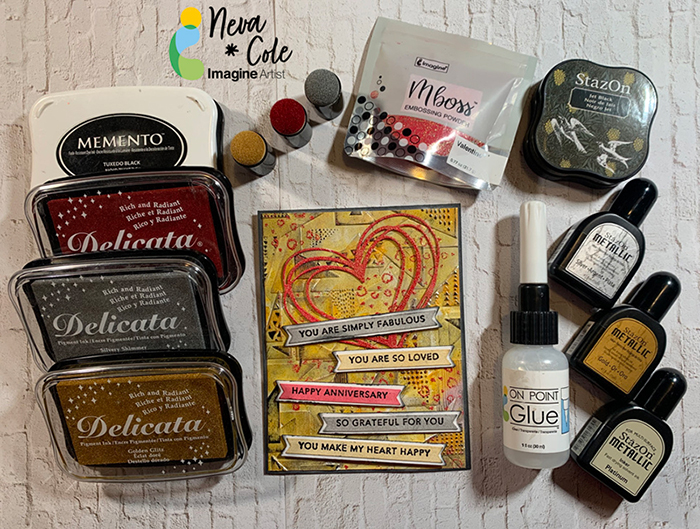
Today’s tutorial will demonstrate how to create multi layers of texture for a dramatic Anniversary Card. StazOn, Delicata, and Mboss will add amazing levels of metallic shimmer.
Skill:Beginner
Time:1 Hour
Directions:
Step 1
Trim white piece of sturdy cardstock to 4 1/8” x 5 3/8”. I used the backing of a paper pack, that had one shiny white side. First, I pressure embossed with Sizzix 3-D Textured Impressions Doodle Triangles. A makeup sponge was used to spread StazOn Metallic inks from re-inkers in Platinum, Silver and Gold randomly around the surface of the card front. StazOn dries on the sponge and makes it a one-time use tool. StazOn Jet Black ink is gently tapped over the raised portions of the card panel. Set aside to dry or heat with a heat gun.
Step 2
Using a stamp from my stash (manufacturer unknown) small hearts were stamped randomly in VersaMark ink and heat embossed in Mboss in Valentine.
Step 3
Memento Luxe in Tuxedo Black is used to stamp Taylored Expressions Simple Strips Background sentiments followed by heat embossing with black embossing powder. The matching die is used to die cut the entire set and five sentiments are selected for the front of the card.
Step 4
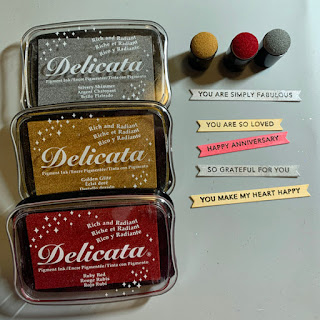
Each sentiment strip is inked with Delicata in Silvery Shimmer, Golden Glitz or Ruby Red with an Ink Dauber. Since the sentiment is embossed, the ink will not change the color.
Step 5
The sentiment strips are backed with white cardstock with the matching backer die. The edges are inked with Memento Tuxedo Black and an ink blusher to add definition.
Step 6
A Scribble Heart die by Impression Obsession is die cut from white cardstock. The die is then inked with Versa Mark ink and heat embossed with Mboss in Valentine.
Step 7
A white card base is trimmed to 5 ½” x 8 ½”. The edges are inked with Memento Tuxedo Black and an ink blusher.
Step 8
The card base is adhered to textured front with TearIt! Tape. The Heart is adhered with On Point Glue. The sentiment strips are adhered with dimension foam tape. A striking masculine anniversary card goal achieved!
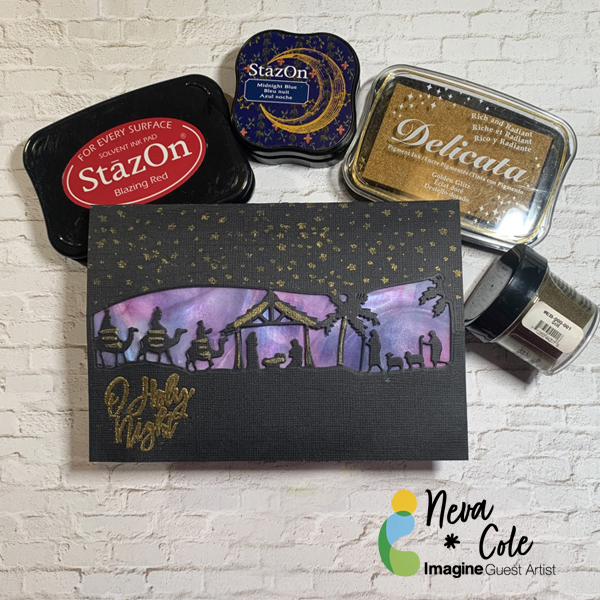
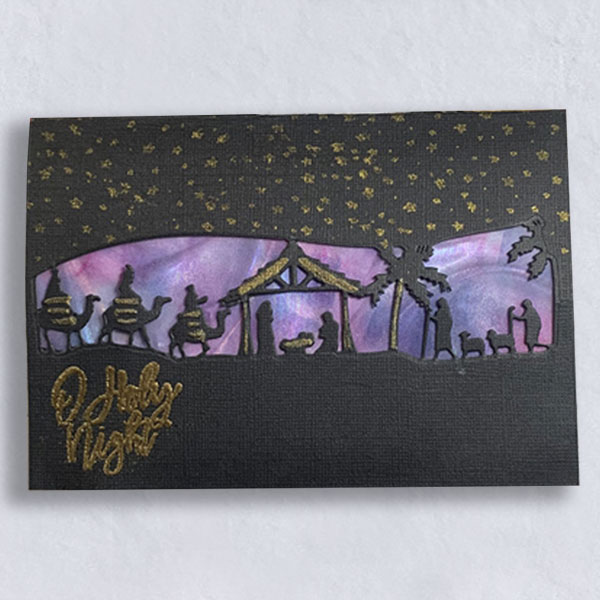
Today’s tutorial will feature several Imagine products, Delicata, StazOn, and Vertigo. Using silhouette style die cut creates a stunning yet quick and easy Christmas Card.
Skill:Beginner
Time:30 Minutes
Directions:
Step 1
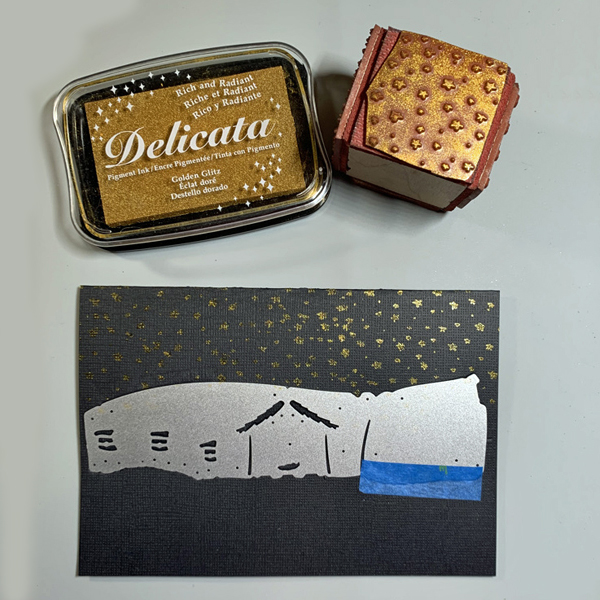
Trim black cardstock to 6 ½” x 9” and fold in half. Center die on the front panel of the card base and die cut.
Step 2
Leave the die in place and stamp the starry background with Delicata Golden Glitz.
Step 3
Use a Fantastix Brush Tip to brush in details left open in the die. Photo shows the die removed after this step.
Step 4
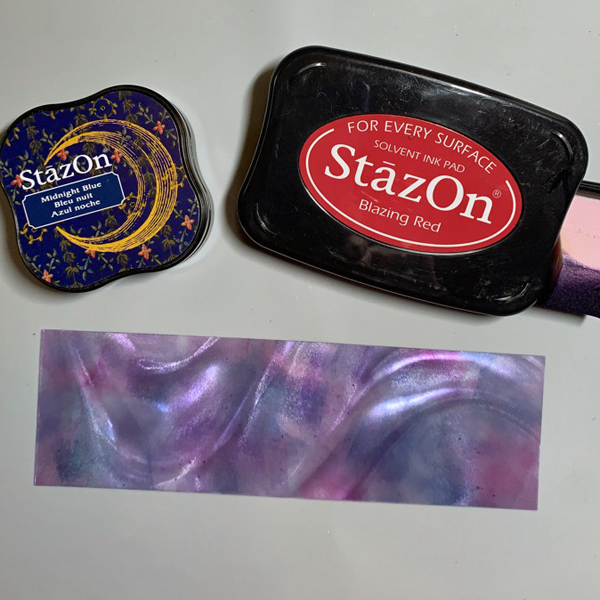
Trim a section of Taffeta Vertigo to 2” x 6 3/8”. Use an Ink Blusher to build layers of color in StazOn Blazing Red and Midnight Blue. As the color layers blend, the red, purple, and blue along with the Taffeta Vertigo creates a stunning night sky.
Step 5
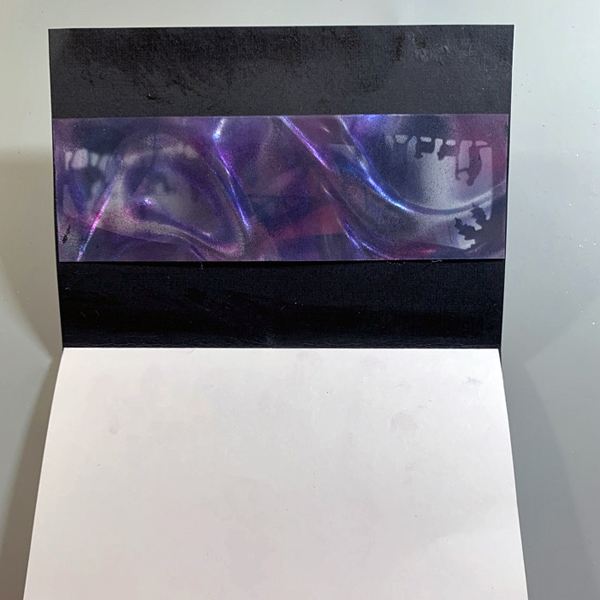
Adhere Vertigo behind the opening in the die with small dots of On Point Glue. I glued around the edge and behind each small portion of the die scene. Trim white cardstock to 6 3/8” x 8 ¾” and fold in half. Adhere to the inside back of the card with Tear It! Tape.
Step 6
Apply Tear It! Tape to the front inside of the card and fold card closed. This allows the card to compensate for the two layers of cardstock.
Step 7
Stamp Oh Holy Night sentiment in Delicata Golden Glitz and heat emboss with Gold Embossing Powder.